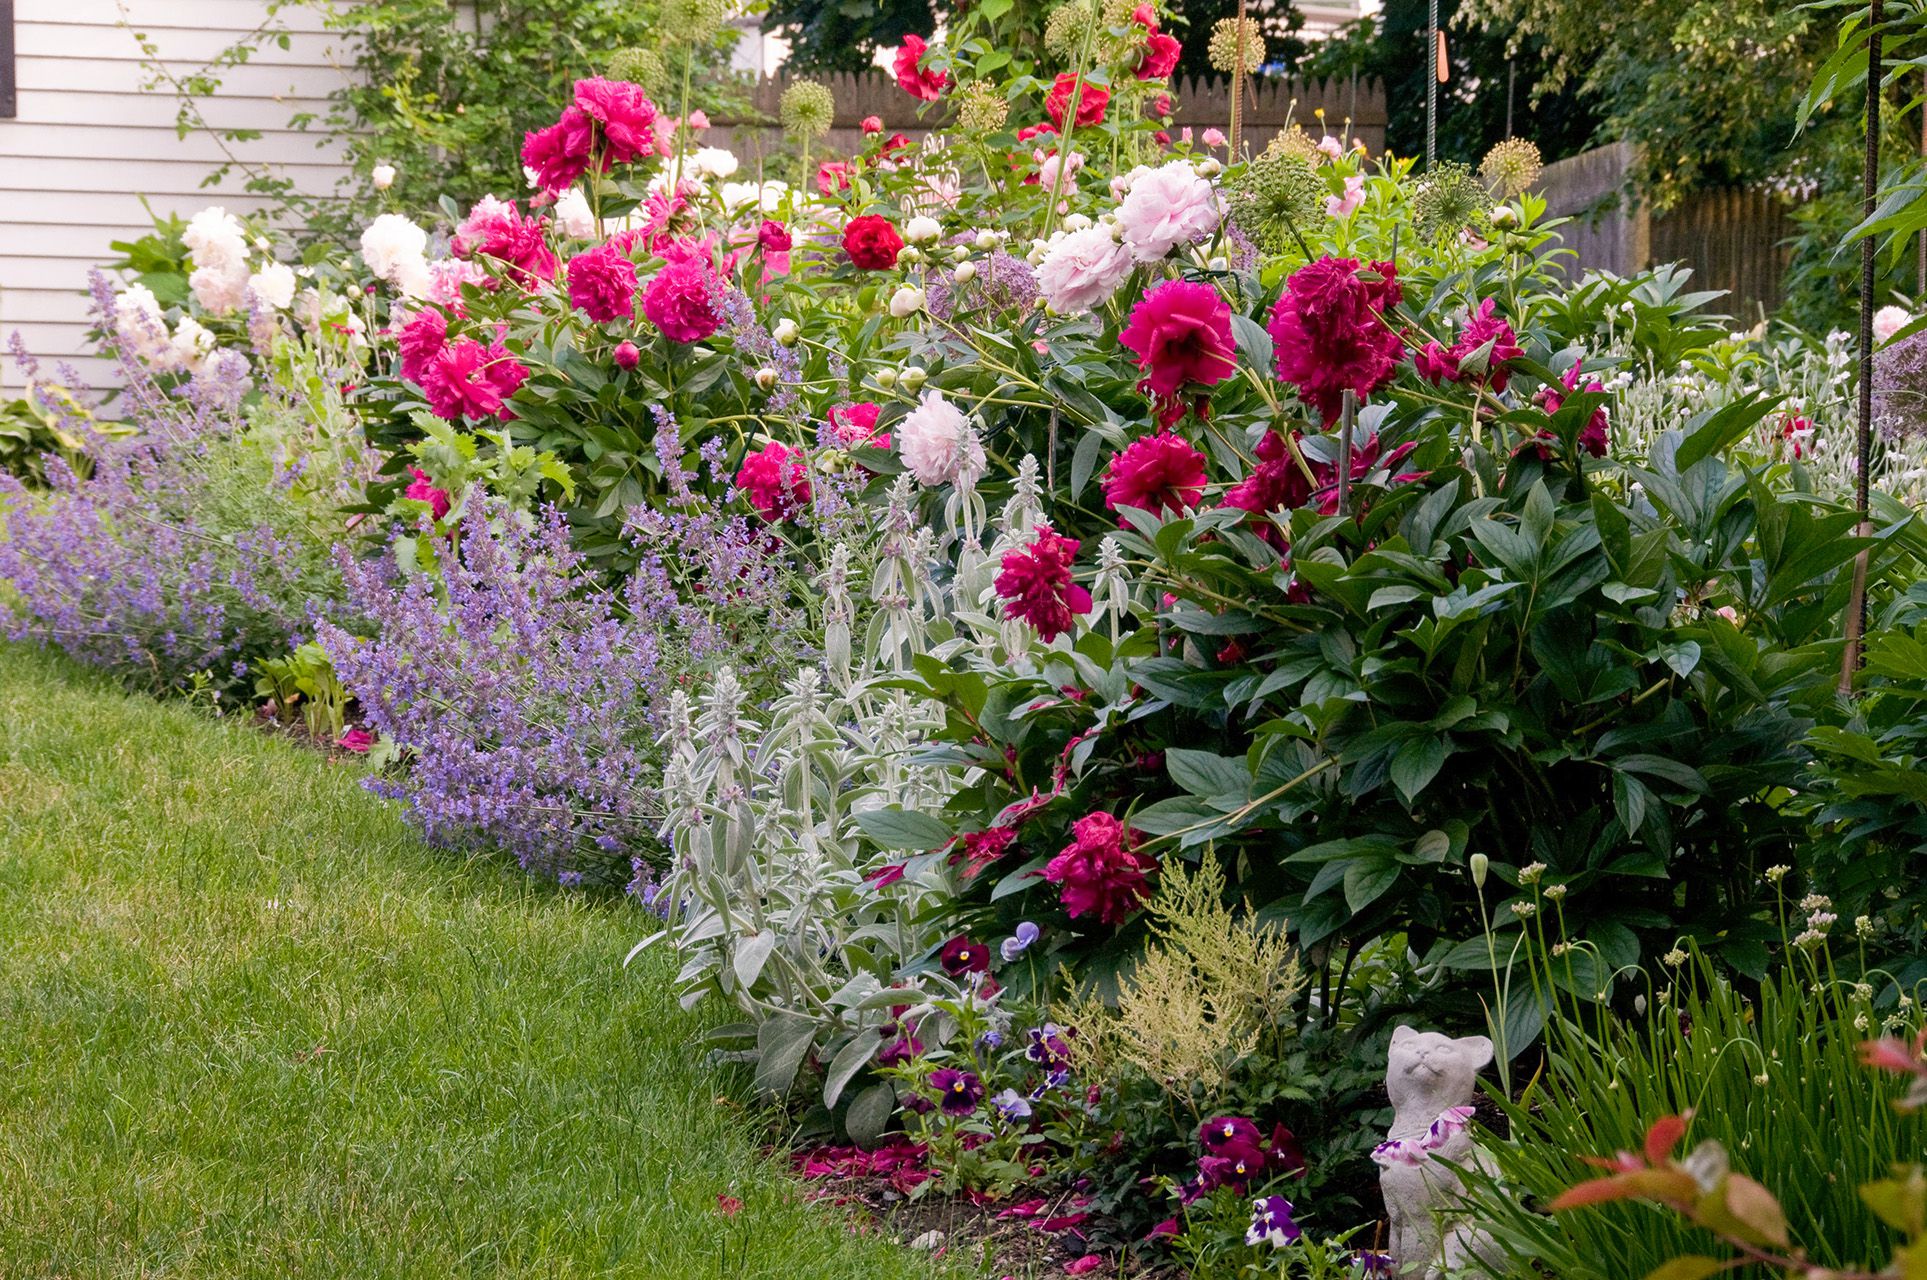
A colorful flower garden isn’t luckit’s a plan with dirt under its fingernails. The trick is to plant flowers
the way a DJ builds a set: start strong, keep the energy up, and don’t let the vibe die in mid-summer.
With the right mix of annuals, perennials, bulbs, and bloom timing, you can have color from early spring
to frost… without needing to take out a second mortgage at the garden center.
This guide walks you through how to plant flowers for maximum color, how to prep your soil so plants actually
want to live there, and how to keep blooms coming (instead of watching everything peak for two glorious weeks
and then ghost you).
Start With a Color Game Plan (So Your Garden Doesn’t Look Like a Clearance Rack)
Pick a color scheme you can repeat
Color is easier to manage when you choose a “rule” and then break it only on purpose. Try one of these:
- Analogous colors (neighbors on the color wheel): pink–purple–blue for a calm, blended look.
- Complementary colors (opposites): purple + yellow, blue + orange for high contrast that pops.
- Monochrome: all-white, all-purple, or all-redthen add texture with leaf shapes and heights.
- Warm vs. cool zones: reds/oranges up front (feel “closer”), blues/purples in back (feel “farther”).
Use foliage as your “background paint”
Flowers come and go. Leaves stick around. For reliable color between bloom waves, mix in plants with
interesting foliage: chartreuse coleus, silver dusty miller, burgundy heuchera, blue fescue, or variegated
hostas. Think of foliage as the stage lightingyour blooms are the performers.
Design for layers (aka: don’t hide your best stuff)
A simple height formula makes almost any bed look better:
- Back: tall plants (3–6 ft) مثل sunflowers, hollyhocks, tall zinnias, or ornamental grasses
- Middle: medium plants (1–3 ft) مثل coneflowers, salvias, rudbeckia, dahlias
- Front: low edging plants (under 1 ft) مثل alyssum, pansies, calibrachoa, dwarf marigolds
Choose Flowers That Actually Thrive Where You Live
Use your USDA Hardiness Zone (especially for perennials)
If you plant perennials that aren’t hardy in your region, they’ll treat winter like a season finale.
Use the USDA Plant Hardiness Zone Map to pick perennials rated for your zone (or colder), then use
annuals for the “extra credit” color. Zones are based on average annual extreme minimum winter temperature,
so they’re most useful for perennial survival.
Match plants to sunlight, not your dreams
Many “sad gardens” are just “wrong-light gardens.” Before shopping, check how much sun your bed gets:
- Full sun: 6+ hours/day (best for zinnias, marigolds, petunias, salvia, coneflower)
- Part sun/part shade: 3–6 hours/day (great for impatiens varieties that tolerate sun, begonias, some hydrangeas)
- Shade: under 3 hours/day (hostas, ferns, heuchera, shade begonias, impatiens)
Plan for season-long bloom (the secret sauce)
A garden full of color happens when you mix bloom times. Use this simple “relay race” approach:
- Early season: pansies/violas, daffodils/tulips, bleeding heart, early irises
- Midseason: salvias, peonies, daylilies, coreopsis, coneflowers
- Late season: asters, sedum, mums, ornamental grasses, late zinnias and cosmos
Pro tip: if you want color that doesn’t quit, sprinkle in long-blooming annuals (zinnias, marigolds,
cosmos, petunias) and “repeat bloomers” among perennials (some salvias, certain roses, and other varieties
bred for rebloom).
Prep the Soil Like You Mean It (Because Flowers Aren’t Magic)
Do a soil test (your garden’s report card)
If you’re guessing at pH and nutrients, you’re basically feeding your garden like a toddler feeds a doll:
enthusiastic, but not effective. A soil test helps you figure out what your soil needsespecially pH and
whether you should add lime or specific nutrients. When sampling, collect soil from the root zone area
(often around 6–8 inches deep for many garden plants), remove mulch/roots, and follow your local lab’s directions.
Add organic matter (compost is garden confidence)
Most flowering plants prefer loose, well-drained soil with plenty of organic material. Compost improves
soil structure, helps it hold moisture (without becoming swamp soup), and supports the soil life that makes
nutrients available to plants. Mix compost into the soil before plantingespecially in new or compacted beds.
Fix drainage before you plant
If water sits for hours after a rain, you’ve got a drainage problem that can rot roots. Improve heavy soil
by adding compost and loosening the bed. For chronically wet spots, consider a raised bed or plant flowers
that tolerate moisture.
Mulch for color longevity (and fewer weeds trying to steal the show)
Mulch helps conserve moisture, moderates soil temperature, and reduces weed competition. Keep mulch off plant
crowns and stemsno “mulch volcanoes,” please. Your flowers want air, not a dirt blanket pulled over their faces.
How to Plant Flowers Step-by-Step
Step 1: Lay out your bed and plants before digging
Outline the bed with a garden hose or marking paint, then place pots on top of the soil in the arrangement
you want. This lets you see spacing, height, and color balance before you commit.
Step 2: Plant at the right time
Timing depends on what you’re planting:
- Cool-season annuals (pansies/violas) can handle chillier weather and go in earlier.
- Warm-season annuals (zinnias, marigolds, basil’s decorative cousins) prefer warm soil and frost-free nights.
- Perennials often do well planted in spring or fall so roots can establish before extreme heat or deep cold.
Step 3: Harden off seedlings (don’t yeet indoor plants into full sun)
If you started flowers indoors or bought tender greenhouse transplants, acclimate them to outdoor conditions.
Over about 1–2 weeks, gradually increase their time outside, sun exposure, and wind exposure. This reduces transplant shock.
Step 4: Dig the right hole (wider beats deeper)
For most container-grown plants, dig a hole about as deep as the root ball and wider than it, so roots can
spread into loosened soil. Place the plant at the same depth it was in the pot (burying the stem too deep can
stress many flowers).
Step 5: Tease roots, plant, and water deeply
- Remove the plant from its pot and gently loosen circling roots.
- Set the plant in the hole at the same soil level as in the container.
- Backfill, firm gently (don’t compact like you’re installing a paver patio).
- Water deeply to settle soil and remove air pockets.
Step 6: Space for growth, not for day-one cuteness
Crowding leads to poor airflow, more disease, and plants competing for water. Follow plant tags for spacing.
If you want a “full look” fast, cluster the same flower in groups of 3–7, but still respect spacing.
Keep the Color Coming All Season
Water smart (deep beats frequent sprinkles)
Shallow daily watering trains roots to stay near the surfaceright where soil dries out fastest.
Instead, water deeply and less often so moisture reaches several inches down. New plantings may need more
consistent watering until established, especially in summer heat.
Deadhead like it’s your garden’s haircut appointment
Many flowering plants bloom more if you remove spent flowers. Deadheading improves appearance, can reduce disease
risk on fading blooms, and encourages some plants to set new buds rather than focusing on seed production.
Some annuals are “self-cleaning” (they drop old blooms on their own), while others benefit from regular snips.
Use light feeding, not heavy-handed fertilizing
If your soil is enriched with compost, you may not need much fertilizer. Too much nitrogen can give you lush
leaves and fewer flowers (congrats on your new “leaf garden”). If plants look pale or growth stalls, use a balanced
fertilizer according to label directionsespecially for heavy bloomers in containers.
Plant in waves (succession planting)
If you want nonstop color, don’t plant everything once and hope for the best. Try this:
- Wave 1 (spring): pansies + spring bulbs
- Wave 2 (late spring/early summer): petunias, salvias, marigolds
- Wave 3 (mid-summer refresh): add zinnias/cosmos or replace tired annuals in high-heat spots
- Wave 4 (late summer/fall): mums, asters, ornamental kale, late-season annuals
Colorful Garden “Recipes” You Can Copy
Sunny, bold, and pollinator-friendly
- Back: sunflowers or tall zinnias
- Middle: purple salvia + yellow rudbeckia
- Front: orange marigolds + white alyssum edge
Why it works: complementary colors (purple/yellow) pop, and the mixed heights create instant structure.
Soft cottage palette (part sun)
- Back: pale pink or white hydrangea (if suited to your zone/light)
- Middle: lavender catmint + blush coneflowers
- Front: white impatiens (shade pockets) + silver dusty miller
Why it works: cool/neutral tones feel calm; silver foliage keeps things bright even when blooms pause.
Shade that still looks alive (yes, it’s possible)
- Structure: hostas (variegated if possible) + ferns
- Color punch: begonias + impatiens
- Accent foliage: heuchera in burgundy or lime
Why it works: shade beds rely on foliage contrast; flowers become the bonus, not the only plan.
Common Mistakes That Steal Your Color (And How to Fix Them)
-
Planting everything that’s in bloom at the store:
It looks amazing todayand then you get a two-week peak. Fix it by choosing bloom times on purpose. -
Ignoring spacing:
Crowding invites mildew and sad, floppy stems. Give plants room; your future self will thank you. -
Skipping soil prep:
Flowers can’t “power through” compacted, nutrient-poor soil. Compost and loosening soil are non-negotiable. -
Overwatering or underwatering:
Both can reduce blooms. Water deeply, check soil moisture, and mulch. -
Forgetting maintenance:
Deadheading and occasional trimming keep many flowers blooming longer.
Experience Notes: What Gardeners Learn After the First Season (500+ Words)
Every colorful garden has a “before” and “after.” The “before” is when you think planting flowers is the whole
job. The “after” is when you realize planting is the opening actand the main show is what happens in the next
12 weeks. Here are real-world patterns gardeners commonly report once they’ve chased color through at least one
full growing season.
1) The garden center is a highlight reel, not a forecast. It’s easy to buy whatever is blooming
brightest in May and assume your flower garden will look like that forever. But retail bloom timing is curated.
Those flats of petunias and marigolds are ready to party immediately; many perennials are still warming up.
Gardeners often learn to shop for “future blooms,” not just current colorespecially when building a bed meant
to peak at different times.
2) Foliage is your insurance policy. Flowers are the fireworks. Foliage is the power grid.
In real gardens, heat waves, storms, and skipped watering sessions happen. When blooms pause, gardeners who added
chartreuse, burgundy, silver, or variegated leaves still have a bed that looks designed instead of deserted.
Many people end up saying the same thing after summer: “Next year I’m planting more foliage plants.”
3) Deadheading feels annoyinguntil you see the difference. Gardeners regularly notice that a
quick, consistent “snip routine” keeps certain flowers producing. Marigolds, salvias, snapdragons, and many
perennials often respond well. The first season teaches an important truth: you don’t have to deadhead everything,
but you do want to deadhead the plants that reward you for it. After a few weeks, it becomes less like chores and
more like editingremoving the parts that are done so the next scene can happen.
4) Watering strategy matters more than watering effort. Many gardeners start with frequent,
shallow watering because it “feels helpful.” Then they notice plants wilting faster in hot weather and becoming
dependent. Over time, a deeper watering pattern (and mulch!) often produces sturdier plants, better bloom performance,
and less dramatic midday droop. The lesson: it’s not just waterit’s where the water goes.
5) The mid-summer “dip” is normaland fixable. Beds often look their best in early summer, then
hit a messy stage when heat builds and spring bloomers fade. Gardeners learn to plan a mid-season refresh: trim leggy
plants, replace tired annuals in a few spots, and add late-season bloomers. That’s when succession planting stops
being a cute theory and becomes the reason your garden still looks great in August.
6) Small repetition looks more “pro” than one of everything. A common first-year move is to buy
one of each pretty flowerlike collecting Pokémon, but with watering cans. The result can look scattered. Over time,
gardeners learn that repeating the same plant in groups creates calmer, more intentional color blocks. It also makes
maintenance easier because you’re caring for fewer “personality types.”
7) Your microclimate is sneaky. A sunny spot near a wall can be hotter and drier. A low area can
hold moisture. A corner under a tree can be shade plus root competition. Gardeners usually discover microclimates by
watching which plants thrive and which ones sulk. The second season gets better because the bed design starts matching
reality, not just the plant tag.
Conclusion: Your Colorful Flower Garden Plan in One Sentence
Plant flowers for a garden full of color by combining a simple color scheme, layered design, the right plants for your
USDA zone and sunlight, compost-rich soil, smart watering, and bloom-extending habits like deadheading and succession planting.
Do that, and your garden won’t just have colorit’ll have encore performances.