Some Halloween decorations scream “luxury haunted mansion.” Others look as though they escaped from a seasonal clearance bin and are now questioning their life choices. Chicken wire ghosts occupy the magical middle ground: they can look impressively eerie, yet the basic materials are inexpensive, reusable, and available at most hardware stores.
The secret is the nearly invisible structure. In daylight, a shaped chicken wire figure resembles a silvery sculpture. After dark, the mesh fades into the background, especially when illuminated from below, leaving behind the ghostly outline of a floating person. Add a breeze, a little fog, or one neighbor who is easily startled, and your budget decoration suddenly becomes the star of the yard.
This guide explains how to make chicken wire ghosts for cheap using simple household objects as molds. You will learn how to form the head, torso, arms, and flowing skirt; connect the pieces securely; prevent sharp-wire surprises; anchor the sculpture outdoors; and add lighting without turning your yard into an electrical cautionary tale.
Core construction methods synthesized from major U.S. DIY tutorials.
Why Chicken Wire Makes Such Convincing Ghosts
Chicken wire, also called poultry netting, is lightweight steel mesh formed into flexible hexagonal openings. It bends by hand, holds a three-dimensional shape, and allows most light to pass through it. Those qualities make it ideal for creating transparent Halloween yard decorations.
Galvanized poultry netting is especially useful because its zinc coating provides some protection against rust. It is still light enough to cut with standard wire cutters and flexible enough to shape around balls, buckets, trash cans, broom handles, or other objects you already own.
A single ghost can often be completed for roughly $15 to $35 when you buy the main supplies. The cost drops when you already have gloves, pliers, garden stakes, zip ties, or leftover wire. You can also reuse the molds because the ball, bucket, and broom handle are removed before the final assembly. Your household objects merely volunteer as temporary paranormal models.
Poultry netting is commonly sold as lightweight, flexible galvanized mesh suitable for craft projects.
Materials and Tools
Essential supplies
- One roll of galvanized chicken wire or poultry netting
- Heavy-duty work gloves
- Safety glasses
- Wire cutters or aviation snips
- Needle-nose pliers
- Small zip ties, floral wire, or thin utility wire
- A ball, round planter, foam head, or bundled newspaper for the head mold
- A trash can, storage bin, dress form, or large planter for the torso mold
- A broom handle, baseball bat, pool noodle, or mailing tube for the arms
- Garden stakes, landscape staples, rebar, or metal rods for anchoring
Optional finishing supplies
- Outdoor-rated LED string lights or battery-operated fairy lights
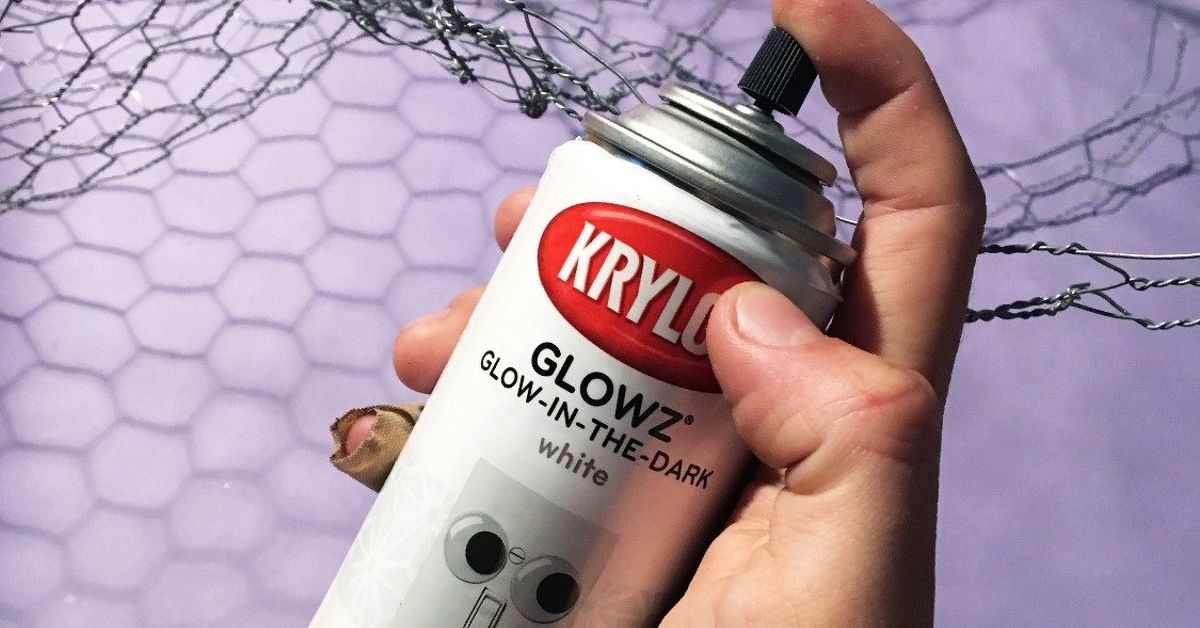
- White, gray, or glow-in-the-dark spray paint suitable for the wire surface
- Scraps of cheesecloth, gauze, tulle, or thin white fabric
- Clear outdoor sealer compatible with metal
- Fishing line for suspended hands or lightweight accessories
- A spotlight for dramatic nighttime illumination
How to Spend Less on the Project
The cheapest chicken wire ghost is rarely made by purchasing a cart full of products labeled “Halloween.” Start in the garage, recycling bin, garden shed, or closet. An upside-down wastebasket makes an excellent torso mold. A ball can shape the head. A rolled bath towel inside a plastic bag can substitute for a foam head, while a broom handle can form both arms.
Buy poultry netting by the roll rather than purchasing small craft sheets. A two- or three-foot-wide roll with one-inch openings is generally easy to control. Wider fencing can be economical, but it is more awkward to unroll and tends to behave like a metallic spring with unresolved anger issues.
For fasteners, use the cut ends of the mesh whenever practical. Small zip ties are convenient, but dozens of them are unnecessary when neighboring wire edges can be twisted together with pliers. Save trimmed scraps as connectors, finger supports, hanging loops, or repairs.
Safety First: Chicken Wire Bites Back
The cut edges of poultry netting are sharp enough to scratch or puncture skin. Wear sturdy gloves that resist cuts and abrasions, along with safety glasses in case a clipped wire end springs upward. Long sleeves are also helpful, particularly while wrapping large sections around a torso mold.
Open the roll on a clear, flat work surface. Place a brick, scrap board, or other weight on the loose end so it does not curl back unexpectedly. Keep children and pets away from the cutting area, and collect every clipped piece of wire before anyone walks through the space.
After each section is joined, bend sharp points inward with needle-nose pliers. Do not leave exposed ends around the face, hands, lower hem, or any area people may touch. The finished decoration should be spooky because it looks supernatural, not because visitors require a tetanus discussion.
OSHA guidance identifies sturdy leather, canvas, or similar gloves as protection when handling sharp materials such as wire.
How to Make a Chicken Wire Ghost Step by Step
1. Choose the ghost’s size and pose
Before cutting anything, decide whether your ghost will be standing, leaning, reaching, kneeling, or floating. A four- to five-foot figure is large enough to be visible from the street but easier to stabilize than a full six-foot sculpture.
Sketch a simple silhouette or pose in front of a mirror. Curved arms and a slightly tilted head usually look more expressive than a perfectly upright figure. Ghosts are allowed to have terrible posture; it is practically part of the job description.
Estimate the major sections before cutting:
- One piece for the head and neck
- One large piece for the shoulders and torso
- One or two pieces for the lower skirt
- Two narrow pieces for the arms
- Optional small pieces for hands, sleeves, or repairs
2. Form the head
Cut a rectangular section of chicken wire large enough to wrap loosely around your chosen head mold. Center a ball, rounded planter, or bundled newspaper on the mesh. Pull the chicken wire around the mold and gently press it into a rounded shape.
Overlap the wire at the back of the head. Twist several matching cut ends together or secure the overlap with small wire ties. Pinch the lower portion inward to form a neck, but leave a few inches of mesh below it for attaching the head to the shoulders.
Remove the mold carefully. Refine the face with your hands, creating a forehead, chin, or slightly hollow cheeks. Avoid excessive detail. At night, the outline matters more than anatomically correct cheekbones.
3. Shape the torso
Wrap a larger piece of mesh around a trash can, storage bin, dress form, or wide planter. Position the wire so it creates shoulders at the top and extends below the waist. Overlap the back edges by several inches and twist them together loosely.
Slide the torso form off the mold. Press inward at the waist and flatten the upper sides slightly to suggest shoulders. The torso does not need to be solid or perfectly symmetrical. A small bend in the spine can make the ghost appear to drift forward.
For a narrower figure, overlap more mesh at the back. For a wider figure, add a second partial layer across the chest and shoulders. Reinforce only the areas that need structure; too many layers make the sculpture heavy and more visible in daylight.
4. Create the arms
Cut two narrow rectangles of chicken wire. Wrap each piece around a broom handle, baseball bat, pool noodle, or cardboard tube. Overlap the long edges and twist them together to create hollow cylinders.
Slide the arm forms off the mold, then bend each cylinder at the elbow. Flatten one end slightly for the shoulder connection. At the other end, taper the mesh to suggest a wrist.
Simple mitten-shaped hands are enough for most displays. For fingers, cut short narrow strips of mesh, roll them into small tubes, and connect them at the wrist. Detailed hands require patience, so do not attempt ten individually perfect fingers unless you enjoy arguing with wire.
5. Build the flowing lower body
The lower section creates the floating effect. Wrap a wide piece of chicken wire into a loose cone or skirt, keeping the waist narrow and the bottom broad. Overlap and connect the back seam.
Another effective method is to fold long strips of mesh into shallow accordion pleats. Attach the upper cut edges around the waist, allowing the lower sections to flare outward. Irregular folds create movement and prevent the ghost from looking like it is wearing a rigid lampshade.
Vary the length of the lower edge. Cut several high curves and long trailing points, then fold every sharp end inward. Leave enough width at the base to stabilize the figure, but avoid an enormous skirt that catches every autumn gust like a haunted sailboat.
6. Assemble the head, torso, and skirt
Insert the neck section into the upper torso. Secure it at several points around the shoulders with wire tails, floral wire, or zip ties. Check the head angle from the front and side before tightening all connections.
Attach the skirt to the bottom of the torso. Overlap the two sections by several inches and connect them at regular intervals. Add reinforcement at the front, back, and sides so the weight is distributed rather than hanging from one small section.
Step back frequently. A ghost that looks elegant from twelve inches away may resemble a nervous chicken from the sidewalk. Adjust the waist, shoulder width, and head tilt until the full silhouette feels balanced.
7. Attach and pose the arms
Connect each upper arm near the shoulder with several twisted wires or zip ties. A broad attachment area is stronger than one tight connection. Bend the arms into the desired pose after they are attached.
For a reaching ghost, place one arm slightly higher than the other and curve the wrist downward. For a floating bride or dancing figure, extend the arms outward and support the hands with clear fishing line attached to a tree branch, shepherd’s hook, or hidden stake.
Use small leftover pieces of mesh to build up shoulders or create ragged sleeves. Additional layers near the joints also hide fasteners and strengthen areas that may flex in the wind.
8. Refine the silhouette
Examine the figure against a dark wall or shaded background. Press or pull the mesh to clarify the head, shoulders, waist, elbows, and lower folds. Make the rear of the sculpture flatter if it will stand close to a fence or wall.
Do not chase perfection. Slight asymmetry creates the impression of motion, while perfectly matched arms can make the figure look like a department-store mannequin waiting for a manager.
9. Add fabric or paint sparingly
A bare chicken wire ghost often produces the best transparent effect. If you want more visibility during the day, mist selected areas with white or light gray paint. Concentrate on the face, shoulders, hands, and folds rather than covering the entire sculpture.
Use a coating specifically compatible with galvanized metal, and follow the manufacturer’s preparation and ventilation instructions. Some general-purpose paints do not adhere properly to galvanized surfaces without a suitable bonding primer.
You can also attach narrow strips of cheesecloth, gauze, tulle, or weathered white fabric. Keep the material loose and sparse. Thick fabric hides the mesh structure and increases wind resistance, transforming your graceful apparition into a damp laundry problem after the first rain.
Coating manufacturers recommend compatible primers for galvanized steel and outdoor or well-ventilated application conditions.
10. Anchor the ghost securely
Drive one or two garden stakes, metal rods, or lengths of rebar into the ground. Slide the ghost over the supports and secure the mesh to them at the shoulders, waist, and lower body. Use landscape staples to pin the skirt to the soil in several places.
For a porch or hard surface, attach the sculpture to a weighted planter, umbrella stand, wood base, or bucket filled with gravel. Keep the supports hidden inside the body.
Test the installation by gently pushing the shoulders from different directions. If the ghost twists, leans, or attempts to relocate to the neighbor’s yard, add another anchor. Bring the sculpture indoors during severe weather.
11. Light the ghost for maximum impact
Place an LED spotlight on the ground and aim it upward through the chicken wire. White light produces a classic spirit, blue creates a cold moonlit effect, and pale green delivers old-fashioned haunted-house drama.
Battery-powered LED fairy lights can be loosely attached inside the torso or wrapped around the internal support stake. Keep the bulbs distributed rather than forming one bright knot in the chest. Apparently, even ghosts can suffer from unflattering lighting.
Only use lights and extension cords rated for the intended indoor or outdoor location. Inspect light strands for damaged sockets, bare wires, frayed insulation, or loose connections. Do not overload extension cords, and keep cords away from walkways and standing water.
U.S. safety guidance recommends tested decorative lights, inspection for damaged wiring, and avoiding overloaded extension cords.
Cheap Design Variations
A small porch ghost
Use a mixing bowl for the head, a wastebasket for the body, and a shorter skirt. A two- to three-foot figure needs less wire and is easy to anchor inside a planter.
A ghostly couple
Make two simplified figures from the same roll. Pose them facing one another or holding hands. The second sculpture can be narrower and use fewer layers, allowing the pair to look intentional without doubling the material cost.
A seated spirit
Shape the torso over a bin, then bend and flatten the skirt across an outdoor chair. Secure the wire directly to the chair with removable ties. Add a tilted head and one extended arm for a scene that looks pleasantly unsettling.
A floating child ghost
Reduce every section and omit detailed hands. Raise the figure on a hidden stake so the skirt sits above the ground. Several small ghosts grouped together can create more visual impact than one complicated sculpture.
A weathered cemetery ghost
Add a few narrow strips of gauze, position the sculpture behind a homemade tombstone, and light it from the side. Side lighting emphasizes the mesh edges and creates longer, stranger shadows.
Common Problems and Easy Fixes
The head keeps collapsing
Add a second partial layer around the neck and back of the skull. Reinforce the connection between the neck and shoulders, which carries much of the head’s weight.
The arms droop
Twist a length of thicker utility wire through the arm from shoulder to wrist. You can also suspend the hand with fishing line or attach it to a hidden garden stake.
The figure looks too solid
Remove unnecessary overlapping mesh. Reserve double layers for joints and structural areas. Strong directional lighting will also help the open sections visually disappear.
The ghost blows over
Add a second internal stake and pin the lower edge in at least three places. Reduce large fabric panels and turn the figure slightly so its widest area does not face the prevailing wind.
The wire shines too brightly during the day
A very light mist of matte white, gray, or compatible dulling paint can reduce glare. Test a scrap first, because heavy paint makes the mesh more obvious at night.
Experience Notes: What Usually Makes the Second Ghost Better
The most common hands-on experience with this project is that the chicken wire initially seems easier to control than it actually is. A flat piece looks harmless. Once cut from the roll, it curls, catches on sleeves, and tries to return to its original shape. The simplest improvement is to cut smaller sections and work on one body part at a time. Weighing down the roll also prevents half the project from springing across the garage like a metallic tumbleweed.
Another lesson is that convenient household molds usually work better than realistic body forms. A trash can produces a clean torso that can be narrowed and reshaped after removal. A round ball forms a smoother head than trying to sculpt the face entirely by hand. Builders sometimes spend too much time searching for a mannequin, only to discover that a recycling bin and an old soccer ball have already assembled an excellent low-budget cast.
Leaving extra material around every connection is also useful. Trimming each piece to its exact final size may feel efficient, but it removes the wire tails needed to join sections. It is easier to overlap the neck, shoulders, waist, and arms generously, secure the parts, and trim the excess later. The leftover points can be twisted into the neighboring mesh, producing strong connections without additional hardware.
During shaping, the figure often looks disappointing until the arms and head are posed. A plain wire cylinder does not immediately read as a person. The transformation happens when the shoulders slope, the waist narrows, one elbow bends, and the head turns slightly away from center. A dramatic pose is more important than small facial details. From the street, viewers notice the gesture long before they admire your expertly pinched wire nose.
Lighting creates another major before-and-after moment. Lights wrapped tightly around the body reveal the wire and make the ghost look like a glowing fence. A spotlight placed several feet away generally creates a cleaner illusion. Aiming the light upward from one side produces shadows, bright edges, and darker gaps. Testing the display after sunset is essential because a sculpture that looks beautifully transparent in one location may disappear completely against a bright porch or pale garage door.
Wind is the problem most likely to appear after the project seems finished. The open mesh allows air through, but the broad skirt and any added fabric still create resistance. A single center stake may stop the ghost from falling while allowing it to spin. Two separated stakes control rotation, and landscape staples hold the lower folds in position. Fabric should be attached in narrow strips rather than one large sheet so it flutters without pulling the whole sculpture sideways.
Storage deserves consideration during the original build. A heavily reinforced ghost may survive a storm but occupy half a shed. Figures made in separate head, torso, arm, and skirt sections can be disconnected and nested after Halloween. Labeling the connection points with small reusable ties makes assembly easier the following year. Minor dents are not a disaster; chicken wire can be pushed back into shape, and a slightly battered ghost often looks more convincingly ancient.
Finally, the best-looking displays usually include restraint. Extra fabric, paint, chains, lights, fake moss, and accessories can all be effective, but adding everything at once hides the quality that makes chicken wire ghosts special: the body seems to vanish. Start with the transparent sculpture, secure it, and study it at night. Add only what improves the silhouette. Cheap Halloween decor looks expensive when the effect is deliberate, not when every craft supply in the house has been asked to participate.
Conclusion
Learning how to make chicken wire ghosts for cheap is mostly an exercise in smart shaping. Use common household objects as reusable molds, divide the sculpture into manageable sections, reinforce only the important joints, and spend extra time on the pose. A curved arm and tilted head will contribute more atmosphere than an expensive collection of accessories.
Once the figure is shaped, bend every sharp edge inward, anchor the base securely, and illuminate it with properly rated LED lights. The finished ghost can remain bare for an almost invisible nighttime effect or receive a few scraps of gauze for added movement. Either way, you get a large DIY Halloween yard decoration without paying life-size animatronic pricesor finding somewhere to store a seven-foot plastic monster that screams whenever the garage door opens.