A quiet bicycle wheel is a tiny miracle. It spins, coasts, corners, and carries you over potholes with the confidence of a waiter balancing soup on roller skates. But when the wheel bearings dry out, get contaminated, or fall out of adjustment, that smooth ride can turn into grinding, wobbling, and the kind of mystery noise that makes every cyclist stare suspiciously at the rear wheel.
This guide explains how to grease bicycle wheel bearings in five practical steps, with a focus on traditional cup-and-cone hubsthe serviceable style found on many commuter bikes, older road bikes, BMX bikes, and plenty of Shimano-style hubs. Modern sealed cartridge bearing hubs are different: you usually clean around them, add protective grease near seals where appropriate, or replace the cartridges rather than loose-pack individual ball bearings.
The good news? If your hub is serviceable, greasing bicycle wheel bearings is not wizardry. It is mostly careful cleaning, patient reassembly, and resisting the urge to tighten everything like you are sealing a submarine hatch.
Why Greasing Bicycle Wheel Bearings Matters
Wheel bearings sit inside the hub, allowing the axle and hub shell to rotate smoothly under load. Every ride exposes them to pressure, vibration, dust, water, and road grit. Grease does three important jobs: it reduces friction, protects metal surfaces from corrosion, and helps block contamination from reaching the bearing races.
When bearings are properly greased and adjusted, the wheel should spin freely without side-to-side play. When they are neglected, you may notice a gritty feeling, clicking, rough spinning, or looseness when you wiggle the rim side to side. Ignore those signs long enough and the cones or hub cups can become pitted. Once a hub cup is badly damaged, the fix may involve replacing the entire hub or wheel, which is much less fun than spending an afternoon with grease and a rag.
Cup-and-Cone Bearings vs. Sealed Cartridge Bearings
Before you start, identify your hub type. Cup-and-cone hubs use loose ball bearings or caged ball bearings running between a cup in the hub shell and a cone threaded onto the axle. These can be disassembled, cleaned, greased, and adjusted.
Sealed cartridge hubs use preassembled bearing cartridges pressed into the hub. Some riders add a light protective layer of grease around seals or replace cartridge bearings when they become rough, but they generally are not serviced the same way as loose ball bearing hubs. If your hub has cartridge bearings and you are unsure how it comes apart, check the wheel manufacturer’s instructions before applying force. Bicycle parts can be surprisingly dramatic when persuaded with the wrong tool.
Tools and Supplies You Will Need
Gather everything before removing the wheel. This makes the job cleaner, calmer, and less likely to end with you crawling under the workbench looking for one runaway bearing ball.
- Cone wrenches that fit your hub, commonly 13 mm to 17 mm
- Adjustable wrench or open-end wrench for locknuts
- Bike grease or waterproof bearing grease
- Degreaser or isopropyl alcohol for cleaning metal parts
- Clean rags or shop towels
- Small tray, magnetic bowl, or white towel to catch bearings
- Tweezers, pick, or small screwdriver for placing bearings
- Replacement ball bearings if the old ones are worn or rusty
- Nitrile gloves, because grease has a talent for becoming your new fingerprint pattern
Use a grease intended for bearings or bicycle assembly. Good bicycle grease should resist water, stay in place, and protect metal surfaces under load. Avoid using chain lube as bearing grease; chain lubricant is designed to penetrate chain rollers, not cushion hub bearings for thousands of wheel rotations.
Step 1: Remove the Wheel and Inspect the Hub
Shift the chain onto the smallest rear cog if you are working on the rear wheel. Open the brake if needed, release the quick release skewer or thru-axle, and remove the wheel from the bike. For a rear wheel, you may need to remove the cassette or freewheel to fully access the hub hardware, depending on the design.
Before disassembly, spin the axle with your fingers. A healthy hub should feel smooth. Slight resistance from seals can be normal, but grinding, notchiness, or crunchy movement usually means the grease is contaminated, the bearing adjustment is too tight, or parts are worn.
Also check for play. Hold the axle ends and gently rock them side to side. If you feel knocking or movement, the hub may be loose. If it feels tight and rough, the cones may be over-adjusted. Both conditions can shorten bearing life.
Take Photos Before You Take Things Apart
Use your phone to photograph the order of nuts, spacers, dust caps, washers, and seals. This is not cheating. This is wisdom wearing sneakers. Hub parts often look similar, and placing a spacer on the wrong side can affect axle spacing and wheel alignment.
Step 2: Disassemble the Cup-and-Cone Hub Carefully
Lay the wheel flat on a bench with the side you plan to open facing up. On many front hubs, you can open either side. On rear hubs, mechanics often leave the drive-side cone and locknut in place when possible, because the drive-side spacing affects how the wheel sits in the frame.
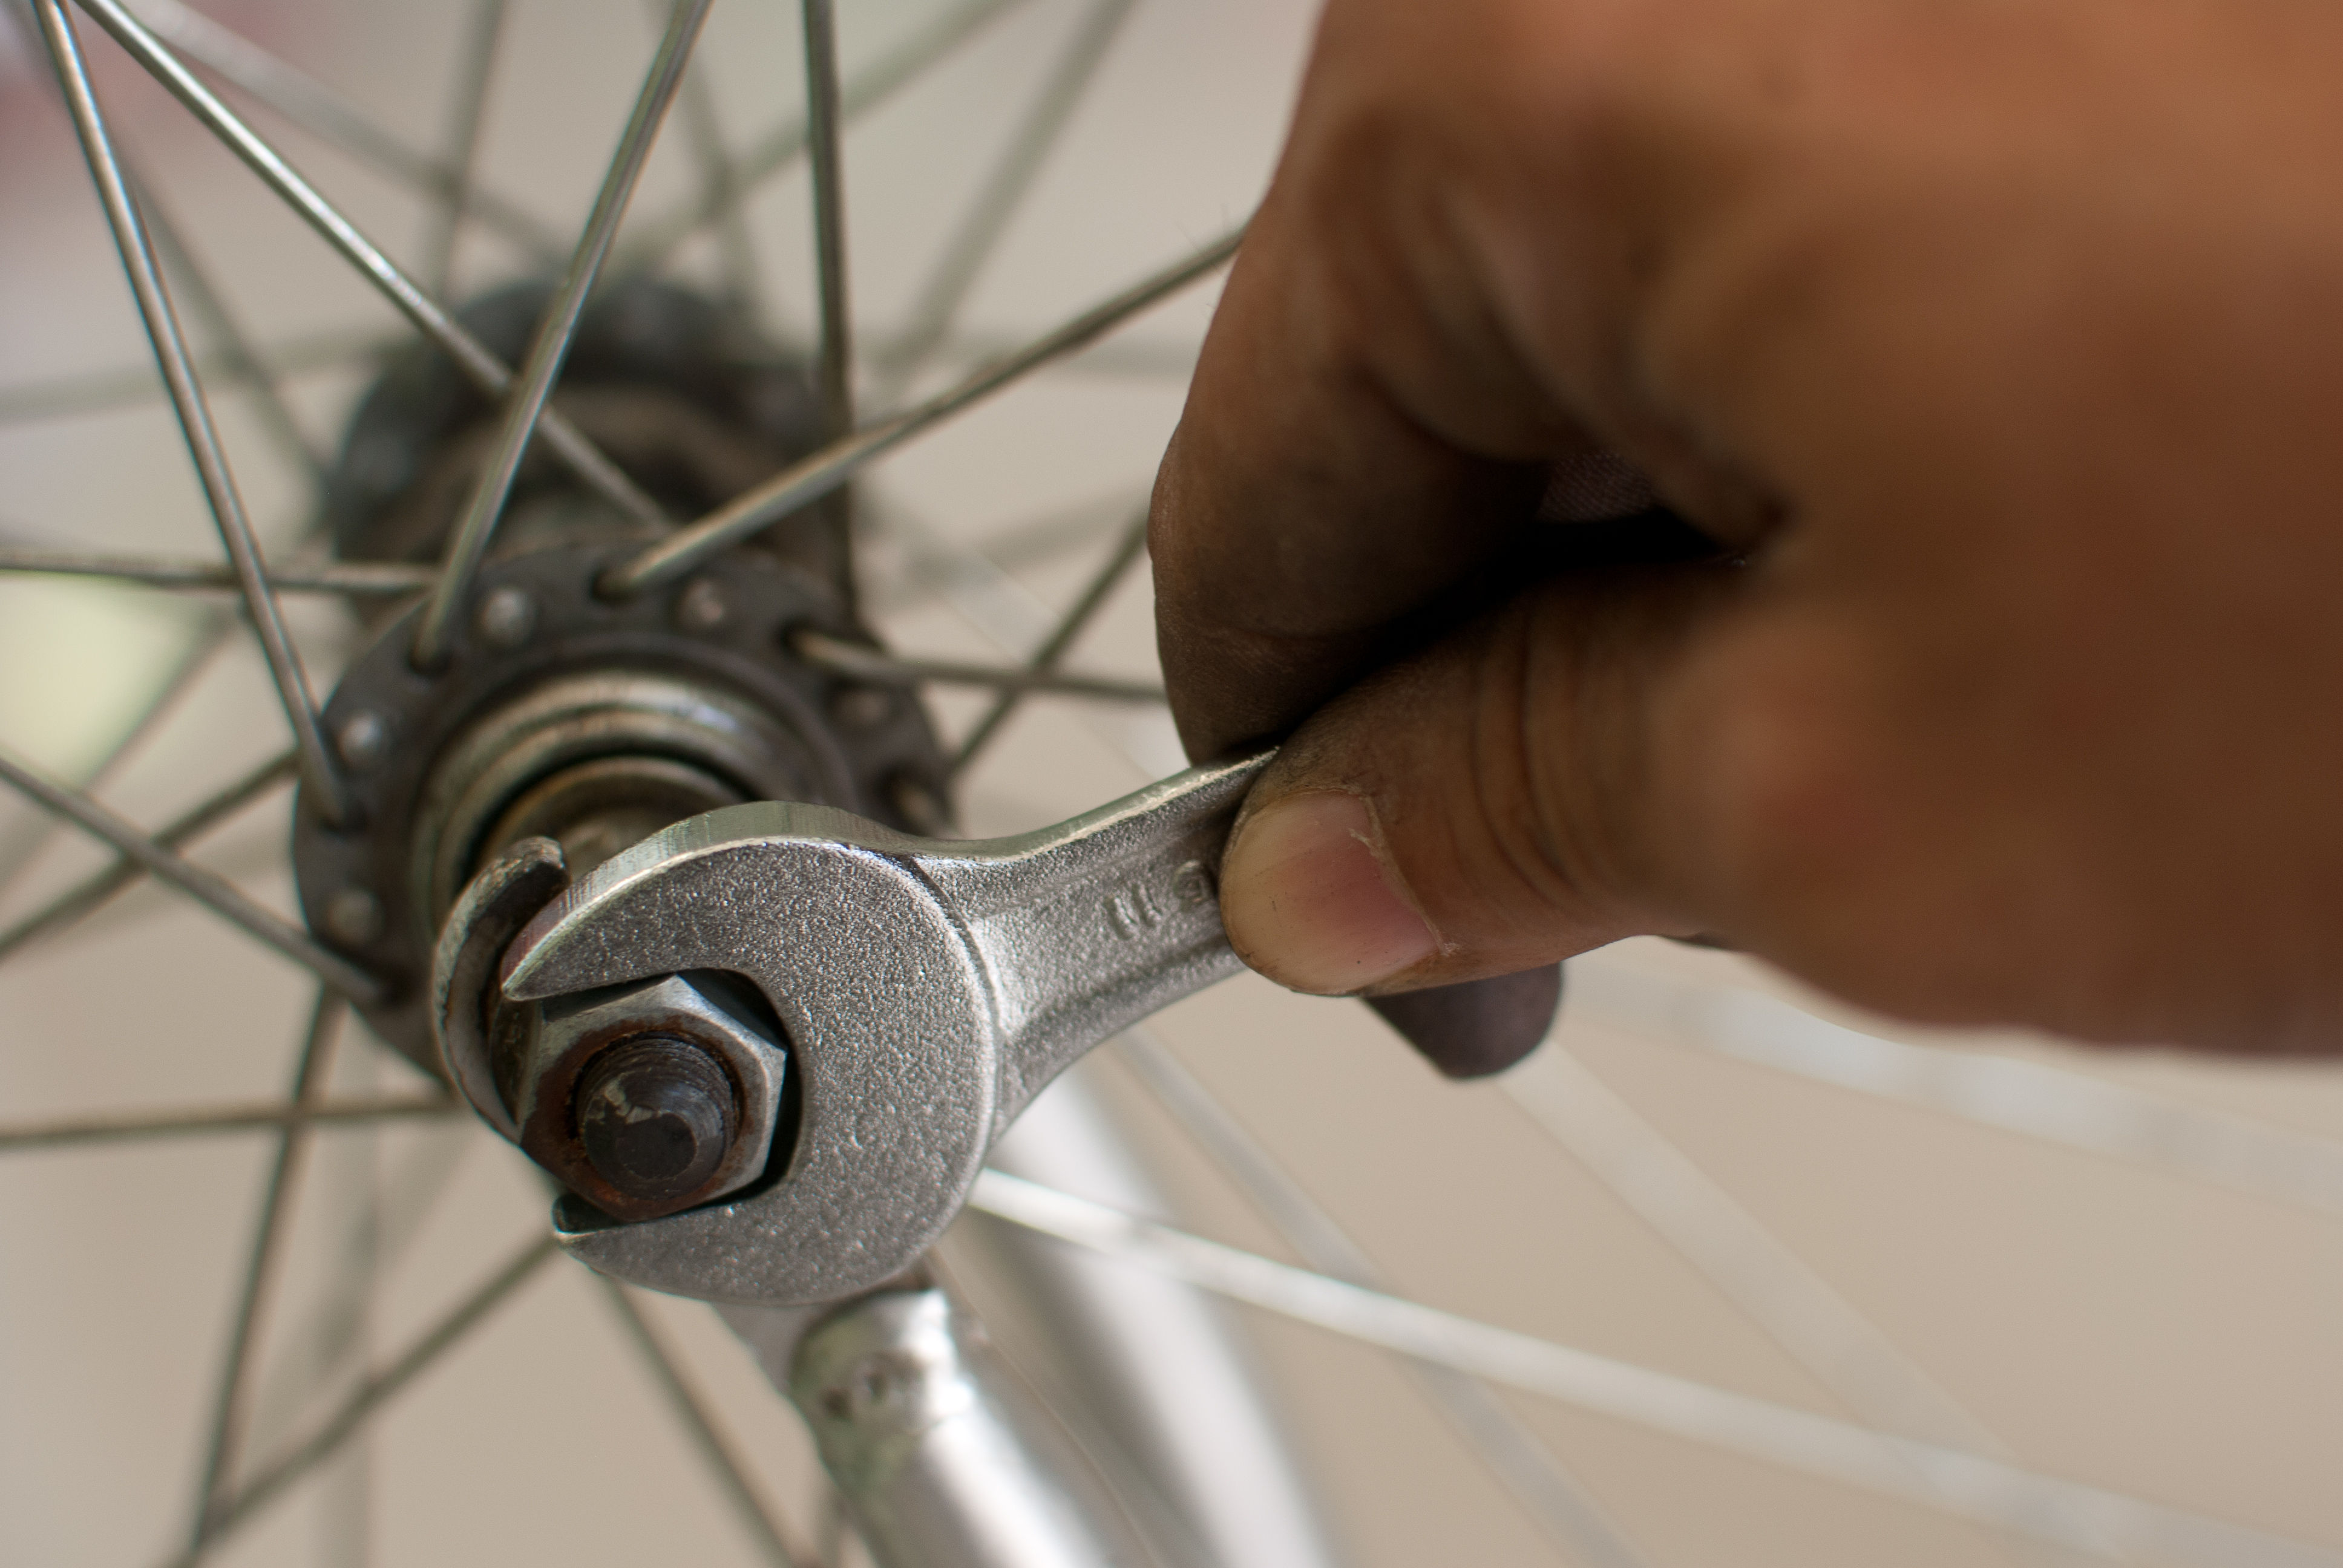
Hold the cone with the correct cone wrench and loosen the locknut with another wrench. Once the locknut is loose, remove the locknut, washers, spacers, and cone in order. Keep them arranged exactly as they came off. A small tray or a row on a clean towel works well.
Slowly slide the axle out. Be ready: loose ball bearings may drop out. Catch them in a tray or on a towel. Count the bearings on each side. Common sizes include 3/16-inch balls for many front hubs and 1/4-inch balls for many rear hubs, but do not assume. Match the existing bearing size or check the manufacturer’s specification.
If your hub uses caged bearings, note their orientation before removal. If the cage is damaged, many mechanics replace it with loose balls of the correct size, but you must use the correct count and leave enough room for the balls to roll freely.
Step 3: Clean and Inspect the Bearings, Cups, and Cones
Wipe away old grease from the axle, cones, locknuts, seals, and hub cups. Use degreaser or isopropyl alcohol on metal parts, then dry everything thoroughly. Do not spray degreaser wildly near disc brake rotors, brake pads, or rim braking surfaces. Grease and brakes are not friends. They are not even polite acquaintances.
Inspect the ball bearings. Shiny is good. Dull, rusty, flattened, chipped, or pitted is bad. Because loose ball bearings are inexpensive, replacing them during a hub service is often smart. Reusing damaged balls can quickly chew up cones and cups.
Next, inspect the cones. Look for a smooth, polished bearing track. If you see pits, grooves, or a gray rough band, replace the cone if replacements are available. Then inspect the hub cups inside the shell. This part matters because hub cups are often built into the hub. If they are badly pitted, the hub may never adjust smoothly again.
How Clean Is Clean Enough?
Clean enough means no gritty paste, no old black grease hiding in the cup, and no metal flakes. If you wipe a bearing surface with a white rag and it still leaves sparkly gray residue, keep cleaning. Grit inside a hub is basically sandpaper with a gym membership.
Step 4: Pack Fresh Grease and Reinstall the Bearings
Apply a generous layer of fresh bearing grease into each hub cup. The grease lubricates the bearing surfaces and also helps hold loose balls in place during reassembly. Place the correct number of bearings into the greased cup one by one, pressing them gently into the grease. They should sit evenly around the race.
Do not overfill the hub shell with a mountain of grease just for decoration. A healthy coating in the cups and around the bearings is the goal. Excess grease will usually push out, but huge globs can make a mess and attract dirt around seals. Think “well-packed bearing,” not “frosted cupcake.”
Once the first side is loaded, carefully slide the axle back through. Keep pressure on the axle so the bearings stay seated. Turn the wheel over and load the bearings into the other cup. Reinstall the cone, washers, spacers, and locknut in their original order.
Should You Grease the Axle Threads?
A light film of grease on metal axle threads can help prevent corrosion and make future adjustment easier. Keep grease away from braking surfaces, tire sidewalls, and disc rotors. If you accidentally touch a rotor with greasy gloves, clean it immediately with isopropyl alcohol and a clean lint-free cloth.
Step 5: Adjust the Bearing Preload and Test the Wheel
This is the step that separates a smooth hub from a hub that feels like it is full of breakfast cereal. Thread the cone down until it contacts the bearings, then back off slightly. Hold the cone in place with the cone wrench while tightening the locknut against it.
Check the axle. It should spin smoothly with no roughness. It should not bind. It also should not have obvious side-to-side play. For quick-release hubs, a tiny amount of looseness off the bike may disappear once the quick release clamps the axle in the dropouts. Over-tightening is a common mistake because quick-release compression can add preload.
Reinstall the wheel in the bike and secure it correctly. Spin the wheel. Listen for rubbing, grinding, or clicking. Hold the rim and gently move it side to side. If there is play, remove the wheel and tighten the cone slightly. If the wheel feels rough or slows too quickly, loosen the cone slightly. Small adjustments matter. A few degrees of cone movement can change the feel dramatically.
Final Safety Check
Make sure the wheel is fully seated in the dropouts or thru-axle interface. Confirm the quick release or axle is tight according to the bike’s design. Reconnect the brake if you opened it. Squeeze the brake lever before riding. Then take a slow test ride in a safe area and listen. A freshly serviced hub should feel smooth, quiet, and stable.
Common Mistakes When Greasing Bicycle Wheel Bearings
Using the Wrong Lubricant
Grease belongs inside serviceable wheel bearings. Chain lube belongs on chains. Heavy grease does not belong inside many freehub pawl systems unless the manufacturer specifically calls for it. Thick grease can slow pawl engagement in some designs, which may lead to skipping or delayed engagement.
Losing Track of Bearing Count
If one side originally had ten balls, reinstall ten balls of the correct size. Do not add extra bearings just because there is room if the hub was not designed for them. Bearings need a tiny bit of space to roll; overcrowding can cause binding.
Ignoring Pitted Cones
New grease cannot repair damaged metal. It can quiet things for a short time, but if the cone is pitted, the hub will usually feel rough again. Replace worn cones and bearings when possible.
Over-Tightening the Cones
A too-tight hub may feel “secure,” but it creates excess pressure on the bearing surfaces. That pressure can damage cones, cups, and balls. The goal is smooth rotation with no play once the wheel is installed.
Contaminating Brakes
Keep grease, oily rags, and dirty gloves away from rotors, pads, and rim brake tracks. Brake contamination can reduce stopping power. Clean carefully, work slowly, and do not set a greasy axle on top of a brake rotor.
How Often Should You Grease Bicycle Wheel Bearings?
Service intervals depend on riding conditions. A fair-weather road bike may go a long time between hub services. A commuter bike ridden through rain, puddles, winter grime, or dusty paths may need attention more often. Mountain bikes and gravel bikes also see more contamination, especially after wet rides or stream crossings.
Instead of relying only on mileage, pay attention to symptoms. Service the hub when the wheel develops play, feels rough, makes grinding noises, or has been exposed to heavy water and grit. Preventive maintenance is cheaper than replacing a damaged hub. Your bike will not send a calendar invite titled “Please repack my bearings.” You have to notice the hints.
Best Grease for Bicycle Wheel Bearings
For most riders, a quality bicycle bearing grease or waterproof bicycle grease is the right choice. Look for grease that resists water washout, protects against corrosion, and is suitable for bearing applications. Many bicycle-specific greases are formulated for hubs, headsets, pedals, and assembly points.
Marine grease is sometimes used because it resists water well, but it can be thicker than some bicycle greases. For typical commuter, road, hybrid, and mountain bike hubs, a trusted bike grease is simple and reliable. For high-performance wheels, ceramic bearings, unusual hubs, or manufacturer-specific systems, follow the wheel maker’s guidance.
Experience Notes: What Greasing Wheel Bearings Teaches You Over Time
The first time you grease bicycle wheel bearings, the job may feel more complicated than it really is. There are thin wrench flats, small ball bearings, mysterious washers, and at least one moment when your hands look like you lost a wrestling match with a tube of grease. But after doing it once, the process becomes much less intimidating.
One useful lesson is that organization matters as much as mechanical skill. The smoothest hub service begins before the first nut comes loose. Set up a clean workspace, use a tray, and arrange parts from left to right in the order they came off. A white towel is excellent because small bearings are easier to see. A dark garage floor, on the other hand, is where bearings go to begin new lives as household mysteries.
Another experience-based tip: do not rush the cleaning stage. Old grease can hide grit that feels harmless until the hub is back together. Then the wheel spins with a faint roughness, and you know exactly what happened. Clean the cups with patience. Rotate the rag into the curved bearing track. Inspect under good light. If you have to ask whether a cone is pitted, compare it to the other side or run a fingernail gently across the bearing path. A smooth cone feels polished; a damaged cone feels marked, grooved, or uneven.
Bearing replacement is also worth treating seriously. Many home mechanics are tempted to reuse the old balls because they look “mostly fine.” Sometimes that works. But if the hub has been gritty, wet, rusty, or neglected, fresh bearings are cheap insurance. New balls rolling on clean, greased races can transform a wheel from tired to silky.
Adjustment is the part that improves with practice. At first, you may swing between too loose and too tight several times. That is normal. The trick is to make tiny changes. Tighten the cone a hair, lock it down, check again. Loosen it a hair, lock it down, check again. Always test after tightening the locknut because the cone may move slightly while the locknut is being secured.
Quick-release hubs add another wrinkle. A hub that feels perfect in your hand can become too tight when clamped in the frame. That is why experienced mechanics often leave the slightest trace of play before installation, then check again once the wheel is secured. With thru-axles and different hub designs, the feel can vary, so the final test should always happen on the bike.
You also learn that grease is protection, not magic. It cannot save crushed bearing surfaces, cracked cones, missing seals, or a hub that has been pressure-washed into sadness. Grease works best when paired with good habits: avoid blasting water directly at hubs, wipe the bike after wet rides, and investigate noises early.
Finally, hub service builds confidence. Once you understand wheel bearings, other bicycle maintenance jobs feel less mysterious. You start noticing how parts preload, lock together, and depend on clean contact surfaces. You become less afraid of small adjustments and more respectful of them. That is the real reward: not just a quieter wheel, but a better feel for the machine under you.
And when the job is done right, the payoff is immediate. The wheel spins cleanly. The bike coasts a little more happily. The annoying click disappears. You may even lift the bike, spin the wheel, and admire it for a few extra seconds. That is allowed. Every home mechanic deserves a tiny victory lap.
Conclusion
Learning how to grease bicycle wheel bearings is one of the most useful maintenance skills for riders with serviceable cup-and-cone hubs. The process is simple in theory: remove the wheel, disassemble the hub, clean and inspect the parts, pack fresh grease, reinstall the bearings, and adjust the cones until the wheel spins smoothly without play.
The details matter. Use the correct grease, replace damaged bearings, keep parts organized, avoid brake contamination, and take your time with preload adjustment. A properly greased hub can improve ride quality, reduce wear, and extend the life of your wheel. Plus, it gives you the deeply satisfying feeling of fixing something with your own handswithout needing a lab coat, a secret password, or a mechanic named Gary shaking his head in the background.