Converting a file into an MP3 sounds like one of those tiny digital chores that should take seven seconds and a happy little click. Then reality arrives wearing muddy boots: your phone saves audio as M4A, your video is an MP4, your recording app exports WAV, your computer asks what a codec is, and suddenly you are three tabs deep wondering if you accidentally enrolled in audio engineering school.
Good news: you do not need a studio, a degree, or a dramatic montage. Whether you are using Android, iPhone, Windows PC, or Mac, you can convert audio and video files into MP3 with built-in tools, free apps, desktop software, or secure browser-based converters. The trick is choosing the right method for the file you have, the device you are using, and the quality you want.
This guide explains how to convert a file into an MP3 on Android, iOS, PC, and Mac, including practical examples, beginner-friendly steps, quality tips, privacy warnings, and the one rule that saves everyone from embarrassment: renaming a file from .mp4 to .mp3 is not conversion. It is just putting a fake mustache on a video file.
What Is an MP3 File?
MP3 stands for MPEG Audio Layer III. In normal-person language, it is a compressed audio format designed to make sound files much smaller while keeping them listenable. That is why MP3 files remain popular for podcasts, voice notes, music demos, lectures, audiobooks, ringtones, and audio extracted from videos.
MP3 is a lossy format, which means some audio data is removed during compression. This is not automatically bad. A well-made MP3 can sound excellent for casual listening and take up far less storage than WAV or AIFF. The trade-off is simple: smaller file size usually means lower quality, while higher quality means a larger file.
Common files you can convert to MP3
You can often convert these file types into MP3:
- Video files: MP4, MOV, MKV, AVI, WEBM
- Audio files: WAV, M4A, AAC, FLAC, AIFF, OGG, WMA
- Recordings: voice memos, meeting recordings, lecture audio, podcast drafts
- Music projects: exported tracks from editing apps or digital audio workstations
However, copyright-protected or DRM-locked files may not convert. For example, subscription-based streaming music is usually protected and should not be treated like a normal file you own. If a converter fails on a protected file, the converter is probably not broken; the file is politely saying, “Nice try.”
Before You Convert: Pick the Right MP3 Settings
Most MP3 converters ask you to choose audio quality. If you are not sure what to pick, use these simple guidelines:
- 128 kbps: acceptable for voice notes, lectures, and spoken-word audio
- 192 kbps: a balanced choice for general listening
- 256 kbps: strong quality for music, podcasts, and polished audio
- 320 kbps: highest common MP3 quality, but larger file size
For voice recordings, 128 kbps or 160 kbps is usually enough. For music, use 256 kbps or 320 kbps if quality matters. If you are converting audio for a website, email attachment, or quick share, 192 kbps often hits the sweet spot between quality and size.
How to Convert a File Into an MP3 on Android
Android gives you several easy paths: an audio converter app, a browser-based converter, or a desktop transfer if you prefer doing the heavy lifting on a computer. The best option depends on whether your file is already on your phone and whether it contains private content.
Method 1: Use an Android audio converter app
This is usually the easiest method when the file is already on your phone.
- Open the Google Play Store.
- Search for a well-reviewed audio converter or media converter app.
- Install the app and open it.
- Tap Select File, Import, or a similar button.
- Choose your audio or video file from Downloads, Internal Storage, Google Drive, or another folder.
- Select MP3 as the output format.
- Choose a bitrate such as 192 kbps or 256 kbps.
- Tap Convert and save the finished MP3.
After conversion, check your Downloads, Music, Audio, or app-specific folder. Android file organization can feel like a tiny treasure hunt, but the Files app makes it easier to browse folders, move files, rename files, and locate recent downloads.
Method 2: Use an online MP3 converter on Android
If you do not want to install an app, use a reputable online converter such as CloudConvert, Zamzar, or another established service. This is especially handy for one-time conversions.
- Open Chrome or your preferred browser.
- Visit a trusted audio converter website.
- Upload your file.
- Select MP3 as the output format.
- Adjust quality settings if available.
- Tap Convert.
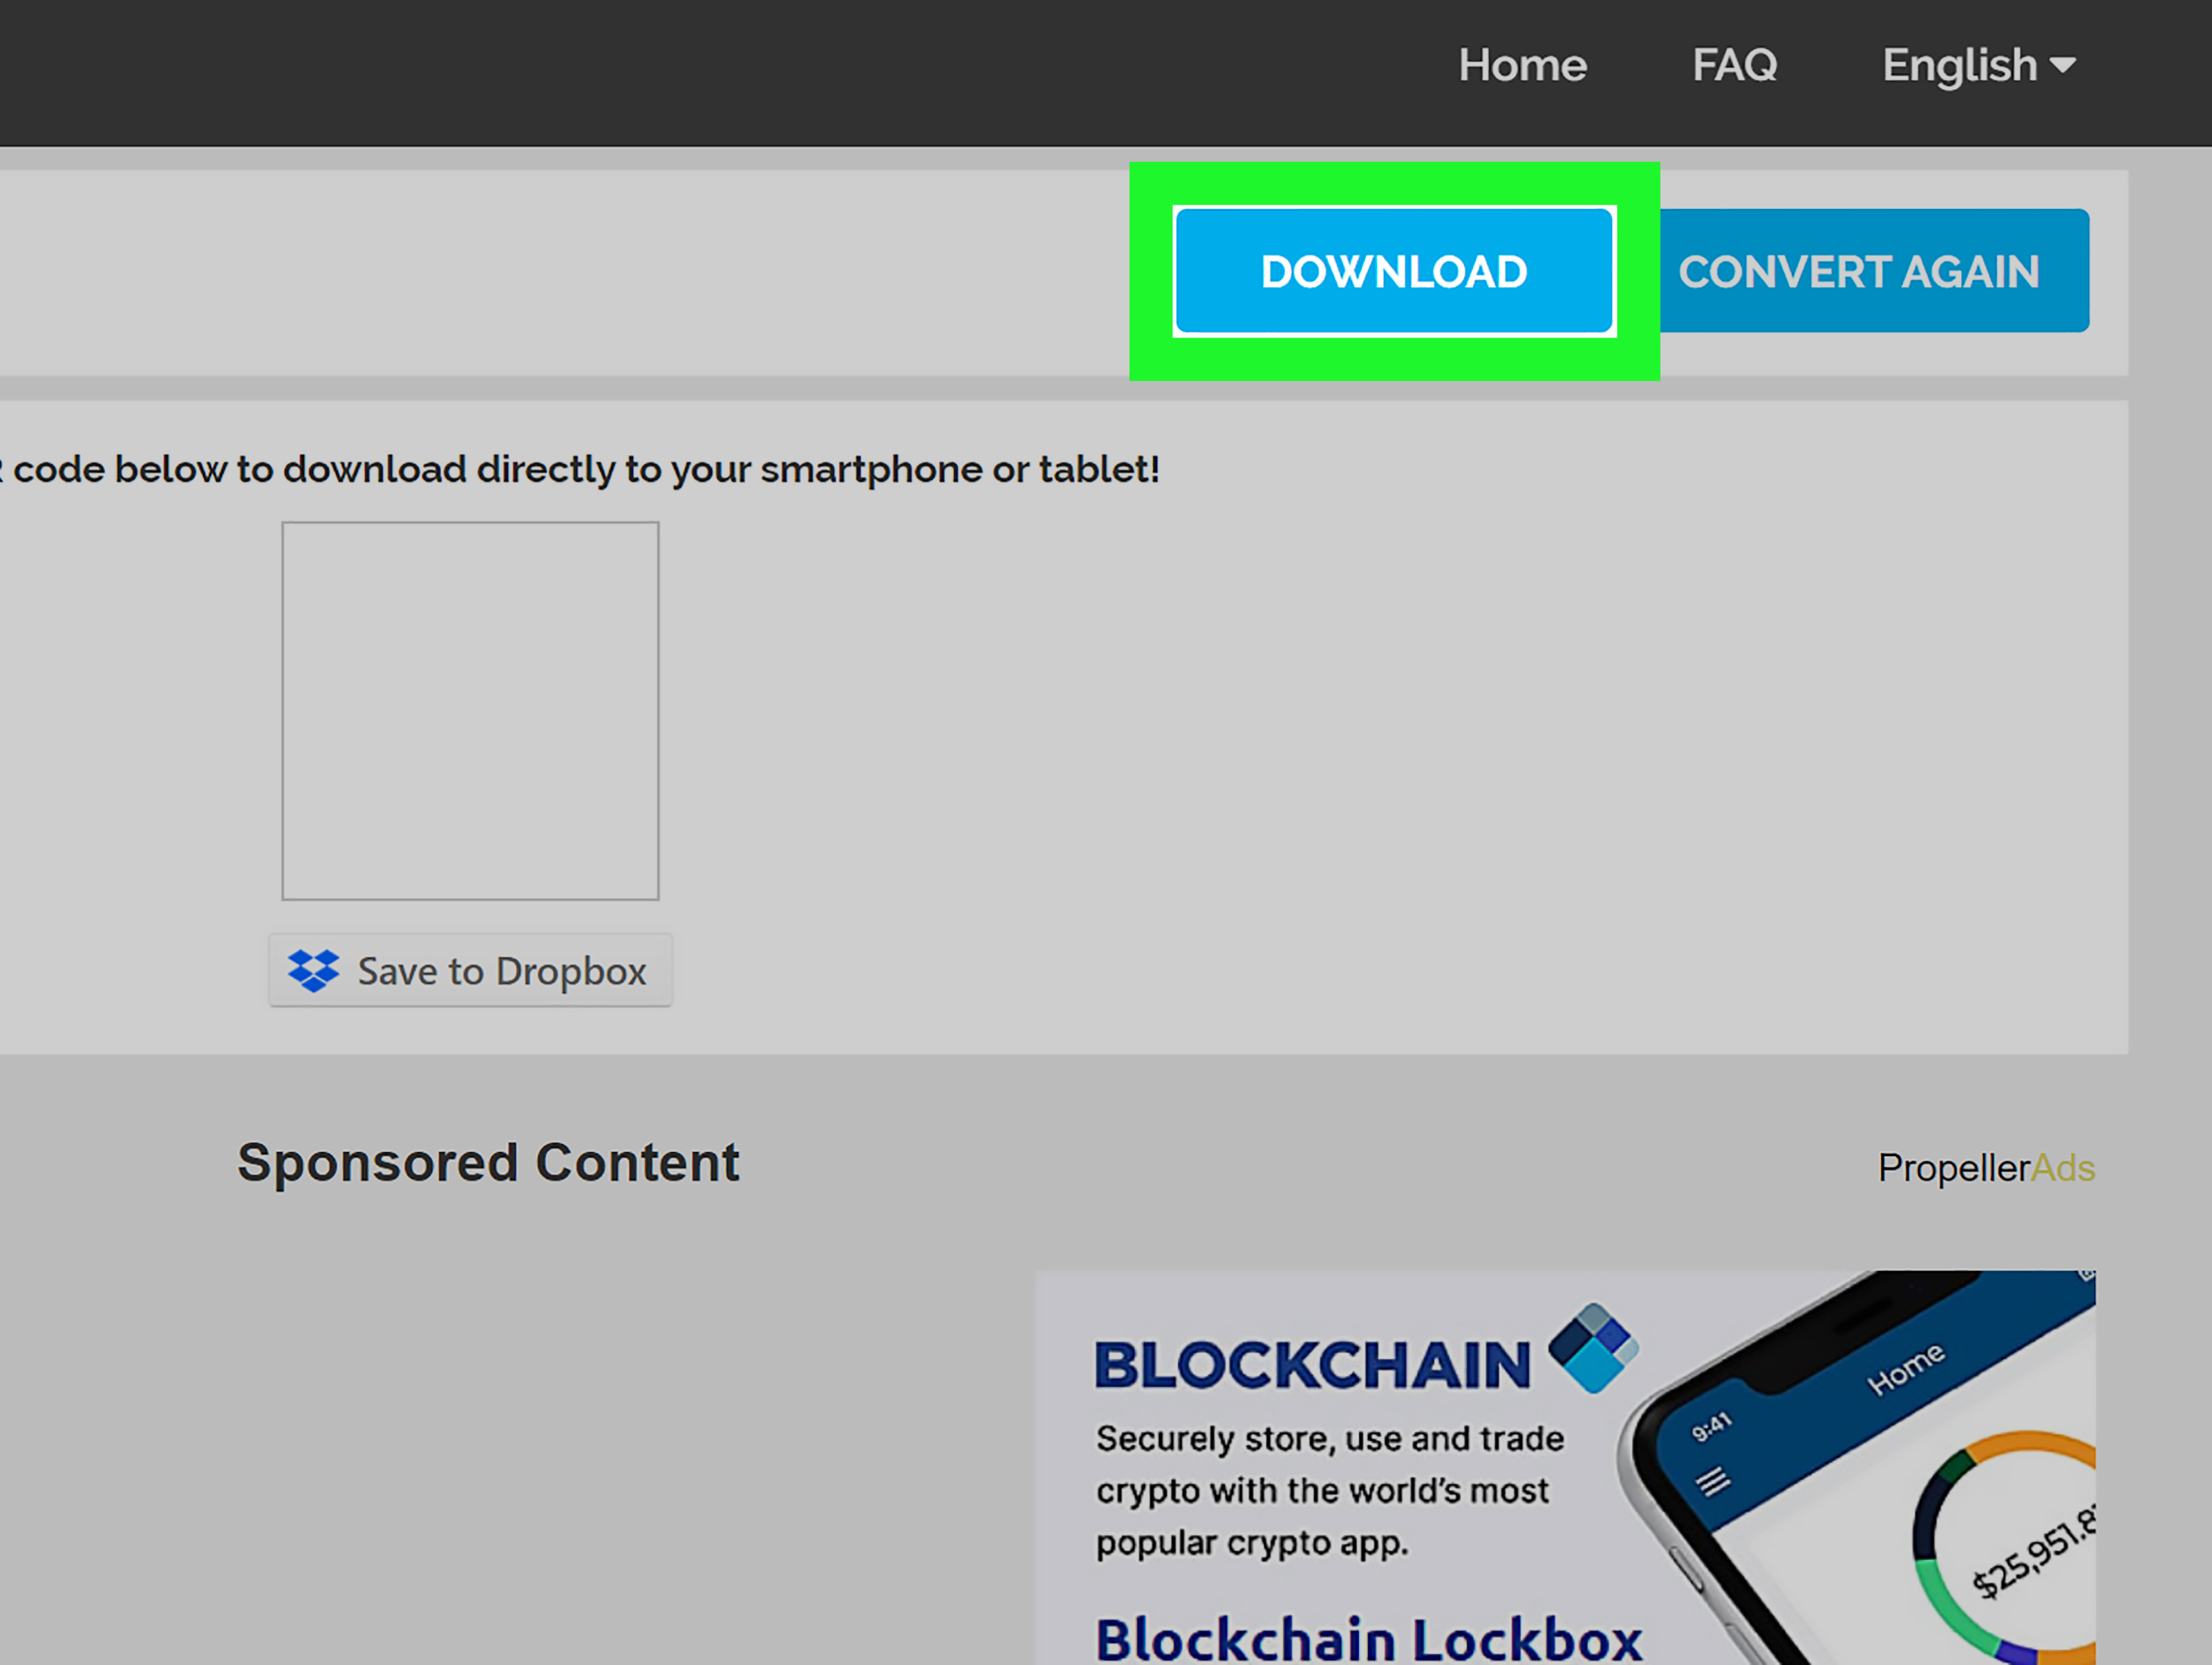
- Download the MP3 when the conversion finishes.
Do not upload highly sensitive recordings to random converter sites. A birthday song for your cousin is fine. A confidential business meeting, legal call, or private medical discussion deserves local conversion on your own device.
Method 3: Transfer the file to a PC or Mac
For large videos, long lectures, or important audio, transferring the file to a computer is often faster and more reliable.
- Connect your Android phone to your computer with a USB cable.
- Choose File Transfer on your Android device.
- Copy the file to your computer.
- Convert it using Audacity, VLC, Clipchamp, FFmpeg, or another desktop tool.
- Move the finished MP3 back to your phone if needed.
This method is ideal for large MP4-to-MP3 conversions because phones can slow down, heat up, or complain silently by doing absolutely nothing for several minutes.
How to Convert a File Into an MP3 on iPhone or iPad
iOS is clean, secure, and sometimes a little picky about file handling. You can still convert files to MP3, but you may need an app, a web converter, or a Mac/PC if you want maximum control.
Method 1: Use a file converter app on iOS
For most iPhone users, a trusted file converter app is the simplest option.
- Open the App Store.
- Search for an audio converter or media converter with strong reviews.
- Open the app and import your file from Files, iCloud Drive, Photos, or another app.
- Select MP3 as the output format.
- Choose a quality setting.
- Start the conversion.
- Save the MP3 to the Files app, iCloud Drive, or another destination.
If the file is a video in Photos, you may need to share it to the converter app first. Tap the Share button, choose the converter app, and let the app extract the audio.
Method 2: Use an online MP3 converter on iPhone
Safari can handle many online conversion tools, which makes this method convenient for quick jobs.
- Open Safari.
- Go to a reputable online audio converter.
- Tap Choose File.
- Select a file from Files, Photos, iCloud Drive, or another location.
- Choose MP3.
- Convert and download the finished file.
- Open the Downloads folder in the Files app to find it.
This works well for small files. For huge videos, desktop conversion is usually smoother because upload and download times can become longer than a family group chat argument about dinner plans.
Method 3: Use GarageBand or another audio app, then convert
GarageBand for iPhone and iPad can export songs as audio files, which is useful if you are working with music projects. Depending on the format you need, you may still use another converter to create a final MP3. This route is helpful for creators who want to trim, mix, or polish audio before exporting.
How to Convert a File Into an MP3 on Windows PC
Windows offers several reliable options. If you want beginner-friendly software, use Clipchamp, VLC, or Audacity. If you like power tools and do not fear a command line, FFmpeg is the Swiss Army knife of media conversion.
Method 1: Convert video to MP3 with Microsoft Clipchamp
Clipchamp is useful when you want to extract audio from a video file, such as an MP4 recording, webinar, presentation, or voiceover.
- Open Clipchamp on Windows or in your browser.
- Create a new project.
- Import your video or audio file.
- Drag it to the timeline.
- Click Export.
- Choose the audio-only option if available.
- Save the exported audio file.
Clipchamp is especially friendly for people who prefer visual editing. You can trim the beginning, remove awkward pauses, cut dead air, and export a cleaner audio file. That is great for turning a recorded meeting into an MP3 summary or saving a video voiceover as a standalone audio track.
Method 2: Convert audio to MP3 with Audacity
Audacity is one of the best free tools for audio conversion and editing. It works well for WAV, AIFF, FLAC, M4A, and many other formats.
- Install and open Audacity.
- Go to File > Open and choose your audio file.
- Edit the audio if needed.
- Go to File > Export Audio.
- Select MP3 Files as the format.
- Choose bitrate mode and quality.
- Click Export.
Audacity is excellent when quality matters because it lets you inspect waveforms, normalize volume, trim silence, and adjust export settings. If your recording sounds too quiet, too long, or too messy, Audacity gives you tools to fix it before creating the MP3.
Method 3: Convert with VLC Media Player
VLC is known as a video player, but it can also convert media files.
- Open VLC.
- Click Media > Convert / Save.
- Click Add and select your file.
- Click Convert / Save.
- Choose an audio profile that uses MP3.
- Select a destination file name ending in
.mp3. - Click Start.
VLC is a good choice when you already have it installed and need a quick conversion without learning a full audio editor.
Method 4: Convert with FFmpeg
FFmpeg is powerful, fast, and loved by people who enjoy solving problems with one line of text. Once installed, it can convert almost any normal media file into MP3.
Here is what that command does:
-i input.mp4tells FFmpeg which file to convert.-vnremoves video and keeps audio only.-codec:a libmp3lameuses the MP3 encoder.-b:a 192ksets the audio bitrate.output.mp3names the finished file.
Use FFmpeg when you need speed, batch conversion, automation, or precise control. It is not the prettiest option, but neither is a toolbox, and both get things done.
Method 5: Rip a CD to MP3 with Windows Media Player
If your goal is to convert tracks from an audio CD into MP3 files, Windows Media Player can rip CDs. Insert the disc, open Windows Media Player, choose rip settings, select MP3 as the format, and start ripping. This is different from converting a downloaded file, but it is still one of the classic ways to create MP3s from audio you own.
How to Convert a File Into an MP3 on Mac
Mac users have several strong options, including Apple Music, Audacity, VLC, online converters, and FFmpeg.
Method 1: Convert songs with the Apple Music app
The Apple Music app on Mac can convert compatible music files in your library to another format, including MP3 if you choose MP3 Encoder in the import settings.
- Open the Apple Music app.
- Go to Music > Settings.
- Click the Files tab.
- Click Import Settings.
- Choose MP3 Encoder.
- Select the song or file in your library.
- Go to File > Convert > Create MP3 Version.
This creates a new MP3 copy while keeping the original file. That is useful because you can preserve your higher-quality source and still make a smaller MP3 for sharing or playback.
Method 2: Convert with Audacity on Mac
Audacity works on Mac just as well as it does on Windows.
- Open Audacity.
- Import your file.
- Trim or edit the audio if needed.
- Choose File > Export Audio.
- Select MP3 as the output format.
- Choose quality settings.
- Export the file.
This is the best Mac option for people editing podcasts, interviews, lectures, music demos, or voiceovers.
Method 3: Convert with VLC or FFmpeg on Mac
VLC provides a graphical conversion route, while FFmpeg gives you command-line control. For a video file, the same FFmpeg concept works on Mac:
This command extracts the audio from a MOV file and saves it as a 256 kbps MP3. It is especially useful for creators who need to convert many files quickly.
Online MP3 Converters: When They Make Sense
Online converters are convenient because they work on Android, iOS, Windows, Mac, Chromebook, and almost anything with a browser. Services such as CloudConvert and Zamzar support many input formats and let you choose MP3 as the output. Many also provide options for audio quality, file size, and format control.
Use online converters when:
- You only need to convert one or two files.
- The file is not private or sensitive.
- You do not want to install software.
- The file size is manageable.
- You are working on a borrowed or limited device.
Avoid online converters when:
- The recording contains private conversations.
- The file is very large.
- You need batch conversion.
- You have a slow internet connection.
- You need professional control over bitrate, loudness, or metadata.
MP4 to MP3: How to Extract Audio From Video
One of the most common conversion tasks is turning MP4 into MP3. This does not convert the video itself into audio magic; it extracts the audio track and saves it in MP3 format.
For example, you might convert MP4 to MP3 when you want to:
- Save a lecture as audio for commuting
- Turn a webinar into a listening file
- Extract a voiceover from a video project
- Create an audio draft from a recorded interview
- Save music from your own video recording
On Windows, Clipchamp, VLC, Audacity, and FFmpeg can do this. On Mac, Apple Music is better for songs, while VLC, Audacity, FFmpeg, or an online converter is better for video files. On Android and iOS, a media converter app or browser converter is usually the quickest path.
Common Mistakes to Avoid
Mistake 1: Renaming the file extension
Changing video.mp4 to video.mp3 does not convert anything. It only changes the name. The file still contains the original data, and many apps will refuse to play it.
Mistake 2: Converting an already low-quality file too many times
Every lossy conversion can reduce quality. If you convert a low-quality M4A to MP3, then convert that MP3 again, the sound may become thin, swishy, or crunchy. Always convert from the best original file you have.
Mistake 3: Using 320 kbps for everything
Higher bitrate is not always necessary. A 320 kbps MP3 of a basic voice memo may only waste space. For speech, 128 kbps or 160 kbps usually works well.
Mistake 4: Uploading private files to unknown websites
Online tools are convenient, but privacy matters. For sensitive recordings, use offline software like Audacity, VLC, or FFmpeg.
Mistake 5: Ignoring copyright
Only convert files you own, created, recorded, or have permission to use. Converting protected streaming music or copyrighted videos without permission can violate terms of service or copyright law.
Best MP3 Conversion Method by Device
| Device | Best Easy Method | Best Advanced Method | Best For |
|---|---|---|---|
| Android | Audio converter app | Transfer to PC and use FFmpeg | Voice notes, videos, downloads |
| iPhone or iPad | iOS converter app or online converter | Transfer to Mac and use Audacity or FFmpeg | Files, videos, recordings |
| Windows PC | Clipchamp, VLC, Audacity | FFmpeg | MP4 to MP3, editing, batch conversion |
| Mac | Apple Music, Audacity, VLC | FFmpeg | Music files, projects, video audio extraction |
Troubleshooting: Why Won’t My File Convert to MP3?
If your file refuses to convert, do not immediately blame yourself. Digital media can be dramatic. Here are the usual suspects:
- The file is corrupted: Try playing it first. If it will not play, it may not convert.
- The format is unsupported: Try VLC, Audacity with the right libraries, or FFmpeg.
- The file is DRM-protected: Subscription music and protected purchases may block conversion.
- The file is too large: Use desktop software instead of an online converter.
- The app lacks permission: On mobile, allow access to Files, Photos, or storage.
- The output folder is missing: Check Downloads, Music, Recents, or the app folder.
Practical Examples
Example 1: Convert a lecture video to MP3 on Windows
You recorded a two-hour class as an MP4 and want to listen while walking. Open the video in Clipchamp or VLC, export audio only, choose MP3, and save it at 128 kbps or 160 kbps. Since it is mostly speech, you do not need a giant 320 kbps file.
Example 2: Convert a WAV podcast draft to MP3 on Mac
Open the WAV in Audacity, trim silence, normalize the volume, export as MP3 at 192 kbps or 256 kbps, and add metadata such as title and artist. The result is easier to upload and share than the original WAV.
Example 3: Convert a voice memo on iPhone
Save or share the voice memo to Files, open it in a trusted converter app, select MP3, convert, and save the finished file back to Files. If the app exports M4A first, use a second conversion step or transfer it to a computer for better control.
Example 4: Convert a video on Android
Use a media converter app, import the video from your gallery or file manager, choose MP3, select a reasonable bitrate, and export. If the video is huge, move it to a computer and use FFmpeg or Audacity instead.
Experience Notes: What I’ve Learned From Converting Files Into MP3
After dealing with enough audio conversions, one thing becomes obvious: the best method is not always the fanciest method. The best method is the one that matches the job. A ten-second voice memo does not need a professional audio editor. A three-hour conference recording should not be forced through a random mobile app while your phone battery quietly begs for mercy. Converting files into MP3 is mostly about choosing the right tool before you start clicking buttons like you are defusing a movie bomb.
For quick personal files, mobile apps are wonderfully convenient. Android is especially flexible because file managers make it easier to locate downloads, recordings, and videos. The process usually feels straightforward: pick the file, choose MP3, tap convert, and wait. The main challenge is finding where the finished file went afterward. My advice is to create a dedicated folder called “Converted MP3” or “Audio Exports.” It sounds boring, but boring organization is better than searching through six mystery folders named “Output,” “Media,” “Converted,” and “New Folder (3).”
On iPhone, the experience is smoother when you embrace the Files app. Save the original file somewhere obvious before converting. If the file lives inside Photos, Voice Memos, Messages, or a cloud app, share it to Files first. That extra step can prevent confusion because converter apps often need direct access to the file. iOS is excellent at protecting user data, but that also means files sometimes feel tucked behind velvet ropes. Once the file is in Files, conversion becomes much less annoying.
For serious work, desktop software wins. Audacity is the friendliest choice for anyone who wants to clean up the audio before exporting. You can trim long silences, fade in the beginning, fade out the end, reduce awkward gaps, and export a polished MP3. This matters for podcasts, interviews, online courses, and voiceovers. A raw recording may technically convert, but a cleaned-up recording sounds more professional and keeps listeners from reaching for the skip button.
VLC is great for quick extraction from video. It is not always the most elegant converter interface, but it is dependable once you know where the Convert/Save option lives. FFmpeg is the tool I would choose for repeated work. If you have twenty video clips and need twenty MP3s, FFmpeg can save huge amounts of time. The learning curve is real, but once you understand the basic command, it feels like discovering a secret tunnel under the city.
Online converters are useful, but I treat them like public printers: convenient, but not where I send sensitive material. For casual files, they are fast and simple. For private recordings, client calls, school interviews, legal notes, or business audio, offline conversion is safer. Also, large video files can take forever to upload, convert, and download. In those cases, a desktop tool is not just better; it is kinder to your patience.
The biggest lesson is to keep the original file. MP3 is convenient, but it is compressed. If you ever need to edit, remaster, remix, or create another version, the original WAV, MOV, MP4, M4A, or FLAC gives you more flexibility. Think of the MP3 as the travel-size bottle and the original as the full shampoo at home. The travel bottle is perfect for the trip, but you do not throw away the big one.
Conclusion
Converting a file into an MP3 is easy once you know which tool fits your device. Android users can rely on converter apps, browser tools, or computer transfers. iPhone and iPad users can use iOS converter apps, online tools, or send files to a Mac or PC for more control. Windows users have Clipchamp, Audacity, VLC, Windows Media Player for CDs, and FFmpeg. Mac users can use Apple Music for compatible songs, Audacity for editing, VLC for quick conversion, and FFmpeg for advanced work.
The most important rules are simple: do not rename extensions and pretend that is conversion, do not upload private files to unknown websites, do not over-compress audio you care about, and always keep the original file when possible. With the right method, you can turn videos, recordings, music drafts, lectures, and audio files into MP3s that are easy to store, share, and play almost anywhere.