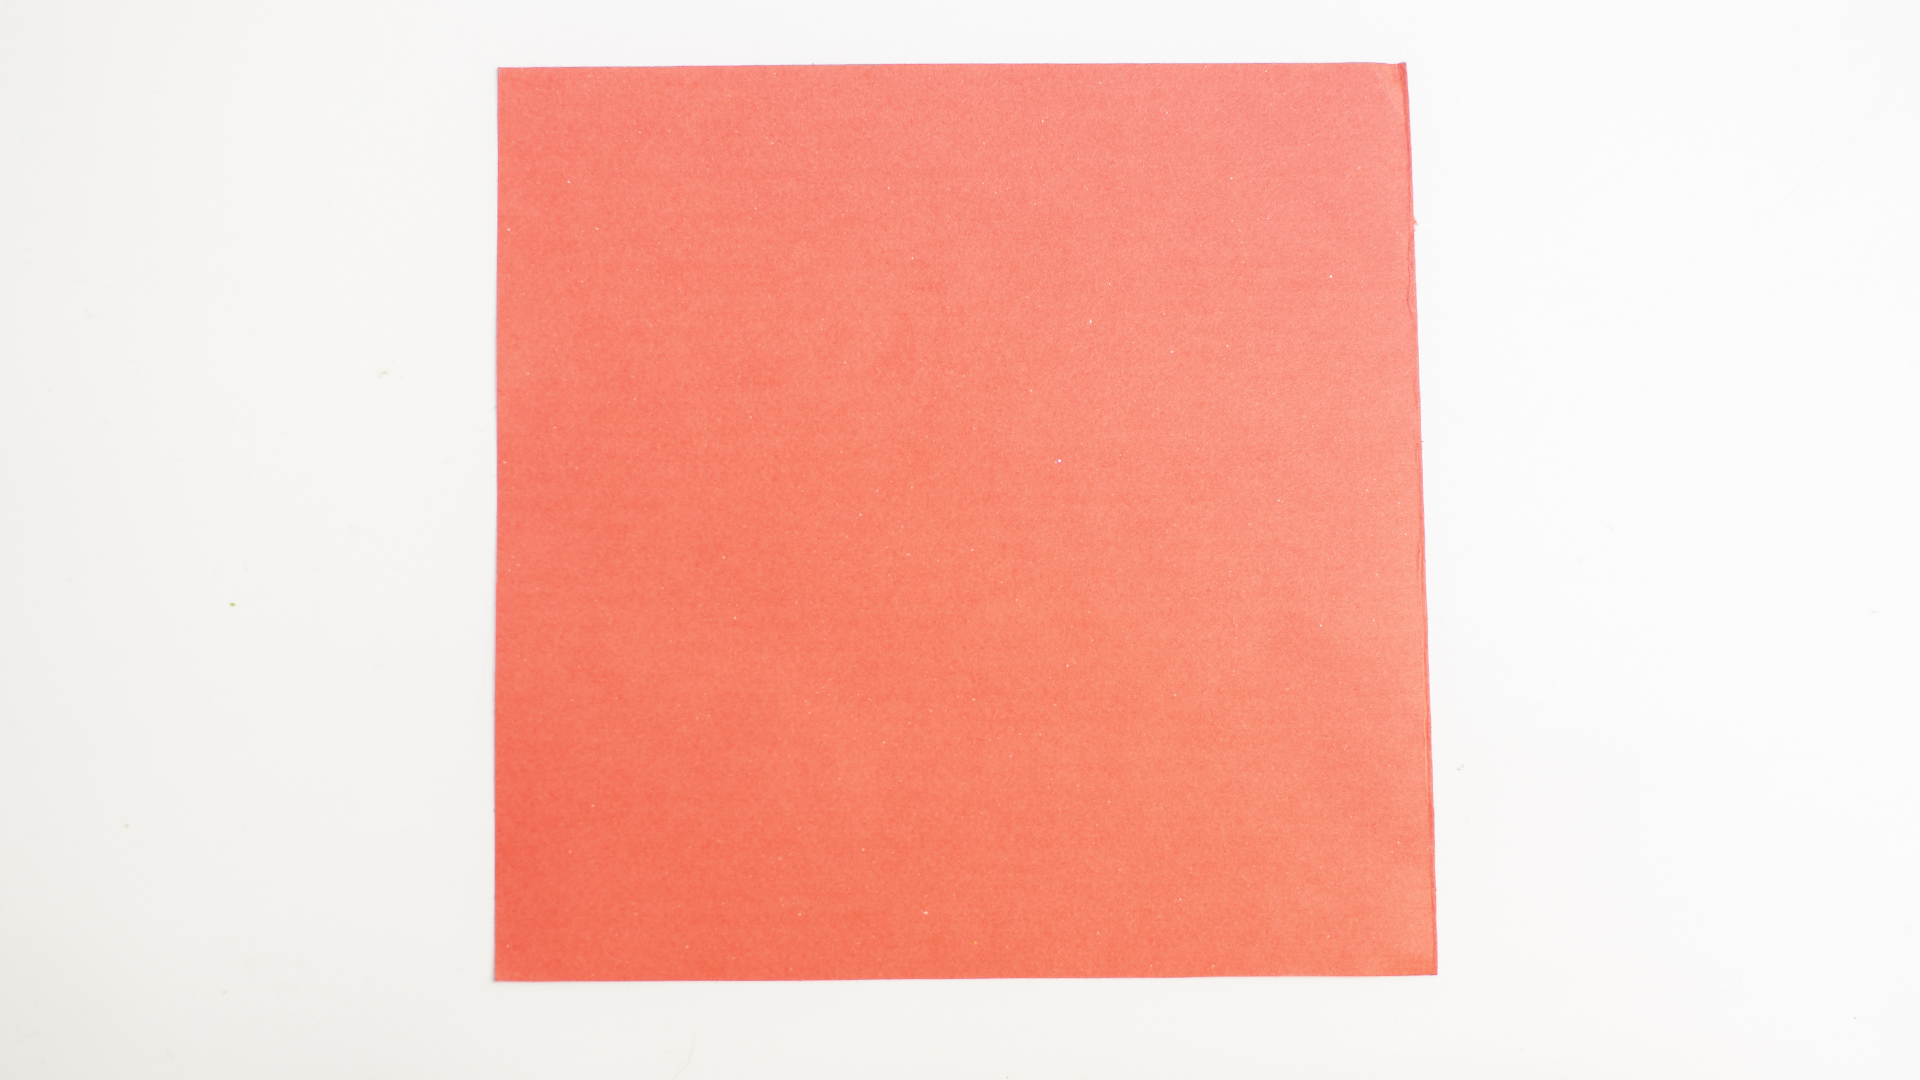
If your favorite photo is currently living a sad, unframed life inside your phone, this project is its glow-up moment. An origami photo frame is one of those crafty little wins that looks impressive, costs almost nothing, and makes you feel suspiciously organized. With one square sheet of paper, a few careful folds, and a tiny bit of patience, you can turn flat paper into a neat frame that is perfect for desks, gifts, scrapbook pages, party place cards, and memory boards.
The best part? You do not need fancy tools, advanced paper-folding wizardry, or a workshop that looks like a craft store exploded. This is beginner-friendly, fast, and surprisingly satisfying. If you can fold a paper note in class without getting caught, you already have a head start.
In this guide, you will learn how to make an origami photo frame in 7 simple steps, plus get tips on choosing paper, fitting your photo, avoiding common folding mistakes, and making the finished frame look polished instead of “I definitely made this at 11:47 p.m.” Let’s fold.
What You Need Before You Start
- 1 square sheet of paper, ideally 6 x 6 inches or 8 x 8 inches
- 1 small photo, trimmed to fit
- A ruler for measuring your photo
- Optional: bone folder, credit card edge, or fingernail for crisp creases
- Optional: acid-free backing paper if the photo is important or sentimental
Lightweight origami paper works best because it folds cleanly and holds shape without getting bulky. If your paper is too thick, the corners may fight back like a tiny cardboard villain. If your paper is too flimsy, the frame may sag a little. A medium-weight decorative paper is the sweet spot.
Pick the Right Paper and Photo Size
Before you start folding, match the size of your paper to the size of your photo. A 6-inch square usually works well for a wallet-size or cropped square photo. An 8-inch square gives you more breathing room and is easier for beginners because the folds are easier to see and hold.
This type of origami photo frame works best with small prints, cropped pictures, instant-photo sizes, or trimmed keepsakes like ticket stubs and mini art prints. If you are using a standard 4 x 6 photo, crop it or trim a smaller section you want to highlight. Think of it less as photo sacrifice and more as creative direction.
A quick paper tip
If your paper has a pattern on one side and a plain back, start with the patterned side facing down. That way, the visible frame surface ends up showing the patterned side later. This one detail can make your finished origami frame look intentionally stylish instead of randomly papery.
Step 1: Start With a Square and Make Your Guide Creases
Place your square paper flat on the table with the colored or patterned side facing down. Rotate it so it looks like a diamond, with one corner pointing up.
Fold the bottom corner up to meet the top corner. Press the crease firmly, then unfold. Next, fold the left corner over to meet the right corner. Crease and unfold again.
You should now have two diagonal creases crossing in the center of the paper. These guide lines matter more than people think. They help you line up later folds, keep the frame even, and prevent the final window from looking lopsided. In origami, neat early creases save dramatic regret later.
Step 2: Fold All Four Corners to the Center
Bring the top corner down to the center point where the creases intersect. Make sure the tip lands neatly at the middle, then crease. Repeat with the bottom, left, and right corners.
You should now have a smaller square made from four folded flaps. This is one of the most common foundational moves in paper folding, and it creates the structure that will eventually become the border of your frame.
Take your time here. If one corner misses the center, the frame window may end up crooked. Tiny inaccuracies multiply in origami like gossip in a group chat.
Step 3: Flip the Paper and Fold the Corners In Again
Carefully turn the paper over so the folded flaps are underneath. Keep it in a square orientation.
Now fold each corner to the center again, just like you did in Step 2. Start with the top corner, then continue with the remaining three corners until you have an even smaller square.
This second round of corner folds builds thickness around the edges, which helps the frame look more finished and creates the layered border effect. It also makes the center area more defined, which is exactly what you want in a photo frame: a clear “look here” zone.
Why this fold matters
Many beginners are tempted to skip repeated folds because they think the project is being dramatic. It is not. Repetition is what gives paper projects structure. Without it, the frame would feel more like a folded napkin than an actual display piece.
Step 4: Create the Border Creases
With the smaller square in front of you, fold the top edge down toward the center and crease, then unfold. Fold the bottom edge up toward the center and unfold. Repeat with the left and right edges, folding each edge to the center and then opening it back out.
You are not trying to leave the edges folded in permanently yet. You are creating a set of guide creases that tell the paper where the frame border will sit. Think of this as giving the paper a polite set of instructions before asking it to do something more interesting.
Once unfolded, you should see a grid of crease lines. These lines will help the frame collapse neatly into shape in the next step.
Step 5: Open the Top and Bottom Sections to Form the Frame Window
Gently lift the top folded section and open it outward along the creases you just made. Flatten it carefully so it forms a border edge. Do the same with the bottom section.
Now the center should begin to look like a window instead of a solid square. If the paper resists, do not yank it into submission. Origami rewards patience, not wrestling. Re-crease the lines with your finger and coax the layers open slowly.
This is the moment where the project starts to look like something intentional. The top and bottom borders frame the image area, and the paper begins shifting from “folded square” to “tiny gallery feature.”
Step 6: Fold the Side Sections In and Lock the Corners
Fold the left side inward along the guide creases so it creates the left border of the frame. Tuck the small corner tabs into the top and bottom folded sections if your paper design allows it. Repeat on the right side.
Once both sides are folded in, press all edges flat. You should now have a square or slightly rectangular opening in the center, depending on your folds and paper proportions. The layered corners help hold the structure together, and the frame should feel neat and stable in your hands.
If your corners keep popping out, your paper may be too stiff or your creases may be too soft. Sharpen the folds and try again. Crisp creases are the difference between “handmade charm” and “this frame is emotionally unprepared for gravity.”
Step 7: Insert the Photo and Finish the Display
Slide your trimmed photo behind the frame opening. If your model has pockets created by the folds, tuck the photo edges into them. If needed, add a small square of acid-free backing paper behind the photo to support it and keep it flat.
Once inserted, adjust the image so the subject is centered in the opening. Smooth the frame gently, flatten the back, and decide how you want to use it. You can display it on a desk, tape it into a journal, add it to a handmade card, or attach a loop of ribbon to hang it.
And just like that, your photo is no longer rattling around in a drawer with expired coupons and mystery charging cables.
Tips for Making Your Origami Photo Frame Look Better
Use paper with personality
Solid colors look clean and modern, while patterned paper gives the frame a scrapbook feel. Metallic paper can make it gift-worthy fast, but avoid anything too slippery if you are a beginner.
Trim photos carefully
Use a ruler and cut straight lines. Even a great frame can look messy if the photo is uneven. This is one of those annoying facts of crafting, but unfortunately it is true.
Protect special photos
If you are framing an irreplaceable photo, avoid attaching it directly with regular glue or tape. Use acid-free backing paper or photo-safe corners when possible. That extra step matters if the image is sentimental, old, or part of a keepsake collection.
Make a set
Origami photo frames look especially charming in groups. Create three or four in coordinating paper and display them together on a wall, memory board, or shelf. Suddenly you are not just crafting. You are curating.
Common Mistakes to Avoid
- Using non-square paper: origami depends on symmetry, so start square every time.
- Rushing the creases: sloppy folds at the start create wonky results at the end.
- Choosing paper that is too thick: heavy cardstock can make the corners bulky and hard to tuck.
- Trying to fit a large photo: small frames need small inserts. Crop boldly.
- Ignoring photo safety: avoid damaging valuable prints with acidic paper or sticky album materials.
Why This Craft Is Worth Trying
An origami photo frame is more than a quick paper project. It blends creativity, geometry, design, and personal storytelling in one small object. You are not just folding paper. You are building a handmade setting for a memory. That is why this craft works so well for gifts, classrooms, rainy afternoons, wedding favors, memory books, and seasonal decor.
It is also wonderfully flexible. Make one from holiday paper for a festive family snapshot. Use map paper for a travel photo. Try pastel paper for a baby picture, or go minimalist with matte black paper around a black-and-white portrait. The same folding method can shift from playful to elegant depending on the paper and image you choose.
Final Thoughts
Learning how to make an origami photo frame in 7 steps is one of those satisfying DIY wins that delivers more charm than effort. It is affordable, creative, giftable, and practical all at once. Once you make one, you will probably make three more because paper folding has a sneaky way of turning “just one project” into a tiny desk full of folded things.
Start with a clean square, crease with confidence, choose a photo you actually love, and let the paper do its thing. The result is a simple handmade frame that feels thoughtful, personal, and a lot more memorable than anything pulled from a plastic sleeve at a discount store.
Experiences and Real-Life Uses for an Origami Photo Frame
One of the most appealing things about making an origami photo frame is the experience around it, not just the finished object. The project feels calm in a way that many crafts do not. There is no paint drying, no drill noise, no mystery screws, and no point where you have to wonder whether you accidentally built a shelf upside down. It is just paper, your hands, and a series of folds that gradually become something useful.
For beginners, the first experience is usually a mix of confidence and betrayal. At the start, it seems almost too easy. Then one corner lands slightly off-center, the border looks crooked, and suddenly you are staring at a square of paper like it personally wronged you. But that is part of the fun. Origami teaches patience in a sneaky way. You start by trying to make a frame, and along the way you learn how much neat creases, symmetry, and slowing down really matter.
For kids, this craft often becomes more than a folding exercise. It turns into a way to show off a favorite picture, draw a mini artwork to place inside, or make a handmade gift that does not feel generic. A child can fold a frame for a grandparent, slip in a school photo, and suddenly the project has emotional weight. It is still paper, sure, but now it is meaningful paper.
For adults, the experience can be surprisingly practical. An origami photo frame is perfect for quick table decorations, place settings, party favors, dorm-room decor, or memory boards. It also works well in journaling and scrapbooking because it adds dimension without the heaviness of a wooden frame. Many people end up making a few extras just to keep on hand for cards, mini displays, and last-minute gifts.
There is also something deeply satisfying about matching the paper to the photo. A vacation snapshot looks great in a frame made from map print or tropical patterns. A wedding picture feels elegant in pearl white or gold paper. A pet photo in bright polka dots? Excellent choice. The frame becomes part of the story, not just a border around it.
Another common experience is discovering that the second frame is always better than the first. By the third, you start acting like you invented folded paper. That is the beauty of this project: it improves quickly with practice, and each version gives you ideas for the next one. Before long, you are testing different sizes, layering papers, and casually using phrases like “crisp crease definition” as if you host a craft show on weekends.
In the end, making an origami photo frame is a small creative ritual. It slows you down, gives your hands something useful to do, and turns an ordinary picture into a display piece with personality. That is a pretty good payoff for one square sheet of paper.