Growing cardamom at home sounds like the kind of gardening project reserved for tropical estates, misty mountain farms, and people who own more than one linen shirt. But here is the good news: you do not need a spice plantation to grow cardamom. You do, however, need patience, warmth, humidity, and a willingness to treat this plant like a slightly dramatic tropical guest who dislikes cold feet, dry air, and neglect.
True cardamom, botanically known as Elettaria cardamomum, is a perennial member of the ginger family. It is famous for its aromatic green pods and intensely fragrant seeds used in chai, curries, baked goods, coffee, desserts, and savory dishes around the world. In the right outdoor climate, especially warm and humid regions such as USDA Zones 10 and 11, cardamom can grow into a lush, leafy clump. In cooler regions, it is more realistic to grow cardamom as a container plant or indoor tropical foliage plant.
Will every home grower harvest baskets of cardamom pods? Probably not. Indoors, cardamom rarely flowers unless conditions are very warm, humid, and stable. Still, the plant itself is beautiful, fragrant, and rewarding. Think of it as a tropical houseplant with culinary ambition. If it gives you pods, celebrate. If it gives you glossy leaves and jungle vibes, that is still a win.
What Is Cardamom?
Cardamom is often called the “Queen of Spices,” which sounds fancy because it is. The spice comes from the seed pods of Elettaria cardamomum, a tropical herbaceous perennial native to moist forest regions of southern India and nearby tropical areas. It grows from rhizomes, which are underground stems similar to ginger and turmeric. Above the soil, the plant produces tall leafy shoots with long, lance-shaped leaves.
In commercial growing regions, cardamom may reach impressive heights, sometimes several feet tall or more when grown under ideal shade, moisture, and humidity. At home, especially in containers, it usually stays smaller. The plant prefers bright filtered light, rich soil, constant moisture, excellent drainage, and high humidity. In other words, cardamom wants the environment of a tropical forest floor, not the crispy corner next to your air-conditioning vent.
How to Grow Cardamom: 15 Steps
1. Choose true green cardamom
Start by making sure you are growing true green cardamom, Elettaria cardamomum. This is the plant that produces the familiar green pods used in cooking. Do not confuse it with black cardamom, which comes from a different plant and has different growing habits, flavor, and uses.
If you are buying a plant online or from a nursery, look for the botanical name. Common names can be surprisingly sneaky. A plant labeled “cardamom ginger” may not always be true cardamom. For pod production, the botanical name matters.
2. Decide whether to grow from seed, rhizome, or nursery plant
Cardamom can be grown from fresh seeds, rhizome divisions, or young nursery plants. For beginners, a live plant or rhizome division is usually the easiest path. Seeds can germinate, but they must be fresh. The seeds inside old spice-rack pods are often dried, processed, or too old to sprout reliably.
If you want the fastest start, buy a healthy nursery plant. If you know someone already growing cardamom, division is a great option. If you enjoy gardening experiments and suspense, try seedsbut do not take it personally if they refuse to wake up.
3. Pick the right climate or growing location
Cardamom is a tropical plant. Outdoors, it grows best in warm, frost-free climates. In the United States, it is most suitable for outdoor growing in very warm regions such as parts of South Florida, Hawaii, and other mild, humid areas. In cooler climates, grow cardamom in a container so it can move indoors before temperatures drop.
Cardamom dislikes cold weather. Temperatures below about 50°F can stress the plant, and frost can seriously damage or kill it. If your winter has snow, ice, or that special wind that makes your ears question their life choices, your cardamom belongs indoors for the season.
4. Give cardamom bright, filtered light
In nature, cardamom grows as an understory plant, meaning it is used to filtered sunlight beneath taller trees. It does not want harsh direct sun all day. Too much intense sun can scorch the leaves, especially in hot climates.
Outdoors, choose partial shade or dappled light. Morning sun with afternoon shade is often ideal. Indoors, place the plant near a bright window with indirect light. An east-facing window or a spot several feet from a bright south-facing window can work well. If the leaves turn pale or crispy at the edges, the plant may be receiving too much direct sun or too little humidity.
5. Prepare rich, moisture-retentive soil
Cardamom likes fertile soil that holds moisture but does not stay soggy. A good mix should feel rich, airy, and well drained. For containers, use a high-quality potting mix amended with compost, coco coir, fine bark, or leaf mold. The goal is soil that stays evenly moist without turning into swamp pudding.
A slightly acidic to neutral soil is generally suitable. If planting outdoors, improve the soil with compost or well-rotted organic matter. Heavy clay should be loosened and amended to improve drainage. Standing water around cardamom roots can lead to rot, and root rot is basically the villain in this tropical garden movie.
6. Choose a deep container with drainage
If you are growing cardamom in a pot, choose a container with drainage holes. A pot at least 10 to 12 inches deep is a good starting point for a young plant, but larger containers are better as the rhizomes expand. Cardamom grows in clumps, so it appreciates room to spread.
Use a saucer only if you empty it after watering. Letting the pot sit in water can suffocate roots. If you want to increase humidity, place the container on a pebble tray filled with water, making sure the pot itself sits above the waterline rather than directly in it.
7. Plant at the correct depth
If planting a nursery-grown cardamom plant, set it at the same depth it was growing in its original pot. Gently loosen the outer roots if they are circling. Fill around the root ball with your prepared soil mix and water thoroughly.
If planting a rhizome division, place it horizontally in the soil with any visible shoots or buds pointing upward. Cover lightly with soil, keeping the rhizome moist but not buried too deeply. New growth may take time, so resist the urge to dig it up every three days to check whether “anything is happening.” Gardening rewards patience, not rhizome harassment.
8. Keep the soil consistently moist
Water is one of the biggest keys to growing cardamom successfully. The plant likes consistent moisture and does not tolerate drought well. Water when the top inch of soil begins to feel slightly dry, but before the whole pot dries out.
During warm months, container-grown cardamom may need frequent watering. Indoors during winter, growth slows and the plant may need less. Always adjust based on the soil, not the calendar. If the leaves curl, brown, or droop, check moisture and humidity. If the soil smells sour or feels constantly waterlogged, reduce watering and improve drainage.
9. Increase humidity around the plant
Cardamom loves humid air. Dry indoor conditions can cause brown leaf tips and slow growth. To raise humidity, group tropical plants together, use a pebble tray, run a humidifier, or grow cardamom in naturally humid rooms such as a bright bathroom or kitchen.
Misting can help briefly, but it is not a complete humidity solution. A humidifier is usually more effective, especially during winter when indoor heating dries the air. Your cardamom does not need a spa day, exactly, but it does appreciate spa-adjacent vibes.
10. Feed during active growth
Cardamom is a leafy tropical plant, so it benefits from regular feeding during spring and summer. Use compost, worm castings, or a balanced organic fertilizer. A diluted liquid fertilizer applied monthly during active growth can also work well.
Avoid overfertilizing. Too much fertilizer can burn roots or produce weak, floppy growth. If growing in a container, nutrients wash out over time, so light but consistent feeding is better than one heroic fertilizer dump. Plants enjoy meals, not chemical buffets.
11. Protect cardamom from cold
Bring container-grown cardamom indoors before nights become chilly. Do not wait for frost warnings. Once temperatures begin dipping into the low 50s°F, it is time to move the plant to a protected location.
When transitioning indoors, inspect leaves and soil for pests. Place the plant in bright indirect light, away from heaters, drafty windows, and cold doors. Indoor growth may slow during winter, which is normal. Keep the soil lightly moist and humidity as high as practical.
12. Watch for pests and leaf problems
Cardamom is not usually a pest magnet, but indoor plants may attract spider mites, thrips, mealybugs, or scale. Check the undersides of leaves regularly. Early pest problems are much easier to manage than full-blown bug apartment complexes.
For minor pests, rinse leaves with water or wipe them gently with a damp cloth. Insecticidal soap may help when used according to label directions. Improve airflow, avoid soggy soil, and remove dead leaves to reduce disease pressure. Yellow leaves may signal overwatering, poor drainage, nutrient issues, or low light.
13. Prune old or damaged stems
Cardamom does not need heavy pruning. Remove dead, damaged, or yellowing leaves as needed. Cut old stems close to the base when they decline. This keeps the plant tidy and encourages fresh growth from the rhizomes.
Use clean scissors or pruning shears to reduce the chance of spreading disease. If your plant becomes crowded in a container, pruning the top will not solve everything. Eventually, you may need to divide the rhizomes or move the plant into a larger pot.
14. Be patient about flowers and pods
Cardamom may take several years to mature enough to flower. Outdoor plants in warm, humid, tropical conditions have the best chance of producing blooms and pods. Indoor plants often remain foliage plants because they do not receive the exact combination of heat, humidity, seasonal cues, and pollination needed for fruiting.
If flowers appear, they may form near the base of the plant on flowering shoots. Pollination may be handled by insects outdoors. Indoors, you may need to hand-pollinate with a small brush. Pods develop after successful pollination and should be harvested when mature but before they split open.
15. Harvest and dry cardamom pods carefully
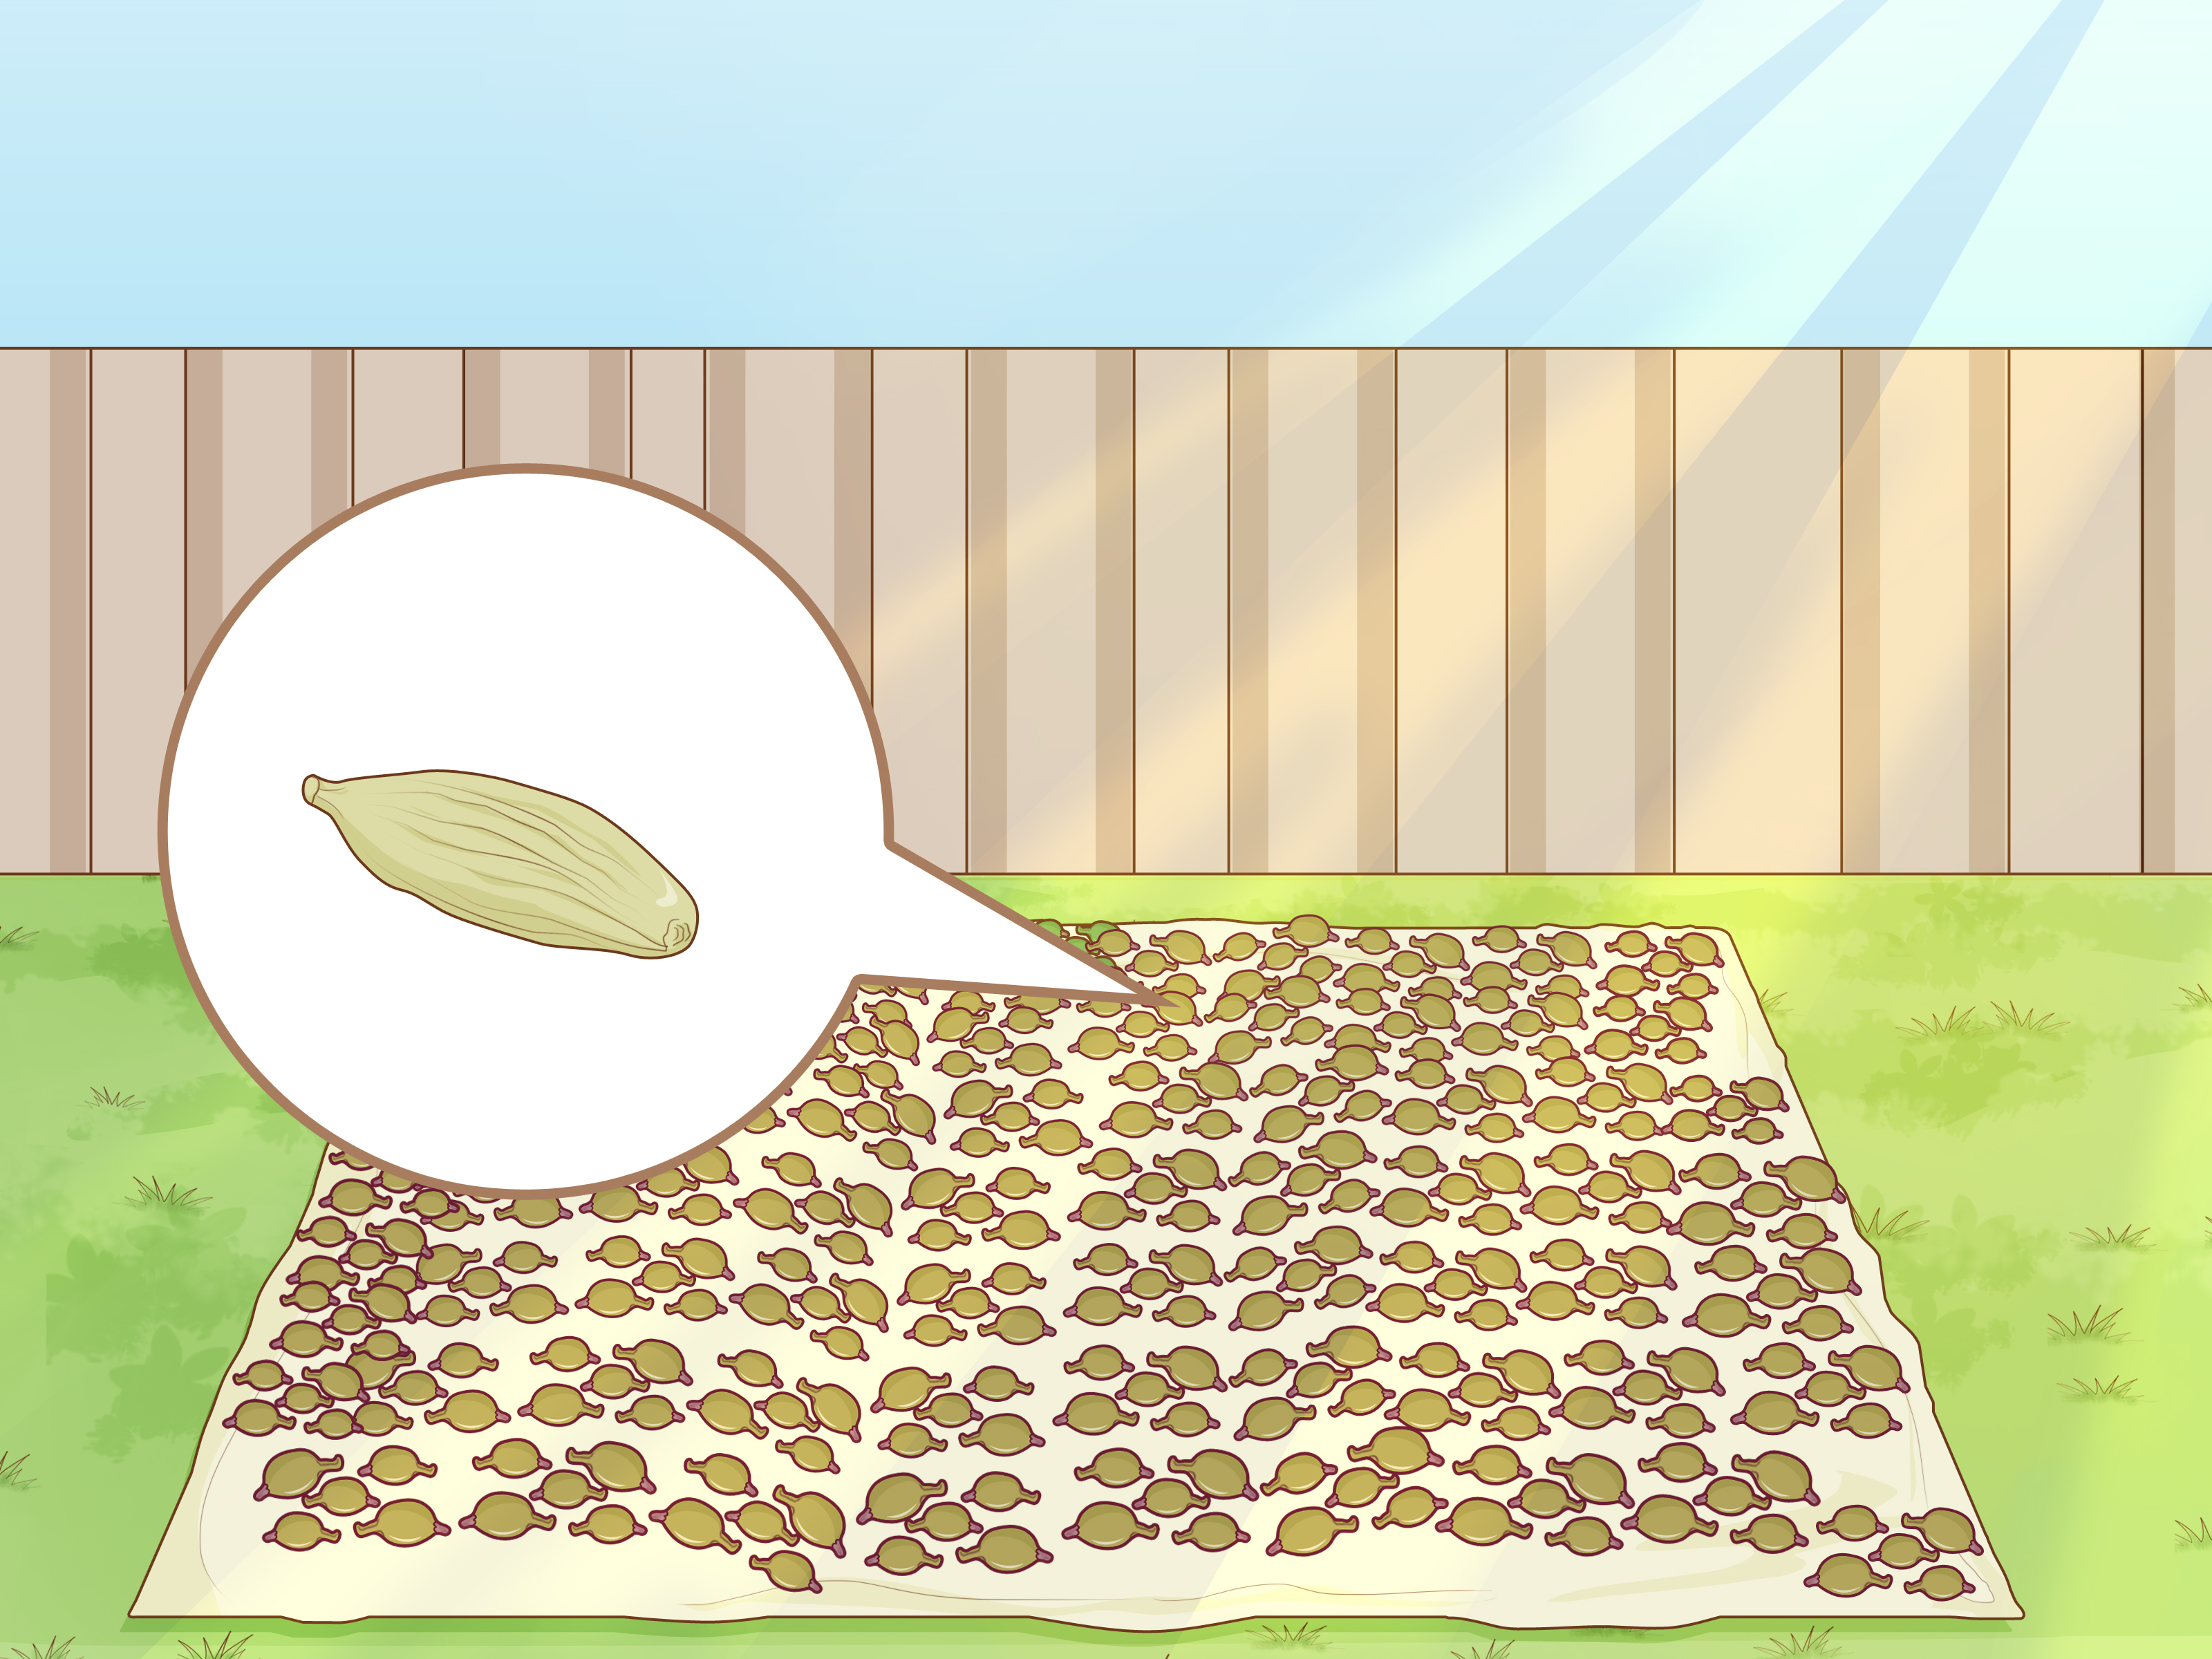
If your plant produces pods, harvest them by hand when they are full-sized and beginning to mature, but still green. Waiting too long can cause pods to split, releasing seeds and reducing quality. After harvesting, dry the pods in a warm, airy place away from harsh direct sunlight.
Store dried pods in an airtight container. Whole pods keep their aroma longer than ground cardamom. Crush or grind the seeds only when needed for the best flavor. Homegrown cardamom in your tea or baked goods is a special kind of gardening victorythe sort that deserves bragging rights, even if the harvest fits in a tablespoon.
Best Conditions for Growing Cardamom
Light
Cardamom grows best in bright filtered light or partial shade. Avoid intense afternoon sun, especially in hot climates. Indoors, bright indirect light is ideal.
Temperature
Warmth is essential. Cardamom prefers tropical conditions and should be protected from temperatures below 50°F. It grows best when temperatures remain comfortably warm and stable.
Soil
Use rich, organic, well-draining soil that retains moisture. Compost, leaf mold, fine bark, and coco coir can improve texture and moisture balance.
Water
Keep the soil consistently moist, but never waterlogged. Container plants need careful watering because pots dry faster than garden soil but can also trap excess moisture if drainage is poor.
Humidity
High humidity helps cardamom thrive. Indoors, use a humidifier, pebble tray, or plant grouping to reduce dry-air stress.
Can You Grow Cardamom Indoors?
Yes, you can grow cardamom indoors, but expectations matter. Indoors, cardamom is usually grown as a tropical foliage plant rather than a reliable spice crop. It can still be beautiful, aromatic, and satisfying. The leaves may release a gentle fragrance when brushed or crushed, and the plant brings a lush, exotic look to a room.
For the best indoor results, place cardamom in bright indirect light, keep the soil evenly moist, raise humidity, and avoid cold drafts. A large pot gives the rhizomes space to grow. During summer, you can move the plant outdoors to a shaded patio, then bring it back inside before nights cool down.
Common Mistakes When Growing Cardamom
Using old grocery-store seeds
Seeds from dried spice pods are often not viable. Fresh seed is much better if you want to try germination.
Letting the soil dry out completely
Cardamom does not enjoy drought. Dry soil can lead to leaf browning, curling, and stalled growth.
Growing in direct harsh sun
Cardamom is an understory plant. Too much sun can burn leaves and stress the plant.
Ignoring humidity
Dry air is one of the most common indoor problems. Brown tips often mean the plant wants more moisture in the air.
Expecting quick harvests
Cardamom is slow. It may take years to flower, and indoor plants may never produce pods. Grow it for the plant first and the spice second.
How to Propagate Cardamom
The easiest way to propagate cardamom is by division. When a mature plant becomes crowded, remove it from the pot and gently separate the rhizomes into sections. Each division should have healthy roots and at least one growing shoot or bud. Replant divisions into fresh, moist potting mix and keep them warm and humid while they recover.
Seed propagation is possible but less predictable. Use fresh seeds, soak them in lukewarm water for about a day, and sow them shallowly in a moist seed-starting mix. Keep the tray warm and humid. Germination can be slow, so patience is required. If nothing happens quickly, do not panic. Cardamom seeds are not known for their sense of urgency.
Experience-Based Growing Tips for Cardamom
After working with tropical container plants, one lesson becomes obvious: cardamom grows best when you stop treating it like a Mediterranean herb. It is not rosemary. It is not thyme. It does not want to bake in dry sun and then be forgotten for a week. Cardamom is closer to ginger in personality: warm, thirsty, leafy, and happiest when the air feels a little like a greenhouse.
A practical experience for beginners is to start with a live plant instead of seeds. Seeds are tempting because they are inexpensive, but many gardeners lose weeks waiting for old seeds to sprout. A nursery plant gives you a stronger beginning and lets you learn the plant’s watering and light preferences right away. Once you understand how cardamom behaves, seed experiments become more fun and less frustrating.
Another useful tip is to monitor the leaves. Cardamom leaves are excellent messengers. Brown tips often point to dry air, inconsistent watering, or mineral buildup from tap water. Yellowing leaves may mean too much water, poor drainage, or low light. Crispy patches can suggest sunburn. Instead of guessing wildly, check the growing conditions one by one: soil moisture, light exposure, pot drainage, humidity, and temperature.
Container size also matters more than many people expect. A small pot may keep the plant alive, but a larger pot supports better root and rhizome development. However, do not place a tiny plant in an enormous container filled with heavy wet soil. That can create soggy conditions. Step up gradually as the plant grows. Think of repotting as upgrading apartments, not moving a seedling into a mansion with a leaking basement.
For indoor growers, the best improvement is often humidity. A humidifier near tropical plants can make a dramatic difference, especially during winter. Pebble trays help a little, but they do not raise humidity as effectively as many people hope. Grouping plants together also helps create a small humid microclimate. If your home is very dry, cardamom will survive better when it is not standing alone like a forgotten palm in an office lobby.
Outdoor summer care can boost growth in cooler regions. Move the plant outside only after nights are reliably warm. Place it in shade first, then gradually increase light if needed. Direct sun can shock leaves that formed indoors. During summer, cardamom may grow faster because it receives better airflow, natural humidity, and stronger filtered light. Before bringing it back indoors, inspect carefully for insects. Nobody wants to import a spider mite festival.
Water quality can make a difference too. If your tap water is very hard or treated heavily, occasional flushing of the pot can help prevent mineral buildup. Water deeply until excess drains from the bottom, then let the pot drain completely. Rainwater or filtered water may reduce leaf-tip browning in sensitive indoor plants.
Finally, adjust your definition of success. If your cardamom flowers and produces pods, fantastic. You have earned a gardener’s gold star. But if it simply grows into a lush, fragrant foliage plant, that is still a successful result. Many gardeners in non-tropical climates grow cardamom for its beauty rather than harvest. The plant adds a soft tropical look, connects your kitchen spice jar to a living plant, and gives you a daily reminder that gardening is partly science, partly patience, and partly learning not to overwater things because you love them too much.
Conclusion
Learning how to grow cardamom is really about learning how to recreate a tropical forest edge in miniature. The plant needs warmth, filtered light, rich soil, steady moisture, and high humidity. It is not the fastest spice crop, and it may not produce pods indoors, but it is a rewarding plant for patient gardeners who enjoy growing something unusual.
Start with a healthy plant or fresh rhizome, keep it warm, protect it from direct harsh sun, and never let the soil become bone dry. Feed lightly during active growth, watch for pests, and give it room to spread. With time and the right conditions, cardamom can become a beautiful, aromatic addition to your indoor jungle or tropical garden.