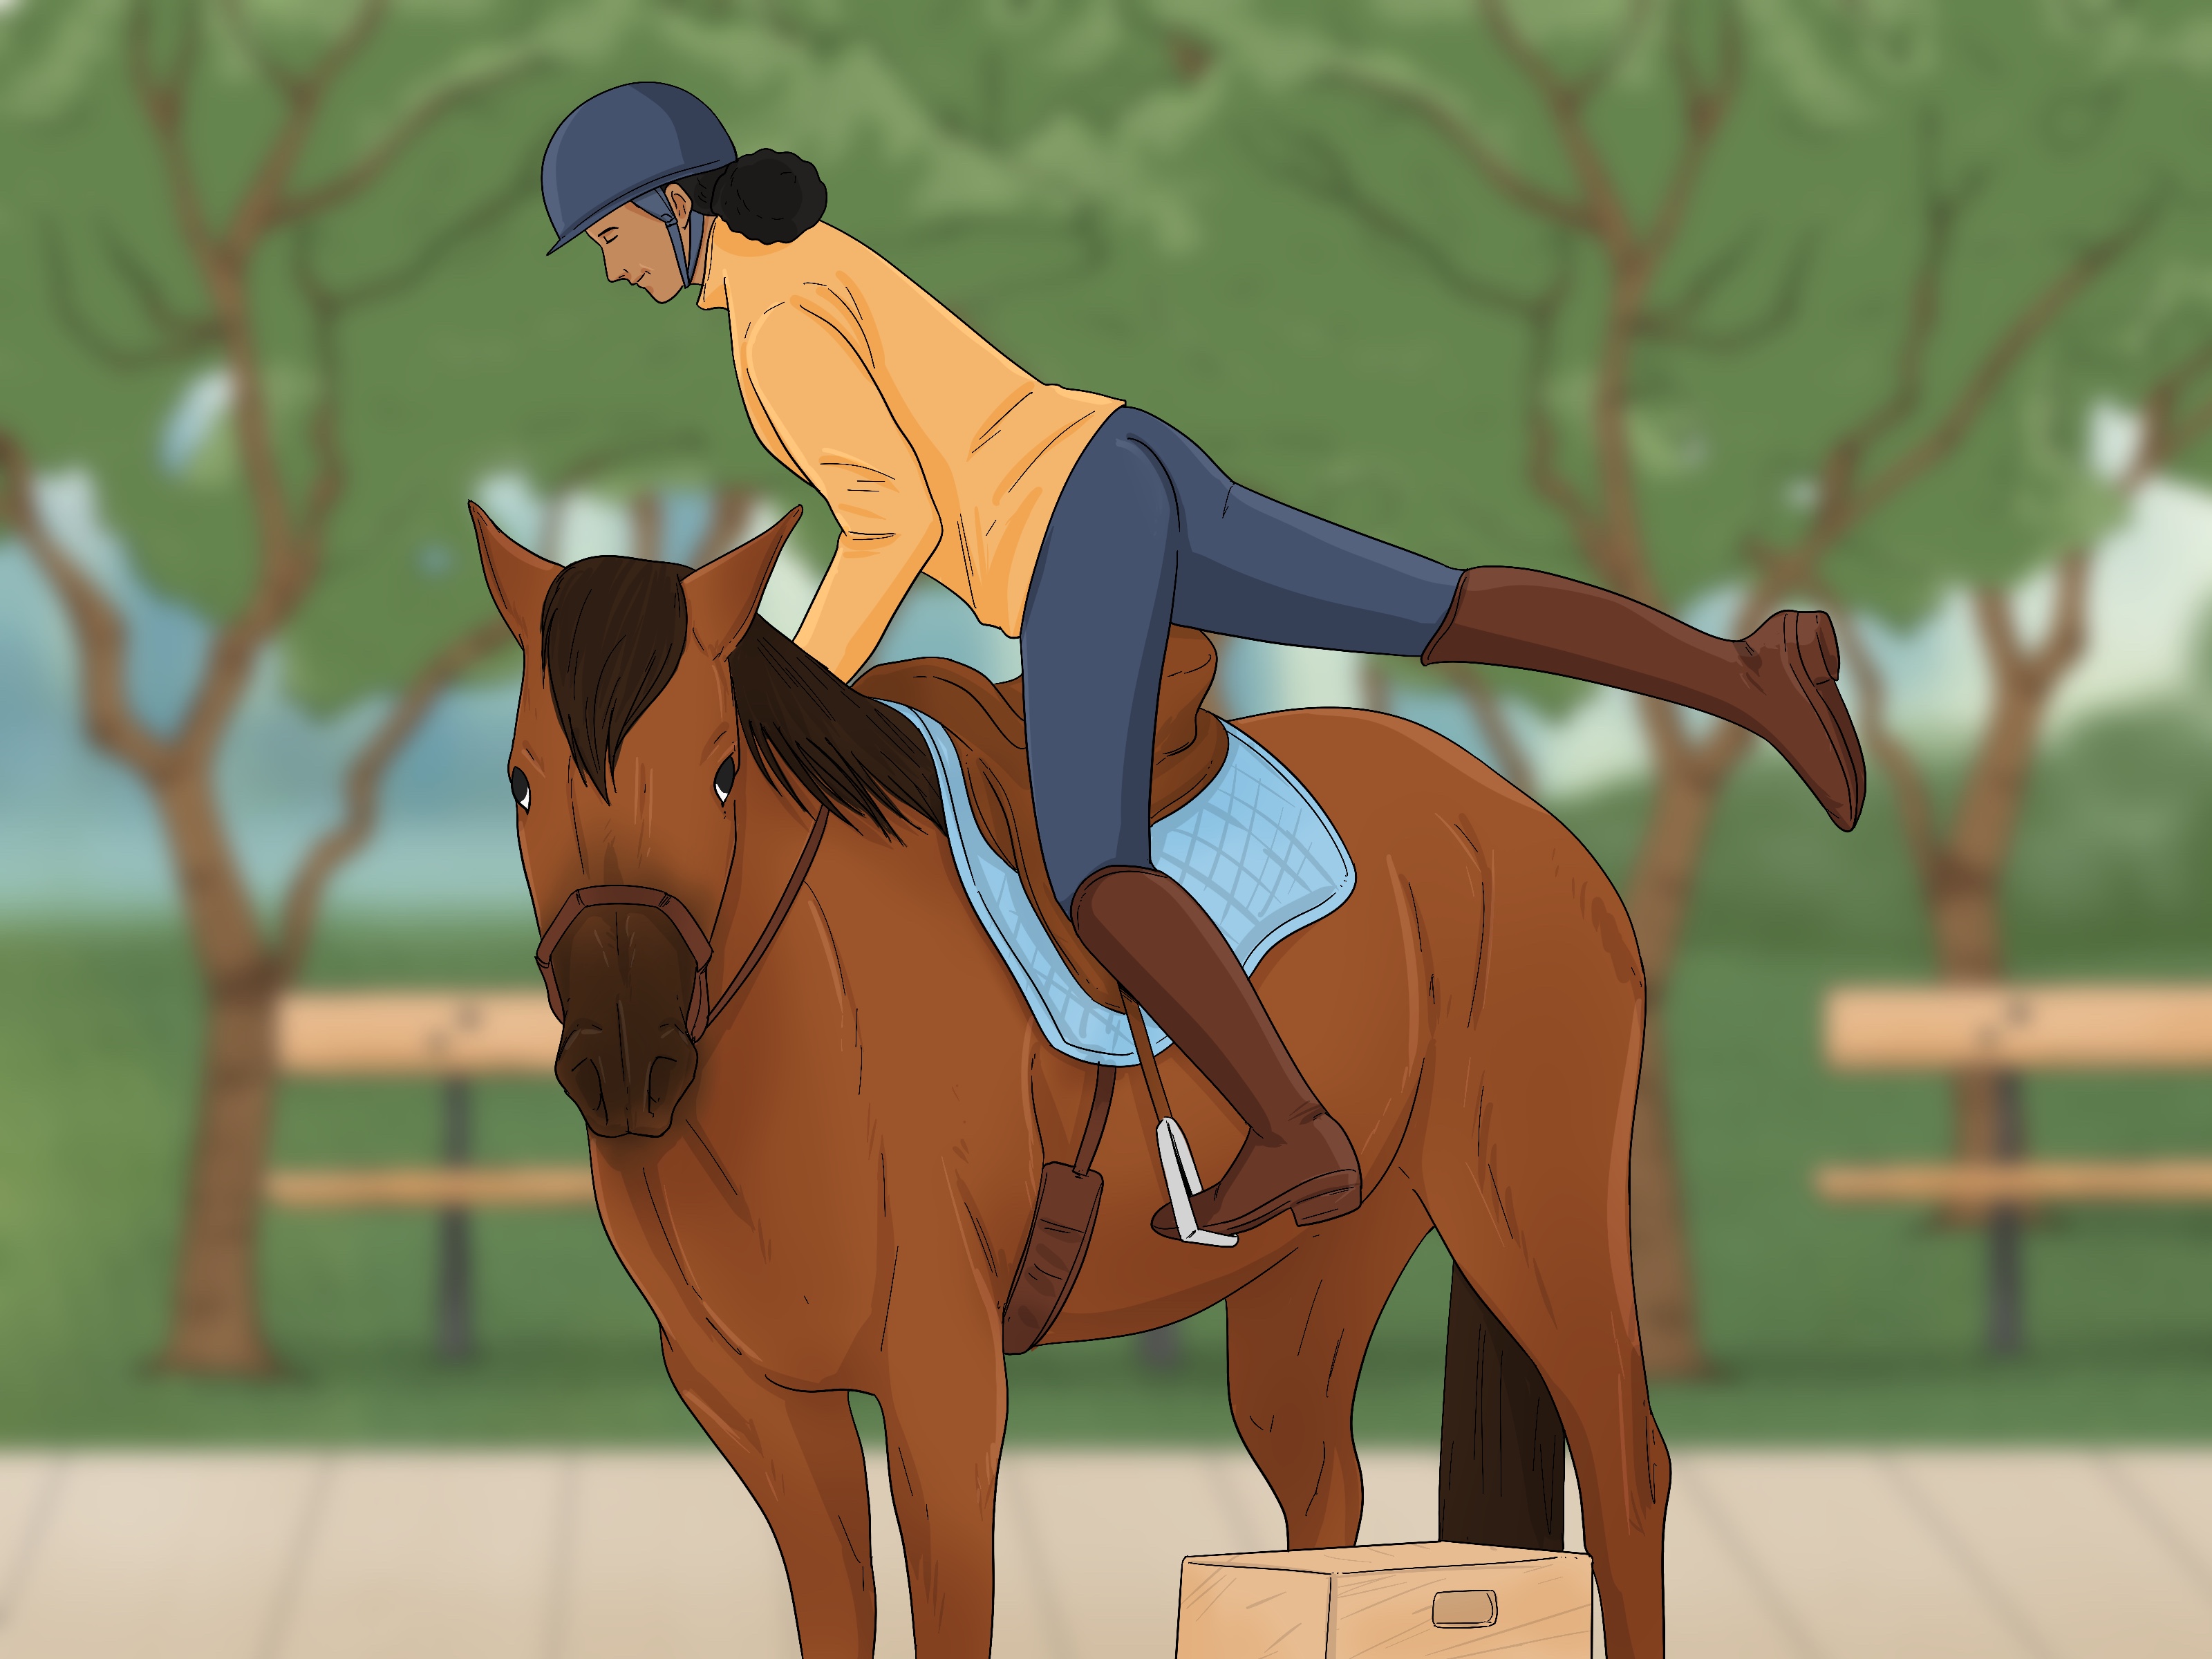
Saddling a horse western-style looks easy when an experienced rider does it. The pad lands in the right spot, the saddle settles like it has GPS, the cinch gets snug without drama, and the horse stands there as if posing for a ranch calendar. Then a beginner tries it and suddenly the saddle pad is crooked, the latigo looks like a spaghetti project, and the horse has developed strong opinions.
The good news? Learning how to saddle a horse western is not about brute strength or cowboy magic. It is about a calm routine, correct saddle placement, clean tack, and a horse-first mindset. A western saddle is heavier than an English saddle and includes parts such as the horn, fenders, latigo, off billet, cinch, and sometimes a back cinch or breast collar. Each piece has a job. When everything is positioned correctly, the saddle helps distribute weight, improves rider security, and keeps the horse comfortable.
This guide walks through 13 practical steps for tacking up with a western saddle. It is written for new riders, returning riders, parents helping young equestrians, and anyone who has ever looked at a western cinch and thought, “Surely this was designed by someone who also enjoyed puzzles.”
Before you begin, remember one rule: if you are new to horses, learn with a qualified instructor, trainer, or experienced horse person nearby. Horses are powerful animals, and even the kindest one can spook, shift, or step sideways at the worst possible moment. Your goal is not just to get the saddle on. Your goal is to do it safely, quietly, and comfortably for the horse.
What You Need Before Saddling a Horse Western
Before you start, gather your equipment so you are not wandering around the barn with half a horse ready and half your tack still missing. You will need a properly fitted western saddle, a clean western saddle pad or blanket, a front cinch, a latigo, an off billet, and possibly a back cinch, breast collar, or tie-down depending on the horse, discipline, and tack setup. You should also have basic grooming tools: a curry comb, stiff brush, soft brush, hoof pick, and clean towel if the horse is sweaty or dusty.
Inspect the tack before it touches the horse. Look for cracked leather, weak stitching, loose buckles, dirty fleece, burrs stuck in the pad, or a cinch that feels stiff, rough, or caked with sweat. A tiny piece of grit under a saddle pad can become a big irritation during a ride. Horses cannot say, “Excuse me, your equipment is pinching my ribcage.” They usually communicate with pinned ears, tail swishing, stepping away, refusing to stand, or acting “cinchy.” Listen early.
How to Saddle a Horse Western: 13 Steps
1. Secure the Horse Safely
Start by haltering the horse and tying it with a safe quick-release knot, using cross-ties, or having a knowledgeable handler hold the lead rope. The horse should be calm, standing on level ground, and positioned in an area with enough room for you to move around safely. Never tie a horse by the bridle, and never trap yourself between the horse and a wall, gate, trailer, or feed bin. Horses are experts at turning a tiny shuffle into a full-body barn dance.
Stand near the horse’s shoulder when working, not directly behind it. Speak calmly, move with purpose, and avoid sudden flapping motions with pads, straps, or dangling cinches. If the horse is nervous, pause and let it relax before continuing.
2. Groom the Back, Belly, and Cinch Area
Good saddling begins with good grooming. Use a curry comb to loosen dirt and dried sweat, then brush the horse’s back, withers, sides, and belly where the cinch will sit. Pay special attention behind the elbow and along the girth area. Dirt, sand, sweat, or hair clumps under the cinch can cause rubbing, soreness, and girth galls.
Run your hand over the horse’s back and sides. Feel for bumps, heat, swelling, cuts, or tender spots. If the horse flinches, drops its back, pins its ears, or reacts strongly, do not ignore it. A horse that is sore before saddling is not going to become more comfortable after you add leather, pressure, and a rider.
3. Check the Saddle Pad
Use a clean, dry western saddle pad that fits both the horse and the saddle. Shake it out before placing it on the horse. Check the underside for burrs, shavings, dried mud, or stiff sweat marks. A pad may look innocent from the top while hiding a tiny cactus-level villain underneath.
The pad should be large enough to extend beyond the front and back edges of the saddle. It should also have enough thickness and structure for the horse’s back, the saddle design, and the type of riding you plan to do. A casual arena ride and a long mountain trail ride may require different pad considerations.
4. Place the Pad Forward, Then Slide It Back
Stand on the horse’s left side, also called the near side. Place the saddle pad slightly forward over the withers, then slide it backward into position. Sliding it back smooths the hair in the natural direction of growth and helps prevent rubbing. Do not place the pad too far back and shove it forward. That pushes the hair the wrong way and can create discomfort.
The front of the pad should sit high enough to protect the wither area and allow the saddle to rest correctly behind the horse’s shoulder blade. Make sure the pad is even on both sides. Step back and look. If one side hangs much lower than the other, fix it now before the saddle adds weight and makes the problem more annoying.
5. Prepare the Western Saddle Before Lifting
A western saddle is heavy, so prepare it before you swing it onto the horse. Place the cinch and off-side straps over the saddle seat or horn so they do not slap the horse’s side. Hook or lay the right stirrup over the horn or seat to keep it out of the way. Nothing says “bad first impression” like accidentally whacking a horse with a swinging stirrup.
Make sure no straps are dragging. A dangling cinch can trip you, startle the horse, or get caught under your boot. Hold the saddle securely with one hand near the horn or fork and the other near the cantle. Lift with your legs, not your back.
6. Lift the Saddle High and Set It Down Gently
From the left side, lift the saddle high enough to clear the horse’s spine and pad. Do not drag the saddle across the horse’s back. Place it gently on top of the pad, slightly forward of its final position, then let it settle back naturally into place. The saddle should not slam down like luggage at an airport carousel.
If the horse reacts, stay calm. A quiet pause is better than rushing. Green horses, sensitive horses, and horses with past discomfort may need extra patience. The saddle should be introduced smoothly and predictably every time.
7. Position the Saddle Behind the Shoulder
Correct western saddle placement matters. The saddle should sit behind the horse’s shoulder blade, not jammed on top of it. If the saddle is too far forward, it can interfere with shoulder movement. If it is too far back, it can place pressure where the horse is not built to carry it.
A helpful method is to place the saddle slightly forward, then slide it back until it naturally stops in the pocket behind the shoulder. Check that the saddle sits level from front to back. A saddle that tips downhill, bridges, rocks, or pinches may not fit properly. Saddle fit is a bigger subject than one article can fully cover, but the basic rule is simple: if the saddle looks wrong, feels unstable, or makes the horse uncomfortable, get help before riding.
8. Lift the Pad Into the Gullet
After the saddle is in place, gently lift the front of the saddle pad up into the gullet of the saddle. This creates a small air channel over the withers and helps prevent the pad from pressing tightly downward. The pad should not be stretched flat across the withers like a fitted bedsheet. Your horse’s back is not a hotel mattress.
Check both sides to make sure the pad is smooth, centered, and not wrinkled. Wrinkles under tack can create pressure points. A few seconds of checking now can prevent a sore-backed horse later.
9. Move to the Right Side and Drop the Cinch
Walk calmly around the front of the horse, not directly behind it, and move to the right side. Lower the cinch and off-side straps carefully. Make sure the cinch is not twisted. The cinch should hang flat and clean, with the ring positioned correctly near the horse’s heart girth area.
If your saddle has a back cinch, let it down as well, but do not fasten it yet. The front cinch is secured first. Check that the off billet is properly attached and adjusted. If the off billet is too long or too short, the cinch rings may end up in awkward positions that create rubbing or poor stability.
10. Return to the Left Side and Bring the Cinch Under
Return to the left side and reach under the horse’s belly for the cinch. Keep your head out from under the horse and avoid kneeling. If the horse shifts, you want your feet ready to move. Pull the cinch up smoothly, making sure it lies flat against the horse.
The cinch should sit in the natural girth groove, usually just behind the horse’s elbows, depending on the horse’s build and the saddle’s rigging. Do not yank it forward into the elbow area or let it slide too far back. A poorly placed cinch can rub, pinch, or allow the saddle to shift.
11. Thread the Latigo and Start the Cinch
Thread the latigo through the cinch ring, then back up through the saddle’s rigging ring or dee. Depending on the length of the latigo and the saddle setup, you may loop it more than once. Keep the latigo flat. Twisted leather creates uneven pressure and looks suspiciously like you lost a fight with your tack.
At this stage, tighten only enough to hold the saddle in place. Do not crank the cinch tight all at once. Horses may brace, hold their breath, or become anxious if the cinch is pulled suddenly. A gradual approach is safer and kinder.
12. Tighten the Cinch Gradually
Tighten the cinch in stages. First, make it lightly snug. Then pause, smooth the skin near the cinch area, and allow the horse to relax. You can walk the horse a few steps, then check again. Many riders tighten the cinch once while saddling, once before mounting, and once more after a few minutes of walking.
The cinch should be snug enough to keep the saddle from slipping, but not so tight that it restricts breathing or causes discomfort. A common practical check is whether you can slide flat fingers between the cinch and the horse. This is not a perfect scientific measurement, because horses and tack vary, but it helps beginners avoid both extremes: dangerously loose and unfairly tight.
13. Secure Extra Straps and Do a Final Safety Check
Once the front cinch is secure, fasten the latigo through the keeper or tie it properly so no loose strap dangles. If using a back cinch, attach it after the front cinch. The back cinch should be adjusted so it lies close to the horse’s belly without hanging low. A loose back cinch can catch a hoof, branch, or arena object. It should also be connected to the front cinch with a hobble strap to keep it from sliding backward.
Before mounting, check everything: saddle centered, pad smooth, cinch snug, latigo secure, stirrups free, breast collar adjusted if used, and no straps hanging. Step back and look from both sides. Then gently rock the saddle. It should not roll dramatically or shift out of place. Recheck the cinch after the horse walks a short distance and again before serious work.
Common Western Saddling Mistakes to Avoid
Putting the Saddle Too Far Forward
One of the most common beginner mistakes is placing the western saddle too far forward. This can block shoulder movement and make the horse feel tight or irritated. The saddle should settle behind the shoulder, not ride up the neck like it is trying to become a scarf.
Skipping the Grooming Step
Skipping grooming may save three minutes, but it can cost your horse comfort. Dirt and dried sweat under tack create friction. A clean back and cinch area are basic signs of good horsemanship.
Overtightening the Cinch Immediately
Some riders pull the cinch tight in one big effort, then wonder why the horse pins its ears the next time it sees a saddle. Tighten gradually. A horse that trusts the process is usually easier to saddle, easier to mount, and easier to ride.
Ignoring Saddle Fit
A beautiful saddle that does not fit is still a bad saddle for that horse. Western saddles come in different tree widths, skirt shapes, rigging positions, and seat styles. Watch for dry spots, white hairs, swelling, soreness, or behavior changes after riding. These can point to fit or pressure problems.
Experience Notes: What Saddling Western Teaches You Over Time
The first time many riders learn how to saddle a horse western, they focus almost entirely on the equipment. Where does the pad go? Which ring gets the latigo? Why is the saddle heavier than expected? Why does the cinch have so many ways to look almost correct but not actually correct? Those questions are normal. Western tack has a lot of parts, and at first, your brain may feel like it is trying to assemble furniture without the instruction booklet.
With practice, though, saddling becomes less about memorizing straps and more about reading the horse. You start noticing whether the horse stands squarely or shifts away when the pad appears. You notice if the ears flick back when your hand touches the girth area. You notice if the horse exhales when you pause instead of rushing the cinch. These small details matter. They are the difference between simply putting tack on a horse and actually preparing a horse to be ridden.
One useful experience is learning that every horse has a slightly different “normal.” Some horses stand like statues while being saddled. Others turn their heads to supervise your work, as if they are the barn manager and you are on probation. A round-bodied horse may need extra attention to cinch snugness and saddle stability. A high-withered horse may need careful pad placement and wither relief. A sensitive horse may need slower tightening and more reassurance. The process is the same, but the feel changes from horse to horse.
Another lesson is that neatness is not just about appearances. A flat latigo, centered pad, clean cinch, and secured strap are safety details. Loose leather can slap, catch, or distract. A wrinkled pad can rub. A twisted cinch can create uneven pressure. A saddle that is “probably fine” before mounting may become very unfine when the rider puts weight in the stirrup. Good riders are not picky because they enjoy wasting time. They are picky because horses have long memories and sensitive backs.
Many beginners also discover that the final cinch check is not optional. A horse may relax after walking a few steps, causing the cinch to feel looser than it did at the tie rail. This is why experienced riders check again before getting on and again after warming up. It is not paranoia; it is prevention. Nobody wants the saddle sliding sideways during a mount, especially not the rider, the horse, or the audience pretending not to laugh.
Over time, saddling becomes a quiet conversation. You bring the tack, but the horse gives feedback. You learn to slow down, organize your hands, and respect the routine. Western saddling is not just a pre-ride chore. It is the first part of the ride, the moment where trust, comfort, and safety begin.
Conclusion
Learning how to saddle a horse western takes patience, practice, and attention to detail. The basic process is simple: secure the horse, groom carefully, place the pad correctly, lift the saddle gently, position it behind the shoulder, fasten the cinch gradually, and check everything before mounting. The deeper skill is learning to notice how the horse responds at every stage.
A well-saddled horse is more comfortable, more confident, and better prepared to work. A well-prepared rider is safer and more relaxed. Western saddling may begin with leather, wool, and buckles, but it ends with horsemanship. Do it right, and both you and your horse start the ride on the same pagewhich is much better than starting with a crooked pad and a suspicious side-eye.