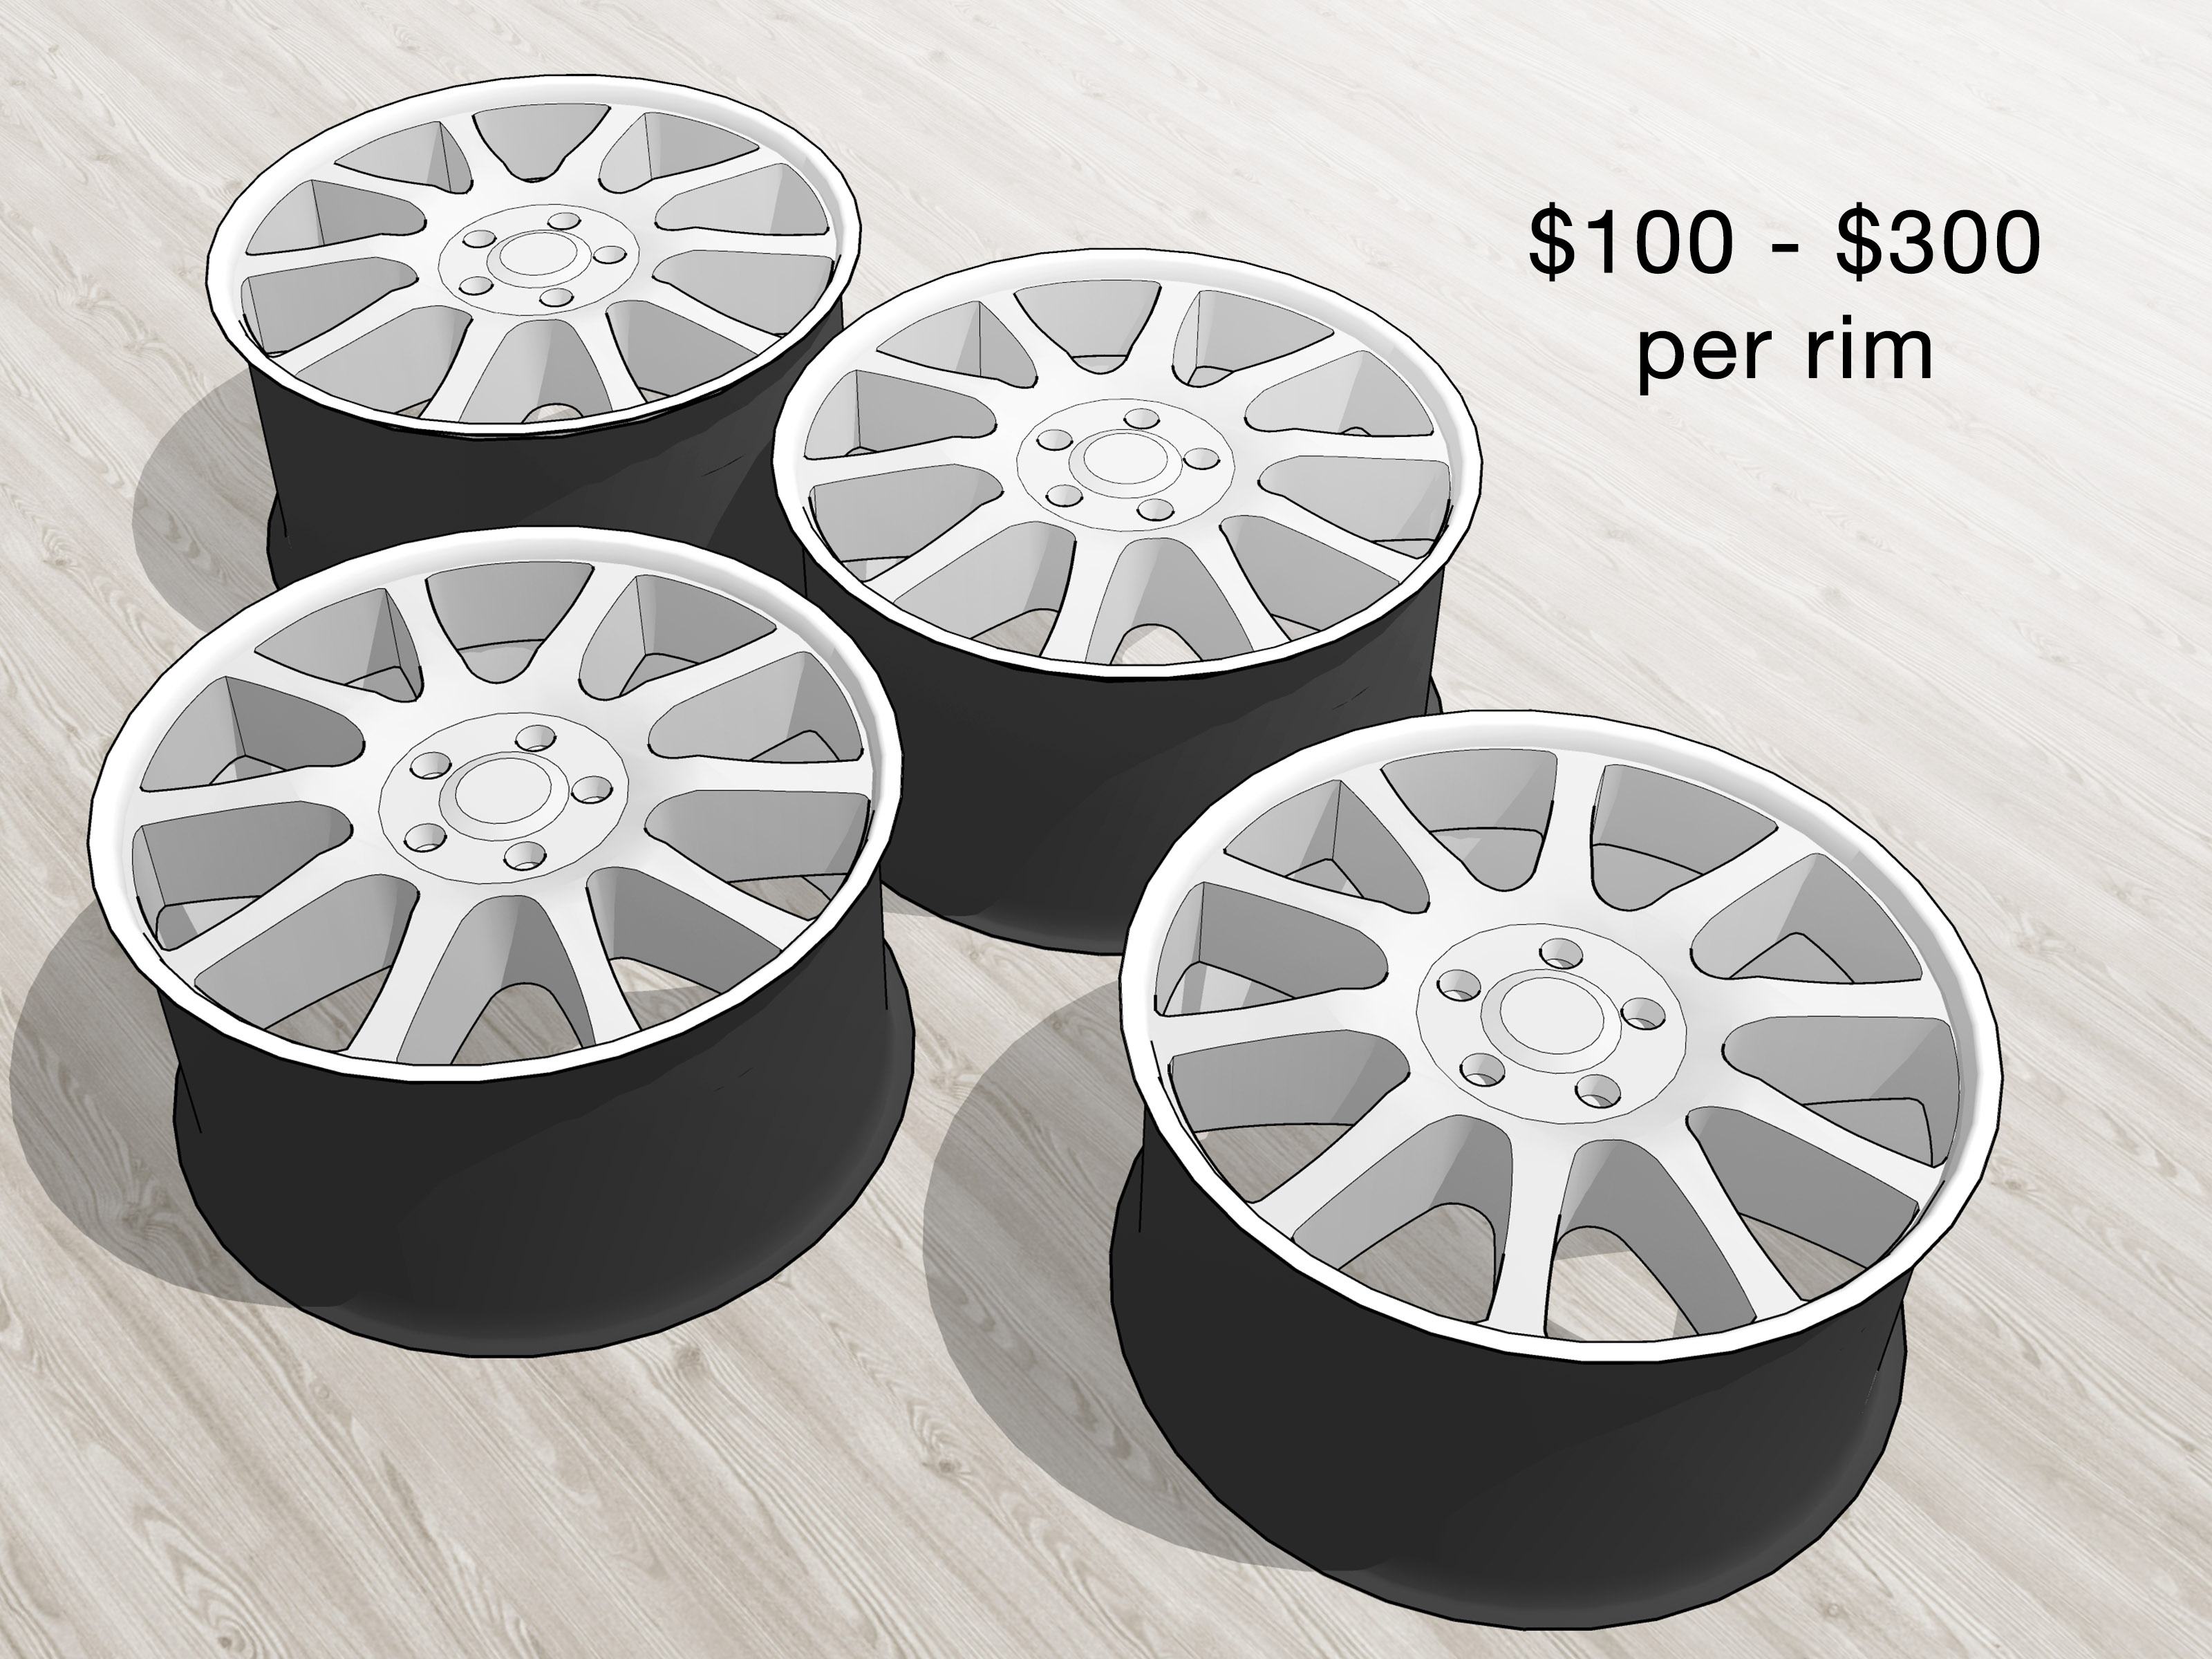
Buying new rims (okaywheels, but we’ll let “rims” have its moment) is one of the fastest ways to change how your car looks and feels.
It’s also one of the fastest ways to accidentally create a brand-new hobby called “Why is my steering wheel vibrating at 65 mph?”
The good news: selecting the right rims isn’t mysteriousit’s just a checklist. The best wheel choice is the one that
fits correctly, supports the load, clears your brakes, and matches what you want the car to do.
Style matters, surebut fitment is the difference between “clean upgrade” and “tow truck cameo.”
Follow these 11 steps and you’ll shop like a pro, talk to tire/wheel stores with confidence, and avoid the classic mistakes
that cost money, time, and sometimes your sanity.
Step 1: Start with your factory wheel specs (your car already did the homework)
Before you fall in love with a set of wheels online, grab your car’s baseline specs. Your factory setup is the reference point
for everything: diameter, width, bolt pattern, offset, and tire size. You can usually find the tire size on the driver’s door jamb sticker
or your current tire sidewall.
Why start here? Because the goal is rarely “random wheel that looks cool.” The goal is “wheel that looks cool and doesn’t rub,
doesn’t mess up handling, and doesn’t trigger warning lights.”
Quick tip
Take a photo of your door-jamb tire label and your current wheels. Bring it to a wheel shop (or keep it open while shopping).
That one photo saves a shocking amount of back-and-forth.
Step 2: Decide what you’re optimizing for (looks, performance, comfort, or durability)
Wheels aren’t just decoration; they affect ride quality, steering feel, and even how easily potholes can ruin your week.
Ask yourself what “better” means for you:
- Style upgrade: You want a cleaner design, different finish, or a more aggressive stance.
- Performance feel: You want sharper turn-in and a sportier response.
- Comfort & durability: You want to keep a taller sidewall for cushioning and pothole protection.
- Seasonal setup: You want a dedicated winter wheel set to protect your nicer wheels from salt.
This matters because “bigger wheels” can look awesome, but bigger wheels often mean lower-profile tiresless sidewall,
less cushioning, and usually more cost. Pick your priority before the shopping cart picks it for you.
Step 3: Choose the rim diameter (and understand the plus-size tradeoff)
Rim diameter is the number everyone notices first (17s, 18s, 20s…). It’s also the number that can quietly change your driving experience.
Many people “plus size” by increasing wheel diameter while reducing tire sidewall height to keep the overall tire diameter close to stock.
Example: a common “Plus 1” move
If your car came with 17-inch wheels, you might go to 18-inch wheels and choose a tire with a slightly shorter sidewall so the overall
height stays similar. That helps keep speedometer readings and vehicle systems happier.
What changes when you go bigger?
- Looks: More wheel, less sidewall. Many people love the modern, sporty look.
- Ride comfort: Often worse. Less sidewall = less “tire suspension.”
- Damage risk: Often higher. Potholes are less forgiving with low-profile tires.
- Cost: Often higher for both wheels and tires.
If you want the look without sacrificing comfort too much, consider a modest change (or even staying at factory diameter and changing design/finish).
Step 4: Pick the rim width that matches the tire you want (not just the look)
Wheel width is where “fitment” starts to feel real. A wider wheel can support a wider tire (and sometimes a squarer sidewall),
but too wide can create rubbing issues, steering heaviness, or awkward tire stretch (which looks edgy… until it rides like a shopping cart).
Think of wheel width and tire width as a partnership. You want a combo that fits the wheel well, clears suspension parts,
and keeps tire performance predictable.
Practical guidance
- Stay near your factory width if you want the safest “no drama” upgrade.
- Go wider only when you know the tire size you want and you’ve checked clearance and offset.
- If you’re unsure, a reputable tire/wheel retailer can recommend a width range for your target tire size.
Step 5: Confirm the bolt pattern (because “5-lug” is not a complete sentence)
Bolt pattern (also called PCD) is the number of lug holes and the circle diameter they formlike 5×114.3 or 5×112.
Two wheels can both be “5-lug” and still be totally incompatible.
If you don’t know your bolt pattern, look it up by your exact year/make/model/trimor have it measured by a shop.
Measuring it yourself is possible, but it’s easy to mis-measure 5-lug patterns if you don’t use the right method.
Why this matters
Correct bolt pattern is non-negotiable. Adapters/spacers exist, but they add complexity and can introduce new fitment and safety concerns.
If you’re aiming for “simple,” match your vehicle’s bolt pattern.
Step 6: Get the center bore right (hub-centric vs. lug-centric: the vibration villain)
The center bore is the hole in the middle of the wheel that fits over your car’s hub. When the wheel matches the hub snugly,
it helps the wheel center perfectly. When it doesn’t, you can end up with vibrations that feel like your car is trying to beatbox.
Many aftermarket wheels have a larger center bore so they can fit multiple vehicles. In those cases, hub-centric rings
can adapt the bore to your specific hub size and improve centering.
Simple rule
- Ideal: Hub-centric fit (wheel bore matches hub).
- Also common: Larger bore + hub rings sized to your hub.
- Avoid: “It’ll probably be fine” with no ring and unexplained shaking later.
Step 7: Understand offset and backspacing (stance is fun; rubbing is not)
Offset and backspacing determine how far the wheel sits inward or outward relative to your hub. This affects:
fender clearance, suspension clearance, steering geometry, and how “flush” the wheel looks.
Offset basics
- Positive offset: Wheel sits more inward (common on many modern cars).
- Zero offset: Mounting face near wheel centerline.
- Negative offset: Wheel pushes outward (more “poke,” common in some truck/off-road styles).
Change offset too much and you can create rubbing, make steering feel weird, or increase stress on components.
The key is to pick an offset that gives the look you want while maintaining clearance and reasonable geometry.
Backspacing: the clearance checkpoint
Backspacing is another way to describe where the wheel sitsespecially common in truck/off-road discussions.
Either way, the goal is the same: avoid hitting suspension parts on the inside and fenders on the outside.
Step 8: Check brake and suspension clearance (your calipers deserve personal space)
Not all wheels clear all brakeseven if the bolt pattern is right. Bigger brake calipers, performance packages,
and some trims need extra clearance. Wheel spoke design matters here, not just diameter.
What to check
- Brake caliper clearance: Especially if you have a sport trim or upgraded brakes.
- Strut and control arm clearance: Inside clearance matters if you change width/offset.
- Fender clearance: Turning and suspension compression can create rub you don’t see while parked.
If possible, do a test fit or buy from a retailer that verifies fitment for your vehicle.
“It bolts on” is not the same as “it works under braking and full steering lock.”
Step 9: Verify load rating and wheel construction (pretty wheels still need to carry the car)
Wheels have load ratings. Your vehicle has a weight it expects the wheels to support safelyincluding passengers,
cargo, and pothole surprises. Always choose wheels with a load rating that meets or exceeds your vehicle’s needs.
Material and build: what you’re actually paying for
- Steel wheels: Durable, often heavier, common for winter sets or work vehicles.
- Cast alloy: Very common; good balance of cost and style.
- Flow-formed / rotary forged: Often lighter/stronger than basic cast options.
- Forged: Typically strongest and lightest (and priced like it knows it).
Lightweight wheels can improve responsiveness, but don’t chase weight at the expense of strength or proper fitment.
The “best” wheel is the one that suits your roads, your driving, and your budget.
Step 10: Choose the right hardware (lug nuts/bolts, seat type, and hub rings)
Wheels don’t always reuse factory hardware. Some require different lug nuts or bolts, and the seat type matters:
conical/tapered seats and ball seats are not interchangeable. Use the hardware specified for the wheel.
Don’t forget the small stuff
- Hub-centric rings: If the wheel bore is larger than your hub.
- TPMS compatibility: If your car uses tire pressure sensors, make sure sensors are transferred or replaced correctly.
- Correct lug seat: The wrong seat can loosen or damage parts over time.
This is one of those “tiny detail, huge consequence” areas. If you’re ever unsure, ask a professional installer.
It’s cheaper than learning through the School of Stripped Threads.
Step 11: Install and maintain correctly (torque is not a vibe; it’s a number)
Even perfect wheels can cause problems if installed poorly. Proper lug nut torque and tightening sequence help the wheel seat evenly.
Many manufacturers and safety bulletins emphasize using a torque wrench (not just an impact gun guess) and tightening in a star pattern.
A simple, safe installation mindset
- Hand-start lug nuts to avoid cross-threading.
- Snug in a star pattern with the wheel off the ground.
- Finish with a calibrated torque wrench to the manufacturer’s specification.
- Re-check torque after driving a short distance (commonly recommended after ~50–100 miles).
If you’re thinking, “That sounds like extra steps,” remember: wheels are one of the few parts of your car that, if they come loose,
can ruin everyone’s day in a very dramatic way. A torque wrench is cheaper than regret.
Bonus: A quick “shopping filters” checklist (so you don’t doom-scroll forever)
When you’re browsing rims, filter by:
- Year / make / model / trim (exact match)
- Wheel diameter and width you decided on
- Correct bolt pattern
- Offset range that keeps clearance
- Center bore strategy (hub-centric or ring-ready)
- Load rating appropriate for your vehicle
Then pick your finish and style. That’s the fun part you actually came for.
Conclusion
Selecting rims is easiest when you treat it like a fitment puzzle, not a fashion emergency. Start with factory specs, decide your goal,
keep overall tire diameter sensible, and pay special attention to bolt pattern, center bore, offset/backspacing, and load rating.
Finish strong with correct hardware and proper torque, and you’ll end up with wheels that look great and drive right.
Real-World Experiences: of “What People Actually Learn the Hard Way”
If you ever want to see the difference between “knowing wheel specs” and “guessing,” spend an afternoon in the waiting area of a busy tire shop.
You’ll hear the same stories on repeatusually told with the tired voice of someone who has just bought the same thing twice.
One of the most common experiences: someone buys rims that technically bolt on, but the car starts vibrating at highway speeds.
The first assumption is always balanceso the wheels get rebalanced. Then rebalanced again. Then someone finally mentions the center bore.
If the wheel bore is larger than the hub and the setup is lug-centric without proper centering rings, the wheel can seat slightly off-center.
The vibration doesn’t feel dramatic in the parking lot; it shows up when everything is spinning fast enough to turn “slightly off” into “why is my dash shaking?”
The fix is usually simpleproper hub rings and correct installationbut the emotional journey is expensive.
Another classic: chasing a “flush” look without respecting offset. In photos, aggressive offset looks amazingwheels pushed outward, stance just right,
the car looking like it means business. In real life, that same setup can rub at full lock, rub over bumps, or rub only when you have passengers,
which is the automotive version of “it works until you have friends.” Sometimes the solution is a different offset. Sometimes it’s fender work.
Sometimes it’s accepting that your daily driver doesn’t need to be a rolling concept car.
Then there’s the “bigger is always better” phase. People move up two or three wheel sizes because the look is addictive.
And yes, big wheels can transform a car visually. But after a month, the ride feels harsher, potholes feel personal,
and tire replacements start to cost enough that you consider learning how to barter. A lot of drivers end up happiest with a modest plus-size changeor none at all
and a wheel design they genuinely love.
Finally, the most important real-world lesson: installation matters. You can buy the perfect rims and still create problems with the wrong lug nuts,
the wrong seat type, or sloppy torque habits. The “I tightened them until it felt tight” method is how people end up re-checking their wheels with sweaty palms.
The calm, confident path is boring: correct hardware, star pattern, torque wrench, and a re-torque check after some driving.
Boring, in this case, is a compliment.
The best takeaway from all these experiences is simple: you don’t need to be a mechanic to choose the right rimsyou just need to respect the specs,
ask smart questions, and treat fitment like safety equipment (because it is). Then you get the fun part: walking back to your car and thinking,
“Yeah… that looks right.”