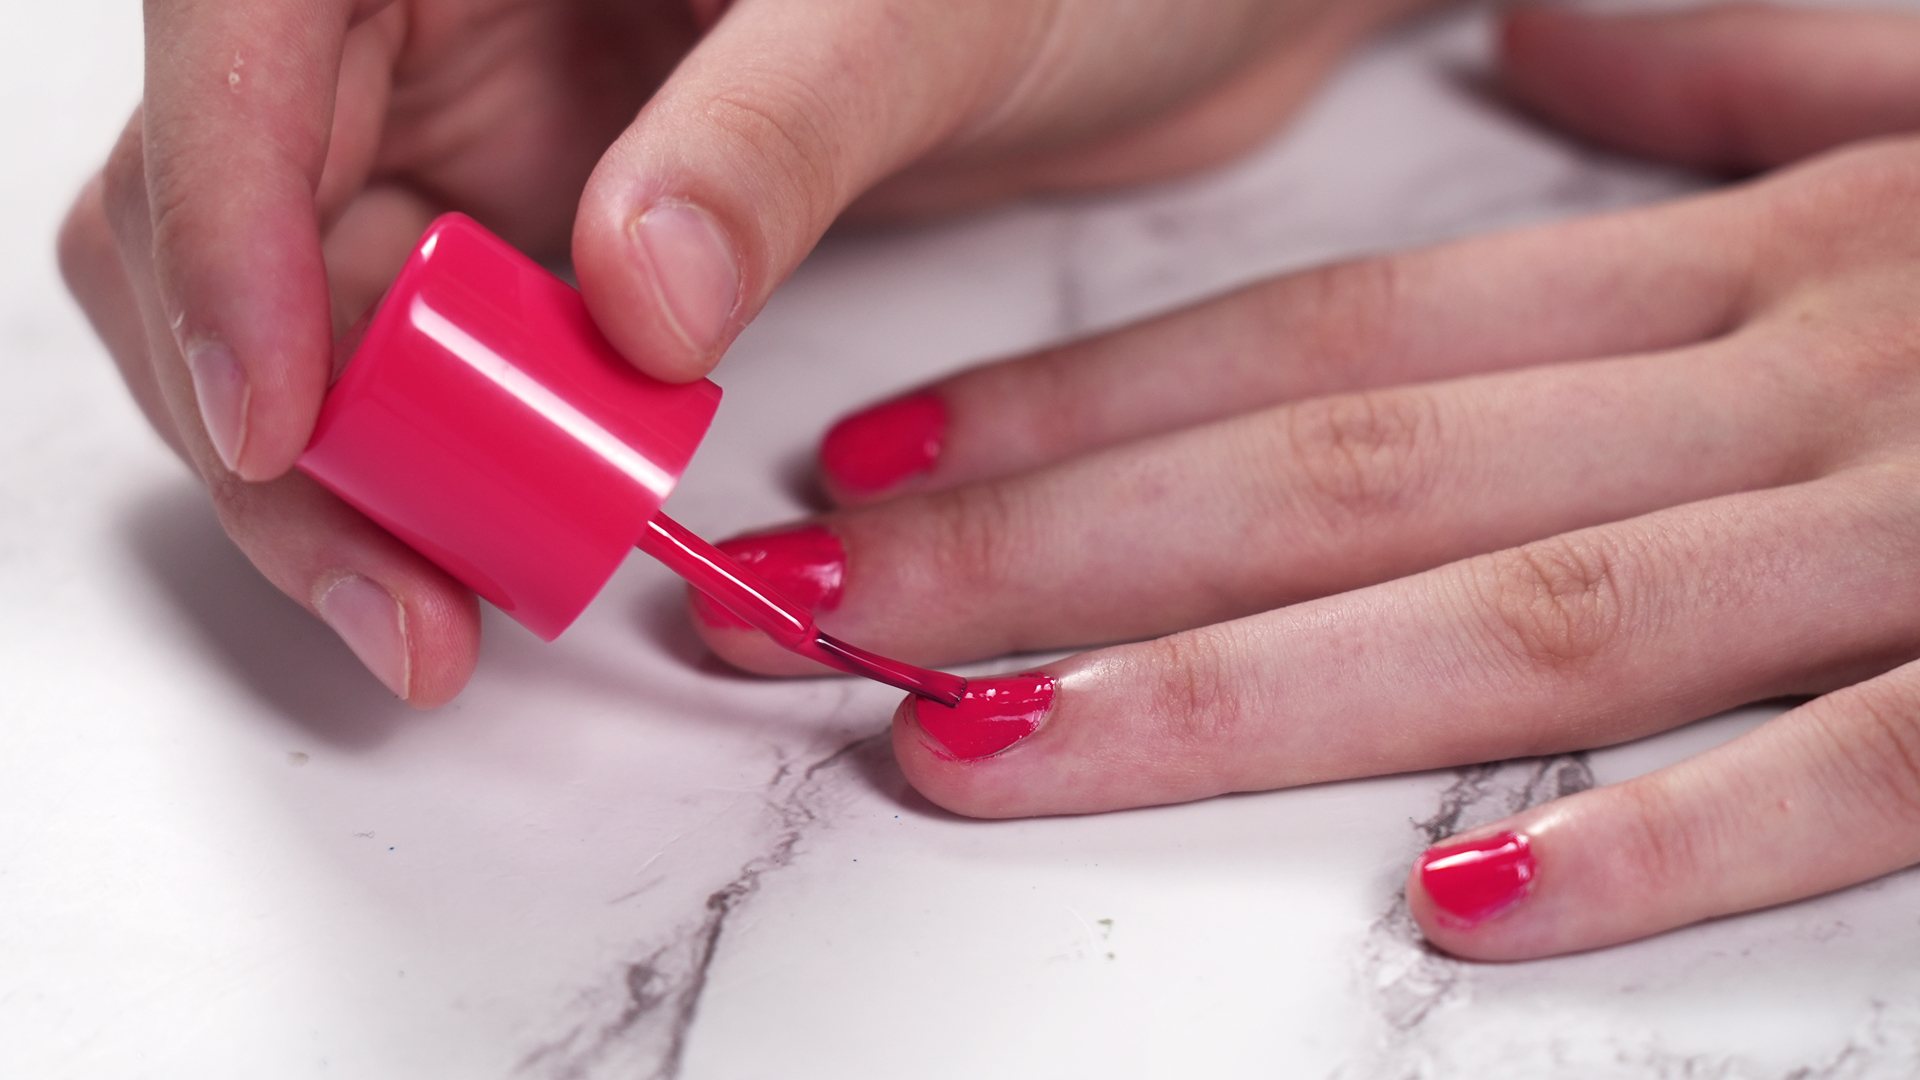
If you have ever painted your nails and ended up looking like you lost a fight with a tiny bucket of pink paint, welcome. You are among friends. Learning how to apply nail polish neatly is one of those beauty skills that seems suspiciously simple until your non-dominant hand gets involved and chaos clocks in for its shift.
The good news is that a neat manicure is not about having magical hands, salon-level talent, or the patience of a monk. It is mostly about prep, polish control, and knowing a few tricks that make the whole process easier. Once you understand those, painting your nails neatly at home feels a lot less like a gamble and a lot more like a routine.
This guide breaks down exactly how to apply nail polish neatly, step by step, with beginner-friendly tips, common mistakes to avoid, and practical advice that actually works in real life. No drama. No giant globs of polish. No mysterious smudges that appear out of nowhere like they were summoned by a gremlin.
Why Neat Nail Polish Starts Before the Polish Bottle Opens
Most messy manicures are not ruined by color. They are ruined by rushed prep. If your nail surface is oily, dusty, wet, or uneven, polish has a harder time going on smoothly and staying in place. That is why a neat application starts with a clean canvas.
Think of it this way: if you try to paint a wall covered in crumbs and lotion, the wall is going to fight back. Nails are smaller, but somehow even sassier.
What You Need for a Neat At-Home Manicure
- Nail polish remover
- Cotton pads or lint-free rounds
- Nail file
- Buffer, if needed
- Cuticle pusher
- Base coat
- Your nail polish color
- Top coat
- A small clean-up brush or angled makeup brush
- A tiny cup of remover for cleanup
- Cuticle oil for the finishing touch
You do not need a giant collection of fancy tools to get neat nail polish. You just need the right basics and a little restraint. That last part is especially important when you are tempted to apply one massive coat and hope for the best.
How to Apply Nail Polish Neatly: Step by Step
Step 1: Remove Old Polish Completely
Start with bare nails. Even if your old polish looks “almost gone,” that remaining haze can interfere with a smooth finish. Use remover to take off every trace of old color, especially around the sidewalls and cuticle area.
This is also a good time to check your nails for rough edges, peeling, or dryness. If a nail is snagging or splitting, fix that before you paint. Polish hides many sins, but not all of them.
Step 2: Shape Your Nails First
Neat polish looks better on neatly shaped nails. File your nails so they are even and consistent. You do not need every nail to look like it was measured by an architect, but they should feel balanced. Soft square, round, and squoval shapes are especially forgiving for beginners.
If the edges are rough, smooth them out. Jagged tips can catch on things and make your manicure chip sooner. Also, polish looks cleaner when the nail itself has a deliberate shape instead of a “whatever happened this week” outline.
Step 3: Gently Push Back Cuticles
Here is where many people get a little too ambitious. You want your cuticle area to look tidy, but that does not mean you should aggressively cut or tear at it. Gently push cuticles back so you have a clean border for polish. That gives your manicure a sharper, more professional appearance.
If there is dry skin around the nail, remove only what is clearly loose and dead. The goal is neat, not overworked. Angry skin around fresh polish is not the polished vibe anyone is chasing.
Step 4: Clean the Nail Surface
This step is criminally underrated. Even if your nails look clean, they may still have natural oils, lotion, dust, or residue sitting on them. Swipe each nail with remover or alcohol to create a dry, clean surface.
If you have just washed your hands, let your nails dry fully before painting. Better yet, avoid soaking them right before a manicure. Water can temporarily swell the nail, which may lead to polish shrinking or chipping sooner once the nail returns to normal.
Step 5: Apply a Thin Base Coat
Base coat is not a pointless extra step invented to test your patience. It helps polish grip better, can prevent staining, and creates a smoother surface for color. Apply one thin, even layer and let it set.
If your nails have ridges, a ridge-filling base coat can help your manicure look neater and less streaky. If you are using a darker shade, base coat is especially useful unless you enjoy surprise yellowing later.
Step 6: Wipe the Brush Correctly
Before the color touches your nail, control the brush. Pull it out of the bottle and wipe one side of the brush against the neck of the bottle. Leave a small bead of polish on the other side. This gives you enough product to cover the nail without flooding it.
Too much polish on the brush is one of the main reasons nail polish ends up all over the skin. If your manicure usually turns into a slippery mess by nail number three, this step is probably the missing link.
Step 7: Use the Three-Stroke Method
This is the classic move for a reason. Place the brush slightly above the cuticle, then gently push it upward toward the base of the nail without touching the skin. Pull the brush straight down the center. Then do one stroke on each side.
That is your three-stroke method: center, left, right.
This helps you distribute the polish evenly and keeps the edges cleaner. Try not to overwork the polish. The more you keep brushing and fussing, the more likely you are to create streaks, bald spots, and the kind of texture that can only be described as yogurt-adjacent.
Step 8: Keep the First Coat Thin
The first coat does not need to look perfect. In fact, it often looks a little sheer, and that is fine. Thin coats are easier to control, dry more evenly, and are far less likely to smudge.
One thick coat may seem faster, but it usually backfires. It takes longer to dry, increases the chance of dents and bubbles, and can gather around the edges in all the wrong ways. Neat nail polish loves thin layers. Thick layers are the loud cousins nobody invited.
Step 9: Apply a Second Thin Coat
Once the first coat is dry enough to handle, apply a second thin coat using the same technique. This is the coat where the color usually becomes rich and even. If needed, some very light or very dark shades may benefit from a third coat, but do not go overboard.
Too many coats can make the manicure bulky, streaky, and more prone to smudging. When in doubt, aim for one base coat, two color coats, and one top coat. That combination gives most polishes their best shot at looking smooth and lasting well.
Step 10: Cap the Free Edge
After coating the nail surface, lightly swipe the brush across the tip of the nail. This is called capping the edge, and it helps seal the polish so chips are less likely to start at the ends.
It is a tiny move, but it makes a noticeable difference, especially if you type a lot, wash dishes, or use your nails as unofficial tools. Which, to be clear, your nails do not appreciate.
Step 11: Finish with Top Coat
Top coat is what gives the manicure that finished, glossy, “I absolutely have my life together” look. It also protects the color underneath and can help smooth out minor streaks.
Apply one thin layer, making sure to cover the full nail and cap the tip again. If you want your manicure to last longer, reapply top coat every few days. That little refresh can help keep shine up and chips down.
Step 12: Clean Up the Edges
Even careful painters need cleanup. Dip a small brush into remover, dab off excess liquid, and trace around the edges of each nail. This instantly sharpens the shape and makes the manicure look much more precise.
This step is the great equalizer. Maybe your polish drifted a little. Maybe your non-dominant hand was doing its best and its best was chaotic. Cleanup fixes a surprising amount.
How to Keep Nail Polish Looking Neat While It Dries
A perfectly applied manicure can still be ruined by impatience. Fresh polish may look dry on top before it is truly set underneath, which is why so many people end up with sheet marks, dents, or the dreaded mystery smudge.
Drying Tips That Actually Help
- Wait a few minutes between coats instead of stacking wet layers
- Use a quick-dry top coat if you are short on time
- Avoid hot water right after painting
- Do not touch your nails to “check” if they are dry every 45 seconds
- Plan your manicure for a time when you do not immediately need to open cans, fold laundry, or wrestle with a zipper
If you are in a rush, you can try a cold-air setting from a fan or a careful ice-water dip after the polish has started setting. But even then, time is your best friend. Annoying? Yes. True? Also yes.
Common Mistakes That Make Nail Polish Look Messy
Using Too Much Polish
This is the big one. Overloaded brushes lead to flooded cuticles, thick layers, and slow drying time. Less polish gives you more control.
Painting Too Close Too Soon
On your first coat, do not force polish right into every corner. It is smarter to stay slightly inside the lines, then get closer on the second coat. That helps prevent pooling around the edges.
Skipping Base Coat
Without base coat, polish may streak more easily, stain the nail, or chip faster. It is a small step that does a lot of heavy lifting.
Buffing Too Aggressively
A light buff can smooth the surface, but too much buffing can thin natural nails. The goal is smooth enough for polish, not sanding your nail into another dimension.
Cutting Cuticles Too Much
Over-trimming can leave the nail area looking irritated and uneven. A gentle pushback is usually enough for a clean manicure appearance.
Choosing a Hard Shade for Your Skill Level
Some colors are more forgiving than others. Sheer pinks, nudes, soft mauves, and rosy neutrals are usually easier for beginners because minor streaks and tiny mistakes are less obvious. Bright neons, very dark shades, white polish, and chalky pastels can be trickier.
Beginner Tips for a Cleaner At-Home Manicure
- Rest your painting hand on a table so it stays steady
- Paint your dominant hand first while your control is strongest
- Use good lighting so you can actually see the edges
- Roll the polish bottle between your hands instead of shaking it to reduce bubbles
- Work on one hand at a time instead of bouncing around randomly
- Keep a cleanup brush nearby instead of waiting until the end if you know you tend to drift
If you are really new to polishing your nails neatly, start with a sheer or neutral shade for a few manicures. Once your brush control improves, graduate to reds, navy, black, or bright coral. Consider it nail training wheels, but chic.
How to Make Your Neat Manicure Last Longer
There is no point painting your nails neatly if they chip before your next coffee. To make your manicure last, keep your nails dry for a bit after painting, wear gloves when cleaning, and add another layer of top coat every two to three days if you want to stretch wear time.
Cuticle oil is also worth using once the polish is fully set. It will not magically freeze chips in time, but it does help the surrounding skin look healthier, which makes the whole manicure look fresher. Neat nails do not exist in isolation. Ragged skin around them can make even perfect polish look tired.
Real-World Experiences With Learning How to Apply Nail Polish Neatly
One of the most relatable experiences people have when learning how to apply nail polish neatly is realizing that their dominant hand is a confident artist and their non-dominant hand is a stressed raccoon holding a paintbrush. The first few attempts often go exactly like this: one hand looks surprisingly polished, and the other looks like it was completed during turbulence.
Another common experience is discovering that the color you picked matters more than expected. Many beginners start with a bright red because it looks classic and glamorous, then quickly learn that red polish is beautiful but also extremely unforgiving. Suddenly every tiny wobble shows up like it applied for a starring role. After that, a lot of people switch to pale pinks, beige nudes, or sheer rosy shades and realize those colors are much easier to work with. The manicure still looks elegant, but the learning curve feels less brutal.
Then there is the “I thought it was dry” moment. Almost everyone who paints their nails at home has experienced finishing a manicure, admiring it for 90 seconds, and then immediately smudging a thumb while trying to text, button jeans, find keys, or do some other task that absolutely could have waited. It is practically a rite of passage. Over time, people learn that neat nails are not just about how you paint them, but how you behave after painting them. Suddenly sitting still for a while becomes less of a suggestion and more of a survival strategy.
Many people also notice that once they stop globbing polish onto the nail, everything improves. The polish dries faster. The edges stay cleaner. The finish looks smoother. It often feels counterintuitive at first because a thick coat seems like it should save time, but experience proves the opposite. Thin coats may require a little patience, but they are easier to guide and much less likely to betray you later with dents and drag marks.
Cleanup is another area where experience changes everything. Beginners often think getting polish on the skin means the manicure is ruined. Then they try using a tiny brush dipped in remover and realize they can rescue almost anything. That moment feels powerful. Suddenly the process becomes less intimidating because mistakes are not disasters anymore. They are just part of the routine.
Some people also find that creating a little ritual helps. Good lighting, a stable table, a favorite playlist, and all the tools laid out ahead of time can make the experience feel calm instead of rushed. And that calm shows up in the final result. Neat nail polish is not always about talent. Often, it is simply what happens when you stop hurrying, stop overloading the brush, and stop expecting your first try to look like it was done backstage at Fashion Week.
With practice, the experience changes from awkward to satisfying. You begin to know how much polish the brush needs. You get better at steering around the cuticle line. You stop panicking when you make a tiny mistake because you know exactly how to clean it up. And at some point, without fanfare, you look down and realize your manicure actually looks neat, glossy, and intentional. That is when painting your nails stops feeling like a messy experiment and starts feeling like a skill you genuinely own.
Final Thoughts
If you want to know how to apply nail polish neatly, the secret is not perfection. It is process. Clean nails, gentle prep, thin coats, careful brush control, and a little patience will take you much further than trying to speed-run your manicure with a giant blob of polish and a prayer.
The best part is that this skill gets easier fast. Even a few at-home manicures can improve your control, cleanup, and confidence. Start simple, use forgiving shades, and let your technique do the work. Before long, you will be painting your nails neatly enough to admire them in every reflective surface you pass. As you should.