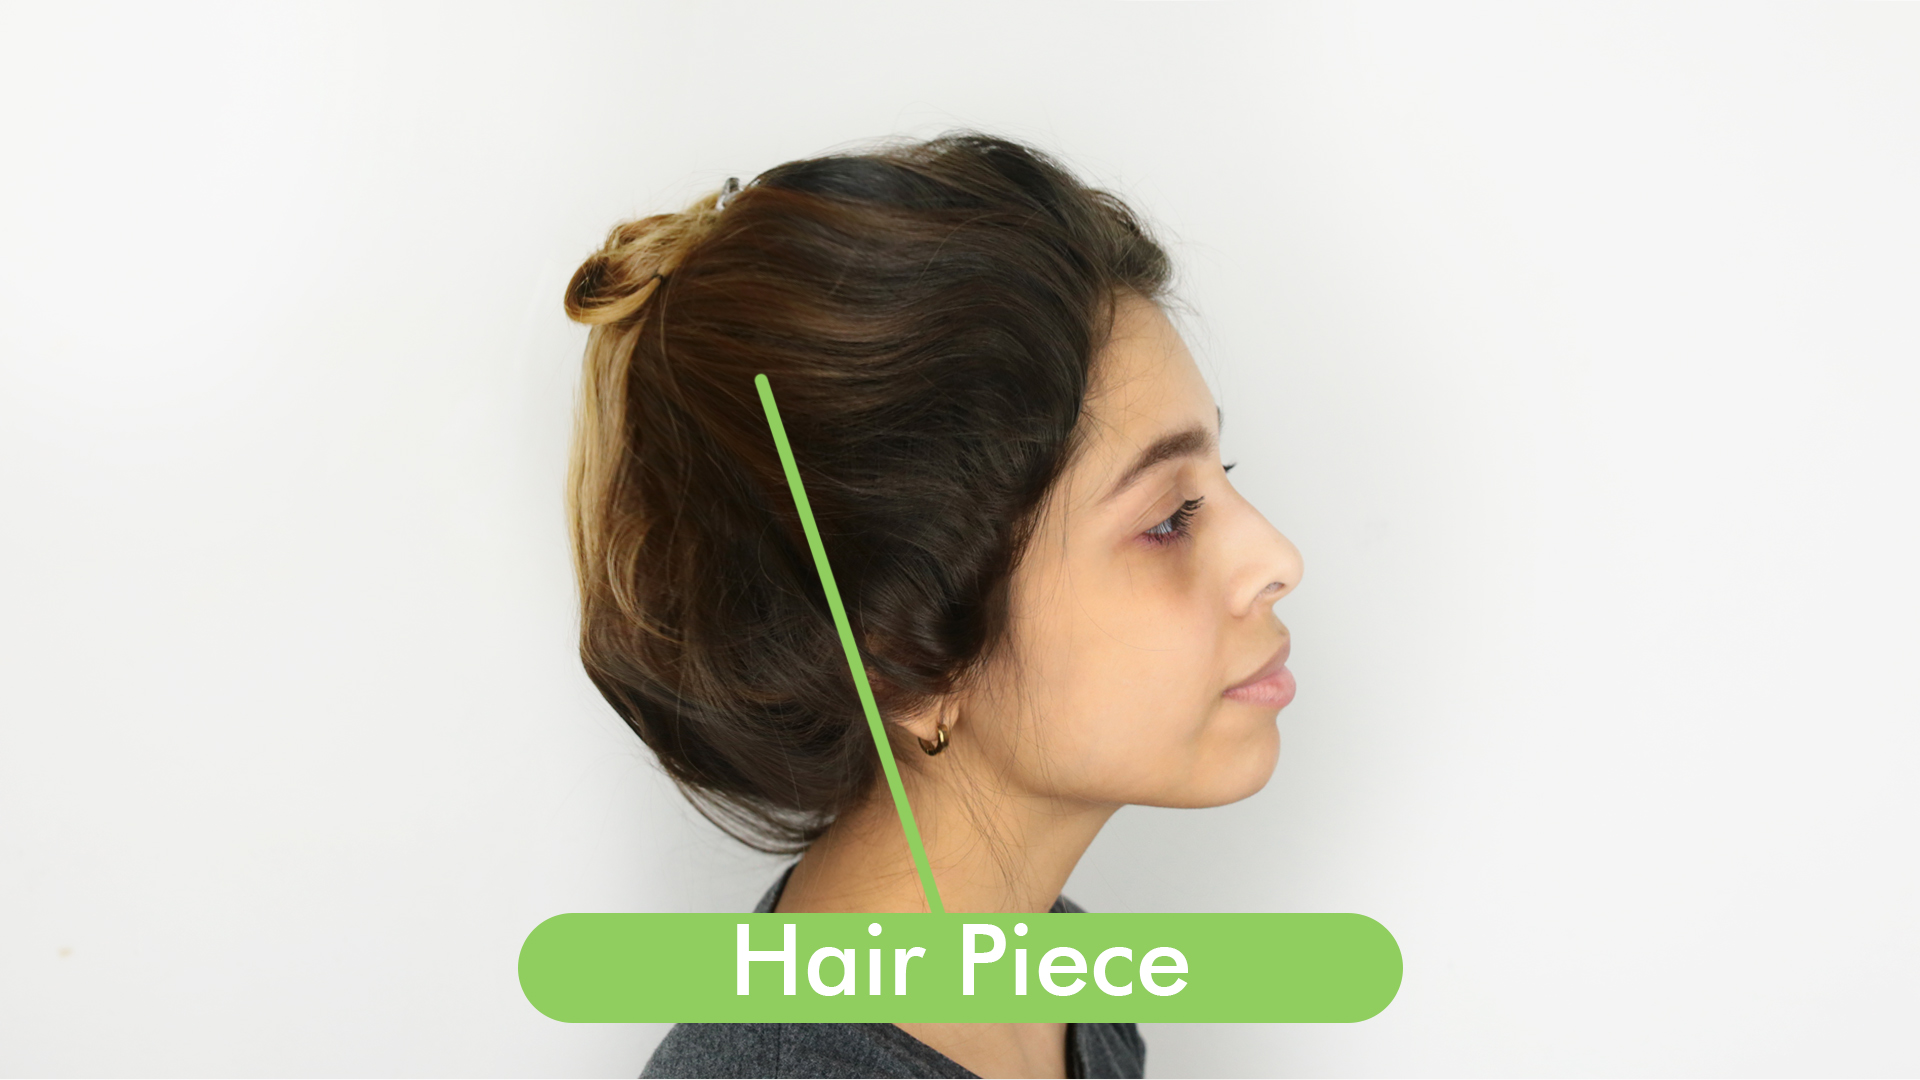
The Gibson Girl bun is what happens when vintage elegance meets “I have ten minutes and three bobby pins, please behave.” Inspired by the soft, piled-high hairstyles popular in the late 19th and early 20th centuries, this romantic updo has survived more than a century because it looks polished without being painfully perfect. It is graceful, slightly dramatic, and surprisingly wearable for weddings, school dances, costume events, themed photo shoots, historical reenactments, or any Tuesday when your hair has decided to become a weather report.
At its heart, the Gibson Girl bun is a tucked, rolled, softly voluminous updo. Unlike a strict ballerina bun, it is not supposed to be flat, tight, or helmet-like. The charm comes from airy lift at the crown, loose side twists, a low rolled bun, and face-framing softness. Think “romantic old photograph,” not “I wrestled my hair into submission and won.”
In this guide, you will learn how to make a Gibson Girl bun in 14 clear steps, including preparation tips, styling variations, mistakes to avoid, and practical experience-based advice for making the hairstyle last. Whether your hair is medium-length, long, thick, fine, straight, wavy, or curly, this tutorial will help you create a classic Gibson Girl hairstyle with modern tools and a realistic amount of patience.
What Is a Gibson Girl Bun?
The Gibson Girl look was popularized by American illustrator Charles Dana Gibson, whose drawings helped define an idealized feminine style around the 1890s and early 1900s. The hairstyle often featured a soft pompadour, lifted crown, full sides, and hair gathered into a bun, chignon, or tucked roll. The modern Gibson Girl bun keeps the best parts of that look: height, softness, elegance, and a beautifully rolled shape at the back.
Today, the style is closely related to the Gibson tuck, Gibson roll, Edwardian updo, and vintage low bun. The exact method can vary, but the basic idea is simple: create volume, gather the hair low, roll or tuck the length inward, and secure everything with pins. The result looks much fancier than the effort required, which is always a hairstyle victory worth celebrating.
Who Should Try a Gibson Girl Bun?
This hairstyle works especially well if your hair reaches your shoulders or longer. Medium hair can create a neat tucked bun, while long hair can form a fuller, more dramatic roll. If your hair is very fine, you can add texture spray, dry shampoo, gentle backcombing, or a small hair padding piece to build volume. If your hair is thick, you may need stronger pins and a few extra anchors to keep the roll from making a dramatic escape halfway through the day.
The Gibson Girl bun is a great choice for formal outfits, vintage dresses, cottagecore looks, bridal styles, prom hairstyles, historical costumes, and soft everyday updos. It also works beautifully with accessories like pearl pins, combs, ribbons, silk scarves, floral clips, or a delicate headband.
Tools and Products You Will Need
Before you begin, gather your styling supplies. You do not need a salon cart that looks like it belongs backstage at a Broadway musical. A few basics will do.
- Brush or wide-tooth comb
- Rat-tail comb for parting and teasing
- Hair elastic, preferably small and close to your hair color
- Bobby pins and hair pins
- Texture spray, dry shampoo, or light mousse
- Flexible-hold hairspray
- Optional: curling iron, foam hair padding, decorative comb, ribbon, or flowers
Freshly washed hair can be slippery, so second-day hair often behaves better for this vintage bun. If your hair is squeaky clean, add dry shampoo or texture spray first. Consider it giving your hair a tiny pep talk.
How to Make a Gibson Girl Bun: 14 Steps
Step 1: Start with Dry, Detangled Hair
Begin with hair that is completely dry and free of knots. Brush gently from the ends upward to prevent breakage. The Gibson Girl bun depends on rolling and tucking, so tangles can make the process frustrating. If your hair is naturally curly or textured, use your fingers or a wide-tooth comb to preserve the curl pattern while removing knots.
Step 2: Add Texture for Grip
Apply a small amount of texture spray, dry shampoo, or light mousse through the roots and mid-lengths. This gives the hair grip, which helps the bun stay secure. Smooth, silky hair may look beautiful, but it can also slide out of pins like it has somewhere better to be.
Step 3: Create a Soft Part
Decide whether you want a center part, side part, or no strong part at all. A center part gives a more historical Edwardian feel, while a side part looks romantic and modern. Use your comb to make the part neat but not severe. The Gibson Girl hairstyle should look soft and airy, not like it was measured with a ruler.
Step 4: Section the Front Hair
Separate two front sections, one on each side of your face, from the temples forward. Clip them out of the way for now. These pieces will later become soft twists or rolls that frame the updo and create the signature Gibson Girl shape.
Step 5: Build Volume at the Crown
Lift a section of hair at the crown and gently backcomb the underside near the roots. Smooth the top layer with your brush so the volume looks polished. You are not trying to create a bird’s nest; you are creating support. A little lift at the crown helps the Gibson Girl bun look balanced and prevents it from becoming a plain low bun.
Step 6: Gather Hair into a Low Ponytail
Bring the back section of your hair into a low ponytail, sitting just above the nape of your neck. Secure it with a small elastic. Do not pull the ponytail too tight. Leave enough softness around the crown and sides so the updo keeps that vintage, cloud-like shape.
Step 7: Loosen the Ponytail Slightly
Slide the elastic downward about one inch from your scalp. This creates space above the elastic for the tuck. Use your fingers to gently open a small pocket in the hair just above the ponytail holder. This pocket is where the magic will happen. Also, this is where you may briefly wonder if your arms have always been this tired. They have. Hair styling is secretly fitness.
Step 8: Flip the Ponytail Through the Pocket
Take the ponytail and flip it inward through the opening above the elastic, creating a topsy-tail effect. Pull it through gently. This forms twisted sides and gives the base of the Gibson Girl bun structure. If your hair is very long, pull only part of the length through so you still have enough hair left to roll.
Step 9: Roll the Hair Upward
Take the remaining length of the ponytail and roll it upward toward the base of your head. You can roll the hair over two fingers for a softer shape, or roll it more tightly for a sleek Gibson tuck. Keep the roll horizontal and centered. The finished shape should look like a soft crescent or tucked chignon.
Step 10: Tuck the Ends Inside
Hide the ends of your hair inside the roll. This step gives the bun its smooth, finished appearance. If little pieces poke out, do not panic. Tuck them in with the tip of a comb or secure them with a pin. Vintage hair is allowed to have personality, but not a full rebellion.
Step 11: Pin the Roll Securely
Insert bobby pins into the roll, pushing them toward the scalp and then turning them inward for a stronger hold. Use pins on both sides and across the center. For extra security, cross two bobby pins in an X shape. If your hair is thick, use open hair pins to grab larger sections, then reinforce with bobby pins.
Step 12: Twist the Front Sections Back
Release the front sections you clipped away earlier. Twist each section loosely away from your face and guide it toward the bun. Pin the twist near the roll, hiding the ends inside or underneath the bun. These side twists create the elegant Gibson Girl silhouette and make the style look intentional from every angle.
Step 13: Shape the Volume and Face-Framing Pieces
Gently pull at the crown, sides, and twists to soften the shape. If you want a more romantic style, leave a few small tendrils around the face. For a formal look, smooth flyaways with a tiny amount of styling cream or hairspray sprayed onto your fingertips. Avoid flattening the volume; the Gibson Girl bun needs a little puff to look authentic.
Step 14: Set the Style with Hairspray
Finish with a flexible-hold hairspray. Hold the can about an arm’s length away and mist lightly. The goal is touchable hold, not crispy hair. Add decorative pins, a ribbon, a comb, or flowers if desired. Take a quick mirror check from the side and back, then enjoy the fact that your hair now looks like it writes handwritten letters and owns a lace parasol.
Gibson Girl Bun Variations
Classic Edwardian-Inspired Gibson Bun
For the most historical-looking version, create more height at the crown and keep the front sections full. You can lightly curl the front pieces before twisting them back. A center part, soft pompadour, and low rolled bun will give you that graceful early-1900s shape.
Messy Romantic Gibson Tuck
For a modern, relaxed version, keep the bun loose and pull out a few wispy strands. This variation works beautifully for weddings, garden parties, casual dates, or any occasion where you want to look elegant without appearing as if you had a committee meeting with your mirror.
Braided Gibson Girl Bun
After making the low ponytail, braid the length before rolling it upward. This gives the bun extra texture and makes it easier to control layered hair. A braided Gibson bun also holds well for long events because the braid keeps loose pieces contained.
Headband Gibson Roll
Place a stretchy headband over your hair, then tuck sections of hair up and around the band until a roll forms. This is one of the easiest versions for beginners. It creates a pretty vintage shape with less pinning, although thicker hair may still need extra support.
Tips for Different Hair Types
Fine Hair
Fine hair benefits from texture spray, dry shampoo, and gentle teasing. You can also use a small foam roll or hair padding inside the bun to make it look fuller. Choose lightweight products so the hair does not collapse.
Thick Hair
Thick hair may need stronger elastics and more pins. Work in sections instead of trying to roll all the hair at once. Pin from the outer edges toward the center for better control. If the bun feels heavy, place it slightly higher at the back of the head to reduce pulling.
Curly or Wavy Hair
Curly and wavy hair are perfect for this style because natural texture adds volume and softness. Avoid brushing curls too much before styling. Use fingers to shape the hair and pin curls into the roll as needed.
Shorter Medium-Length Hair
If your hair barely reaches your shoulders, make a smaller tuck and use more pins. You can also curl the ends first, which helps shorter layers blend into the bun. A headband Gibson roll may be easier than the ponytail method for shorter hair.
Common Mistakes to Avoid
The most common mistake is pulling the hair too tight. A Gibson Girl bun should be soft and full, so avoid flattening the crown or slicking back the sides too aggressively. Another mistake is using too few pins. If the bun feels loose when you move your head, add more pins before leaving the house. Your future self will thank you, especially if stairs, wind, or dancing are involved.
Also, avoid overloading the hair with heavy products. Too much serum or oil can make the roll slippery. Start with light texture and add hairspray at the end. Finally, do not chase perfect symmetry too hard. A slightly imperfect Gibson bun often looks more romantic than one that appears engineered by a geometry teacher.
How to Make the Gibson Girl Bun Last Longer
To make the style last, prep your hair with grip, anchor the ponytail securely, and pin the roll in multiple directions. Keep a few spare bobby pins in your bag for touch-ups. If you are wearing the style for a wedding, performance, costume event, or long day, test it once beforehand. Practice helps you learn where your hair needs extra support.
A light mist of hairspray after pinning will help preserve the shape. For humid weather, use anti-frizz spray before styling and flexible hairspray after. If your hair tends to fall flat, add volume powder at the roots before creating the crown lift.
When to Wear a Gibson Girl Bun
The Gibson Girl bun is surprisingly versatile. It works for vintage-themed events, historical costumes, bridal hairstyles, prom, formal dinners, theater performances, holiday parties, and soft everyday looks. Pair it with pearl earrings for classic elegance, floral clips for romantic style, or a velvet ribbon for a charming old-world finish.
It also photographs beautifully because the shape adds height and dimension. From the front, the soft twists frame the face. From the side, the volume at the crown creates a graceful profile. From the back, the tucked roll looks neat and detailed. In other words, it is the rare hairstyle that does not have a “bad angle committee.”
Personal Experience: What It Is Really Like to Make a Gibson Girl Bun
The first thing you learn when making a Gibson Girl bun is that it looks far more complicated than it actually is. This is excellent news if you enjoy receiving compliments that sound like, “Wow, how long did that take?” while you quietly remember that half the time was spent looking for a bobby pin you were holding in your mouth.
In real life, the hairstyle usually becomes easier after the second or third attempt. The first try may feel awkward because the rolling motion happens behind your head, where your eyes are sadly not located. A handheld mirror helps, but so does muscle memory. Once your hands understand the tuck-and-pin motion, the Gibson Girl bun becomes a dependable style for days when you want elegance without heat styling every single strand.
One practical experience tip is to avoid starting with ultra-clean, slippery hair. Freshly washed hair can make the roll slide out, especially if your hair is straight or fine. Second-day hair, or hair prepared with dry shampoo, usually holds much better. Texture gives pins something to grip. Without it, your bun may slowly sink lower and lower until it becomes less “Gibson Girl” and more “tired librarian after a long shift.” Still charming, but not quite the assignment.
Another lesson is that pin placement matters more than the number of pins. You can use twenty bobby pins and still feel insecure if they are only sitting on the surface. Instead, push each pin into the roll, catch a bit of hair near the scalp, and then angle the pin inward. Crossing two pins in an X shape gives extra support at stress points, especially near the sides of the roll.
If your hair is layered, the Gibson Girl bun may need extra patience. Shorter pieces can poke out from the roll, but that does not mean the style has failed. Curl those pieces slightly, tuck them into the bun, or let a few become intentional face-framing tendrils. The romantic nature of this hairstyle is forgiving. It actually looks better when it has softness and movement.
For thick hair, the main challenge is weight. A low roll can feel heavy if all the hair is packed into one section. Dividing the ponytail into two smaller rolls can solve the problem. Roll and pin the first half, then tuck the second half over or beside it. The finished bun still looks full, but it feels more secure and balanced.
For fine hair, padding can be a quiet miracle. A small foam bun insert, a rolled hair rat, or even gentle teasing can create the illusion of more volume. The key is to hide the padding completely and keep the outer layer smooth. Do not worry; nearly every dramatic vintage hairstyle in history had some kind of secret support. Hair, like architecture, occasionally needs scaffolding.
The Gibson Girl bun also teaches you to appreciate imperfection. A perfectly smooth version can look formal and beautiful, but a slightly loose version often feels more natural. When the crown has a little lift, the sides have a little softness, and the roll has a hand-shaped curve, the style looks romantic rather than stiff. That balance is what makes it timeless.
Perhaps the best experience-related advice is to match the style to the occasion. For a costume event, add more volume and a decorative comb. For a wedding guest look, keep it polished with soft tendrils. For everyday wear, make it lower, simpler, and less structured. The same basic technique can feel historical, bridal, casual, or artistic depending on how you finish it.
Finally, take photos from the back while practicing. The Gibson Girl bun is a back-view hairstyle, and mirrors can be misleading. A quick phone photo shows where the roll needs smoothing, where pins are visible, and whether the shape is centered. Once you see what needs adjusting, the process becomes much easier.
After a little practice, the Gibson Girl bun becomes one of those rare hairstyles that feels fancy but practical. It keeps hair off the neck, works with many textures, and has enough personality to make a simple outfit look styled. It is vintage without feeling dusty, elegant without being fussy, and dramatic without requiring a professional stylist named Sebastian to appear with a silver comb.
Conclusion
Learning how to make a Gibson Girl bun is really about mastering three things: volume, rolling, and smart pinning. Once you understand those basics, the hairstyle becomes flexible and surprisingly easy. You can keep it historically inspired with a soft pompadour, make it modern with loose texture, or dress it up with accessories for formal events.
The beauty of the Gibson Girl hairstyle is that it does not demand perfection. It welcomes softness, movement, and a little romantic messiness. With the 14 steps above, a few styling tools, and a bit of practice, you can create a vintage bun that looks graceful, secure, and charmingly timeless.
Note: This article was written in original American English and synthesized from real historical hairstyle context, vintage hair techniques, and modern updo styling practices without adding source links inside the publishable HTML.