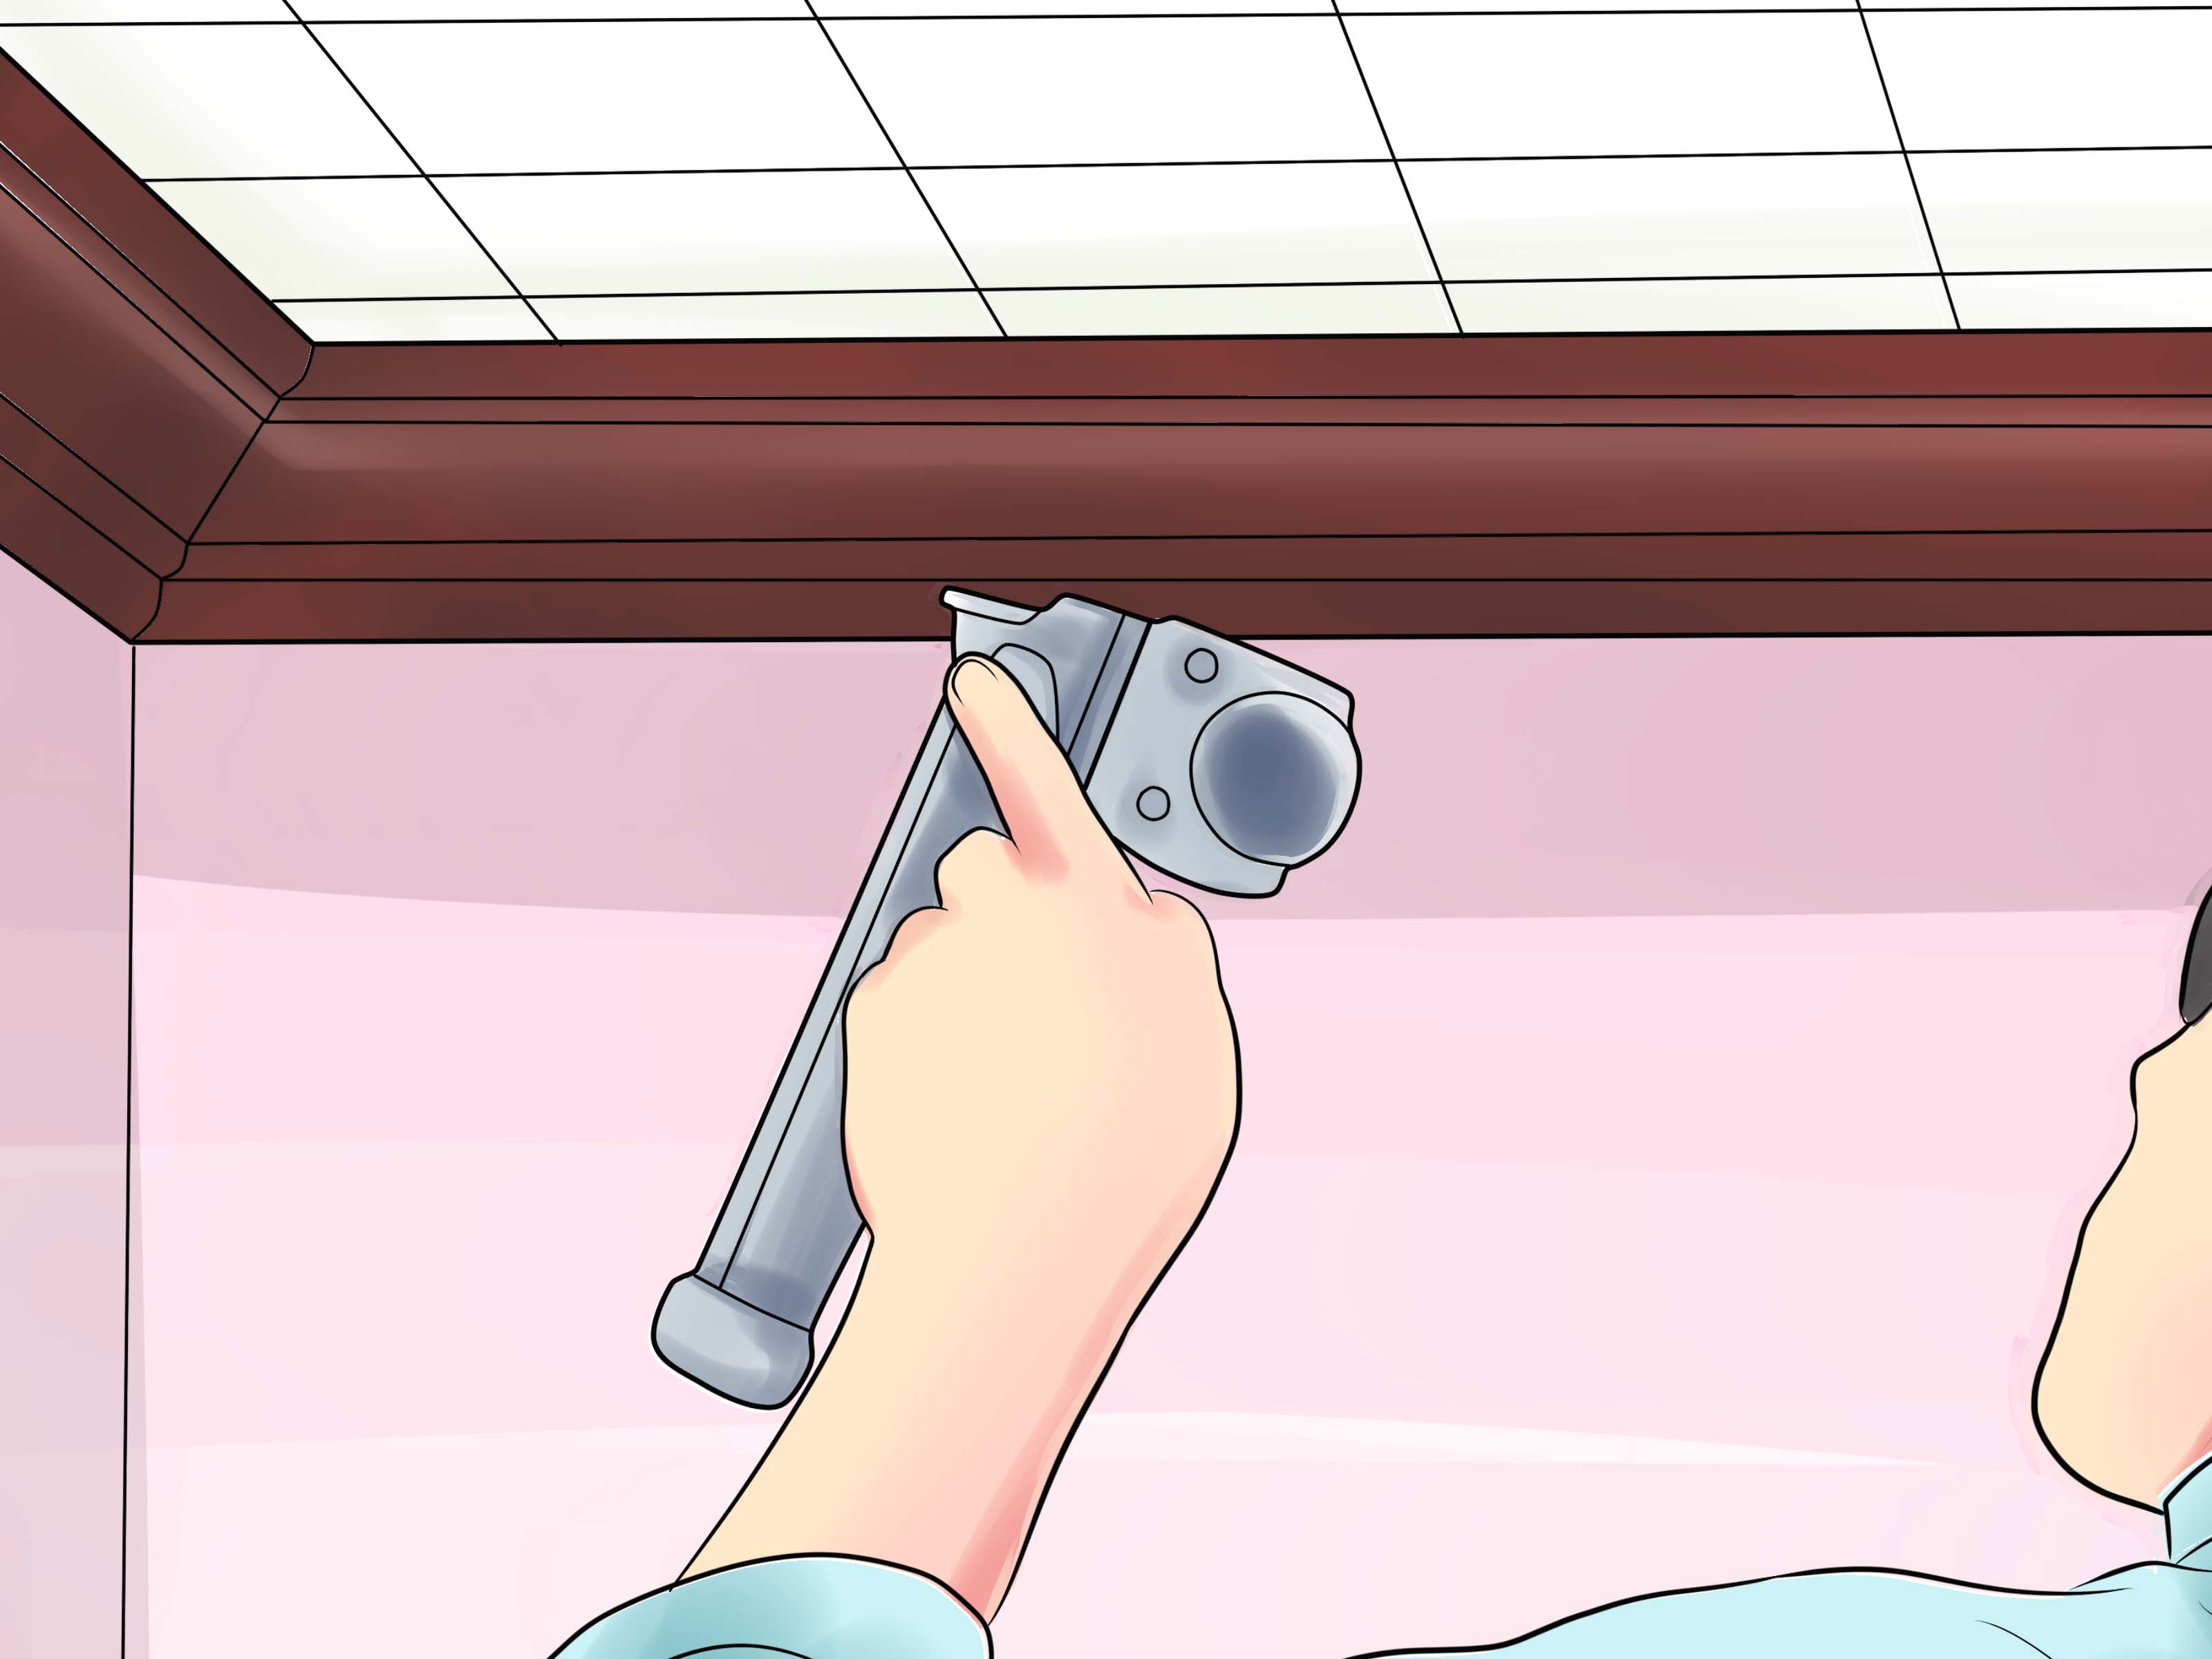
Installing ceiling tiles is one of those home improvement projects that looks fancy when it is finished but does not require a secret handshake, a contractor’s license, or a mystical understanding of drywall dust. Whether you want to cover an ugly old ceiling, brighten a basement, add acoustic comfort, or give a room a polished decorative finish, ceiling tiles can make a dramatic difference without tearing your house apart.
The best part? There is more than one way to do it. You can install glue-up ceiling tiles directly over a flat surface, use a surface-mount track system, replace tiles in an existing drop ceiling, or build a new suspended ceiling grid. Each method has its own rhythm, tools, and “please do not skip this step” moments. This guide walks you through the process in plain English, with practical tips that help your ceiling look intentional instead of “weekend project that fought back.”
Before grabbing adhesive or snapping chalk lines, remember one golden rule: the ceiling is the part of the room everyone notices when it goes wrong. Plan carefully, measure twice, and give yourself enough time. Your future self, standing under a neat ceiling with a cup of coffee, will thank you.
What Are Ceiling Tiles?
Ceiling tiles are lightweight panels designed to cover, decorate, or improve a ceiling surface. They come in many materials, including mineral fiber, vinyl, PVC, metal, fiberglass, wood-look composites, and acoustic panels. Some are made for direct application with adhesive. Others are designed to sit inside a suspended grid system, commonly called a drop ceiling.
Ceiling tile installation is popular in basements, laundry rooms, kitchens, offices, commercial spaces, and older homes because tiles can hide imperfections, improve sound control, and provide access to plumbing, wiring, ductwork, or utilities above the ceiling. In other words, they are the ceiling’s version of a nice jacket: stylish, practical, and excellent at covering what is underneath.
Choose the Right Ceiling Tile Installation Method
Glue-Up Ceiling Tiles
Glue-up ceiling tiles are installed directly onto a flat, clean, firm ceiling using ceiling tile adhesive. This method works well for drywall, plaster, plywood, or other smooth surfaces. It is a good choice when you want to preserve ceiling height and avoid building a grid system.
Drop Ceiling Tiles
Drop ceiling tiles sit inside a metal grid suspended below the original ceiling. This method is common in basements and utility areas because it allows easy access above the ceiling. If a pipe needs attention later, you can lift out a tile instead of performing demolition surgery on your ceiling.
Surface-Mount Ceiling Systems
Surface-mount systems use tracks or clips attached to the existing ceiling. They provide a cleaner look than some older grid systems while requiring less clearance than a full drop ceiling. This can be a smart choice for rooms with low ceilings.
Metal or Tin Ceiling Tiles
Metal ceiling tiles add vintage charm, texture, and shine. They may be installed with adhesive, nails, or a compatible grid system, depending on the product. They look dramatic, but they are less forgiving than soft acoustic panels, so layout matters even more.
Tools and Materials You May Need
Your exact supply list depends on the tile type, but most ceiling tile projects use a similar toolkit. Gather everything before you climb the ladder. Nobody enjoys discovering the utility knife is missing while balancing like a confused flamingo.
- Ceiling tiles or panels
- Ceiling tile adhesive or compatible fasteners
- Tape measure
- Chalk line
- Pencil
- Straightedge or framing square
- Utility knife with sharp blades
- Level or laser level
- Caulk gun, if using adhesive tubes
- Ladder or step platform
- Safety glasses
- Dust mask or respirator for dusty work
- Tin snips for metal grid components
- Construction gloves
- Drop cloths
Step 1: Inspect the Existing Ceiling
Start by checking the ceiling surface. For glue-up tiles, the surface must be flat, clean, dry, and structurally sound. Loose paint, peeling texture, water damage, sagging drywall, dust, grease, and popcorn texture can all prevent proper adhesion. Ceiling tile adhesive is helpful, but it is not a miracle potion. It cannot turn a crumbling ceiling into a reliable foundation.
Look for stains or soft spots. A brown stain may mean an old roof leak, plumbing leak, or condensation issue. Fix moisture problems before installing new ceiling tiles. Covering a leak with pretty panels is like putting sunglasses on a raccoon in your kitchen: visually interesting, but it does not solve the real problem.
If your home is older, be careful before scraping, sanding, or removing old ceiling material. Some older ceiling tiles, adhesives, textured coatings, or painted surfaces may contain asbestos or lead-based paint. If you suspect hazardous materials, stop and contact a qualified professional for testing and guidance.
Step 2: Measure the Room Carefully
Measure the length and width of the room, then multiply the numbers to estimate square footage. Add extra material for cuts, mistakes, damaged tiles, future repairs, and the occasional “oops” tile. A 10 percent overage is a common starting point for simple rooms. If the ceiling has many corners, posts, vents, or odd angles, add more.
For example, a 12-by-14-foot room equals 168 square feet. If your tiles cover 4 square feet each, you need at least 42 tiles. Add 10 percent, and you are looking at about 47 tiles. Buying a little extra now is much easier than trying to match a discontinued pattern two years later. Future-you does not want to become an online ceiling tile detective.
Step 3: Plan the Layout From the Center
A professional-looking ceiling begins with layout. Do not simply start in one corner and hope the room behaves. Most rooms are not perfectly square, and starting from a corner can leave skinny, awkward cuts on the opposite side.
Instead, find the center of the room. Measure the midpoint of each wall and snap chalk lines across the ceiling to create intersecting control lines. These lines help you keep the tile pattern straight. For decorative tiles, this step is especially important because patterns can drift visibly. A tiny error at tile one can become a full ceiling parade by tile ten.
Dry-fit a few tiles along your layout lines before installing. Check the border tiles around the room. Ideally, the border pieces should be balanced on opposite sides. If the layout leaves a tiny strip at one wall, shift your control lines slightly so cuts look more even.
Step 4: Prepare the Ceiling Surface
Preparation is where many DIY ceiling tile projects succeed or fail. For glue-up ceiling tiles, remove loose material, clean dust and grease, patch holes, and sand rough areas smooth. If the ceiling has heavy texture, you may need to remove or skim-coat it before installation, depending on the tile manufacturer’s instructions.
For drop ceiling installation, preparation means clearing the workspace, marking ceiling height, locating joists, planning lighting, and checking obstacles above the ceiling. Keep enough clearance for tiles to tilt into place. Also consider doors, windows, ducts, sprinkler heads, vents, and light fixtures.
Turn off power before working near ceiling fixtures. Do not move wiring, cut into electrical boxes, or install recessed lights unless you know the code requirements and have the proper skill. When in doubt, hire a licensed electrician. Electricity is not a good place to improvise, no matter how confident your playlist makes you feel.
Step 5: Install Glue-Up Ceiling Tiles
For a direct-apply ceiling tile installation, begin at the center control lines. Apply adhesive according to the tile manufacturer’s directions. Many glue-up tiles require adhesive around the perimeter and in key spots across the back. Use enough adhesive for good contact, but do not create giant blobs that make the tile lumpy.
Position the first tile close to the chalk lines, then slide it gently into place. Press with firm, even pressure so the adhesive spreads and bonds. Avoid crushing decorative patterns. Work outward from the center, placing each tile snugly beside the previous one. Keep checking alignment as you go.
Some tiles overlap, some butt together, and some use decorative seams. Follow the specific instructions for your tile style. If the product allows caulk or seam treatment, wait until the adhesive cures before finishing seams. Rushing the finish work is how nice ceilings develop suspicious little gaps that stare at you during dinner.
Step 6: Install a Drop Ceiling Grid
A drop ceiling requires a suspended framework. Start by marking the desired ceiling height around the room. Use a level or laser level so the line is consistent. Attach wall molding along that line. The molding supports the edges of the grid and helps define the finished ceiling height.
Next, install hanger wires or approved hanging hardware from the joists above. Main runners are suspended from these wires, then cross tees are added to create the grid openings. Keep the grid square and level as you work. If the grid is crooked, the tiles will not hide it; they will politely announce it to everyone who walks in.
After the grid is installed, place full tiles first. Lift each tile above the grid, angle it slightly, then lower it gently into place. Save border tiles for last because those require cutting. Work carefully around vents, lights, speakers, and other openings.
Step 7: Cut Ceiling Tiles Cleanly
Clean cuts make the difference between “nice DIY project” and “did a raccoon help?” Use a sharp utility knife and a straightedge for mineral fiber, vinyl, or many lightweight tiles. Score the surface first, then make additional passes rather than trying to chop through in one heroic slice.
For border tiles in a drop ceiling, measure each opening individually. Walls are rarely perfectly straight. Mark the tile carefully and remember which side is the finished face. Many mistakes happen because the measurement is transferred backward, creating a mirror-image cut. Labeling the back of the tile can save money and mild emotional damage.
For metal tiles, use tin snips or the cutting tool recommended by the manufacturer. Wear gloves because metal edges can be sharp. File or cover exposed edges where needed.
Step 8: Work Around Lights, Vents, and Fixtures
Ceiling tiles often need openings for recessed lights, vents, ceiling fans, sprinkler heads, smoke detectors, or speakers. Measure carefully and use templates when available. Cut small openings gradually. You can always remove more material, but you cannot un-cut a hole. Ceiling tiles are not bread dough; they do not rise back into shape.
Any fixture must be supported properly. Do not rely on a ceiling tile to hold the weight of a fan, heavy light, or mechanical fixture. Drop ceiling panels are designed to sit in a grid, not bench-press your chandelier. Fixtures should be attached to approved framing, boxes, or support systems.
Step 9: Finish the Edges and Seams
After the tiles are installed, inspect the ceiling from several angles. Look for loose corners, uneven seams, adhesive smears, chipped edges, or tiles that are not seated properly. For glue-up installations, use paintable caulk only if recommended for your tile type. A neat bead can soften edges and hide small gaps, but too much caulk can make the ceiling look like it is wearing frosting.
Install trim or crown molding around the perimeter if desired. Trim helps cover border cuts and gives the ceiling a finished look. In rooms with decorative tiles, molding can make the project look more custom and less “I found this aisle at the home center and got ambitious.”
Step 10: Clean Up and Maintain the Ceiling
Wipe fingerprints, dust, or adhesive residue according to the tile manufacturer’s care instructions. Some tiles can be cleaned with mild soap and water. Others, especially mineral fiber acoustic panels, may stain or damage easily if scrubbed too hard.
Keep a few extra tiles in storage. Label the box with the brand, pattern, size, and installation date. This makes repairs much easier later. If one tile gets damaged, you can replace it without redesigning the entire ceiling like a dramatic home makeover show.
Common Ceiling Tile Installation Mistakes
Starting Without a Layout
Skipping layout is the fastest way to end up with uneven borders and crooked patterns. Always snap control lines and plan from the center or a visually important focal point.
Ignoring Surface Problems
Adhesive needs a stable surface. If the ceiling is dusty, damp, peeling, or uneven, tiles may sag or pop loose. Preparation may feel boring, but it is cheaper than redoing the ceiling.
Using the Wrong Adhesive
Not every construction adhesive works with every tile. Some adhesives can damage foam, plastic, or vinyl. Use the adhesive recommended by the tile manufacturer.
Cutting Too Quickly
Fast cutting creates ragged edges and expensive waste. Use sharp blades, careful measurements, and multiple light passes.
Forgetting About Access
If your ceiling hides plumbing, junction boxes, dampers, valves, or cable connections, think about future access. A drop ceiling may be better than permanent glue-up tiles in utility-heavy areas.
Best Rooms for Ceiling Tiles
Ceiling tiles work especially well in basements because they can hide pipes and ductwork while preserving access. They are also useful in home offices where acoustic comfort matters. In kitchens, washable tiles may help brighten the room and cover old surfaces. In bedrooms and dining rooms, decorative tiles can add texture and charm without a major renovation.
Bathrooms require extra care. Choose moisture-resistant tiles and make sure ventilation is strong. Standard acoustic tiles may sag or stain in humid areas. A bathroom ceiling needs materials that can handle steam, not panels that panic at the first hot shower.
Real-World Experience: Tips That Make the Job Easier
One of the biggest lessons from ceiling tile installation is that the ceiling rewards patience. On a wall, a small mistake may hide behind furniture. On a ceiling, it sits above you like a tiny billboard. That is why experienced DIYers spend more time planning than sticking tiles. A careful layout can save hours of frustration.
For glue-up ceiling tiles, the first tile is the boss. If that tile is crooked, every tile after it tries to follow the same bad life choice. Take extra time placing the first panel along your chalk lines. Step down from the ladder and view it from the room entrance before continuing. Yes, climbing down feels annoying. No, it is not as annoying as removing six tiles because the pattern wandered.
Another practical trick is to open several boxes of tiles before installation and mix panels as you go. Slight color or texture variations can happen between batches. Mixing tiles helps the ceiling look more natural and consistent. This is especially useful with decorative, wood-look, or metallic finishes.
For drop ceilings, do not underestimate the value of a laser level. A string line and bubble level can work, but a laser level makes it easier to keep wall molding and main runners consistent. The grid is the skeleton of the ceiling. If the skeleton slouches, the finished ceiling will too.
When cutting border tiles, make one test piece before cutting several at once. Walls often bow, corners are not always square, and measurements can change by small amounts across the room. A test fit helps you understand how tight the tile should sit in the opening. Leave enough room for the tile to drop into place without forcing it.
Lighting also deserves attention early. Decorative tiles can change how light spreads across a room. Glossy metal tiles reflect more light, while textured acoustic panels soften it. If you are updating a basement, consider where the shadows fall before locking in the tile layout. A beautiful ceiling can still look gloomy if the lighting plan is an afterthought.
Finally, take breaks. Ceiling work uses your shoulders, neck, arms, and patience. Trying to finish the whole project while tired is when cuts get sloppy and tiles get cracked. A clean ceiling is not built by speed alone. It is built by steady progress, sharp blades, good measurements, and the humble wisdom to stop before your arms turn into noodles.
Conclusion
Learning how to install ceiling tiles is a manageable DIY project when you choose the right system, prepare the surface, plan the layout, and work carefully. Glue-up ceiling tiles are great for flat surfaces and rooms where height matters. Drop ceiling tiles are excellent for basements and utility areas where access is important. Surface-mount systems offer a middle ground, while metal tiles bring decorative drama.
The secret is not complicated: inspect first, measure carefully, start with a smart layout, use the right adhesive or grid system, cut slowly, and finish the edges neatly. Do that, and your ceiling can go from “please do not look up” to “yes, I absolutely meant for this room to look this good.”
Note: Always follow the instructions provided by your specific ceiling tile manufacturer. For older homes, damaged ceiling materials, suspected asbestos, lead-based paint, or electrical work, consult a qualified professional before disturbing the ceiling.