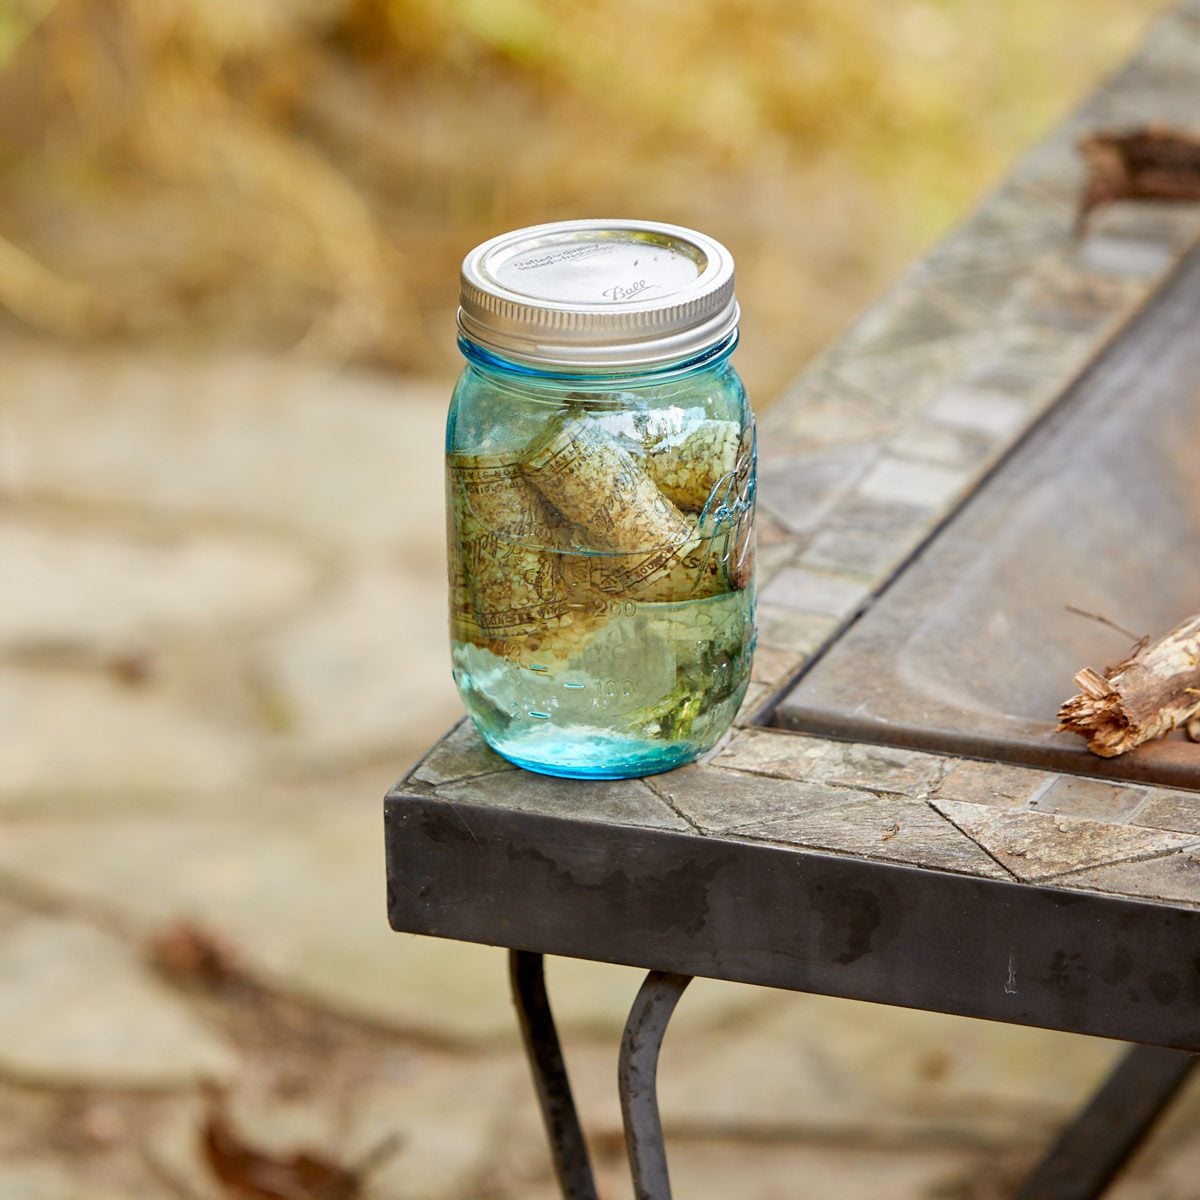
A good bottle of wine can improve dinner, rescue an awkward Tuesday, andonce the cork is retiredhelp you start a cozy fire. That is an impressive second act for something most people toss in a drawer, where it joins three mystery keys and a coupon that expired during the last presidential administration.
This DIY wine cork fire starter is simple, useful, and pleasantly low-waste. Instead of soaking corks in alcohol or using mystery chemicals, this version combines natural wine corks, cotton wick, and leftover candle wax. The result is a compact homemade fire starter that can help ignite dry kindling in a wood-burning fireplace or permitted outdoor fire pit.
It is not a magic log, a campfire cheat code, or an excuse to ignore fire safety. Think of it as a small, helpful head start for a properly built fire.
Why Make a Wine Cork Fire Starter?
Natural wine corks are lightweight, textured, and full of tiny air pockets. Those qualities make them useful as part of a fire starter, especially when paired with a wax-coated cotton wick. The wax gives the flame something steady to feed on, the cotton catches easily, and the cork helps the starter hold its shape beneath kindling.
Making your own fire starters also gives leftover candle wax a purpose beyond collecting dust in the bottom of a jar candle. You do not need fancy materials, special tools, or a wilderness beard. You just need dry corks, a little wax, and enough patience to let everything cool before you try lighting anything.
Use Natural Corks, Not Synthetic Ones
Before you begin, inspect your corks. Use only natural cork, which usually looks slightly irregular and has a grainy, bark-like texture. Avoid synthetic corks, plastic corks, painted corks, glittery craft corks, or anything that smells strongly of chemicals. A fire starter should not become a tiny plastic smoke machine with ambitions.
Skip the Alcohol-Soaked Cork Shortcut
You may see tutorials suggesting that wine corks be soaked in rubbing alcohol. That method may look clever in a social-media video, but it introduces a flammable liquid into a project that is already designed to make fire. That is a bit like bringing a trampoline to a ladder convention: technically possible, not especially wise.
For a safer DIY wine cork fire starter, use wax and natural fiber instead. Never pour alcohol, gasoline, lighter fluid, or other accelerants onto a fireplace, wood stove, campfire, or fire pit. A controlled flame is the goal; an unexpected flare-up is not part of the décor.
Materials You Will Need
- 6 to 12 clean, dry natural wine corks
- Leftover unscented candle wax, beeswax, or plain paraffin wax
- 100% cotton string, cotton twine, or untreated jute twine
- A small saucepan and heat-safe bowl for a double boiler
- Tongs or a metal spoon
- Parchment paper or aluminum foil
- A metal tin or glass jar with a lid for storage
Choose unscented wax whenever possible. Strongly fragranced candles, colored waxes, or decorative wax melts can contain additives that are better left out of your fireplace or fire pit. Plain and boring wins here, which is not glamorous but is often how good fire safety works.
How to Make a Wine Cork Fire Starter Step by Step
Step 1: Clean and Dry the Corks
If your corks are fresh from a bottle, wipe away any wine residue and let them dry completely. A damp cork will not perform well, and wet materials make starting a fire harder than it needs to be. Place the corks in a dry spot for at least a day if they feel moist.
Step 2: Create a Wick
Cut cotton or jute twine into pieces about 4 to 5 inches long. Wrap one piece around the middle of each cork, leaving a short tail hanging out. Tie it securely, but do not pull so tightly that the cork splits. The little tail becomes the wick you light later.
Another option is to make a shallow groove around the cork with a craft knife and nestle the twine into it. Keep the cutting light and controlled. You are making a groove, not auditioning to carve Mount Rushmore into a cork.
Step 3: Melt the Wax Safely
Place wax pieces in a heat-safe bowl set over a saucepan containing a small amount of simmering water. This double-boiler method melts wax gradually and helps prevent overheating. Do not melt wax directly in a pan over an open burner, and never leave melting wax unattended.
Once the wax is liquid, lower the heat. You want it melted, not bubbling like it has booked a volcanic vacation.
Step 4: Coat the Cork and Wick
Using tongs, carefully dip each tied cork into the melted wax. Coat the cork and most of the string, but leave about half an inch of the wick exposed. That exposed fiber gives you a reliable point to light.
Set each coated cork on parchment paper or foil. Let the wax cool and harden completely. For a thicker wax layer, dip the corks a second time after the first coat has set.
Step 5: Let the Fire Starters Cure
Allow the wine cork fire starters to cool for at least an hour. They should feel dry and firm, not sticky or soft. If the wax coating is still tacky, give them more time before storing them.
Step 6: Store Them Properly
Keep finished fire starters in a metal tin, glass jar, or other sturdy container with a lid. Store them away from direct sunlight, heaters, children, pets, and anything that might make a curious person say, “What happens if I light this indoors?”
How to Use a Wine Cork Fire Starter
Use one cork fire starter beneath a small stack of dry kindling. Add a few thin pieces of seasoned wood above it, leaving enough space for airflow. Light the exposed cotton wick with a long match or utility lighter, then let the flame catch the kindling naturally.
Once the kindling is burning steadily, add larger pieces of dry firewood gradually. Do not pile on a mountain of logs immediately. A fire needs oxygen, and stacking wood too tightly can smother the flame before it has a chance to become useful.
Best Places to Use One
- Wood-burning fireplaces that are maintained and approved for solid-fuel fires
- Outdoor fire pits where local conditions and regulations allow fires
- Camping fire rings where fires are permitted
- Backyard chimineas designed for wood burning
Do not use homemade fire starters in gas fireplaces, electric fireplaces, pellet stoves, grills that are not designed for wood fuel, or enclosed tents. A cozy fire belongs in an appropriate fire-safe structure, not in a situation that could become an insurance claim with dramatic background music.
Build a Better Fire Around Your Cork Starter
A wine cork fire starter works best when the rest of the fire is ready to cooperate. Use dry, split, seasoned firewood instead of wet branches, green wood, painted lumber, pressure-treated scraps, cardboard, trash, or mystery boards from the garage. Those materials can burn poorly, create excess smoke, or release unpleasant chemicals.
For an indoor fireplace, open the damper before lighting anything and check that the firebox is clear of old ash buildup. Arrange the starter under small kindling, then place several slightly larger wood pieces above it. Keep a metal mesh screen in front of an open fireplace to reduce the chance of sparks escaping into the room.
For an outdoor fire pit, choose a calm day and keep the fire modest. Keep water, sand, or a fire extinguisher nearby. A fire that begins as “just a little backyard ambiance” can become much less charming when wind starts carrying sparks toward dry grass.
Common Problems and Easy Fixes
The Wick Will Not Stay Lit
The string may be too short, damp, or coated too heavily in wax. Make sure a small amount of dry cotton or jute fiber remains exposed. A wick needs a visible starting point, not a waxy hiding place.
The Cork Burns Out Before the Kindling Catches
Your kindling may be too damp, too large, or packed too tightly. Use pencil-thin dry sticks or wood shavings first, then add slightly larger pieces once the flame is established.
The Fire Produces Too Much Smoke
Smoke usually points to damp wood, poor airflow, or an appliance issue. Stop adding fuel, improve ventilation only according to your fireplace or stove instructions, and avoid using wet logs. A homemade fire starter can help with ignition, but it cannot convince soaked wood to become a campfire hero.
The Fire Starter Smells Chemical
Do not use it. Dispose of it safely once it is fully cool and replace it with a starter made from plain wax, natural cork, and untreated cotton or jute. Strange odors are not a bonus feature.
Simple Variations to Try
Once you have made the basic version, you can customize the look without adding questionable ingredients.
- Beeswax version: Use plain beeswax for a natural-looking starter with a mild honey-like scent.
- Mini bundle version: Tie two or three natural corks together with cotton twine before dipping them in wax.
- Wood shaving version: Press a small amount of clean, untreated wood wool or pencil-sharpener shavings into the wax around the cork.
- Gift tin version: Package several finished cork starters in a labeled metal tin for a host gift, cabin gift, or fire-pit-loving friend.
Avoid adding essential oils, dried flowers, glitter, artificial greenery, plastic ribbon, scented wax melts, or synthetic fabric. The goal is a practical fire starter, not a scented craft project that smells like a candle aisle caught a cold.
Wine Cork Fire Starter Safety Checklist
- Use natural corks only.
- Never use gasoline, rubbing alcohol, lighter fluid, or other liquid accelerants.
- Burn only dry, seasoned firewood.
- Keep children and pets away from active fires.
- Never leave a fireplace, fire pit, or campfire unattended.
- Use a fireplace screen when burning indoors.
- Keep smoke alarms and carbon monoxide alarms working in homes with fireplaces or wood stoves.
- Check local burn restrictions before lighting an outdoor fire.
- Keep water, sand, or a suitable extinguisher nearby outdoors.
- Make sure the fire is fully out before leaving the area.
For camping, use established fire rings whenever possible and respect posted fire restrictions. In dry, windy, or high-risk conditions, skip the fire entirely. The corks will wait. They are not going anywhere, except perhaps into a very organized craft drawer.
Experiences From Making Wine Cork Fire Starters
The first surprise most people have when making wine cork fire starters is how quickly a casual collection of corks turns into a tiny inventory system. At first, you save one cork because it seems useful. Then another appears after dinner. A few weeks later, you have a bowl of them on the counter and suddenly feel like the curator of a very small, very specific museum.
The second surprise is that not every cork is actually cork. Modern bottles often use synthetic closures, compressed cork blends, or plastic look-alikes. That discovery tends to happen right when you are ready to make a batch. It is a good reminder to slow down and inspect materials instead of treating every beige bottle stopper as identical. Natural cork has texture and variation; synthetic cork tends to look smoother and more uniform.
Many first-time makers also learn that the wax layer matters more than they expect. Too little wax, and the starter may burn briefly without giving the kindling enough time to catch. Too much wax, and the exposed wick can disappear under a thick coating. The best batches usually look modest rather than dramatic: a natural cork, a visible cotton tail, and a thin, even wax shell. The fire starter should look useful, not like it is preparing for a red-carpet appearance.
Another common experience is discovering that a fire starter is only one part of the equation. A beautifully made cork starter cannot rescue damp firewood, a closed fireplace damper, or a fire pit packed so tightly that air cannot move through it. When a fire fails to catch, people often blame the starter first. In reality, the problem is frequently the wood. Dry kindling and properly seasoned logs are the real supporting cast, while the little cork is simply the opening act.
There is also something satisfying about using the final scraps of a candle that seemed too small to be useful. A jar candle with half an inch of wax left can feel like clutter. Melted over a few corks, it becomes a practical household item. That small sense of reuse is part of the charm. You are not saving the planet with six corks and a candle stub, but you are giving useful materials another job before they become trash.
People who make several batches often settle into a routine. Corks go into one container, leftover wax into another, and finished fire starters into a labeled tin. It becomes an easy rainy-day craft, especially before the colder months or before a camping trip. The process is simple enough to repeat, but it still rewards care: use plain materials, let everything dry, keep the wax work supervised, and store the finished starters responsibly.
The most valuable lesson, however, is that a DIY fire starter should make fire-building calmer, not riskier. There is no prize for the biggest flame or the fastest ignition. The best result is a small, steady flame that catches dry kindling while you stand nearby with the right tools, a clear plan, and enough common sense to know that “I saw it on the internet” is not a fire-safety certification.
Final Thoughts
A wine cork fire starter is one of those rare DIY projects that is both charming and genuinely useful. With natural corks, plain wax, cotton twine, dry firewood, and sensible safety habits, you can turn a leftover bottle cork into a handy helper for your next fireplace or fire-pit session. Raise a glass to reusebut light the wick, not the wine.