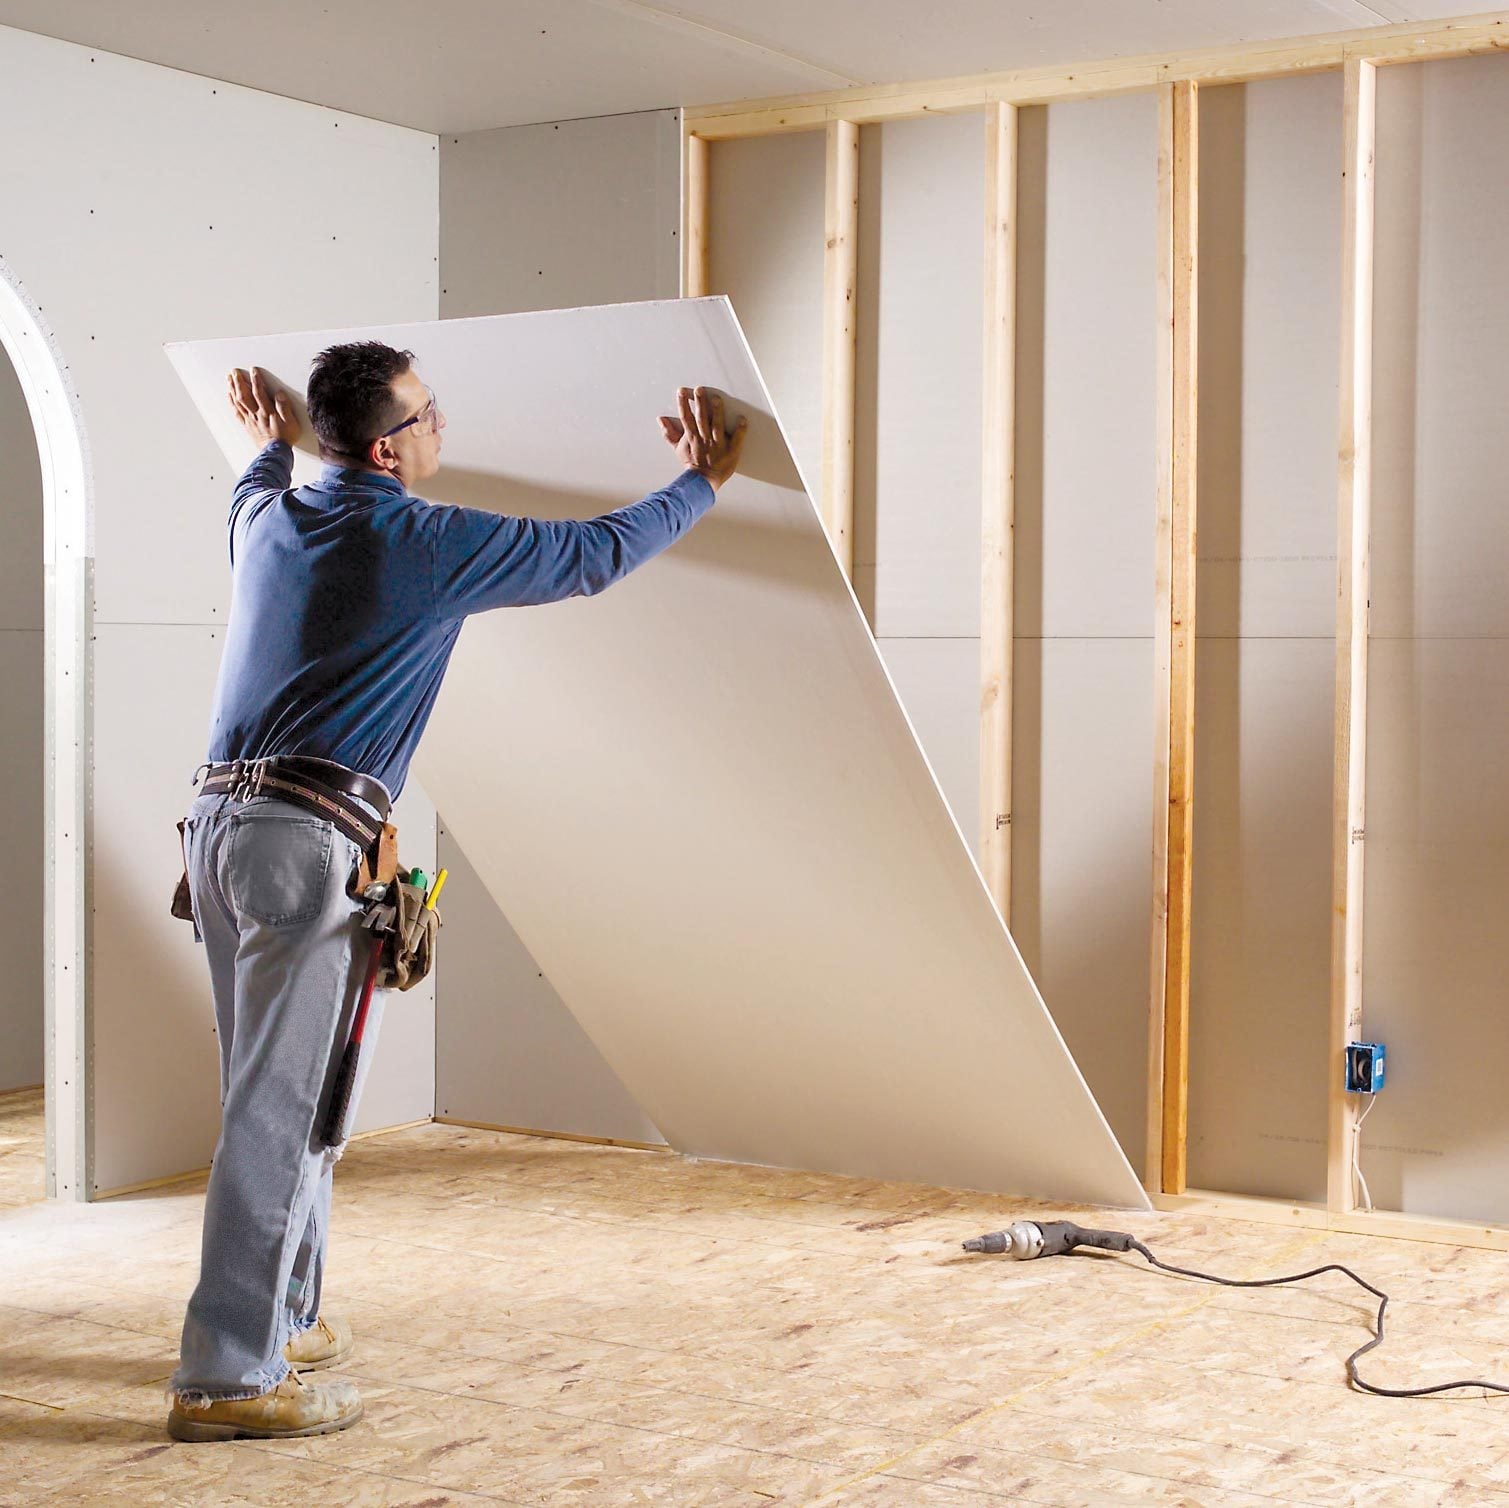
Drywall taping is one of those jobs that looks suspiciously easy from across the room. Then you grab a pan of mud, lay down some tape, and somehow create a wall that looks like it has a topographic map baked into it. The good news: better drywall taping is not about magic hands or secret contractor DNA. It is about using the right materials, following the right sequence, and resisting the very human urge to fix everything with “just one more swipe.”
If you want smoother seams, fewer bubbles, less sanding dust, and a paint-ready finish that does not scream “weekend experiment,” these 10 drywall taping tips will help. Whether you are finishing a small patch, a basement remodel, or an entire room, the basics stay the same: prepare carefully, embed the tape properly, build coats gradually, and let patience do some of the heavy lifting.
Why Drywall Taping Matters More Than Most People Think
Drywall taping does more than hide seams. It reinforces the joints between panels, helps prevent cracks, and creates the smooth surface your paint will either flatter or ruthlessly expose. A rushed taping job can leave ridges, blisters, pockmarks, visible fasteners, and butt-joint bulges that become even more obvious after primer and paint. In other words, drywall taping is where “good enough” often becomes “why does the wall look haunted?”
The goal is not to bury every seam under a mountain of joint compound. It is to create a flat-looking surface by embedding tape well, building thin coats, and feathering each layer wider than the last. That is how pros make joints disappear without turning every wall into a mud sculpture.
1. Start With a Clean, Solid, Well-Hung Surface
Good taping starts before the tape even comes out. If the drywall is loose, dusty, poorly fastened, or full of proud edges, the finish work gets harder fast. Check that screws are slightly dimpled below the surface without tearing the paper. Knock off crumbles, trim fuzzy paper, and remove dust from seams and corners.
This is also the moment to deal with panel alignment. Drywall taping is not designed to rescue badly hung board. If one panel sticks out farther than the one next to it, mud will not magically erase the problem. It will merely spread the problem over a larger area. Exciting, but not helpful.
On larger jobs, think ahead about seam placement too. Factory-tapered edges are easier to finish than cut ends, and fewer seams usually mean less taping, less sanding, and fewer chances to create a visible hump.
2. Choose the Right Tape for the Right Situation
Not all drywall tape does the same job equally well. Paper tape remains the classic choice for flat seams and inside corners because it folds cleanly, creates strong reinforcement, and tends to leave a slimmer profile when embedded correctly. It is the old reliable pickup truck of drywall finishing.
Fiberglass mesh tape is popular because it is self-adhesive and convenient, especially for small repairs. But convenience is not always the same as best finish quality. Mesh can be useful in certain applications, yet many finishers still prefer paper tape for the cleanest seams and corners. Inside corners, in particular, usually behave better with creased paper tape.
A smart rule of thumb is this: use paper tape when you want the most controlled, professional-looking finish, and use mesh only when it truly fits the product and repair method you are using.
3. Match the Joint Compound to the Stage of the Job
One of the most common drywall mistakes is treating all mud like it is the same stuff wearing different labels. It is not. Taping compound is formulated for strong bond and tape embedment. Topping compound is easier to sand, but it is not the best choice for embedding tape. All-purpose compounds split the difference and can work well for smaller jobs or DIY use, but even then, knowing what you are asking the mud to do matters.
For the first coat, use a compound that gives you good bond under the tape. For later coats, many finishers switch to a lighter or easier-sanding compound for filling and feathering. That sequence makes the work easier and the finish cleaner.
Also pay attention to consistency. Mud that is too thick drags and tears. Mud that is too thin slumps, shrinks, and makes a mess. If you thin ready-mix compound, do it gradually and remix well. This is a small adjustment that can make your knife strokes feel much smoother.
4. Pre-Fill Gaps Before You Tape
If you tape over gaps, deep recesses, or rough seams, you are practically inviting bubbles and weak spots to the party. Before applying tape, pre-fill any obvious voids with compound and let them set or dry as needed. This gives the tape a more even bed and helps reduce trapped air.
This is especially important around repairs, cut edges, and awkward transitions where drywall pieces do not meet as neatly as they did in your imagination. Pre-filling is not glamorous, but it saves a lot of grumbling later.
It is also a great move on inside corners that have minor voids or rough paper edges. A little prep now can spare you from chasing imperfections with six extra swipes and a growing sense of personal betrayal.
5. Embed the Tape in a Thin, Even Bed of Mud
This is the heart of better drywall taping. Spread a smooth, even coat of compound over the joint, center the tape, and press it into the wet mud. Then use a drywall knife to embed it firmly, working from the center outward. The goal is to remove excess mud and air without squeezing out so much compound that the tape is left dry underneath.
That balance matters. Too much mud under the tape can create bulges. Too little can create a “starved joint,” where the tape does not bond well and may blister or crack later. Think of it like making a sandwich: enough filling to matter, not enough to launch out the sides.
For inside corners, crease paper tape cleanly before embedding it. Apply mud to both sides of the corner, set the tape into place, and use light, controlled strokes to bed it without dragging it out of alignment.
6. Never Overlap Tape on Flat Seams
Overlapping drywall tape on flat joints is one of the quickest ways to create a visible hump. Where vertical and horizontal seams meet, cut the tape so the pieces butt cleanly instead of stacking on top of one another. A single layer is easier to hide. Two layers are basically a speed bump in waiting.
Butt joints deserve special attention too. These are the seams where cut ends of drywall meet, and they tend to bulge because they lack the recessed taper of factory edges. If you have ever looked at a painted wall and thought, “Why does that line look like it wants to introduce itself?” there is a decent chance you were looking at a bad butt joint.
To handle them better, keep the first coat controlled, widen later coats generously, and feather far beyond the seam so the buildup disappears gradually. On larger or more demanding jobs, specialized backers or layout strategies can help reduce butt-joint bulges before finishing even begins.
7. Feather Each Coat Wider Than the Last
Better drywall taping is really better drywall feathering. After the tape coat dries, apply the second coat wider than the first. Then apply the finish coat wider than the second. This gradual widening helps flatten the appearance of the seam and blend it into the surrounding board.
Use a wider knife as you move through the coats. Many finishers start with a 4- to 6-inch knife for embedding, then move to wider knives for fill and finish coats. The trick is not just spreading more mud around; it is controlling where the pressure goes. More pressure on the outside edge helps feather. Lighter pressure in the center helps avoid scraping the seam bare.
And remember: the finish coat is for refining the surface, not rebuilding the whole joint from scratch. If the first coats are lumpy, do not try to fix your life story with one dramatic final pass.
8. Respect Drying Time, Temperature, and Airflow
Drywall finishing is not just a mud problem. It is an environment problem too. If the room is cold, damp, poorly ventilated, or swinging wildly in temperature, the compound will dry slowly and unpredictably. That can lead to delayed drying, poor appearance, callbacks, and a general feeling that the wall is working against you.
At a minimum, keep the space warm, dry, and ventilated. Let drying-type compounds dry fully before recoating. Setting-type compounds harden by chemical reaction, but even then, follow the product instructions before moving to the next step. Rushing coats is one of the biggest reasons seams fail to look crisp and flat.
In plain English: if the mud is not ready, you are not ready either.
9. Sand Less, But Sand Smarter
Many beginners think drywall finishing success is achieved by slapping on mud and then sanding until the room resembles a flour explosion. In reality, the cleanest jobs usually come from better knife work and lighter sanding. You want to knock down ridges, lap marks, and dried crumbs, not erase the wall.
Use a sanding sponge or fine sanding screen and go lightly between coats. Focus on high spots rather than grinding down entire seams. If you sand aggressively, you risk fuzzing the drywall face paper, scuffing the tape, and creating more repairs than you started with.
Also inspect your work under realistic lighting. Severe side lighting can make even a decent wall look dramatic enough for a courtroom cross-examination. Final inspection should match normal lighting conditions as closely as possible. If the room will get glossy paint or strong raking light from large windows, you may need to aim for a higher finish quality, possibly even a skim-coated Level 5-style approach on demanding surfaces.
10. Prime Before Paint and Set Realistic Finish Expectations
Even a beautifully taped wall can look patchy if you skip primer. Joint compound and raw drywall absorb paint differently, so primer helps even out porosity and creates a more uniform topcoat. Without it, the seams can flash through and make you question every choice that led to this moment.
It also helps to understand finish levels. Not every space needs a museum-grade wall. A garage, utility area, or heavy texture job can tolerate a lower finish level than a living room with smooth paint and a wall of afternoon sunlight. Most everyday painted walls aim for a smooth, well-feathered finish, but the level you need depends on lighting, paint sheen, and how fussy the final look must be.
That does not mean cutting corners. It means matching the finish to the room instead of chasing perfection in a closet no one will inspect unless they are hiding from holiday guests.
Common Drywall Taping Mistakes to Avoid
Using too much mud under the tape
This creates fat seams and more sanding. Keep the bed even and controlled.
Using too little mud under the tape
This can lead to bubbles, weak bond, and peeling. The tape needs support underneath.
Recoating too soon
Wet or partially dry compound under a new coat can cause shrinkage, cracking, and a longer finishing process overall.
Trying to hide bad hanging with mud
Compound can disguise minor imperfections, but it cannot truly fix poor layout, loose board, or major panel misalignment.
Oversanding everything in sight
Better knife work beats heroic sanding every time.
What Better Drywall Taping Looks Like in Real Life
A well-taped seam should look boring. That is the dream. No bubbles, no obvious tape line, no hard ridges, no suspicious hump down the center of the wall, and no screw patches that flash like little moons under paint. Good drywall finishing is subtle, flat-looking, and calm. It does not beg for compliments. It simply avoids complaints.
If your seams disappear after primer, your corners look crisp, and your sanding dust did not achieve regional weather-event status, you are doing something right.
Experience: What I Learned the Hard Way About Drywall Taping
The first time I tried drywall taping, I approached it with the confidence of someone who had watched exactly two videos and owned a putty knife. That confidence lasted about seven minutes. My first seam had bubbles. My second seam had ridges. My third seam looked like it had emotional baggage. By the end of the day, I had learned a valuable lesson: drywall taping is less about force and more about finesse.
What surprised me most was how much the small habits mattered. Cleaning dust from the seam felt optional until I saw how badly tape behaved on a dirty surface. Mixing the mud properly seemed fussy until I tried spreading thick compound that dragged like cold peanut butter. Taking time to pre-fill gaps sounded boring until those same gaps turned into bubbling trouble later.
I also learned that the knife angle is basically everything. When I held the knife too flat, I left too much mud. When I held it too steep, I scraped out too much and starved the tape. Somewhere between those two disasters was the sweet spot, and once I found it, the job got noticeably easier. Not easy, exactly. More like “less likely to make me question home improvement as a concept.”
Inside corners taught me humility. On paper, folding tape into a corner sounds simple. In real life, it is a delicate little dance where the tape wants to wrinkle, the mud wants to smear, and your patience wants to leave the building. The breakthrough came when I started creasing the tape neatly, applying an even bed of mud to both sides, and making lighter passes instead of trying to muscle everything into submission.
Butt joints were another education. I discovered that a butt joint can look fine when wet and then somehow transform into a visible ridge after drying and painting. That was the moment I realized drywall finishing is not only about what the seam looks like up close while you are working on it. It is about what it looks like from six feet away after primer, paint, daylight, and bad decisions all hit it at once.
The biggest lesson, though, was patience. Drywall taping punishes impatience with great enthusiasm. Rush the drying time, and the next coat drags. Sand too hard, and you scuff the tape. Pile on too much compound to “save time,” and now you have created a sanding job large enough to have its own zip code. The cleaner the early coats, the less work the later coats demand.
After a few rooms, I stopped trying to make each pass perfect and started trying to make each pass purposeful. Embed the tape well. Feather the next coat wider. Knock down the high spots. Let the room dry. Prime before judging. That mindset changed everything. The work became calmer, the seams got flatter, and the final walls looked better without requiring theatrical amounts of sanding.
So yes, drywall taping can be frustrating. It can also be oddly satisfying once you understand the rhythm of it. And when the paint goes on and the seams disappear, you get one of the best rewards in DIY: a wall that looks like it was always supposed to look that good.
Conclusion
If you want better drywall taping, focus on the fundamentals: clean prep, the right tape, the right mud, thin embedment, wider feathered coats, proper drying time, light sanding, and primer before paint. None of that is flashy, but that is exactly the point. The best drywall taping job is the one no one notices because the wall just looks smooth, clean, and ready for the next step.
In short, better drywall taping is less about doing more and more about doing each step a little smarter. Your back, your sander, and your future painted walls will appreciate it.