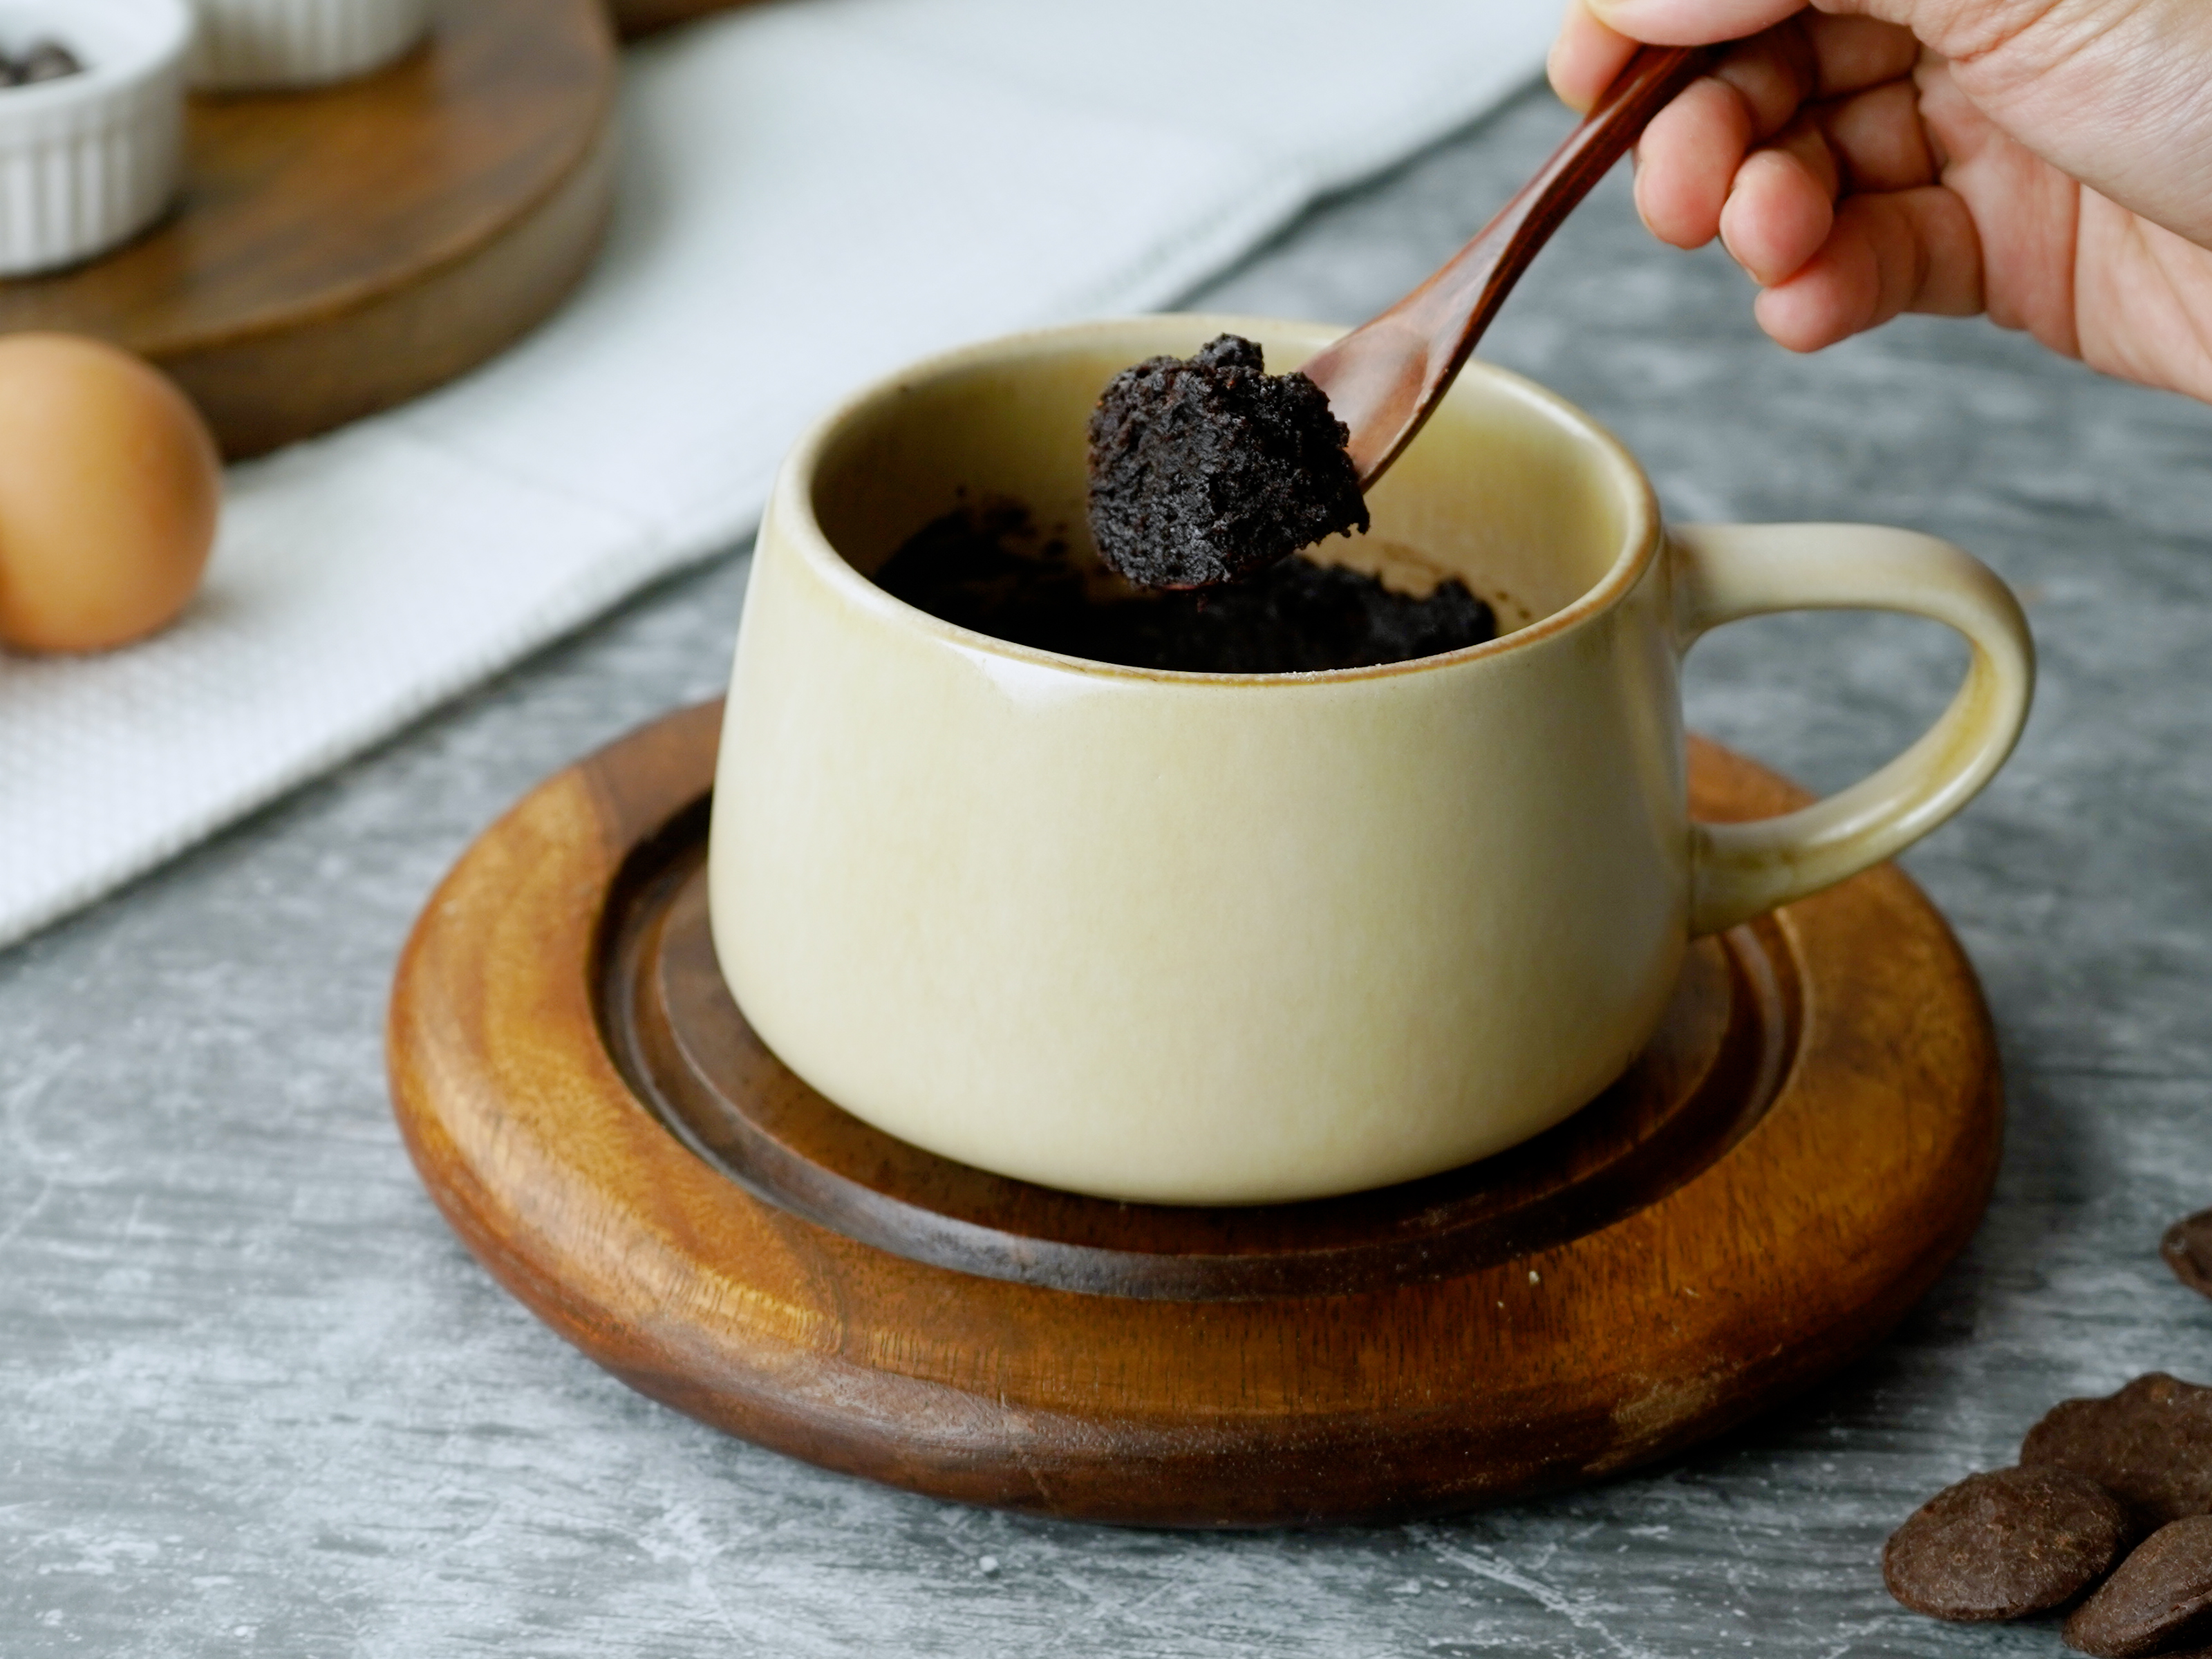
Sometimes you want brownies without preheating the oven, washing a tower of bowls, or waiting long enough to reconsider the craving. Microwave brownies solve that problem with a mug or small dish, a few pantry staples, and several minutes of cooking.
This guide covers three practical methods: a fudgy single-serving brownie from scratch, a shortcut made with boxed mix, and a larger microwave brownie that can be sliced and shared. Because microwave power varies, the best results come from using the right container, checking early, and finishing in short bursts.
Four Rules for Better Microwave Brownies
1. Use a Wide Container
A wide mug, ramekin, cereal bowl, or shallow glass dish helps the batter cook evenly. Fill a mug no more than halfway unless you enjoy cleaning chocolate from the microwave ceiling.
2. Measure Carefully
Small recipes magnify small mistakes. Spoon flour into the measure and level it instead of packing it. Break up cocoa lumps before adding liquid.
3. Mix Gently
Stir only until the dry ingredients disappear. Overmixing develops gluten and can make a microwave brownie tough. This is dessert, not an arm workout.
4. Stop Early and Let It Rest
The edges should look set while the center remains slightly moist. Resting for one to two minutes allows carryover heat to finish the middle without drying it out.
Method 1: Fudgy Brownie in a Mug From Scratch
This eggless microwave brownie is the fastest method and the easiest to scale. It has a dense, spoonable center rather than the airy crumb of chocolate cake. The recipe makes one generous serving or two smaller portions for people who believe sharing builds character.
Ingredients
- 3 tablespoons all-purpose flour
- 2 tablespoons granulated sugar
- 1 tablespoon packed light brown sugar
- 2 tablespoons unsweetened cocoa powder
- Pinch of fine salt
- 2 tablespoons milk
- 1 1/2 tablespoons neutral vegetable oil or melted butter
- 1/4 teaspoon vanilla extract
- 1 tablespoon semisweet chocolate chips
Instructions
- Lightly grease a wide 10- to 12-ounce microwave-safe mug.
- Add the flour, both sugars, cocoa powder, and salt. Stir with a fork until evenly colored.
- Add the milk, oil, and vanilla. Mix gently, scraping the bottom, until no dry patches remain.
- Fold in the chocolate chips and smooth the top.
- Microwave on high for 45 seconds in a 1,000-watt microwave. If the center is still liquid, continue in 10-second bursts. Total cooking time is usually 50 to 75 seconds.
- Let the brownie stand for two minutes before eating.
Easy Variations
For a molten center, press a square of chocolate or a teaspoon of chocolate-hazelnut spread into the batter. Swirl peanut butter on top, or add walnuts, pecans, toffee bits, or a pinch of espresso powder. Oil produces a softer, chewier brownie; melted butter adds richer flavor and a slightly firmer bite.
Method 2: Microwave Brownie With Boxed Mix
Boxed brownie mix is ideal when measuring several ingredients feels like unreasonable paperwork. Do not prepare the whole box according to the oven directions. Portion the dry mix and add enough liquid and fat to make one thick batter.
Ingredients for One Serving
- 1/3 cup dry brownie mix
- 1 tablespoon water or milk
- 2 teaspoons neutral vegetable oil
- 1 tablespoon chocolate chips, optional
Instructions
- Place the brownie mix in an 8- to 12-ounce microwave-safe mug.
- Add the water and oil. Stir for about 30 seconds, scraping the bottom. If dry powder remains, add liquid 1 teaspoon at a time.
- Stir in chocolate chips if desired.
- Microwave on high for 40 seconds. Continue in 10-second intervals until the edges look dry and the center remains slightly glossy. Most servings need 45 to 70 seconds.
- Rest for one to two minutes before serving.
Why the Shortcut Works
Brownie mix already contains balanced amounts of flour, sugar, cocoa, salt, and leavening. Oil supplies moisture and tenderness, while water activates the dry ingredients. Brands absorb liquid differently, so texture matters more than loyalty to the clock. The batter should be thick, not soupy.
Boxed-Mix Flavor Upgrades
- S’mores: Add crushed graham crackers, mini marshmallows, and chocolate chips.
- Salted caramel: Swirl in caramel and finish with flaky salt.
- Cookies and cream: Fold in one crushed chocolate sandwich cookie.
- Mocha: Replace the water with coffee or add espresso powder.
Method 3: Shareable Microwave Brownie in a Dish
A mug brownie handles an individual emergency. This shallow-dish version serves two to four people and includes an egg for structure, allowing it to cool into sliceable squares.
Ingredients
- 1/2 cup unsalted butter, melted and slightly cooled
- 3/4 cup granulated sugar
- 1/4 cup packed light brown sugar
- 1 large egg
- 1 teaspoon vanilla extract
- 1/2 cup all-purpose flour
- 1/3 cup unsweetened cocoa powder
- 1/4 teaspoon fine salt
- 1/4 teaspoon baking powder
- 1/3 cup semisweet chocolate chips
Instructions
- Grease a shallow microwave-safe glass or ceramic dish holding about 4 cups, such as a 7-inch round dish.
- Whisk the melted butter with both sugars until glossy. Add the egg and vanilla, then whisk until smooth.
- In another bowl, combine the flour, cocoa powder, salt, and baking powder.
- Fold the dry mixture into the wet mixture just until combined. Fold in the chocolate chips.
- Spread the batter evenly in the prepared dish.
- Microwave on high for 2 minutes. Rotate the dish if the microwave lacks a turntable. Continue in 20-second intervals until the edges are firm and the center is set but moist. Total cooking time is usually 2 1/2 to 4 minutes.
- Rest for at least five minutes. Cool for 15 to 20 minutes if you want neat slices.
How to Test for Doneness
Look for firm edges and a center that springs back gently. A toothpick should carry moist crumbs rather than raw batter. Microwave brownies do not brown like oven-baked brownies, so color is a poor guide. Because this version contains an egg, do not leave the center liquid.
Adjusting for Microwave Wattage
These recipes assume a microwave near 1,000 watts. A 700- to 800-watt model may need several extra bursts, while a 1,100- to 1,200-watt machine may finish sooner. Check at the earliest suggested time. For a powerful microwave, cooking at 70% to 80% power can produce gentler heat and fewer hard edges.
Common Problems and Simple Fixes
The Brownie Is Dry or Rubbery
Reduce the cooking time, measure flour lightly, and use a wider container. Stop cooking when the center still looks slightly moist.
The Center Is Raw but the Edges Are Hard
The batter is probably too deep or the microwave is very powerful. Use a shallower dish, lower the power, and rotate a larger batch halfway through cooking.
The Brownie Overflowed
Use a 10- to 12-ounce mug, fill it no more than halfway, and set it on a plate to catch ambitious drips.
The Chocolate Flavor Tastes Flat
Add a little salt, vanilla, espresso powder, or extra chocolate chips. Each can deepen the cocoa flavor without making the recipe complicated.
Serving Ideas
Serve microwave brownies warm with vanilla ice cream, whipped cream, berries, caramel, or melted peanut butter. For contrast, add toasted nuts, crushed pretzels, flaky salt, or cacao nibs. A shareable batch can be cut into small squares and topped individually for an easy movie-night dessert bar.
My Microwave Brownie Experience: Lessons From Repeated Batches
The first lesson from making microwave brownies repeatedly is that the final 20 seconds matter more than the first minute. Early in the cooking process, the batter simply warms and rises. Near the end, moisture disappears rapidly. A brownie that looks slightly underdone can become firm during its resting time, while one that looks perfectly dry inside the microwave often turns disappointingly tough on the plate.
I had the most consistent results with wide mugs rather than tall, narrow ones. In a narrow mug, the top looked finished while batter at the bottom remained wet. A wide 12-ounce mug created a shallower layer, helping the edges and center finish closer together. Placing the mug on a plate was also worthwhile. Most batches stayed politely inside, but the one that did not behaved like a tiny chocolate volcano with personal grievances.
Mixing directly in the mug is convenient but not always flawless. Dry cocoa and flour can hide in the bottom curve, especially when stirred with a large spoon. A fork reaches the corners better, and a small silicone spatula is even more effective. Combining the dry ingredients before adding milk and oil greatly reduced pale flour streaks and bitter cocoa pockets.
Oil and butter produced noticeably different results. Oil made the eggless mug brownie softer and kept it tender as it cooled. Butter delivered fuller flavor but became firmer after several minutes. My favorite compromise was one tablespoon of oil plus half a tablespoon of melted butter. It added buttery flavor without sacrificing the spoonable texture that makes a mug brownie satisfying.
Chocolate chips were more than decoration. They melted into pockets that made the brownie taste richer and helped disguise minor overcooking. Chopped chocolate created larger molten areas, while mini chips distributed more evenly. A square of chocolate pushed into the center produced the most dramatic result, although it remained dangerously hot longer than the brownie around it.
The boxed-mix method was the most forgiving. It was perfect for late-night dessert because the ingredient ratios were already handled. Too much water, however, made the brownie spongy. A thick batter consistently gave a denser result. Milk improved the flavor slightly, though the difference became less important once ice cream entered the situation and took credit for everything.
The shareable brownie required more attention because hot spots became obvious across the larger surface. Rotating the dish midway helped even in a microwave with a turntable. Resting for five minutes was essential; cutting immediately made the center collapse. After 15 minutes, the same batch could be sliced into respectable squares with pleasantly chewy edges.
The biggest lesson was to treat cooking time as a range, not a command. Mug shape, ingredient temperature, wattage, and turntable position all affect the result. Starting conservatively and adding short bursts produced better brownies than trusting one long preset time.
Finally, microwave brownies are best treated as their own dessert, not an exact copy of oven-baked brownies. They usually have softer edges, less crust, and a warm, pudding-like center. Once those differences become part of the appeal, the method makes perfect sense: fresh chocolate dessert in minutes, minimal cleanup, and enough flexibility for either one mug or a shareable batch.
Conclusion
Learning how to make brownies in the microwave gives you three useful options for almost any chocolate craving. The from-scratch mug brownie offers maximum control, the boxed-mix version is the fastest, and the shallow-dish brownie makes enough to share.
Whichever method you choose, use microwave-safe cookware, keep the batter shallow, check early, cook in short bursts, and allow resting time. Follow those rules, and your microwave can produce a brownie that is warm, deeply chocolatey, and ready before a conventional oven would finish preheating.