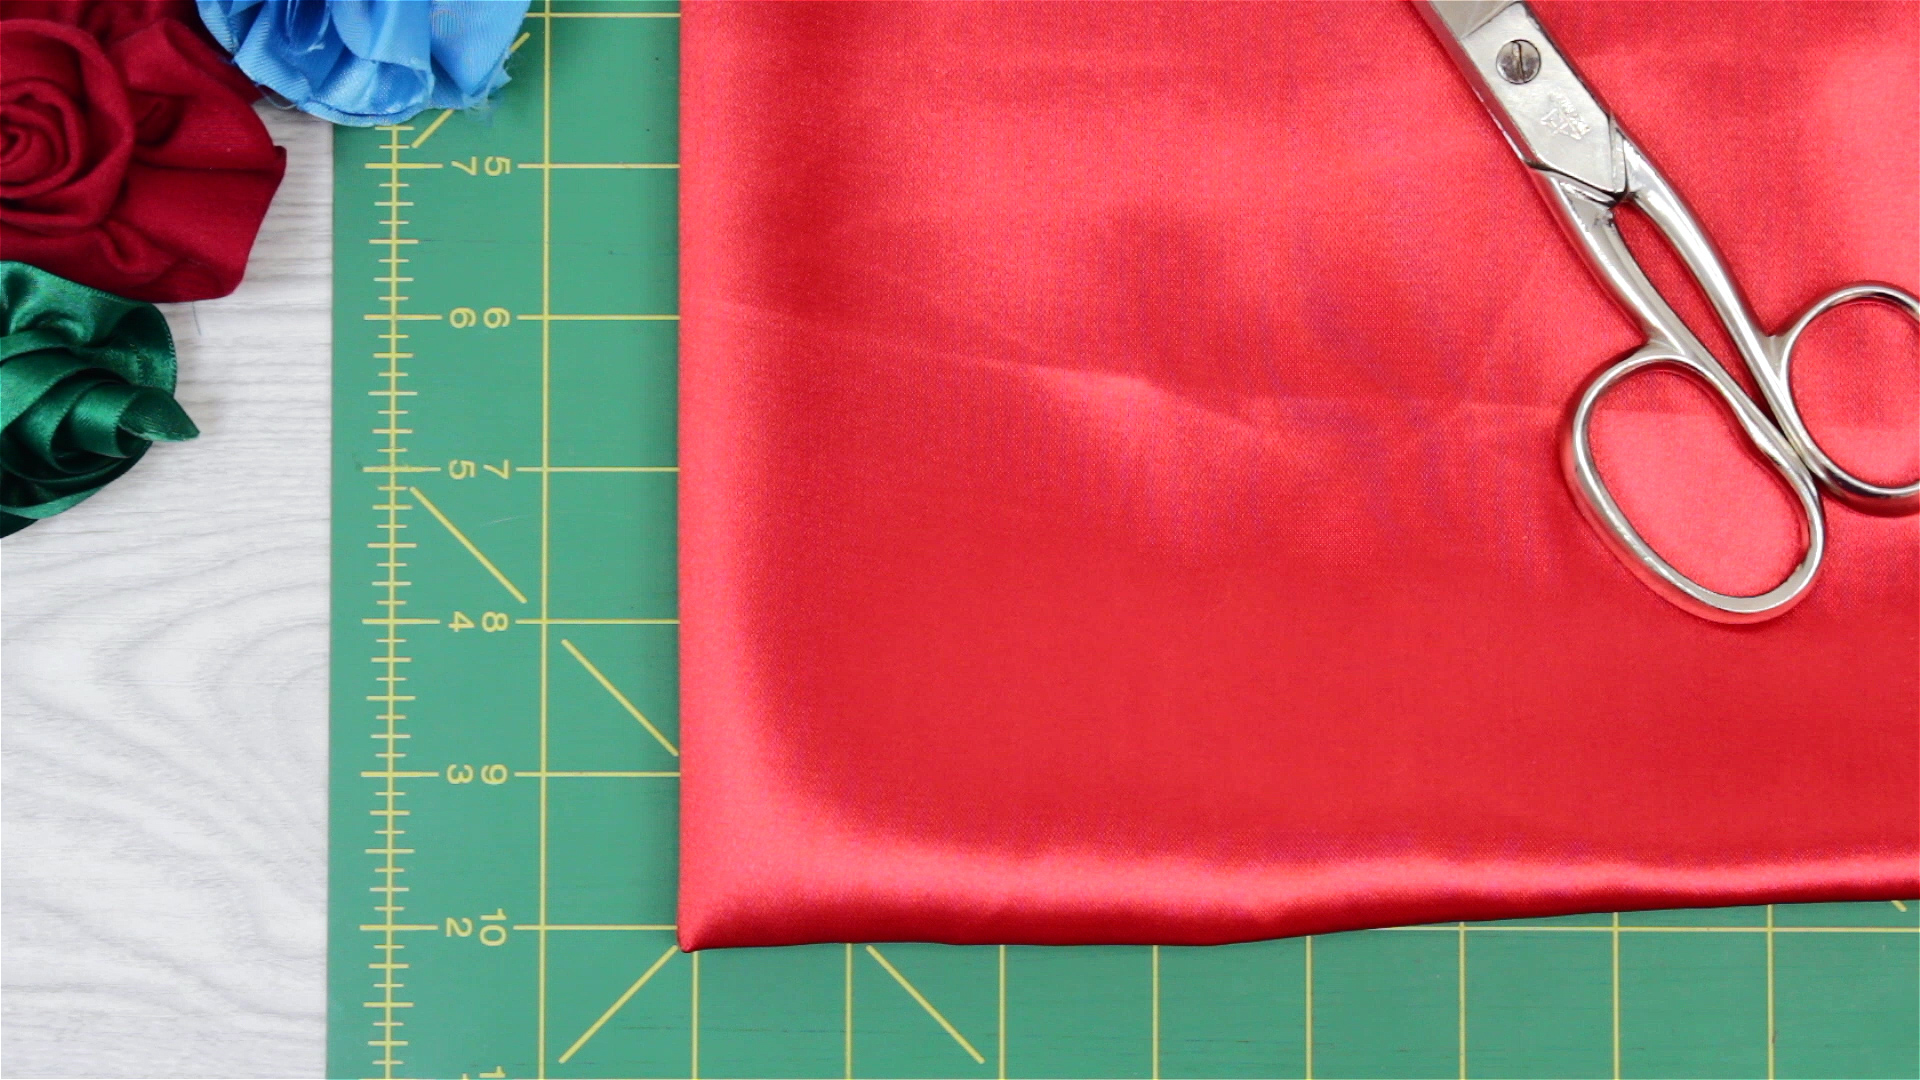
Fabric flowers are the tiny craft-room miracles that make scrap piles feel useful, plain tote bags look boutique, and hair clips suddenly believe they belong in a wedding magazine. The best part? You do not need a greenhouse, a sewing degree, or a suspiciously perfect craft closet. With a few fabric pieces, scissors, thread, glue, and a little patience, you can make beautiful fabric flowers for clothing, accessories, home décor, gift wrapping, party decorations, and handmade keepsakes.
This guide walks you through 3 ways to make fabric flowers: a gathered fabric rosette, a layered petal flower, and a no-sew felt flower. Each method has its own personality. The rosette is soft and romantic, the layered petal flower looks polished and dimensional, and the felt flower is beginner-friendly enough for a cozy afternoon project. Whether you are using cotton scraps, satin ribbon, felt sheets, old shirts, or leftover quilting fabric, these DIY fabric flower ideas will help you turn “I should probably throw this away” into “Wait, that looks adorable.”
Before You Start: Choosing the Right Fabric
The fabric you choose affects the shape, texture, and overall style of your handmade flowers. Lightweight cotton is easy to cut and sew, making it a great option for beginners. Felt is sturdy, does not fray, and works beautifully for no-sew projects. Satin, silk, chiffon, and organza create elegant flowers with soft movement, but they can be slippery. Denim, linen, and canvas make bold, rustic flowers that work well on bags, jackets, pillows, and wreaths.
For your first attempt, start with cotton or felt. These fabrics behave themselves, which is more than can be said for certain silky fabrics that seem determined to slide off the table and live their own dramatic lives. Once you understand the basic techniques, you can experiment with sheers, lace, velvet, burlap, or even upcycled clothing.
Basic Supplies You May Need
- Fabric scraps, felt sheets, ribbon, or old clothing
- Sharp fabric scissors
- Needle and thread
- Hot glue gun or fabric glue
- Buttons, beads, or embroidery floss for flower centers
- Cardstock or paper for templates
- Pins or sewing clips
- Felt circles for backing
- Hair clips, brooch pins, headbands, wreath forms, or stems for finishing
A quick safety note: if you use a hot glue gun, keep your fingers away from the glue tip and work on a protected surface. Hot glue has a sneaky way of reminding crafters that it is, in fact, hot.
Way 1: Make a Gathered Fabric Rosette
A gathered fabric rosette is one of the easiest and most versatile fabric flowers. It looks like a soft spiral rose and works well on headbands, baby blankets, throw pillows, tote bags, gift boxes, and handmade cards. This method is perfect for cotton, lightweight linen, satin ribbon, or strips of upcycled fabric.
What You Need
- A fabric strip, about 2 inches wide and 18 to 24 inches long
- Needle and thread
- Scissors
- Hot glue or fabric glue
- Small felt circle for backing
- Button, bead, or pearl for the center, optional
Step-by-Step Instructions
Step 1: Cut your fabric strip. Cut a long strip of fabric. For a small flower, use a strip about 18 inches long. For a fuller flower, use 24 inches or more. The strip does not have to be perfect. Slightly uneven edges can add a relaxed, handmade charm.
Step 2: Fold the strip lengthwise. Fold the fabric in half lengthwise with the right side facing out. Press it with your fingers or an iron if you want a cleaner edge. If you like a shabby-chic look, leave the edges raw and let them fray slightly.
Step 3: Sew a running stitch. Thread your needle and sew a simple running stitch along the open edge of the folded strip. Make the stitches about 1/4 inch apart. Do not worry about perfection; the gathers will hide small mistakes. Fabric flowers are very forgiving, which is why they are emotionally superior to macarons.
Step 4: Pull the thread to gather. Gently pull the thread so the fabric begins to ruffle. The more you pull, the tighter and fuller the rosette becomes. Tie a knot at the end to secure the gathers.
Step 5: Roll the flower. Start at one end and roll the gathered strip into a spiral. Keep the bottom edge aligned as you roll. Add small dots of glue or a few stitches along the base to hold the flower together.
Step 6: Add a backing. Glue or sew a felt circle to the back of the rosette. This hides the raw base and makes it easier to attach the flower to a clip, pin, headband, bag, or wreath.
Best Uses for Gathered Rosettes
Gathered rosettes are excellent for romantic and vintage-style projects. Try clustering three different sizes on a pillow cover, adding one to a denim jacket, or using several as decorations for a handmade bridal sash. You can also make tiny rosettes from narrow ribbon and use them to embellish greeting cards or scrapbook pages.
Way 2: Make a Layered Petal Fabric Flower
If you want a flower with more structure and dimension, the layered petal method is a great choice. This style looks closer to a daisy, camellia, or simple peony depending on your petal shape. It works well with cotton, satin, felt, organza, lace, or lightweight upholstery fabric. The secret is layering different petal sizes so the flower looks full instead of flat.
What You Need
- Fabric scraps in one or more colors
- Paper petal templates in three sizes
- Scissors
- Needle and thread or hot glue
- Felt circle for backing
- Button, bead cluster, pom-pom, or fabric-covered button for the center
Step-by-Step Instructions
Step 1: Create petal templates. Draw three petal shapes on paper: small, medium, and large. A teardrop shape is the easiest. A rounded oval creates a softer flower, while a pointed petal looks more like a dahlia or sunflower. Cut out the templates.
Step 2: Cut the petals. Trace and cut several petals from your fabric. For a medium flower, cut about six large petals, six medium petals, and five small petals. If your fabric frays heavily, you can apply a small amount of fabric glue along the edges or use pinking shears.
Step 3: Shape each petal. Pinch the base of each petal to create dimension. Secure the pinch with a stitch or a tiny dot of hot glue. This small step makes a big difference. Flat petals look like craft supplies; shaped petals look like flowers that paid attention in finishing school.
Step 4: Build the first layer. Arrange the large petals in a circle on a felt backing. Overlap each petal slightly. Glue or stitch the bases in place. Try to keep the spacing even, but do not panic if the flower is not perfectly symmetrical. Real flowers are rarely perfect, and they still get invited to weddings.
Step 5: Add medium and small petals. Place the medium petals on top of the large ones, positioning them between the gaps. Add the small petals in the center. Each layer should sit slightly inward from the previous layer.
Step 6: Finish the center. Sew or glue a button, bead, pom-pom, or fabric-covered circle in the middle. A pearl button gives a bridal look. A wooden button feels rustic. A bright pom-pom makes the flower playful and kid-friendly.
Design Variations
For a soft, elegant flower, use chiffon or organza and layer many thin petals. For a bold farmhouse-style bloom, use linen, burlap, or ticking stripe fabric. For a colorful spring decoration, mix patterned cottons such as polka dots, gingham, and florals. If you are making flowers for a child’s headband, use lightweight fabric so the finished piece is comfortable and not too heavy.
Way 3: Make a No-Sew Felt Flower
No-sew felt flowers are quick, clean, and wonderfully beginner-friendly. Felt does not fray, so you can cut it into petals, spirals, strips, and fringes without finishing the edges. This method is ideal for kids’ crafts, classroom projects, wreaths, garlands, nursery décor, and last-minute gifts. It is also the method to choose when your sewing needle has vanished into the mysterious household dimension where socks and tape measures also go.
What You Need
- Felt sheets in your chosen colors
- Sharp scissors
- Hot glue gun or strong craft glue
- Small felt circle for backing
- Optional: beads, buttons, leaves, floral wire, or ribbon
Step-by-Step Instructions for a Rolled Felt Flower
Step 1: Cut a felt circle. Start with a circle about 4 to 6 inches wide. It does not need to be mathematically perfect. Handmade circles with personality are welcome here.
Step 2: Cut the circle into a spiral. Starting at the outer edge, cut the felt circle into a spiral strip. Keep the strip about 1/2 inch to 3/4 inch wide. Wavy cuts will create softer petals. Scalloped cuts will create a more decorative flower.
Step 3: Roll from the outside in. Begin rolling the outer end of the spiral tightly. This becomes the center of the flower. Continue rolling until you reach the middle of the spiral.
Step 4: Glue the base. Add glue to the bottom as you roll, or glue the final round piece over the base to secure everything. Hold it for a few seconds until the glue sets.
Step 5: Add leaves. Cut small leaf shapes from green felt and glue them to the back. This makes the flower look more finished and adds a nice color contrast.
Step-by-Step Instructions for a Fringed Felt Flower
Step 1: Cut a felt strip. Cut a strip about 2 inches wide and 10 to 12 inches long.
Step 2: Fold and glue. Fold the strip lengthwise and glue along the long open edge, leaving the folded edge unglued.
Step 3: Cut fringe. Cut small slits along the folded edge, being careful not to cut all the way through. The closer the slits, the fluffier the flower.
Step 4: Roll and glue. Roll the strip from one end to the other, adding glue along the base as you go. Fluff the fringe with your fingers when finished.
Fringed felt flowers look like mums, marigolds, or playful pom-pom blossoms. They are especially cute on wreaths, party banners, and gift toppers.
How to Make Fabric Flowers Look More Professional
The difference between “cute craft” and “where did you buy that?” often comes down to finishing details. First, trim stray threads. Raw edges can be charming, but random fuzz explosions are less charming. Second, add a proper backing. A small felt circle hides glue, stitches, and uneven petal bases. Third, use odd numbers when grouping flowers. Three or five blooms usually look more natural than two or four.
Color also matters. Choose fabrics from the same color family for a soft, elegant look, or combine complementary colors for contrast. Patterned fabric works best when paired with solids, especially if the flower has many layers. If every petal is shouting in a different print, the finished flower may look like it has been arguing with a quilt shop.
Creative Ways to Use Fabric Flowers
Once you know how to make fabric flowers, you may start seeing every plain object as a future flower delivery system. Add a rosette to a hair clip, glue felt flowers to a grapevine wreath, sew layered petals onto a canvas tote, or decorate a throw pillow with a cluster of blooms. Fabric flowers also make beautiful gift toppers because the recipient can reuse them as ornaments, brooches, or keepsakes.
For weddings and parties, fabric flowers can be used in bouquets, corsages, chair decorations, table runners, photo booth backdrops, and favor boxes. Unlike fresh flowers, they do not wilt, complain about heat, or require emergency refrigeration. They are also a smart option for memory crafts. You can turn pieces of a loved one’s shirt, a baby blanket, or leftover wedding fabric into a meaningful handmade flower.
Common Mistakes to Avoid
Using dull scissors is one of the fastest ways to make fabric flowers look messy. Sharp fabric scissors give cleaner edges and reduce fraying. Using too much glue can also create bulky spots, especially on lightweight fabric. Apply small dots instead of large blobs. Skipping the backing makes the flower harder to attach and less durable. A backing may seem minor, but it gives the finished flower structure.
Another common mistake is choosing fabric that is too thick for a delicate design. Heavy denim can make a fantastic bold flower, but it will not roll into a tiny romantic rosette easily. Match the fabric to the project. Lightweight fabrics are best for soft, layered flowers, while felt and medium-weight cottons are easier for beginners.
Experience Notes: What Making Fabric Flowers Teaches You
Making fabric flowers sounds simple, and technically it is, but the experience has a funny way of teaching patience, creativity, and the value of not throwing away every little scrap. The first flower may not look like a boutique accessory. It may look like a confused cinnamon roll. That is completely normal. Fabric has movement, thickness, grain, and attitude. Every material behaves differently, and learning those differences is part of the fun.
One of the best lessons is that imperfection can actually improve the final result. A slightly uneven petal can make a flower look more natural. A frayed cotton edge can create a soft vintage effect. A mismatched button can become the charming center that makes the whole piece feel handmade instead of mass-produced. Many beginners try too hard to make every petal identical, but fabric flowers often look better when they have a little variation.
Another useful experience is learning how much fabric choice affects the mood of the project. A red satin rosette feels dramatic and dressy. A cream linen flower feels calm and rustic. A bright felt mum feels cheerful and playful. A denim flower feels casual and sturdy. The same flower pattern can look completely different depending on the fabric, which means you can reuse the same technique many times without making the same flower twice.
Fabric flowers are also great confidence builders. You can finish one in less than an hour, and the supplies are inexpensive. That makes them perfect for experimenting. Try making one flower with glue and another with hand stitching. Try cutting petals round, pointed, scalloped, or wavy. Try combining lace with cotton, felt with embroidery floss, or satin with pearl beads. Each version teaches you something new about texture, balance, and construction.
They are especially rewarding for people who enjoy practical crafts. A finished fabric flower can become a brooch, a hair accessory, a napkin ring, a curtain tie, a bookmark decoration, a holiday ornament, or an accent on a wrapped gift. Unlike some crafts that end up in a drawer labeled “miscellaneous enthusiasm,” fabric flowers are genuinely useful. They can refresh old clothing, personalize inexpensive items, and add handmade detail to everyday objects.
If you are making fabric flowers with kids or beginners, felt is the best starting point. It cuts easily, holds its shape, and does not fray. For a more grown-up project, cotton rosettes and layered petal flowers offer more design possibilities. If you are making flowers for something that will be handled often, such as a bag or jacket, stitching is usually stronger than glue. If the flower is decorative and will sit peacefully on a wreath, glue is perfectly fine.
The biggest takeaway is this: do not wait until you have the perfect supplies. Use what you have. Old shirts, fabric remnants, ribbon scraps, leftover felt, and spare buttons can all become beautiful flowers. The charm of DIY fabric flowers is not that they look factory-perfect. It is that they carry the color, texture, and personality of the materials you chose. In a world full of identical decorations, a handmade fabric flower is a small, cheerful rebellion.
Conclusion
Learning 3 ways to make fabric flowers gives you a flexible set of skills for countless craft projects. The gathered fabric rosette is soft and romantic, the layered petal flower is dimensional and polished, and the no-sew felt flower is quick, sturdy, and beginner-friendly. With basic supplies and a little experimenting, you can turn fabric scraps into accessories, decorations, gifts, and keepsakes that feel personal and creative.
Start simple, enjoy the process, and remember that every flower gets better with practice. Even the wonky ones have potential. Put them on a gift box, call them “rustic,” and watch everyone nod respectfully.
Note: This article is based on real sewing, crafting, and fabric-flower techniques commonly shared by reputable U.S. craft, sewing, lifestyle, and home décor resources. It has been fully rewritten in original language for web publishing.