Coconut oil is one of those ingredients that seems to have a personality. On a warm afternoon, it may sit in its jar looking perfectly pourable. On a chilly morning, it can become a stubborn white block that appears ready to defend itself with legal counsel.
Fortunately, learning how to melt coconut oil is simple. You can use a microwave for speed, a warm-water bath for gentle heating, or a stovetop method when you need more control. The right choice depends on how much oil you need, what equipment is available, and whether you are melting it for baking, cooking, homemade beauty products, or another project.
This guide explains three reliable methods, the mistakes that can affect flavor and texture, and the easiest way to measure and store coconut oil after melting it.
Why Does Coconut Oil Become Solid?
Coconut oil contains a high proportion of saturated fatty acids, which is why it behaves differently from liquid oils such as canola or olive oil. It generally begins changing from solid to liquid at approximately 76°F, or 24°C. That temperature is close enough to normal room temperature that the same jar may be solid in winter and liquid in summer.
This change is normal and does not mean the oil has spoiled. Coconut oil can melt and solidify repeatedly as the surrounding temperature changes. You may also notice a partially melted jar containing both clear liquid and soft white clumps. That is simply coconut oil being indecisive, not defective.
Refined Versus Unrefined Coconut Oil
Both refined and unrefined coconut oil melt in roughly the same temperature range, although their flavors differ. Unrefined or virgin coconut oil usually has a noticeable coconut aroma and taste. Refined coconut oil is generally more neutral, making it useful when you want the texture of coconut oil without turning every dish into an imaginary tropical vacation.
The melting method does not need to change significantly based on the type. In either case, gentle heat is sufficient. There is no benefit to making the oil extremely hot when all you need is a liquid consistency.
Before You Melt Coconut Oil
Decide how much oil you actually need before applying heat. Melting an entire jar may be convenient, but it is unnecessary when a recipe calls for only two tablespoons. Transferring a small portion to a separate bowl also reduces the chance of introducing crumbs, moisture, or other ingredients into the main container.
Use a clean, completely dry spoon. Even a little water can be inconvenient in recipes involving chocolate, candy coatings, homemade balms, or other moisture-sensitive mixtures.
It is also important to read the recipe carefully. “One-half cup coconut oil, melted” can mean measuring the solid oil first and then melting it. “One-half cup melted coconut oil” generally means melting enough oil and then measuring one-half cup of the liquid. That tiny comma can be surprisingly ambitious.
Method 1: Melt Coconut Oil in the Microwave
The microwave is the fastest way to melt a small or medium quantity of coconut oil. It is ideal when you are baking, preparing a quick sauce, or staring at a muffin recipe while the oven is already preheated.
What You Need
- Coconut oil
- A microwave-safe glass or ceramic bowl
- A dry spoon or silicone spatula
Step-by-Step Instructions
- Scoop the required amount of solid coconut oil into a microwave-safe bowl.
- Heat it for 5 to 10 seconds at medium power.
- Remove the bowl and stir the oil.
- Continue heating in 5-second intervals, stirring after each interval.
- Stop when only a few small solid pieces remain. Stir until the residual heat melts them.
Small quantities may melt in less than 15 seconds, while a larger amount may require several intervals. The goal is to liquefy the oil, not bring it to a rolling boil or recreate the surface temperature of Mercury.
Microwave Safety Tips
Do not microwave a jar with a metal lid, foil seal, or metal decoration. It is usually better to transfer the desired amount to a microwave-safe bowl rather than heating the original container, especially when the jar is plastic or its microwave suitability is unknown.
Microwaves can create hot spots, so stirring between intervals is important. Use caution when handling the bowl because the container may become hotter than expected. If the oil is intended for skin or hair, let it cool and test a drop on the inside of your wrist before applying it.
Best Uses for This Method
Microwave melting works especially well for brownies, muffins, granola, pancakes, quick breads, sauces, and small batches of homemade body-care mixtures. It is less appealing when you need to melt a full glass jar evenly or want to avoid microwave heating altogether.
Method 2: Use a Warm-Water Bath
A warm-water bath is the gentlest of the three methods. It is excellent for softening or melting coconut oil directly in its container, provided the container is tightly sealed and suitable for exposure to warm water.
This approach requires a little more patience than the microwave, but it offers excellent temperature control. It also gives you time to clean the kitchen counter, read the rest of the recipe, or wonder why you own four nearly empty jars of cinnamon.
What You Need
- A tightly closed jar of coconut oil
- A heat-resistant bowl or saucepan
- Warm water
- A clean towel
Step-by-Step Instructions
- Make sure the lid on the coconut oil jar is tightly closed.
- Fill a bowl with warm water. The water should feel comfortably hot but should not be boiling.
- Place the jar in the bowl, keeping the water level below the lid.
- Let it stand for 5 to 10 minutes.
- Rotate or gently swirl the jar occasionally to distribute the warmth.
- Replace the water with fresh warm water if it cools before the oil has melted.
- Remove the jar and dry the outside thoroughly before opening it.
Avoid Thermal Shock
Do not place a very cold glass jar directly into boiling water. A sudden temperature change can crack glass. If the jar has been refrigerated, allow it to warm on the counter first, and begin with lukewarm water before gradually using warmer water.
Keep water out of the jar. Moisture can interfere with recipes, and droplets around the lid can enter the oil when the container is opened. Drying the exterior is not a decorative step; it is practical insurance.
Best Uses for This Method
The warm-water method is useful when you want to melt most or all of a jar, preserve a gentle temperature, or prepare coconut oil for massage, hair treatments, balms, and moisture-sensitive recipes. It is also handy in hotel rooms, cabins, and kitchens where the microwave has apparently been designed by someone who enjoys mystery buttons.
Method 3: Melt Coconut Oil on the Stovetop
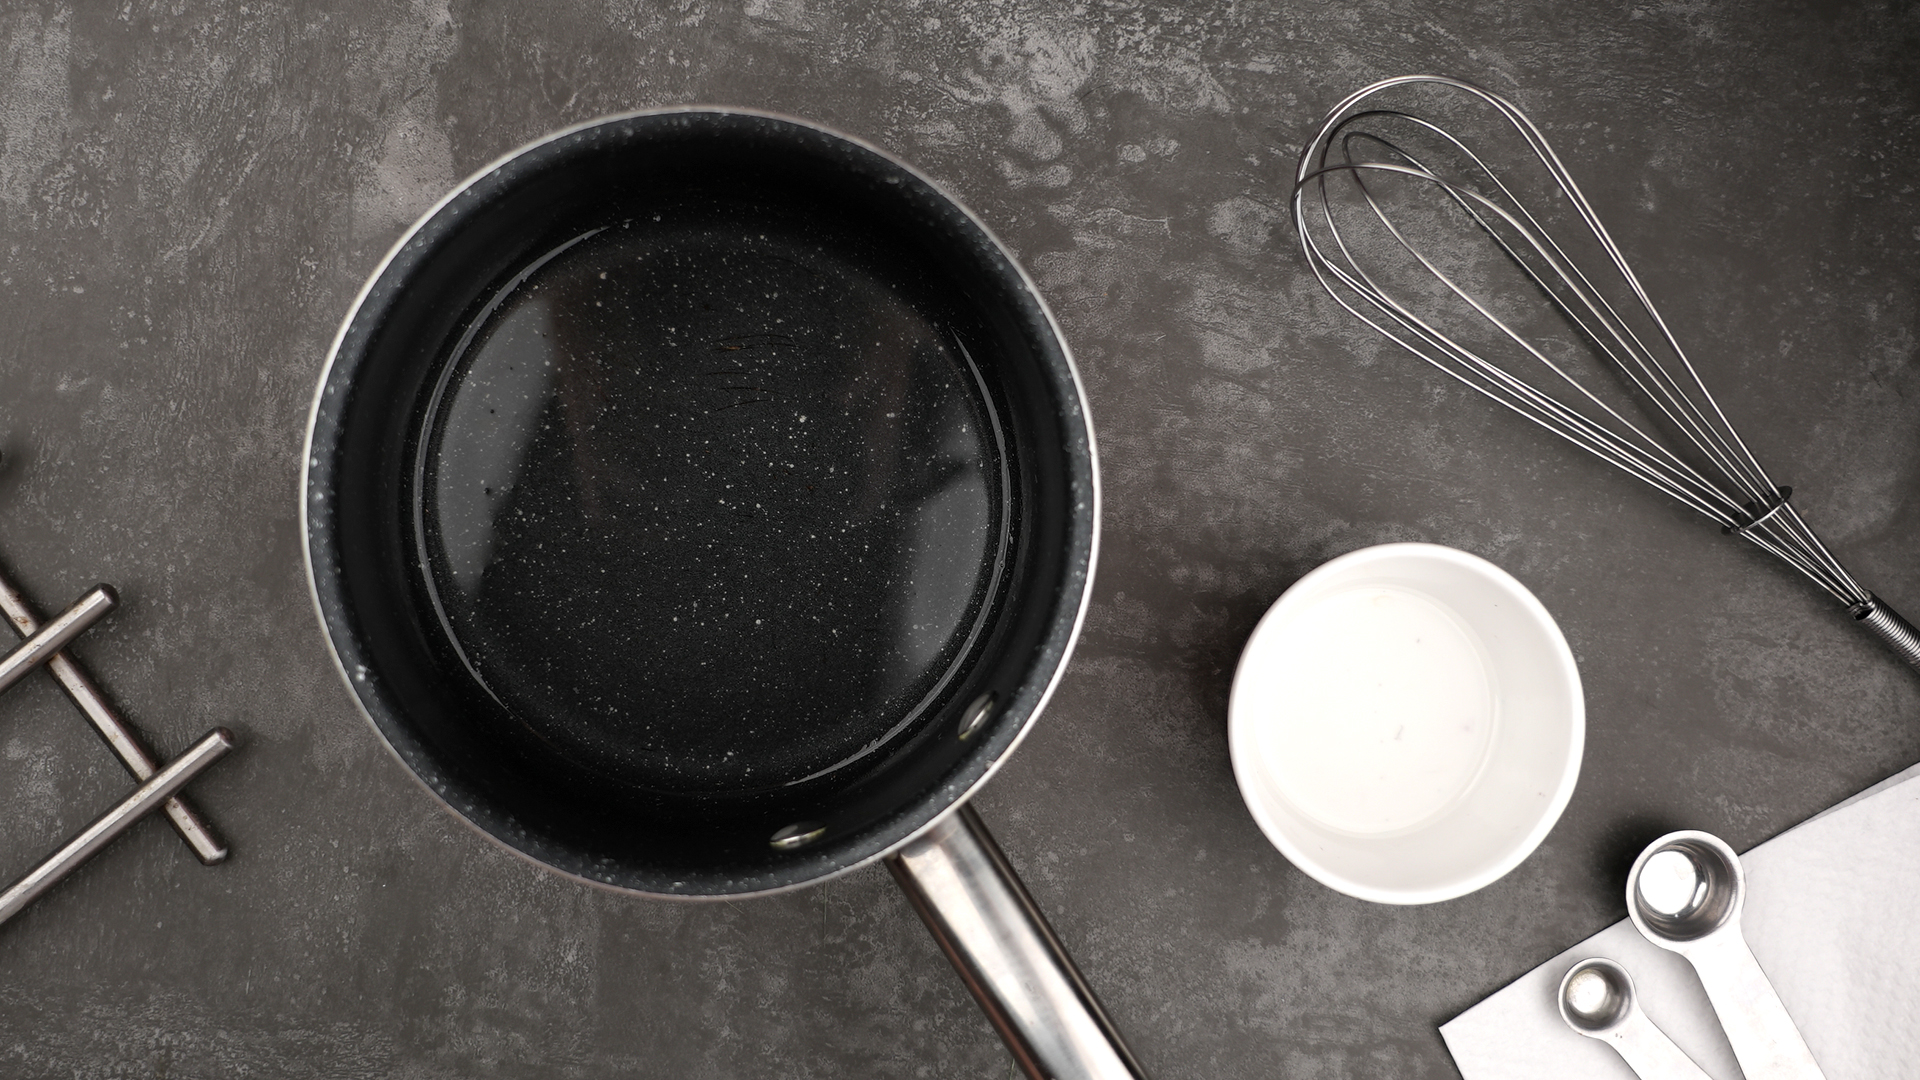
The stovetop method is dependable when you need to melt a larger quantity or combine coconut oil immediately with other ingredients. You can heat it directly in a small saucepan over very low heat or use a makeshift double boiler for gentler warming.
Option A: Direct Low Heat
- Place the required amount of coconut oil in a small, dry saucepan.
- Set the burner to its lowest heat setting.
- Stir continuously or swirl the pan as the oil begins to melt.
- Remove the pan from the burner when a few small solid pieces remain.
- Continue stirring until the oil is completely clear.
Coconut oil melts at a low temperature, so this process should be quick. Do not walk away to answer an email, reorganize a drawer, or begin a philosophical debate about whether a hot dog is a sandwich.
Option B: Double-Boiler Method
- Add one or two inches of water to a saucepan and bring it to a gentle simmer.
- Place a heatproof bowl over the saucepan, ensuring the bottom of the bowl does not touch the water.
- Add the coconut oil to the bowl.
- Stir gently until the oil has melted.
- Remove the bowl carefully and wipe away any condensation on its exterior.
The double-boiler method provides indirect heat, reducing the chance of overheating. It is particularly useful when coconut oil will be mixed with chocolate, beeswax, essential oils, or other ingredients that benefit from controlled warming.
Best Uses for This Method
Stovetop melting is practical for large batches of granola, candy coatings, sauces, homemade skin-care products, and recipes in which the oil will be combined with ingredients already in a saucepan. It also lets you watch the transformation closely, which is oddly satisfying for something that requires so little effort.
Which Coconut Oil Melting Method Is Best?
Choose the microwave when speed matters and you need only a small amount. Select the warm-water bath when you want gentle heat or need to liquefy oil in a sealed jar. Use the stovetop when working with a larger quantity or combining the oil with other ingredients.
| Method | Approximate Time | Best For | Main Precaution |
|---|---|---|---|
| Microwave | 10–30 seconds | Small amounts and quick recipes | Use short intervals and stir frequently |
| Warm-water bath | 5–15 minutes | Whole jars and gentle warming | Keep water below the lid |
| Stovetop | 1–5 minutes | Large amounts and mixed recipes | Use low or indirect heat |
Common Mistakes When Melting Coconut Oil
Using Excessive Heat
Coconut oil does not need to smoke, bubble, or become painfully hot to melt. Excessive heating can produce unpleasant flavors and may damage the oil. Remove it from the heat as soon as it becomes liquid.
Heating the Original Jar Without Checking It
A jar may contain a hidden foil seal, a metal component, or plastic that is not microwave-safe. Transferring the portion you need to a suitable bowl is generally the simplest option.
Adding Hot Oil to Cold Ingredients
Melted coconut oil can solidify when it contacts refrigerated milk, eggs, yogurt, or other cold ingredients. In baking, bring the other ingredients closer to room temperature when the recipe permits. Add the oil gradually while whisking so it remains evenly distributed.
Confusing Coconut Oil With Coconut Butter
Coconut oil is primarily fat extracted from coconut meat. Coconut butter contains finely ground coconut flesh and therefore includes fiber and other solids. Coconut butter becomes softer when warmed, but it does not turn into the same clear liquid as coconut oil.
Using Too Much in the Name of Wellness
Coconut oil is flavorful and useful, but it is also rich in saturated fat. It is best treated as one cooking fat among several rather than a magical ingredient that must be added to every beverage, breakfast, and houseplant. For everyday cooking, dietary guidance generally favors oils higher in unsaturated fats, such as olive, canola, and other nontropical plant oils.
How to Measure Melted Coconut Oil Correctly
For the most accurate results, weigh coconut oil with a kitchen scale when a recipe provides gram measurements. Weight remains consistent whether the oil is solid, softened, or liquid.
When using measuring cups, follow the wording of the recipe:
- “One-half cup coconut oil, melted”: Measure one-half cup in its solid or scoopable state, then melt it.
- “One-half cup melted coconut oil”: Melt the oil first, then measure one-half cup of liquid.
- Tablespoon quantities: Melt a small amount and measure with a standard measuring spoon for better accuracy.
Allow melted oil to cool slightly before adding it to eggs. Oil that is too hot can begin cooking the eggs, resulting in tiny scrambled pieces that were not invited to the cake.
How to Store Coconut Oil After Melting
After melting, coconut oil can usually be returned to a tightly sealed container and stored in a cool, dark pantry. It may solidify again as the room cools, which is completely normal.
Avoid storing the jar beside the stove, oven, dishwasher vent, or sunny window. Frequent exposure to strong heat, light, and air can reduce the oil’s quality over time. Use a clean utensil every time you remove oil from the container.
Discard coconut oil if it develops an unpleasant sour, stale, soapy, or paint-like odor. Fresh virgin coconut oil should smell mildly coconut-like, while fresh refined oil should have little aroma. Unusual discoloration, mold, or obvious contamination are also reasons to replace it.
Practical Experience: What Melting Coconut Oil Is Really Like
The first lesson most people learn is that coconut oil melts much faster than expected. A solid spoonful may look as firm as refrigerated butter, yet a few seconds of heat can turn it into a completely clear liquid. This is why short microwave intervals work better than entering an enthusiastic one-minute cooking time and hoping for diplomacy.
In everyday baking, the microwave method is usually the most convenient. When making muffins or granola, placing the measured oil in a small glass bowl and heating it for 10 seconds is often enough to soften the outside. After stirring, the remaining pieces frequently melt without additional heating. Using residual heat produces a liquid that is warm rather than scorching, so it can be mixed into the batter sooner.
The most common frustration occurs when beautifully melted coconut oil meets cold ingredients. Imagine pouring clear oil into a bowl containing milk and eggs straight from the refrigerator. Within seconds, pale beads or thin flakes may appear throughout the mixture. Nothing supernatural has happened. The cold ingredients have simply pushed the oil below its melting range.
When this happens, placing the mixing bowl over slightly warm water while whisking can smooth the mixture again. Prevention is easier, however. Letting eggs, milk, or yogurt sit at room temperature briefly before mixing makes a noticeable difference. The melted oil should also be warm, not hot.
A warm-water bath proves especially useful when coconut oil is needed for personal-care projects. It warms the oil gradually and avoids the hot spots a microwave can create. A sealed jar placed in warm water becomes pourable within several minutes, and the oil remains comfortable to handle. Still, topical coconut oil should always be temperature-tested before use. Clear liquid does not automatically mean cool liquid.
For recipes involving chocolate, the stovetop double boiler is the calmest option. Both ingredients can be warmed gradually while being stirred together. The important practical detail is keeping steam and water droplets out of the bowl. Chocolate reacts badly to small amounts of water and may become thick or grainy. Wiping condensation from the outside of the bowl before pouring is a small habit that prevents a large amount of culinary grumbling.
Another useful discovery is that there is rarely a reason to melt the entire jar. Melting only the required portion is faster and keeps the main supply cleaner. A narrow spoon may leave awkward tunnels in solid oil, but warming the spoon under hot water and drying it thoroughly makes scooping easier. The word “drying” matters; a wet spoon defeats the purpose.
Kitchen temperature also changes the experience. In a warm home, coconut oil may already be liquid, eliminating the melting step entirely. In a cool pantry, it can be extremely firm. During transitional weather, it may develop a soft, slushy consistency that is easy to scoop but difficult to measure neatly. A kitchen scale handles all three conditions without complaint.
It is also normal for coconut oil to look slightly uneven after it solidifies again. Cooling rates can create smooth areas, grainy-looking crystals, or a shallow dip in the center. These texture changes do not necessarily indicate spoilage. Smell and overall condition are more useful quality checks than whether the surface resembles a professionally poured candle.
Ultimately, successful coconut oil melting comes down to restraint. Use gentle heat, stir often, and stop before the oil becomes excessively hot. The microwave wins for speed, the warm-water bath wins for gentleness, and the stovetop wins for control. All three methods work, and none requires specialized equipment, advanced culinary training, or a motivational speech from a celebrity chef.
Conclusion
Learning how to melt coconut oil takes only a few minutes. Heat a small portion in short microwave intervals when you need it quickly, place a sealed jar in warm water for slow and gentle melting, or use low stovetop heat when preparing a larger batch.
Whichever method you choose, avoid overheating the oil and keep water out of the container. Measure it according to the recipe’s wording, let it cool before combining it with delicate ingredients, and store the remaining oil in a tightly closed jar away from strong heat and light.
Coconut oil may change its mind about being solid every time the weather shifts, but at least now you know exactly how to persuade it.