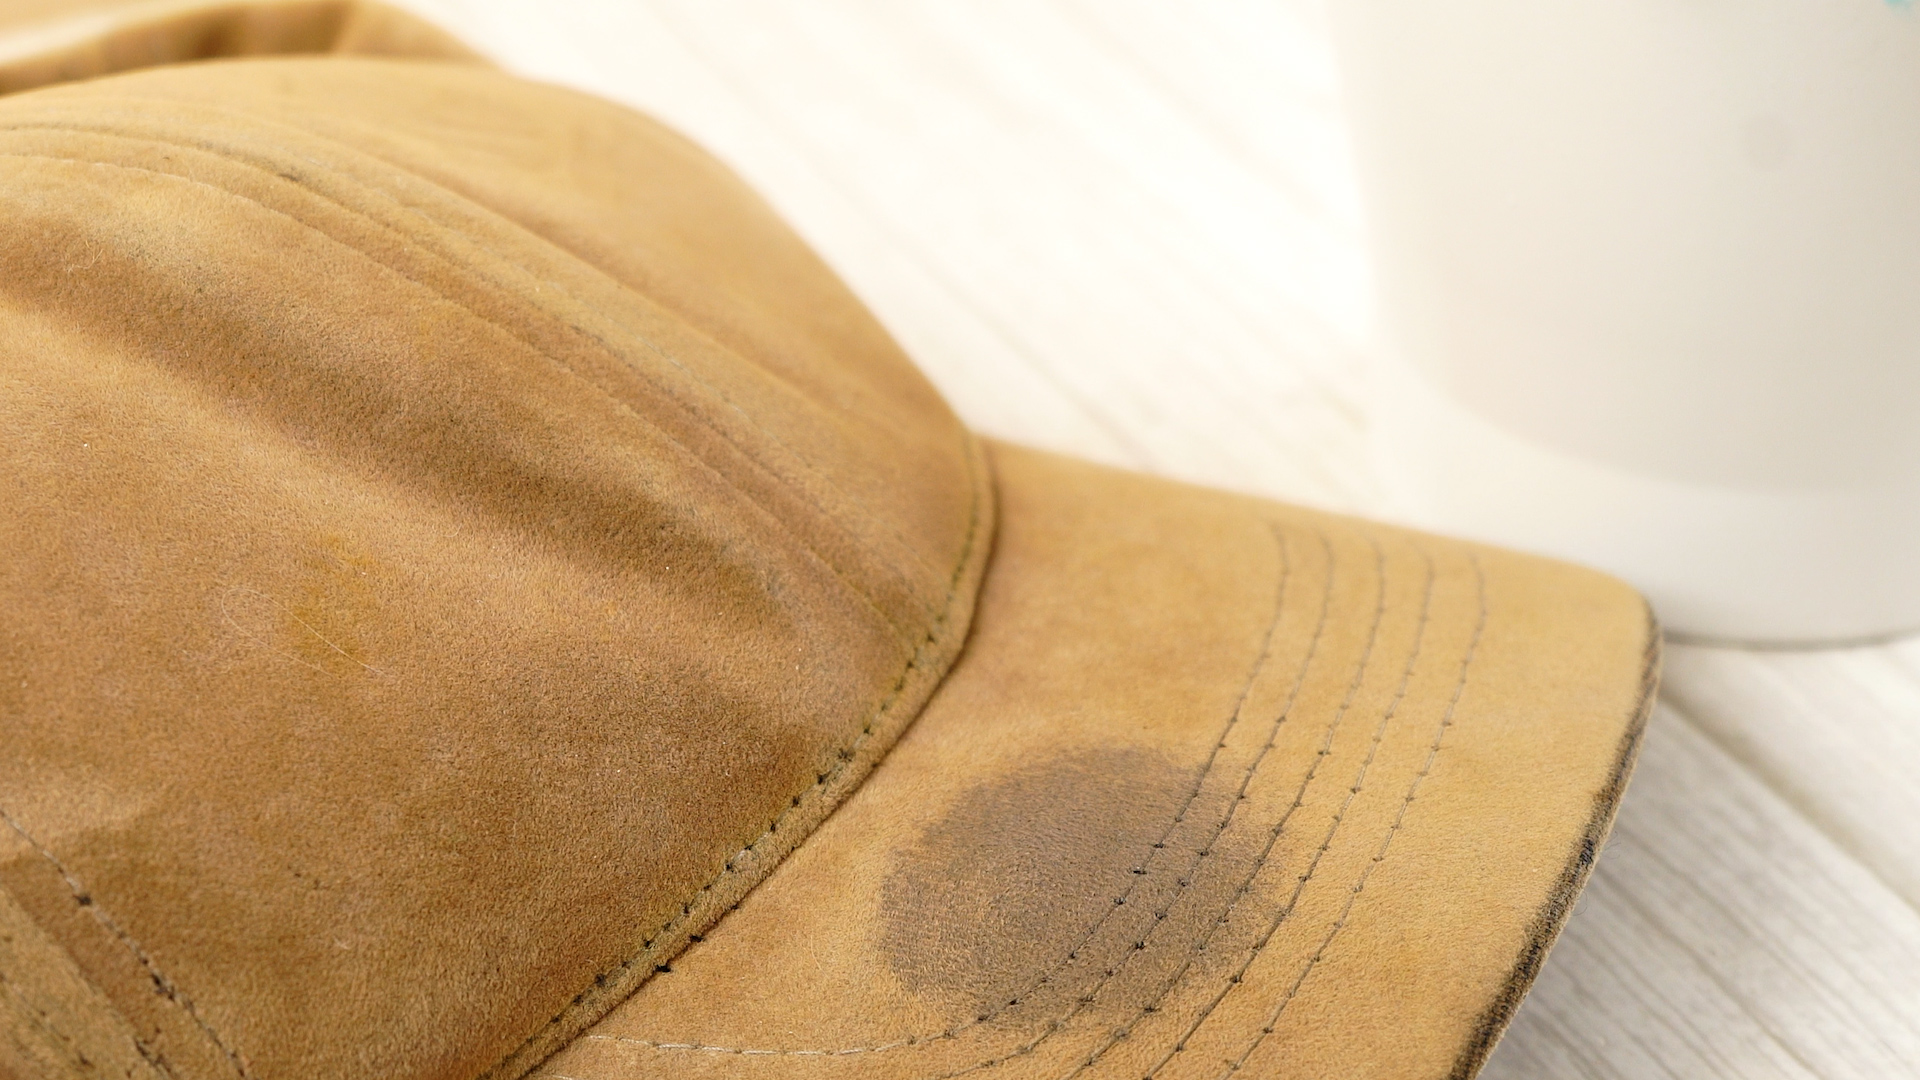
A baseball cap can do a lot of heavy lifting. It hides bad hair days, blocks the sun, saves your eyes at the ballpark, and quietly absorbs enough sweat to qualify for its own gym membership. The problem is that many people clean caps the wrong way. One reckless spin in hot water, one aggressive scrub session, or one ill-advised trip into a hot dryer, and suddenly your favorite hat fits like a soup bowl.
The good news is that hand washing a baseball cap is simple, cheap, and much safer than tossing it into a machine and hoping for the best. If you want to keep the brim from warping, the color from fading, and the crown from turning into a sad little pancake, hand washing is the move.
In this guide, you’ll learn three ways to wash a baseball cap by hand, when to use each method, what supplies actually help, and which mistakes can send your cap straight into retirement. Whether your hat has light dust, a sweaty sweatband, or the kind of mystery grime that tells a story you do not want to hear, there’s a safe way to clean it.
Why hand washing a baseball cap is usually the safest choice
If you care about keeping your cap in shape, hand washing gives you more control. You can target dirty areas without drenching the whole hat, use gentler pressure, and avoid the rough tumbling that can bend a brim or wrinkle the crown. This matters even more if your cap has embroidery, structured front panels, a wool blend, leather details, or a vintage bill.
Hand washing is also ideal when you are trying to clean sweat stains, sunscreen marks, dust, or oily fingerprints without fading the fabric. In other words, it lets you act like a responsible adult while still treating your baseball cap like the dramatic little fashion item it has become.
Before you wash: Know what kind of cap you have
1. Read the care label
This is the least glamorous step and the most important one. Some caps can handle a full hand wash. Others should only be spot cleaned. If the label says dry clean only, believe it. The tag may also tell you whether the material is cotton, polyester, wool, or a blend, which helps you decide how much water and scrubbing is safe.
2. Check the brim or bill
Newer baseball caps usually have plastic inserts in the bill, which are sturdier around water. Older or vintage caps may have cardboard bills, and those should not be soaked. If your cap is from the early 1980s or older, or you are not sure what the bill is made of, be extra cautious and use the lightest cleaning method in this article.
3. Test for colorfastness
Before you get ambitious with soap, dab a tiny bit of diluted detergent on a hidden area, like the inside edge. Blot it with a white cloth or cotton swab. If color comes off, use less product and less water. This tiny test can save you from turning a navy cap into a blotchy tie-dye experiment.
4. Remove loose dirt first
Always start dry. Shake out dust, brush off lint, and wipe away surface dirt before introducing water. A soft toothbrush, a lint roller, or a clean microfiber cloth works well. This prevents you from turning dry dirt into muddy streaks.
What you need to hand-wash a baseball cap
- A clean sink, bowl, or small basin
- Cool or lukewarm water
- Mild liquid laundry detergent or gentle dish soap
- A soft toothbrush or soft-bristled brush
- Clean microfiber cloths or soft towels
- An optional small bowl, rolled towel, or hat form for drying
Avoid bleach, harsh stain removers, aggressive scrub brushes, and anything involving high heat. Your cap is dirty, not a cast-iron skillet.
Method 1: Spot-clean by hand for light dirt and everyday touch-ups
This method is best for caps that are only mildly dirty, have makeup or sweat around the band, or need a quick refresh between deeper cleanings. It is also the safest method for delicate or structured hats.
How to do it
- Mix a gentle solution. Add a few drops of mild detergent to a bowl of cool water.
- Dip a cloth or brush into the solution. Do not soak the cap. You want the cleaning tool damp, not dripping.
- Target the dirty areas. Focus on the sweatband, the underside of the brim, and any visible stains. Use small circular motions with a soft brush.
- Wipe away soap. Use a second clean damp cloth with plain water to remove residue.
- Blot with a towel. Press gently to absorb moisture. Do not twist or wring.
- Reshape and air-dry. Place the hat over a bowl, rolled towel, or clean container that roughly matches the shape of your head.
Why this method works
Spot cleaning keeps water exposure low, which helps protect embroidered logos, firm front panels, and caps with uncertain materials. It is also the smartest option if your hat looks mostly fine except for the sweatband, which is often the dirtiest part anyway.
Best for: lightly dirty cotton caps, structured caps, caps with embroidery, and hats you wear often but do not want to deep-clean every week.
Method 2: Soak-and-scrub by hand for sweaty, grimy, or extra-loved caps
If your baseball cap has reached the point where it smells like summer practice, yard work, and questionable life decisions, this is the method you want. A gentle soak loosens grime, sweat, and oil buildup, while a soft brush helps lift stains without wrecking the fabric.
How to do it
- Fill a basin with cool water. Add a small amount of liquid detergent and mix until it is lightly sudsy.
- Pre-treat visible stains. Put a tiny drop of detergent directly on the sweatiest areas and gently work it in with your fingers or a soft brush.
- Submerge the cap. Let it soak for about 10 to 20 minutes. If it is especially dirty, check it halfway through rather than letting it marinate forever.
- Gently scrub problem spots. Focus on the inner band, the front edge, and the underside of the brim. Use light pressure.
- Rinse thoroughly. Run cool water through the cap until no soap remains. Soap left behind can attract dirt and make the hat feel stiff.
- Press out excess water. Use a towel to blot moisture. Never wring the bill.
- Dry in shape. Set the cap over a bowl or stuff it lightly with a clean towel and let it air-dry away from direct sun or heat.
When to use this method
This is the best hand-washing method for workout caps, yard-work caps, coaching caps, and any hat that sees regular sweat. It is also a great rescue method for caps with salt lines around the band or a dull, dingy look from body oils.
Best for: cotton and polyester baseball caps with plastic bills, heavier sweat stains, and deeper overall cleaning.
Method 3: Barely-wet surface cleaning for vintage, wool, or structured caps
Some caps should not be soaked at all. If the bill may contain cardboard, if the hat is vintage, if it is made of wool, or if it has delicate trim, surface cleaning is the safer play. This method uses minimal moisture and a lot of patience, which is less exciting than a soak but far more likely to save your cap.
How to do it
- Make a weak cleaning solution. Mix cool water with just a few drops of mild detergent.
- Dip a cloth in the solution and wring it out well. The cloth should be barely damp.
- Wipe one section at a time. Clean small areas gently, especially around the sweatband and crown.
- Use a soft toothbrush only where needed. If a stain needs help, lightly brush it without saturating the fabric.
- Wipe again with plain water. Use another damp cloth to remove soap residue.
- Blot dry and reshape. Let the cap air-dry naturally in a supported shape.
Why this method matters
Vintage caps can be surprisingly fragile, and wool can lose shape if handled roughly. Surface cleaning lets you lift grime while protecting the structure. It is not the fastest method, but neither is hunting online for the same cap after you ruined the original.
Best for: wool baseball caps, vintage hats, caps with cardboard bills, and anything with fragile structure or trim.
How to remove sweat stains from a baseball cap by hand
Sweat stains are the usual suspects, especially on light-colored caps. Start with a small amount of detergent diluted in cool water. Work it gently into the stain with a soft toothbrush and let it sit for about 10 to 15 minutes before wiping or rinsing. If the mark is stubborn, repeat the process rather than scrubbing harder.
For oily sweat rings, patience beats force. The goal is to loosen the residue little by little. Going full action-movie on the stain can rough up the fibers and leave the area looking worse than the original mark.
Common mistakes that ruin baseball caps
- Using hot water: Heat can shrink fabric, weaken structure, and cause colors to fade faster.
- Using too much detergent: Extra soap means extra rinsing, and residue can leave the hat stiff or dingy.
- Scrubbing too hard: This can fuzz the fabric, distort stitching, or damage embroidery.
- Soaking old or vintage caps: Cardboard bills and older materials do not forgive that kind of behavior.
- Putting the cap in the dryer: Heat can warp the brim and misshape the crown.
- Drying in direct sun: Bright sunlight can fade dark fabrics and make some materials brittle over time.
How often should you hand-wash a baseball cap?
That depends on how often you wear it. If it is your daily cap and you sweat in it often, a light cleaning every couple of weeks makes sense. If you only wear it occasionally, you may only need to clean it every month or two. Spot-cleaning the sweatband between washes can stretch the time between deeper cleanings.
A good rule is simple: if your cap smells funky, shows visible staining, or feels grimy around the inner band, it is time. Trust your eyes, your nose, and your dignity.
How to keep a baseball cap clean longer
- Let the cap air out after wearing it, especially after workouts or hot weather.
- Do not leave it crumpled in a gym bag or hot car.
- Handle it with cleaner hands when possible.
- Wipe the sweatband occasionally with a damp cloth.
- Rotate between caps if you wear one every day.
Small habits make a big difference. The less grime that builds up, the less aggressive you have to be when cleaning it later.
Which of the 3 hand-washing methods is best?
If you want the short answer, here it is:
- Choose spot-cleaning for light dirt, quick refreshes, and structured caps.
- Choose soak-and-scrub for sweaty, dirty, everyday caps made from washable materials.
- Choose barely-wet surface cleaning for vintage hats, wool caps, and anything with a cardboard bill or delicate trim.
The best method depends less on how dirty the cap looks and more on how delicate the cap is. In cap care, caution usually beats confidence.
Experiences people have after washing a baseball cap by hand
One funny thing about learning how to wash a baseball cap by hand is that almost everyone remembers the first time they got it wrong. It usually starts with optimism. Someone looks at a stained cap, thinks, “How hard can this be?” and five minutes later they are staring at a floppy brim and reevaluating their life choices. Once people switch to hand washing, the story changes fast.
A common experience is surprise at how much grime comes out of a cap that “didn’t even look dirty.” The water tells the truth. People often realize that the sweatband holds far more oil, salt, and sunscreen than they expected. That is why so many first-time hand washers become loyal converts after one good cleaning. The hat looks brighter, smells better, and somehow feels more comfortable the next time they wear it.
Another common experience is learning that less soap works better than more soap. Many people start by using too much detergent, thinking more bubbles must mean more cleaning power. Instead, they end up rinsing forever and wondering why the cap feels stiff after drying. Once they use just a little detergent and rinse thoroughly, they get better results with less effort. It is a rare household lesson where doing less actually wins.
People also notice that patience matters more than force. A light scrub, a short soak, and a second pass on the stain often work better than one intense attack. This is especially true for light-colored caps, where the goal is to lift the stain without roughing up the fabric. The most successful hand-washing experiences usually involve gentle repetition, not dramatic scrubbing.
Then there is the drying stage, where many people discover the magic of reshaping a cap over a bowl or rolled towel. This sounds almost too simple, but it makes a huge difference. Without that support, a damp cap can dry lopsided or slightly collapsed. With it, the hat keeps its familiar fit. People are often shocked that such a basic trick can make the hat look nearly new again.
Vintage cap owners tend to have the most emotional cleaning experiences, because the stakes feel higher. Maybe the hat belonged to a parent, came from an old team, or was found after years of searching. For them, surface cleaning becomes less of a chore and more of a careful restoration process. It takes longer, but the payoff is huge when the cap looks cleaner without losing its original character.
Over time, many cap owners settle into a routine. They stop waiting until the hat looks tragic. They wipe the sweatband now and then, spot-clean small marks before they set, and save deep washing for when it is truly needed. The result is that the cap lasts longer, keeps its shape, and does not develop that mysterious crunchy texture nobody wants to discuss out loud.
In the end, hand washing a baseball cap is one of those oddly satisfying tasks. It is simple, low-cost, and immediately visible. You start with a tired-looking hat and end with something fresher, cleaner, and ready for another season. Not bad for a chore that mostly requires cool water, a soft brush, and a little restraint.
Conclusion
If you have been wondering how to clean your favorite cap without destroying it, these three ways to wash a baseball cap by hand cover nearly every situation. Spot-cleaning works for quick refreshes, soak-and-scrub works for sweaty everyday hats, and barely-wet surface cleaning protects delicate or vintage caps. The key is to match the method to the material, use mild products, and let the cap air-dry in shape.
In short, the safest cap-cleaning strategy is not flashy. It is careful. And honestly, your favorite hat deserves that kind of respect.