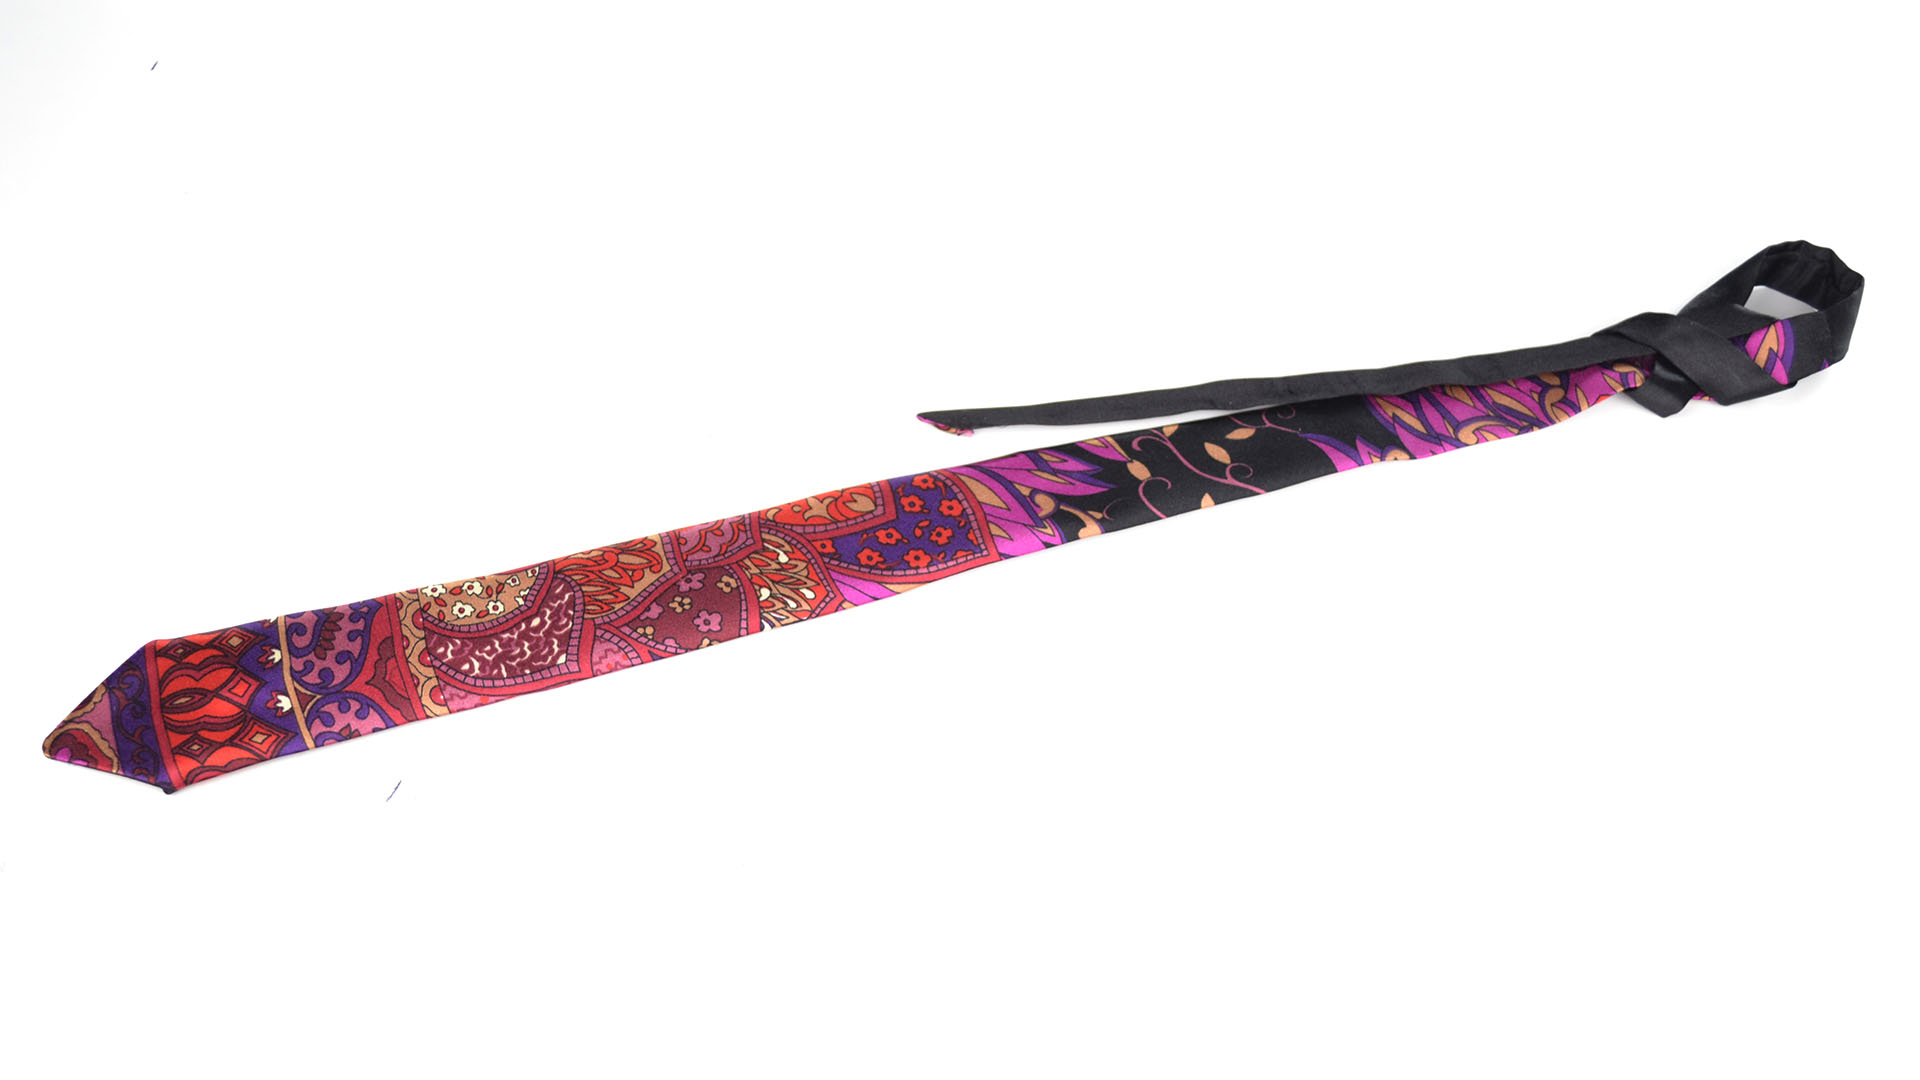
A tie is a small strip of fabric with a surprisingly big personality. It can say “I have a job interview,” “I am going to a wedding,” “I own a sewing machine and I’m not afraid to use it,” or, in unfortunate cases, “I tied this in the car while the traffic light was red.” The good news? Whether you want to sew a classic necktie, make a bow tie, upcycle an old tie, create a quick no-sew version, or simply learn how to make a tie look sharp around your neck, there is a method that fits your skill level.
This guide covers five practical ways to make a tie, from polished handmade neckwear to fast craft-friendly options. You will learn what materials to use, how to choose the right fabric, why bias cutting matters, and how to avoid common mistakes that make homemade ties look homemade in the wrong way. Think of it as a friendly map through the land of fabric, folding, pressing, stitching, and looking slightly more put-together than usual.
Before You Start: What Makes a Good Tie?
A well-made tie is not just a long triangle with ambition. It needs balance, drape, structure, and a clean finish. Most traditional neckties include an outer fabric, lining or tipping at the ends, and an interlining that gives the tie body. The fabric is often cut on the bias, meaning at a 45-degree angle to the fabric grain. This helps the tie hang smoothly instead of twisting like it has somewhere better to be.
Fabric choice matters, too. Silk is the classic choice for formal and business ties because it drapes beautifully and has a refined sheen. Cotton and linen are easier for beginners and work well for casual summer ties. Wool makes a handsome cool-weather tie with texture and substance. Polyester is affordable and durable, although it may not have the same rich feel as natural fibers.
Basic Supplies You May Need
Depending on the tie style, you may need fabric, interfacing or interlining, lining fabric, a printed or drafted pattern, sharp scissors or a rotary cutter, pins or clips, an iron, a sewing machine, hand-sewing needle, thread, and a ruler. For bow ties, you may also need adjustable bow-tie hardware. For no-sew ties, fabric glue, fusible hem tape, ribbon, or hook-and-loop fastener may be enough.
1. Make a Classic Necktie from Fabric
If you want the real deal, start with a classic handmade necktie. This is the best choice for gifts, weddings, business wear, or anyone who wants to say, “Yes, I made this,” and then casually pretend not to enjoy the applause.
Best For
This method is best for intermediate beginners and up. You do not need to be a professional tailor, but you should be comfortable cutting fabric accurately, pressing seams, and sewing slowly.
Materials
You will need about one yard of fashion fabric, lining or tipping fabric for the two ends, interlining, thread, a tie pattern, scissors, pins, and an iron. If this is your first tie, practice with cotton before slicing into expensive silk. Silk is lovely, but it is also slippery enough to make a beginner question every life decision that led to the sewing table.
Steps to Make It
First, create or print a tie pattern. A traditional adult tie is often made from two or three long pattern pieces because the full tie length usually does not fit neatly on a standard fabric width. Place the pattern on the fabric at a 45-degree angle so the tie is cut on the bias. Cut the outer fabric, lining pieces, and interlining carefully.
Next, join the outer fabric pieces with diagonal seams. Press the seams flat, then attach the tipping pieces to the wide and narrow ends. The tipping is the fabric that finishes the inside of the tie points. Once the points are sewn and turned right side out, insert the interlining along the center of the tie.
Fold the long edges of the tie toward the center, pressing as you go. Hand-stitch the back seam with a loose slip stitch so the tie can move naturally. Avoid tight stitching because a tie needs a little flexibility. Finally, press lightly with a cloth over the tie. Do not flatten it into a pancake; a good tie should have shape.
Pro Tip
Choose small or medium-scale prints for your first handmade necktie. Large patterns can look dramatic, but they require careful placement. A tiny polka dot, subtle stripe, paisley, or herringbone is much more forgiving.
2. Make an Adjustable Bow Tie
A bow tie has charm, confidence, and just enough mischief to make an outfit memorable. Making one is also less intimidating than sewing a full necktie because the pieces are smaller and easier to manage.
Best For
This method is great for weddings, formal events, school dances, costumes, Father’s Day gifts, or anyone who believes regular ties are too vertical.
Materials
You will need cotton, silk, linen, or lightweight wool fabric, fusible interfacing, a bow-tie pattern, matching thread, and adjustable bow-tie hardware. Cotton is the most beginner-friendly fabric because it behaves politely under the iron.
Steps to Make It
Start by cutting two bow-tie shapes from fabric. If your fabric is thin, apply fusible interfacing to the wrong side of one or both pieces. Place the pieces right sides together and sew around the edges using a small seam allowance, leaving an opening for turning.
Clip the corners carefully, then turn the bow tie right side out. Press the seams so the shape looks crisp. Hand-sew the opening closed. If you are making a self-tie bow tie, you can stop once the long bow-tie shape is finished. If you are making a pre-tied adjustable bow tie, form the bow by folding the center, stitching it securely, and wrapping a small fabric tube around the middle.
Attach the adjustable hardware to the neck strap according to the hardware style. The strap should slide smoothly and hold its position. Test the fit before trimming any excess fabric.
Style Ideas
Use gingham for a picnic-ready look, velvet for evening events, chambray for casual outfits, or satin for a wedding party. For a fun personal touch, add a hidden embroidered message on the back of the bow. It can be sweet, funny, or practical, such as “This side faces shirt.”
3. Make a Skinny Tie from an Old Tie
One of the smartest ways to make a tie is to remake one you already own. If you have a wide vintage tie hanging in the closet, you can turn it into a modern skinny tie. This is budget-friendly, sustainable, and deeply satisfying in the way only a good before-and-after project can be.
Best For
This method is ideal for thrift store finds, outdated ties, sentimental ties, or experiments where you do not want to start from scratch.
Materials
You will need an old tie, seam ripper, scissors, ruler, fabric marker, iron, needle, and thread. A sewing machine can help, but hand sewing works well because many ties are finished by hand anyway.
Steps to Make It
Turn the tie over and carefully open the back seam with a seam ripper. Remove or loosen the interlining, keeping it intact if possible. Decide how narrow you want the finished tie to be. A common skinny tie width is about 2 to 2.5 inches, while an ultra-skinny style may be closer to 1.5 inches.
Mark the new width along the interlining and fabric. Trim evenly from both sides so the tie stays balanced. If you remove too much from one side, the tie may hang crooked. Fold the outer fabric around the reshaped interlining, press lightly, and hand-stitch the back seam closed.
Finish by checking the tie length and point shape. If the original tie was very wide, you may need to reshape the front point so it looks intentional rather than attacked by scissors.
Pro Tip
Start with a tie that has good fabric but an outdated shape. Silk ties from thrift stores can become excellent skinny ties, especially if the pattern still feels current.
4. Make a Quick No-Sew Tie
Not every tie needs tailoring-level construction. Sometimes you need a costume tie, photo booth prop, kids’ party accessory, pet tie, or last-minute “school spirit day” solution. That is when the no-sew tie earns its tiny superhero cape.
Best For
This method is best for crafts, costumes, children’s outfits, themed events, and decorative use. It is not the best option for a formal suit, unless the event theme is “impressive from far away.”
Materials
You can use felt, cotton, satin ribbon, grosgrain ribbon, or lightweight fabric. You will also need fabric glue or fusible hem tape, scissors, a ruler, an iron if using fusible tape, and elastic or ribbon for the neckband.
Steps to Make It
Draw a simple tie shape on paper first. For a child’s costume tie, make it shorter and wider so it looks playful. For an adult costume tie, use a longer tapered shape. Cut two identical tie shapes from fabric or felt.
Apply fabric glue or fusible hem tape around the edges, leaving the top open if you want to insert a neckband. Press or hold the layers together according to the product instructions. Add a ribbon or elastic loop at the top so the tie can go around the neck. You can also attach hook-and-loop fastener for easy wearing.
For a cleaner look, glue a small rectangle of fabric across the top front to mimic a knot. This gives the illusion of a tied necktie without requiring anyone to learn a knot five minutes before leaving the house.
Safety Note
For children, avoid long tight cords around the neck. Use breakaway fasteners or short elastic loops, and supervise wear during play.
5. Make a Tie Look Right by Learning Classic Knots
Sometimes “make a tie” really means “make this long fabric noodle behave around my neck.” Knowing how to tie a tie properly is a skill worth learning, especially if you already own a tie but it never seems to land at the right length.
Best For
This method is for interviews, business meetings, weddings, graduations, formal dinners, and any situation where a sloppy knot could quietly sabotage an otherwise great outfit.
The Four-in-Hand Knot
The four-in-hand is the easiest classic tie knot and works well with most shirts. It creates a slightly narrow, asymmetrical knot that looks relaxed but still polished. Start with the wide end longer than the narrow end. Cross the wide end over the narrow end, bring it behind, wrap it across the front, pull it up through the neck loop, and slide it down through the front loop. Tighten gently and center it.
The Half Windsor Knot
The half Windsor is more balanced than the four-in-hand without being too bulky. It works nicely with medium-spread collars and standard-width ties. It is a good everyday knot when you want a symmetrical shape but do not want the full Windsor’s “boardroom commander” energy.
The Full Windsor Knot
The full Windsor is wide, triangular, and formal. It pairs best with spread collars and thinner fabrics because the knot can become bulky. Use it for formal occasions, presentations, or moments when your shirt collar has enough room to host a small architectural project.
How Long Should a Tie Be?
When tied, the tip of the tie should usually land near the middle of your belt buckle. Too short looks awkward; too long looks like the tie is trying to escape. Adjust the starting position of the wide end until the final length is right.
How to Choose the Right Tie-Making Method
If you want a professional-looking gift, make a classic necktie. If you want personality with less fabric drama, make a bow tie. If you like sustainable fashion, reshape an old tie into a skinny tie. If you need something fast for a costume or craft project, make a no-sew tie. If you already have a tie and simply want to wear it better, learn the four-in-hand, half Windsor, and full Windsor knots.
The best method depends on your time, skill level, and purpose. A silk handmade tie is beautiful, but it is not necessary for a child’s school play. A no-sew felt tie is adorable, but it probably should not be your first choice for a black-tie wedding. Match the method to the moment, and your tie will make sense before it makes a statement.
Common Mistakes to Avoid
Using Fabric That Is Too Thick
Heavy fabric can create bulky seams and awkward knots. If you are sewing a necktie, choose fabric that folds neatly and presses well.
Skipping the Pressing
Pressing is not optional. It is the difference between “handmade” and “rescued from a laundry basket.” Press each seam as you go, using the correct heat setting for your fabric.
Cutting Off-Grain
A traditional tie needs careful cutting. When the grain or bias is wrong, the finished tie may twist or refuse to hang straight.
Making the Knot Too Tight
A tie knot should be snug, not strangled. Over-tightening can wrinkle the fabric and shorten the life of the tie.
Personal Experience: What Making Ties Teaches You
Making a tie looks simple at first. It is just fabric, right? Then you begin cutting, folding, pressing, and stitching, and suddenly you understand why well-made ties have their own quiet dignity. A tie is one of those projects where small details matter more than grand gestures. A tiny uneven seam can affect the way the tie hangs. A skipped pressing step can make the point look tired. A fabric that seemed perfect on the bolt can become a slippery little rascal once you start sewing.
The first classic necktie many people make is rarely perfect, and that is part of the fun. Maybe the back seam wanders a little. Maybe the point is not sharp enough to slice through awkward small talk. Maybe the finished tie is slightly shorter than expected because the wide end needed more length at the knot. But each mistake teaches something useful. You learn to slow down, measure twice, and treat the iron like a sewing partner rather than an appliance hiding in the closet.
Bow ties are often more forgiving and more playful. They are a great confidence builder because you can finish one in less time than a full necktie, and the result feels instantly charming. A cotton bow tie with a small print can turn a plain shirt into an outfit. Making one for a friend, partner, child, or pet also adds a personal touch that store-bought accessories rarely match. There is something delightful about seeing a handmade bow tie at a party and knowing it began as a flat piece of fabric on your table.
Upcycling old ties is a different kind of satisfaction. It feels resourceful. Instead of tossing a wide tie from another decade, you can reshape it into something wearable again. This is especially meaningful with sentimental ties from a parent or grandparent. You preserve the fabric and memory while updating the style. Even if the finished tie is not runway-perfect, it carries a story, and stories are better than perfect seams most days.
No-sew ties bring their own joy because they remove pressure. They are ideal for kids, classrooms, theater costumes, themed parties, and quick creative projects. You can make five in an afternoon without worrying about couture standards. They remind you that not every project needs to be heirloom-quality. Sometimes the goal is simply to make something fun, wearable, and finished before dinner.
Learning to tie knots is the final lesson. You can sew the most beautiful tie in the world, but if the knot is lumpy or the length is wrong, the magic fades. Practicing a four-in-hand or half Windsor in front of a mirror may feel silly at first, but it pays off quickly. Once your hands learn the rhythm, tying a tie becomes automatic. You stop wrestling with fabric and start styling it.
In the end, making a tie is part craft, part patience, and part personal expression. Whether you sew, upcycle, glue, fold, or knot, the process gives you more control over your style. And yes, there may be a few crooked seams along the way. That is fine. Every handmade tie has a little personality. Some just have more jokes than others.
Conclusion
There are many ways to make a tie, and none of them require you to become a master tailor overnight. A classic sewn necktie gives you a polished custom accessory. An adjustable bow tie adds charm and personality. A skinny tie upcycle saves money and refreshes old fabric. A no-sew tie solves quick costume and craft needs. A well-tied knot makes any tie look more intentional.
The secret is choosing the right method for your goal. Start simple, use forgiving fabric, press carefully, and practice the details that affect the finished look. Once you understand the basics, a tie becomes more than an accessory. It becomes a small handmade statement that says, “I made an effort,” without shouting across the room.