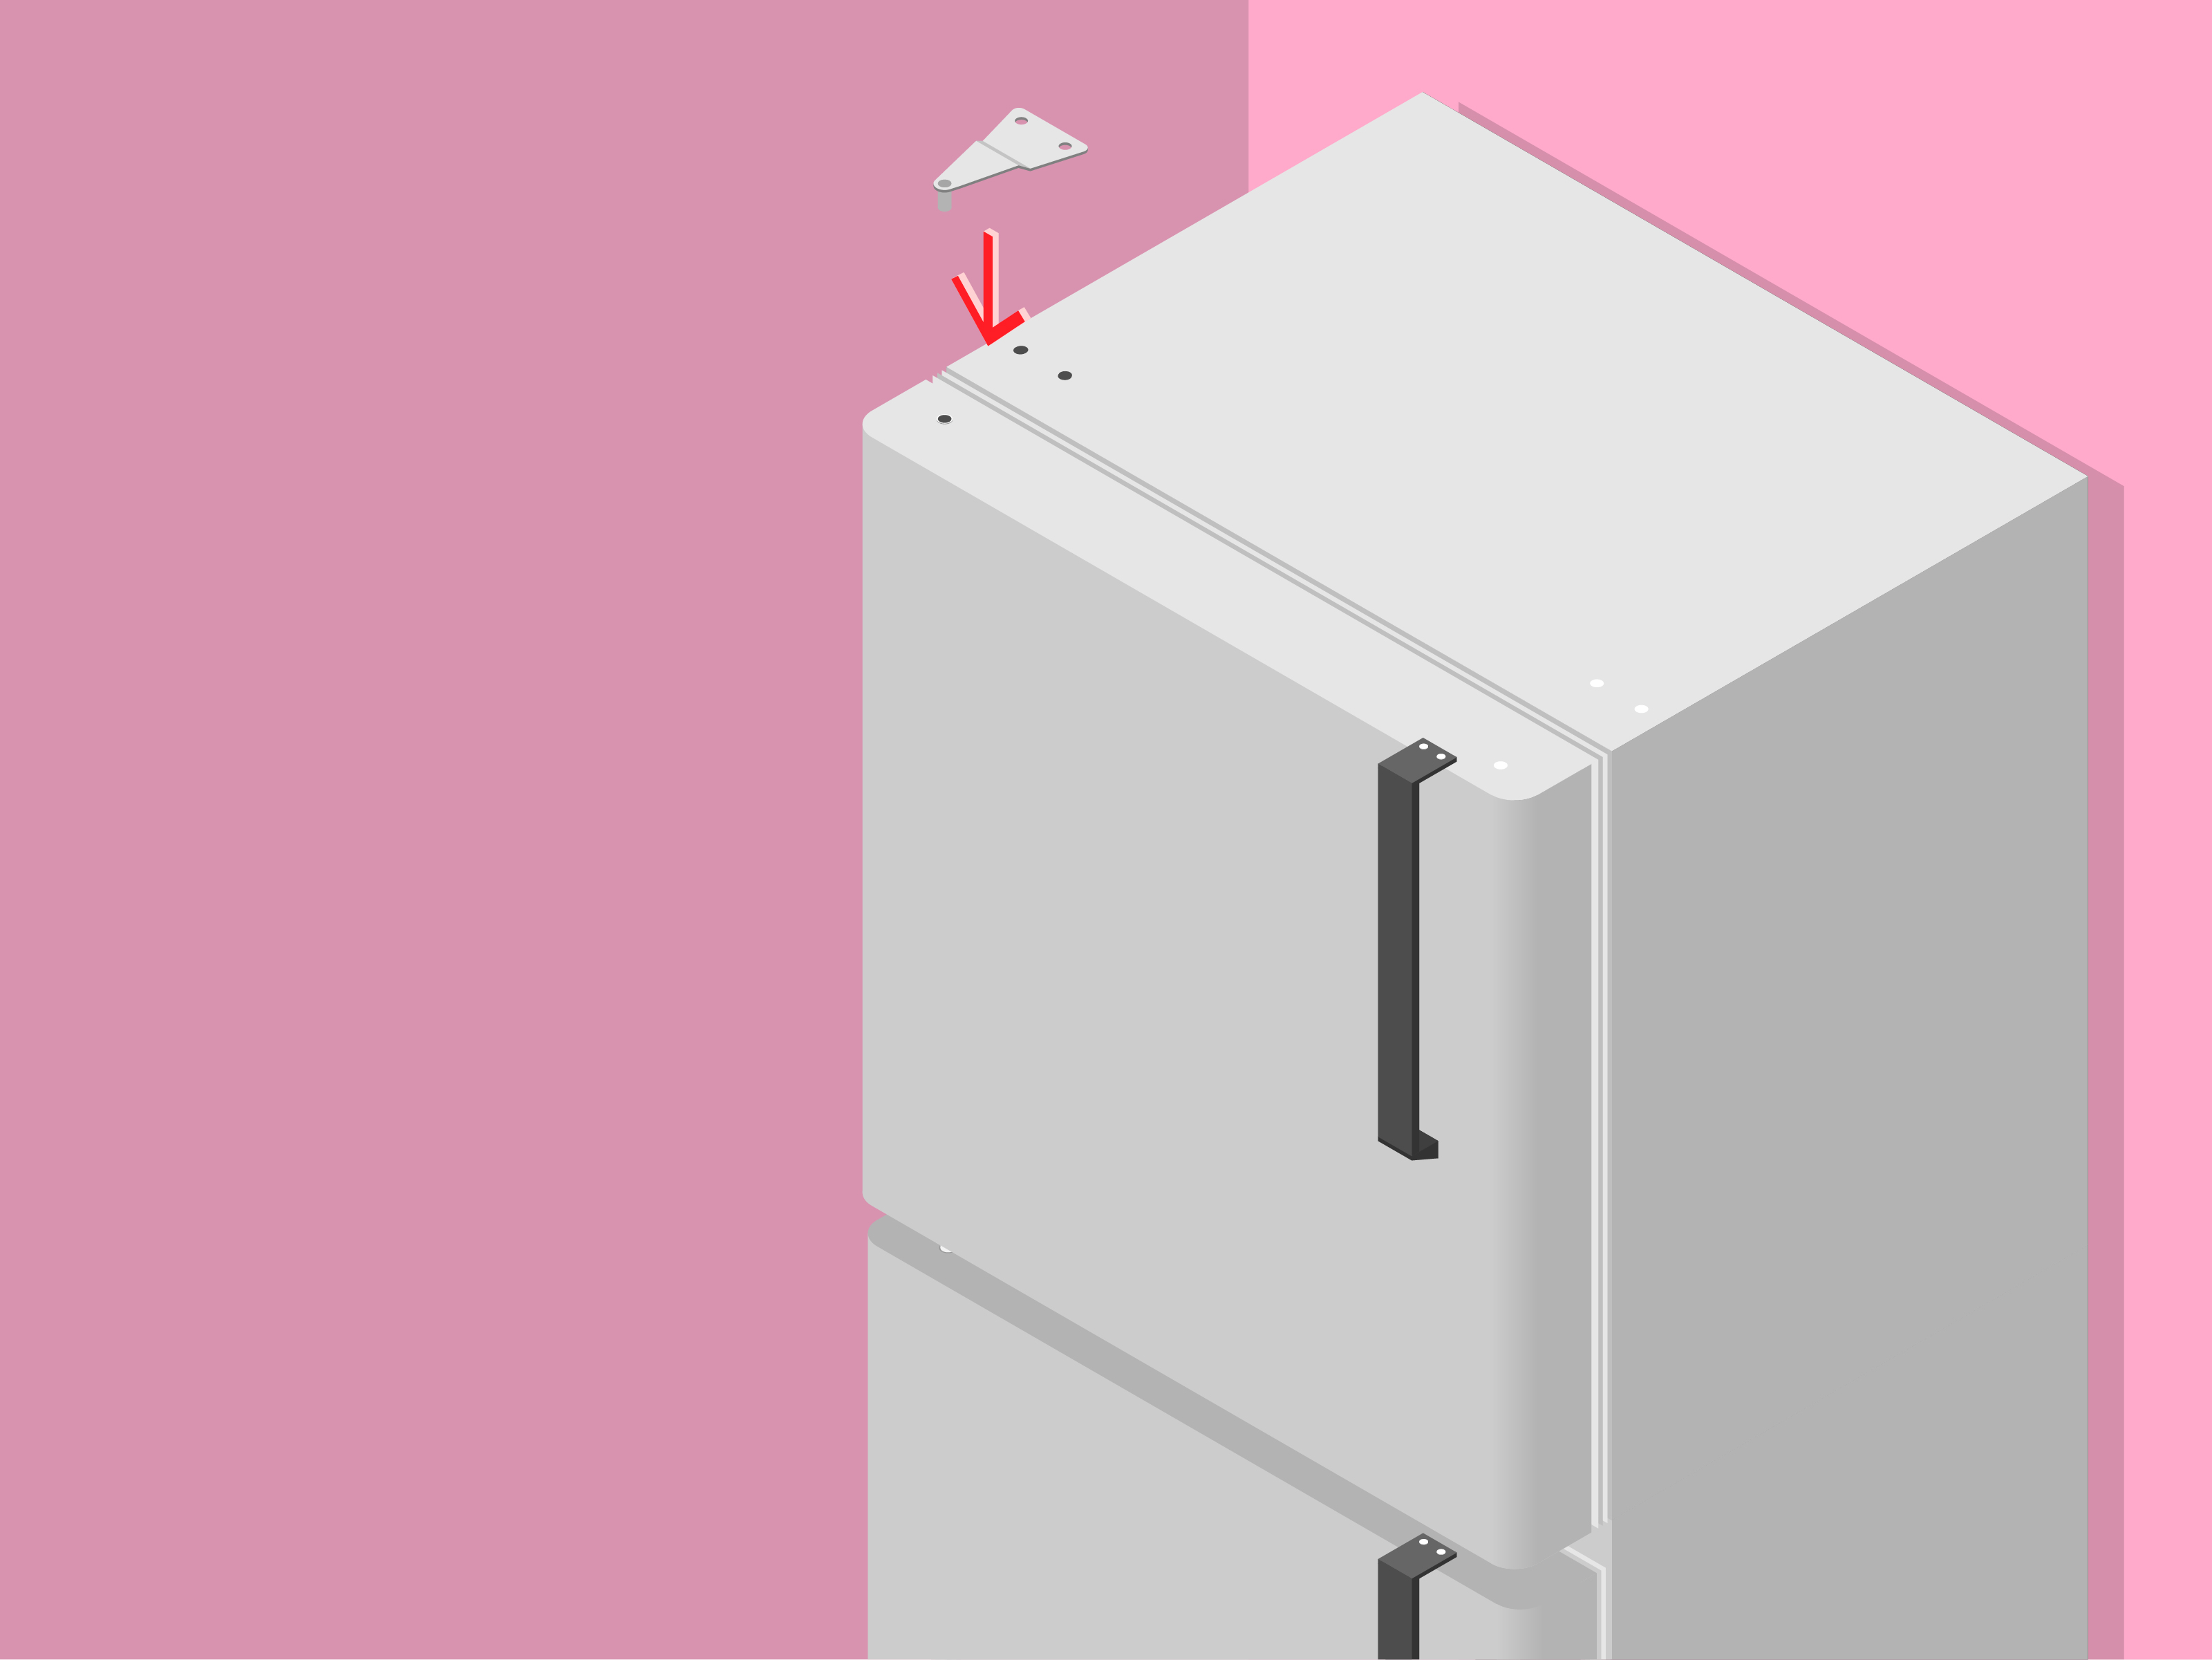
Sometimes a refrigerator door opens exactly where you do not need it to. It blocks a cabinet, bumps into an island, turns the coffee run into an obstacle course, or makes unloading groceries feel like a low-budget action movie. The good news is that many top-freezer, bottom-freezer, compact, and single-door refrigerators have a reversible door. With the right preparation, you can change the side on which your refrigerator door opens and make the kitchen work with you instead of against you.
Before grabbing a screwdriver and declaring war on your hinges, remember one important rule: refrigerator door reversal is model-specific. Some refrigerators are built for it, while others are not. Your owner’s manual is the boss here. It tells you whether the door swing can be reversed, which screws and hinges belong where, and whether you need an extra door-reversal kit.
Why Change the Direction of a Refrigerator Door?
Changing the refrigerator door swing is not just a cosmetic kitchen tweak. It can improve traffic flow, make food easier to reach, prevent the door from striking nearby cabinets, and create a more comfortable layout for cooking. In small kitchens, apartments, laundry rooms, garages, dorm rooms, and RVs, a few inches of better clearance can feel like winning a tiny real-estate lottery.
Stand facing the refrigerator and think about how you use the space. Where do you normally set grocery bags? Which side contains your counter or prep area? Which direction lets you open the door without blocking a walkway? Focus on where the free edge of the door should swing, rather than relying only on terms such as “left-hand” or “right-hand,” which can be confusing between brands.
First, Confirm That Your Refrigerator Door Is Reversible
Not every refrigerator is designed to switch sides. Many basic top-freezer refrigerators, compact refrigerators, and certain bottom-freezer models have factory-drilled mounting points on both sides of the cabinet. These are usually covered with small plastic caps, plugs, or screw covers.
However, many French-door refrigerators, side-by-side refrigerators, built-in units, models with through-the-door ice and water dispensers, and refrigerators with wiring routed through the hinge are not intended for a simple door reversal. Some premium models may require a manufacturer kit or professional service instead.
Signs Your Refrigerator May Have a Reversible Door
- Matching hinge holes or plastic screw caps appear on both sides of the cabinet.
- The owner’s manual includes a section called “Door Reversal,” “Reverse Door Swing,” or “Changing Door Direction.”
- The product listing or installation guide says “reversible door.”
- The handle can be moved or flipped to the opposite side.
- The refrigerator came with extra hinge hardware, door stops, spacers, or plugs in a small bag.
When You Should Stop Before Starting
Pause and consult the manual or a qualified appliance technician if the hinge area includes electrical wiring, water tubing, display connections, or a complicated ice-maker assembly. A refrigerator door is heavier than it looks, and a damaged wire harness or bent hinge can turn a weekend improvement project into a surprisingly expensive conversation.
Tools You May Need to Reverse a Refrigerator Door
The exact tools depend on the refrigerator model, but most door-swing reversals require only a modest tool kit. Gather everything before starting so you are not balancing a refrigerator door with one hand while searching for a socket wrench with the other.
- Phillips-head screwdriver
- Flat-blade screwdriver or thin putty knife
- Socket wrench, nut driver, or hex driver
- Adjustable wrench, if required by your model
- Masking tape
- Soft towel, moving blanket, or cardboard
- Small containers or labeled cups for screws and hardware
- A helper for heavier refrigerator doors
- Your refrigerator owner’s manual or installation instructions
Many models use a common hex-head fastener size, but do not assume yours will. Appliance manufacturers use different hardware, and a socket that is almost the right size is a great way to round a screw head and create a new hobby called “finding replacement parts.”
How to Change the Side on Which Your Refrigerator Door Opens
The general process is simple: remove the doors, move the hinges and door stops to the opposite side, relocate the handles and caps, reinstall the doors, and test the seal. The details vary by model, but the workflow below applies to many reversible top-freezer and single-door refrigerators.
1. Plan the New Door Swing
Before removing anything, open the refrigerator door and imagine the new path. Make sure it will not hit a wall, cabinet handle, island, dishwasher, pantry door, or another appliance. Check that there will still be enough clearance to remove shelves, drawers, and bins later.
A door reversal should improve access, not create a new daily annoyance. Measure first, then celebrate later.
2. Move Food and Empty the Door Bins
Remove food, bottles, condiments, and adjustable bins from the doors. Door shelves make the doors heavier and more awkward, especially when you are trying to lift one off a hinge pin without scratching the cabinet.
For a quick job, refrigerated food may remain inside the main compartment with the door closed as much as possible. Still, it is smart to move meat, dairy, leftovers, and other perishables into a cooler with ice packs if you expect the project to take more than a short time. Refrigerator doors will be off the appliance during the process, so do not treat the job like an unopened power outage.
3. Unplug the Refrigerator
Disconnect the refrigerator from power before working around hinges, wiring, handles, or metal components. This reduces electrical risk and prevents the interior light from staying on while the door is removed.
Pull the refrigerator forward only as far as necessary. Protect flooring with cardboard, furniture sliders, or a moving blanket. Avoid dragging the appliance across hardwood, vinyl, or tile unless you enjoy making decorative scrape marks that nobody asked for.
4. Photograph the Existing Hinge Setup
Take several clear photos of the top hinge, center hinge, bottom hinge, door stops, washers, spacers, and screw locations. Photograph the handle mounting points too. These photos are incredibly useful when you are holding a mysterious washer and wondering whether it belongs above the hinge, below the hinge, or in another dimension.
Keep screws separated by location. A simple method is to place each group in a small cup or resealable bag labeled “top hinge,” “center hinge,” “bottom hinge,” and “handle.”
5. Remove the Handle, Trim, and Screw Covers
Depending on your refrigerator, the handle may be secured with visible screws, hidden set screws, mounting brackets, or trim pieces. Remove it carefully and set it aside on a soft towel. Then remove the small plastic caps or screw-hole plugs from the opposite side of the door and cabinet.
Some handles flip over and reinstall on the other side. Others require their mounting brackets to be moved separately. A few models need an optional reversal kit to cover an old badge or nameplate location. Follow the manual rather than assuming every handle is symmetrical.
6. Support and Remove the Upper Door
For a typical top-freezer refrigerator, tape the upper freezer door lightly in place before removing the top hinge. Remove the hinge cover, loosen the top hinge screws, and lift the hinge away. Keep a hand on the door or ask a helper to support it.
Lift the upper door straight up and off the center hinge pin. Place it exterior-side up on a padded surface. Watch for thin washers, bushings, or hinge shims that may stick to the door or hinge pin. These tiny pieces are easy to lose and remarkably important.
7. Remove the Lower Refrigerator Door
After the upper door is removed, take off the center hinge. Then lift the lower refrigerator door off the bottom hinge pin. Place it on a protected surface beside the upper door.
Do not let a door rest on its edges or corners. Refrigerator doors can dent, scratch, or damage their lower door-stop hardware if dropped or leaned awkwardly against a wall.
8. Transfer the Hinges, Stops, Pins, and Closure Hardware
This is the heart of the refrigerator door reversal process. Move the top hinge, center hinge, bottom hinge pin, hinge brackets, door stops, cam risers, spacers, and plastic hole plugs to the corresponding positions on the opposite side.
Some hinges must be flipped or rotated. Others are side-specific and should be replaced with the matching component supplied by the manufacturer. Never force a hinge that does not sit flush. If the holes do not align, stop and compare your parts with the manual and the photos you took before disassembly.
Door stops and cam mechanisms deserve special attention. These parts control how far the door opens, how it closes, and how it rises slightly while shutting. Installing them backward can cause poor alignment, sagging, or a door that refuses to seal properly.
9. Reinstall the Doors in Reverse Order
Place the lower refrigerator door onto the newly positioned bottom hinge pin. Reinstall the center hinge, but keep the screws slightly loose until you confirm the door is aligned. Next, set the upper door onto the center hinge pin and attach the top hinge on the new side.
Once both doors are mounted, close them gently and check the gaps around the edges. The doors should sit evenly, open smoothly, and close without rubbing the cabinet or each other. Tighten the hinge screws only after the alignment looks correct.
10. Reinstall Handles, Caps, and Bins
Move the handles to the new side, install the screw-hole covers where needed, and replace any trim pieces. Then return the door bins and shelves. Before loading every bottle of salad dressing back into place, open and close each door several times to make sure nothing catches.
How to Check Refrigerator Door Alignment and Seal
A refrigerator door may appear fine at first glance but still leak cold air if it is misaligned. After reversing the door swing, inspect the gasket all the way around. It should touch the cabinet evenly with no large gaps, folds, or twisted sections.
The Paper Test
Place a strip of paper or a dollar bill between the gasket and refrigerator cabinet, then close the door. Pull the paper gently. You should feel resistance. Repeat the test around several points of the door, especially near the top and bottom corners.
If the paper slides out with almost no resistance, check hinge alignment, door-stop placement, cabinet leveling, and gasket condition. A loose refrigerator door seal can make the compressor work harder and can lead to uneven temperatures.
Check the Refrigerator Level
Many refrigerators are designed to lean slightly backward so the doors close naturally. If the door drifts open after you reverse it, adjust the front leveling feet according to the manual. Make small adjustments, then retest the door. A tiny turn can make a big difference.
Common Refrigerator Door Reversal Mistakes to Avoid
- Skipping the manual: Generic instructions help, but your exact model determines the correct hinge orientation and hardware.
- Forgetting small washers or spacers: These pieces often control alignment and smooth door movement.
- Using the wrong screw in the wrong location: Similar screws can have different lengths and thread patterns.
- Overtightening hinge screws: Too much force can strip threads, distort brackets, or make future adjustment difficult.
- Relying on magnetic door seals for support: The gasket is not a third hand. Always support the door during hinge removal.
- Failing to move the door stop: The door may open too far, close poorly, or sit unevenly.
- Ignoring the gasket test: A refrigerator that does not seal properly wastes energy and may not maintain steady temperatures.
- Drilling new holes without manufacturer approval: This can damage insulation, wiring, the cabinet finish, or the warranty.
When to Hire a Professional Instead
Changing a reversible refrigerator door is often a manageable DIY project, but there are times when professional help makes more sense. Call an appliance technician or installer when the refrigerator is very heavy, the door contains wiring or water lines, the manual requires a specialized kit, the appliance is built in, or the hinges are damaged or corroded.
Professional help is also sensible when the door is not sealing after several alignment attempts. A technician can determine whether the issue is a bent hinge, worn cam, damaged gasket, warped door, uneven floor, or incorrect hardware placement.
Conclusion: A Better Door Swing Can Improve the Whole Kitchen
Learning how to change the side on which your refrigerator door opens is one of those small home projects that can have an outsized payoff. A reversible refrigerator door can make grocery unloading easier, improve traffic flow, free up cabinet access, and reduce the number of times you mutter at an appliance before breakfast.
The secret is not speed. It is preparation. Confirm that your model supports door reversal, follow the manufacturer’s instructions, protect the door and floor, keep track of every hinge part, and test the gasket before declaring victory. Once the refrigerator door opens toward the right space, your kitchen may suddenly feel like it was designed by someone who has actually carried a bag of groceries.
Practical Experiences With Reversing a Refrigerator Door
One of the most common reasons people reverse a refrigerator door is moving into a new home with a kitchen layout that clearly had a different refrigerator in mind. A top-freezer refrigerator may fit perfectly into its alcove, but the door can open toward a wall instead of the counter. The result is a strange daily routine where you open the fridge, step backward, shuffle sideways, and hope you do not knock over a chair. Reversing the door swing can solve that problem without buying a new appliance or rebuilding half the kitchen.
A frequent surprise during the project is how many small parts are involved. At first, it may look like there are only three hinges and a handle. Then the door comes off, and suddenly there are washers, plastic caps, spacers, door stops, hinge pins, trim pieces, and one tiny part that appears to have materialized solely to test your patience. Taking photos before removing each hinge saves a lot of guesswork. It also makes reassembly less stressful because you can compare the new layout with the original one.
Another common experience involves the handle. Many homeowners assume the handle will simply move to the opposite side in one minute. Sometimes that is true. Other times, the handle needs to be flipped, its brackets need to be moved, or small set screws need to be loosened from underneath. On a few models, a decorative badge or nameplate has to be replaced with a part from a door-reversal kit. The lesson is simple: never start the job without checking whether the handle hardware is reversible too.
Door alignment is where patience matters most. After reinstalling the hinges, the refrigerator door may look slightly crooked even though every screw is technically in place. This often happens because the hinge screws were tightened before the doors had a chance to settle naturally. Loosening the hinge slightly, lifting the door into alignment, and then retightening the screws usually fixes the issue. It feels fussy, but a few extra minutes here can prevent months of a door that rubs, sticks, or fails the paper test.
The door gasket can also create drama after reversal. A gasket may look uneven because it was compressed differently on its original side. In many cases, closing the door for several hours lets the flexible seal settle into its new position. If it remains twisted or visibly gapped, check the hinge hardware first before blaming the gasket. A seal problem is often an alignment problem wearing a rubber disguise.
People also discover that a refrigerator door is much heavier than expected. The weight is manageable when the door is attached, but awkward once you are lifting it up and off a hinge pin. A helper makes the job safer, especially for full-size refrigerators with large door bins or freezer compartments. Even when working alone, removing all door shelves first and using a padded surface nearby makes the process far easier.
Time estimates can be optimistic. A straightforward compact refrigerator might take 20 to 30 minutes. A standard top-freezer model may take an hour or more when you include moving food, reading the manual, organizing hardware, adjusting alignment, and testing the seal. That is not a failure. A careful door reversal is better than a fast one that leaves you with a crooked door, scratched finish, or mystery screw on the floor.
The best part comes after the project is complete. The improved layout usually feels natural almost immediately. You can unload groceries onto the counter, reach for ingredients without stepping around the door, and move through the kitchen without performing a tiny dance around an open refrigerator. It is a modest change, but it proves that sometimes the most satisfying home upgrade is not a shiny new appliance. Sometimes it is simply teaching the old one to open the other way.