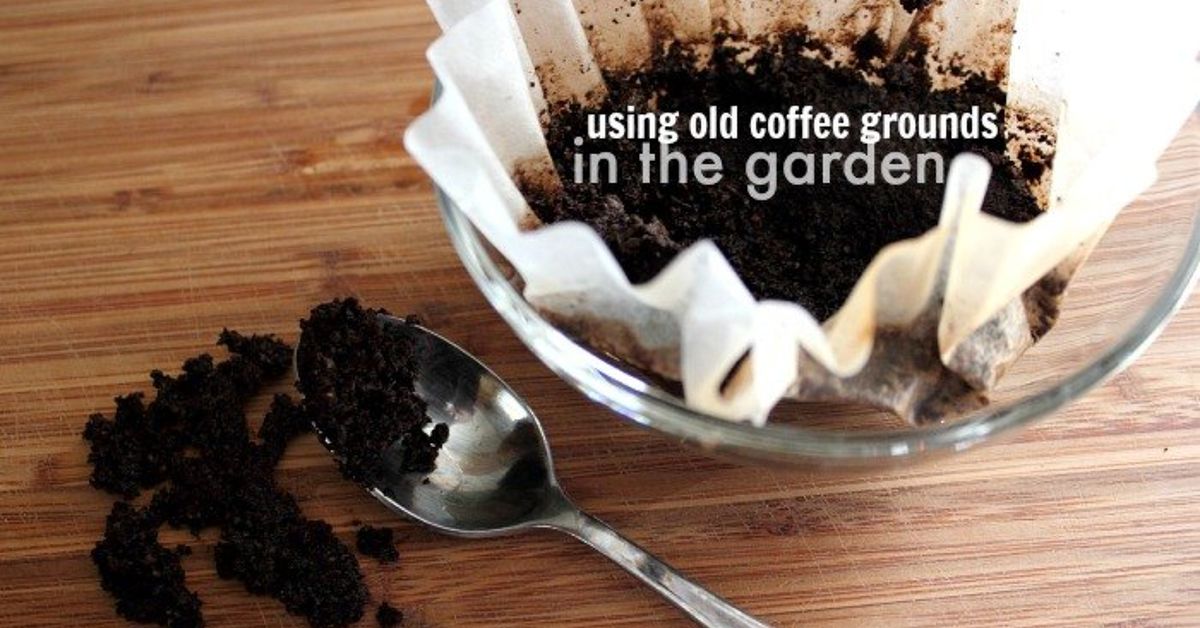
Your morning coffee can wake up more than you. Used coffee grounds can become a useful ingredient in compost, worm bins, garden beds, and even a small mushroom-growing project. The trick is moderation: spent grounds are organic material, not miracle fertilizer, instant soil acidifier, or a magical force field against every slug with bad intentions. This guide explains five practical, science-aware ways to reuse coffee grounds in the garden, with easy steps, realistic examples, common mistakes to avoid, and a field-tested approach for turning a daily kitchen leftover into something genuinely useful outdoors.
Before You Sprinkle: What Coffee Grounds Actually Do
Used coffee grounds contain carbon, nitrogen, and small amounts of other nutrients, but they are not a complete fertilizer. Their greatest value is as an organic ingredient that feeds decomposers and contributes to soil structure after it breaks down. Think of coffee grounds as one musician in the garden orchestranot the entire brass section, string section, conductor, and snack table.
Another common myth is that used coffee grounds reliably acidify soil. Fresh coffee may taste acidic, but most of the easily dissolved acids leave the grounds during brewing. Spent grounds are often near neutral, and any effect on soil pH is inconsistent and temporary. Blueberries, azaleas, and rhododendrons still deserve a soil test and a proven pH-management plan rather than a weekly espresso offering.
The most important rule is simple: use coffee grounds in modest amounts and combine them with other materials. Thick piles can compact, shed water, reduce air movement, temporarily tie up nitrogen, and interfere with seed germination. A light hand keeps a clever recycling idea from becoming a caffeinated gardening mishap.
1. Turn Coffee Grounds Into Compost-Pile Rocket Fuel
The easiest and most dependable way to use coffee grounds in the garden is to compost them. Although grounds look brown, composters classify them as a nitrogen-rich “green” material. They pair beautifully with carbon-rich “browns” such as dry leaves, shredded plain cardboard, straw, and small twigs.
How to Add Them
- Dump used groundsand plain paper filtersinto the center of the pile.
- Cover them with two to three times as much dry brown material by volume.
- Mix or turn the pile so the grounds do not form a wet, dense clump.
- Keep the pile about as damp as a wrung-out sponge.
- Add more dry leaves if the compost smells sour or looks soggy.
For a more precise recipe, one practical extension recommendation is three parts dry leaves, one part fresh grass clippings, and one part coffee grounds by volume. Coffee grounds should remain a minority ingredient; keeping them at no more than about 20% of the total compost-pile volume reduces the risk of plant-inhibiting compounds surviving in the finished product.
Well-managed compost may be ready in roughly three to six months, depending on temperature, moisture, particle size, and how often you turn it. A neglected pile will still decompose, but it may move at the speed of a sleepy garden snail.
A Fun Collection Trick
Keep a small lidded container near the coffee maker and empty it every few days. If your household produces only a spoonful or two daily, ask a local café for a small bag of spent grounds.
Just do not arrive with a pickup truck unless your compost pile has legal representation. Large quantities must be blended gradually with leaves and other carbon-rich materials.
2. Open a Tiny Coffee Shop for Composting Worms
Red wigglers do not sip cappuccinos, but they can process modest amounts of used coffee grounds in a vermicomposting bin. Worm composting is especially useful for apartment dwellers, patio gardeners, and anyone who wants kitchen scraps transformed into dark, crumbly castings without building a backyard pile.
How to Serve Grounds to Worms
- Start with a healthy bin containing moist shredded paper, cardboard, or leaf bedding.
- Add a small handful of cooled grounds beneath the bedding.
- Include the paper filter after removing staples or plastic parts.
- Rotate grounds with fruit and vegetable scraps instead of feeding coffee every day.
- Wait until most of the previous feeding disappears before adding more.
Coffee grounds can clump and reduce airflow, so spread them thinly rather than creating a miniature mud pie. If the bin smells sharp, becomes overly wet, or the worms crowd the walls and lid, pause feeding, mix in dry bedding, and check the moisture level. Healthy worm bedding should feel damp, not soupy.
The finished vermicompost can be mixed into garden soil, added to potting mixes in modest amounts, or used as a gentle top-dressing around established plants. The worms are doing the complicated biological work; your main responsibilities are avoiding overfeeding and resisting the urge to give them tiny aprons.
3. Build a “Lasagna” Garden Bed With Coffee Grounds
Lasagna gardeningalso called sheet compostingcreates a bed by layering carbon-rich and nitrogen-rich materials directly over soil or turf. Coffee grounds make a handy thin green layer between cardboard, leaves, straw, grass clippings, and finished compost.
A Simple Layering Plan
- Mow or flatten the area and water dry soil.
- Lay overlapping plain cardboard to suppress existing grass and weeds.
- Add a layer of dry leaves, shredded cardboard, or straw.
- Scatter a thin layer of used coffee grounds.
- Add grass clippings, vegetable scraps, or another nitrogen-rich material.
- Repeat the brown-and-green pattern, keeping the grounds dispersed.
- Top the bed with several inches of finished compost or garden soil before planting.
This method is ideal when you are starting a new flower border, expanding a vegetable garden, or reclaiming a weedy strip beside a fence. The key word is “layer,” not “landfill.” Coffee grounds should be one ingredient among many, never a thick black blanket.
University extension guidance on sheet composting consistently places used grounds among nitrogen sources and pairs them with leaves, cardboard, straw, and other carbon-rich materials.
When to Plant
You can let the bed decompose for several months, or add a substantial cap of mature compost or garden soil and plant into that upper layer. Avoid placing seeds directly in concentrated fresh grounds because residual caffeine and other compounds may reduce germination or slow young root growth.
For fall construction, build the layers after the growing season and allow winter moisture and microorganisms to do much of the work. By spring, the bed should have settled considerably, and the original layers may be difficult to recognize.
4. Use a Measured Amount as a Soil Amendment
Gardeners often ask whether they can skip the compost pile and put coffee grounds directly into the soil. The answer is yescarefully, in established beds, and at a measured rate.
The Half-Inch Rule
For an empty bed before planting, spread no more than about one-half inch of used grounds, then mix them thoroughly into the upper four inches of soil. Do not leave them concentrated in planting holes, and do not repeat the treatment every week. The goal is to distribute organic material, not create a hidden espresso layer beneath your tomatoes.
Because microbes use nitrogen while decomposing fresh organic material, heavily amended soil may temporarily provide less plant-available nitrogen. Combining grounds with mature compostor applying them well before the growing seasonreduces that risk.
A soil test remains the best guide for fertilizer and pH decisions. Coffee grounds may contribute roughly 1% to 2% nitrogen, but they do not provide a balanced nutrient program for demanding crops.
Use Them Under Mulch, Not as a Thick Mulch
If you want to apply grounds around established shrubs or perennials, scatter a very thin dusting and cover it with leaves, bark, or wood chips. Grounds left in a thick exposed layer can dry into a crust that repels water and limits oxygen exchange.
Mixing them with coarser mulch keeps the surface open and lets moisture move toward the roots. Keep the material several inches away from trunks, crowns, and plant stems.
This approach works best as an occasional organic-matter addition. It is not a rescue treatment for yellow plants, a substitute for diagnosing disease, or permission to empty an office coffee urn around one hydrangea.
5. Grow Oyster Mushrooms in a Coffee-Ground Bucket
For the most playful option, use spent coffee grounds as part of a mushroom-growing substrate. Oyster mushrooms are considered relatively beginner-friendly and can grow on several plant-based materials.
Coffee grounds are convenient because brewing has already added moisture and heat, but they still require clean handling. They should usually be mixed with another substrate such as pasteurized straw, hardwood pellets, or shredded cardboard rather than packed into a solid bucket.
Basic Project Outline
- Use fresh, cooled grounds promptly; old grounds can collect competing molds.
- Clean the bucket, tools, and work surface carefully.
- Mix the grounds with a prepared bulk substrate rather than using a dense bucket of grounds alone.
- Add commercially purchased oyster mushroom spawn according to the supplier’s recommended rate.
- Keep the colonizing bucket in the temperature range recommended for that mushroom strain.
- After the substrate turns white with mycelium, provide fresh air, humidity, and indirect light for fruiting.
Home mushroom cultivation is part gardening, part kitchen science, and part suspense film. White oyster-mushroom mycelium is welcome; green, black, pink, or foul-smelling contamination is not. When contamination takes over, seal and discard the material rather than trying to negotiate with it.
University extension guidance recognizes coffee grounds as one of several possible mushroom substrates, while bucket-growing instructions emphasize sanitation, suitable spawn, moisture, and airflow. Beginners will usually get more reliable results from a tested kit or established recipe than from improvising a five-gallon bucket of café waste.
After a successful harvest, the spent mushroom substrate can enter a compost pile, where it gets one final career change before becoming garden amendment.
Coffee-Ground Mistakes That Can Make Plants Grumpy
Using Grounds to Acidify Blueberry Soil
Do not count on them. Spent grounds vary in pH and generally do not create a predictable, lasting change. Test the soil and use a recommended amendment when acidification is genuinely needed.
Planting Seeds in Pure Coffee Grounds
Seeds and delicate seedlings are more vulnerable than established plants. Concentrated grounds may inhibit germination, hold too much moisture, or create an unfavorable physical barrier. Compost the grounds first or use them sparingly in soil prepared well ahead of planting.
Creating a Thick Ring Around Stems
Keep all mulch and organic amendments away from direct contact with trunks, crowns, and succulent stems. Thick rings can hold moisture against plant tissue and reduce airflow. Scatter, mix, and coverdo not build a coffee volcano.
Assuming Grounds Repel Every Pest
Claims that dry coffee grounds reliably repel cats, ants, slugs, deer, and neighborhood gossip are stronger online than the supporting evidence.
Caffeine solutions have shown effects on slugs and snails under specific conditions, but that is not the same as proving that a casual ring of spent grounds provides dependable garden control. Use established integrated pest-management methods when damage is serious.
Quick Reference: Best Uses and Safe Limits
| Garden Use | Best Practice | Main Caution |
|---|---|---|
| Backyard compost | Mix with two to three times as many dry browns | Keep grounds below about 20% of pile volume |
| Worm bin | Feed small, scattered portions with varied scraps | Avoid wet clumps and overfeeding |
| Lasagna bed | Use as a thin green layer between carbon materials | Do not plant seeds directly into fresh grounds |
| Soil amendment | Mix up to one-half inch into the top four inches | Do not use repeatedly or as complete fertilizer |
| Mushroom substrate | Combine with a tested substrate recipe and clean technique | Discard contaminated batches |
Garden Experience Notes: What a Season of Coffee-Ground Experiments Teaches
The following field notes are a practical composite of common home-garden experiences rather than a claim that every yard will respond identically. Soil type, rainfall, temperature, compost management, and the amount of grounds used can change the result dramatically.
The first lesson usually arrives fast: small amounts disappear almost magically, while large amounts become a project. A household that brews one pot of coffee a day can add the grounds to a normal compost pile without much drama. Toss in a layer of dry leaves, turn the pile occasionally, and the dark grounds become nearly impossible to identify after several weeks.
The pile may warm more readily when the balance of greens, browns, moisture, and air is right. The satisfying part is psychological as well as practical: a soggy kitchen leftover becomes part of something earthy, crumbly, and useful.
The second lesson is that texture matters. One experimental patch may receive a thick surface layer because the grounds look exactly like rich soil. After a dry spell, that layer can harden into a dark crust. Water beads, runs sideways, and exposes the central mistake: appearance is not structure.
In a neighboring patch, the same quantity mixed with shredded leaves and covered by bark behaves much better. Rain enters the soil, the mulch remains loose, and earthworms can move through the interface. The difference is not a secret ingredient; it is dilution and particle diversity.
Worm bins offer another useful reality check. A small handful tucked under moist bedding is processed steadily. Several cups dumped into one corner can turn into a dense, sour lump that the worms avoid. Adding shredded cardboard and pausing new food usually restores balance. The experience makes the broader gardening principle obvious: decomposers need oxygen as much as they need food. More material is not automatically more helpful.
A lasagna bed can be the most visually rewarding experiment. Cardboard goes down over a tired strip of lawn, followed by leaves, thin scatterings of grounds, grass clippings, straw, and compost. At first it resembles a very strange sandwich. Months later, the layers settle, weeds weaken, and the bed becomes easier to plant.
Coffee grounds are not the star of the system, but they are a convenient supporting ingredient that would otherwise have entered the trash.
The most memorable lesson comes from comparing seedlings with established plants. Mature perennials may tolerate a modest, well-mixed application with no visible stress. Seeds placed in a concentrated coffee-rich mix may germinate unevenly or grow slowly.
That contrast encourages patience: compost first when possible, apply direct amendments before planting, and never test a bold internet tip across the entire garden. Try it in one small area, label the spot, observe for several weeks, and compare it with an untreated area.
By the end of the season, the best routine is rarely dramatic. Grounds go into the compost bucket most days. Worms receive an occasional spoonful. New beds get a light layer between leaves and cardboard. Established beds receive only a measured amount, mixed or covered.
The garden does not become a tropical jungle overnight, but the waste stream shrinks, compost improves, and the morning ritual gains a satisfying second chapter.
Conclusion: Let the Grounds Work, but Do Not Make Them Work Overtime
Using coffee grounds in the garden is a smart form of kitchen-waste recycling when the grounds are treated as one organic ingredient among many. Composting is the most reliable option, worm bins are perfect for small spaces, lasagna beds turn grounds into a useful layer, careful soil incorporation can add organic material, and an oyster mushroom bucket offers a genuinely fun experiment.
The winning strategy is moderation. Mix grounds with coarse, carbon-rich materials, keep them away from seeds and plant stems, avoid thick surface layers, and do not depend on them to acidify soil or replace fertilizer. In other words, give your garden a little coffeenot the entire coffee shop.