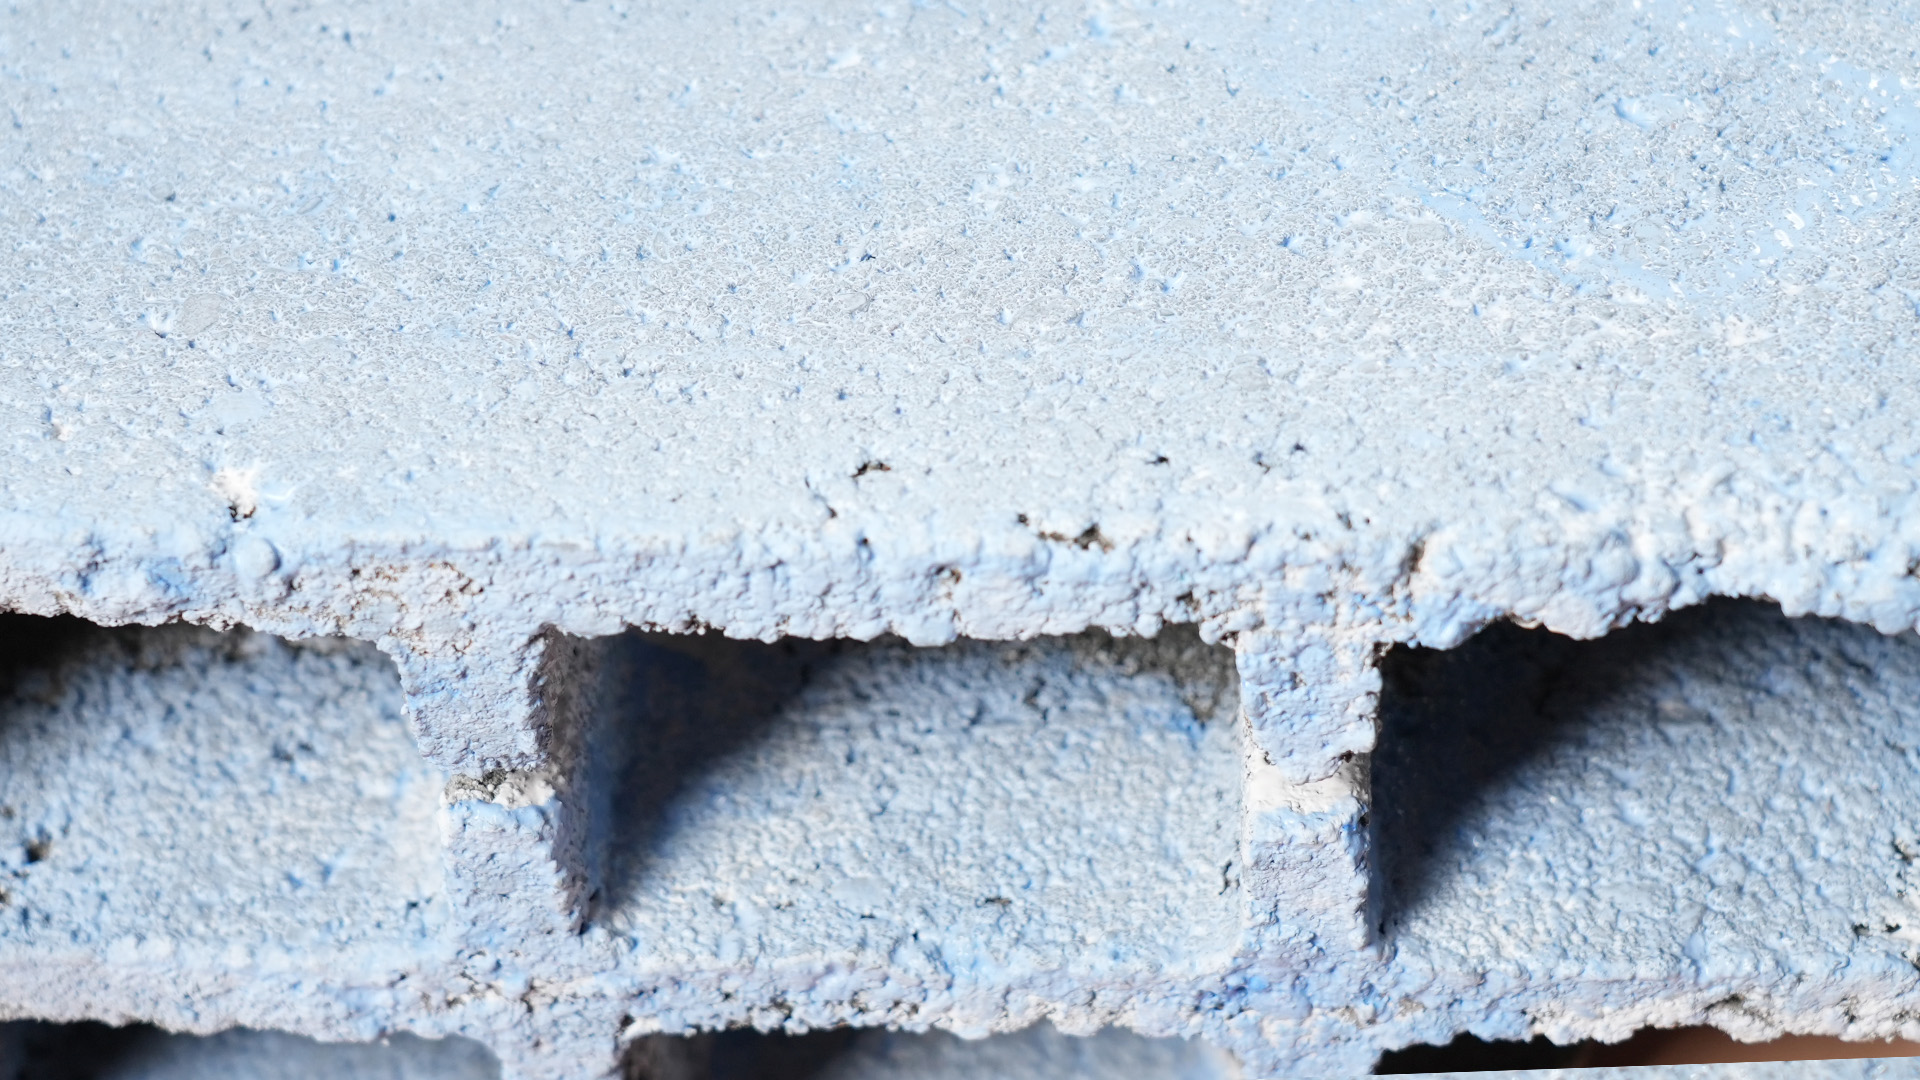
If you have a cinder block wall that currently screams “unfinished basement,” “tired garden border,” or “prison chic,” good news: paint can work miracles. Cinder blocks are strong, practical, and about as naturally glamorous as a parking lot. But with the right prep, primer, and paint, they can look crisp, clean, modern, and surprisingly expensive.
The catch? Painting cinder blocks is not the same as painting drywall. These blocks are porous, dusty, textured, and occasionally moody. If you rush in with a random roller and a can of leftover wall paint, the results may range from streaky to tragic. Done correctly, though, painted cinder blocks can hold up beautifully indoors or outdoors.
This guide walks you through how to paint cinder blocks in 13 practical steps, plus pro tips on what paint to use, what mistakes to avoid, and how to get a smooth, long-lasting finish without losing your weekend and your patience.
What You’ll Need Before You Start
- Work gloves, eye protection, and a dust mask
- Drop cloths and painter’s tape
- Stiff brush or broom
- Concrete cleaner or mild detergent
- Bucket, sponge, or hose
- Scraper or wire brush
- Masonry patch or concrete filler
- Sandpaper or sanding block
- Masonry or concrete bonding primer
- Block filler primer for very rough or porous surfaces
- Interior or exterior masonry paint, depending on location
- Paintbrush
- Roller frame with a thick nap roller cover
- Paint tray
Why Cinder Blocks Need Special Treatment
Cinder blocks are not smooth. They are full of tiny pores, pits, and texture that drink up paint like they just crossed a desert. That means ordinary primer often disappears into the surface instead of creating a solid base. It also means dirt, chalky residue, moisture, and mineral deposits can interfere with adhesion.
In plain English: if you want painted cinder blocks that look great and stay that way, surface prep matters just as much as the final coat. Possibly more. Annoying? Yes. Necessary? Absolutely.
How to Paint Cinder Blocks: 13 Steps
Step 1: Check the Condition of the Blocks
Start by inspecting the cinder block surface closely. Look for cracks, crumbling mortar, peeling old paint, mildew, white powdery residue, or damp areas. If the blocks are damaged or constantly wet, paint will not fix the real problem.
If you see white, chalky buildup, that is likely efflorescence, a mineral deposit caused by moisture moving through the masonry. You need to deal with that before painting. If the wall feels damp, identify the moisture source first. Paint applied over wet block is basically a long-term argument with gravity and chemistry.
Step 2: Make Sure the Surface Is Fully Dry and Cured
If your cinder block is new, let it cure before painting. Fresh masonry often needs time to harden and release excess moisture. In many cases, waiting around 30 days is the safest move, though some masonry primers are designed for newer surfaces under specific conditions.
For older block walls, make sure the surface is dry before you paint. After washing, rain, or heavy humidity, give the wall enough time to dry thoroughly. Painting too soon traps moisture and invites peeling, blistering, or general heartbreak.
Step 3: Clean the Cinder Blocks Thoroughly
This is the part people love to skip and later regret. Use a stiff brush or broom to remove loose dust, cobwebs, dirt, and flaking debris. Then wash the blocks with a concrete cleaner or a mix of mild detergent and water.
For exterior cinder blocks, a hose can help rinse away grime. For indoor walls, a sponge and bucket work fine. If you are dealing with grease, mildew, or old stains, clean those areas carefully and completely. Paint does not bond well to mystery gunk, no matter how optimistic you feel.
Step 4: Remove Loose Paint, Chalk, and Efflorescence
If the blocks were previously painted, scrape away any peeling or bubbling paint. A wire brush helps remove chalky residue and stubborn flaky spots. Efflorescence should also be scrubbed off before priming.
The goal is not necessarily to make the wall perfectly smooth. This is still cinder block, not a luxury plaster feature wall in a boutique hotel. But you do want a sound, clean surface with no loose material left behind.
Step 5: Repair Cracks and Holes
Use masonry patch or concrete filler to repair chips, cracks, holes, and damaged joints. Follow the product directions for drying and curing times. Once repairs are fully set, sand or smooth the patched areas if needed so they blend more evenly with the surrounding surface.
This step improves both appearance and durability. Small holes can telegraph through paint, and wider cracks can allow moisture to return later. In other words, patch now, brag later.
Step 6: Protect Surrounding Areas
Use painter’s tape along trim, windows, adjacent walls, or any area you do not want painted. Lay down drop cloths to catch splatter. Cinder blocks have a rough texture, so rollers and brushes can fling tiny dots of paint farther than expected.
That cute little “I’ll just be careful” plan? It has ruined many floors.
Step 7: Choose the Right Primer
This step is where many paint jobs either become legends or cautionary tales. Cinder blocks need a masonry primer, concrete bonding primer, or, for especially rough surfaces, a block filler primer. These products are made to seal porous masonry, improve adhesion, and help create a more even topcoat.
If the wall is extremely textured or porous, block filler primer is often the smart choice because it fills small voids and reduces the amount of finish paint you will need. If the blocks are smoother or previously painted and in decent shape, a high-quality masonry primer may be enough.
Step 8: Cut In With a Brush
Before rolling, use a brush to paint primer into corners, edges, mortar joints, and spots the roller may miss. Cinder blocks have plenty of little dips and creases, so cutting in matters more here than on a flat drywall wall.
Work carefully but do not obsess over perfection. The goal is to get primer into the tricky spots so the roller can handle the larger areas more evenly.
Step 9: Roll on the Primer
Use a roller with a thick nap, usually around 1/2 inch to 3/4 inch, depending on how rough the surface is. The thicker nap helps push primer into the pores and texture of the blocks. Roll in sections and maintain a wet edge to reduce uneven buildup.
Do not be surprised if the first coat seems to vanish into the wall like magic. That is just the cinder block being itself. Let the primer dry fully according to the label. On very porous block, a second primer coat may be worth it.
Step 10: Choose the Best Paint for Cinder Blocks
Now for the part everyone likes: color. For indoor cinder blocks, use a durable interior masonry or acrylic latex paint. For outdoor blocks, choose an exterior masonry paint or exterior acrylic paint designed to handle weather, sunlight, and temperature swings.
If the wall is in a damp basement or another moisture-prone area, look for a product formulated for masonry or waterproofing use where appropriate. Just remember: paint is not a substitute for fixing ongoing water intrusion. It is a finish, not a miracle worker in a gallon can.
Step 11: Apply the First Coat of Paint
Cut in with a brush first, then roll the larger areas. Work from top to bottom on walls to control drips. Use steady pressure and avoid overworking the paint. On textured block, it is tempting to keep rolling forever, but that can create uneven coverage and lap marks.
The first coat often looks patchy at first, especially on rough cinder blocks. That does not mean you failed. It means the wall is textured and honest.
Step 12: Let It Dry, Then Add a Second Coat
Most cinder block paint jobs need two coats for strong, even color and better durability. Let the first coat dry fully before applying the second. Do not rush this step. Applying a second coat too early can lead to dragging, uneven sheen, or poor adhesion.
Two thinner coats usually look better and last longer than one heavy coat. Thick paint may sound efficient, but it tends to create more drama than value.
Step 13: Inspect, Touch Up, and Let the Paint Cure
Once the final coat is dry, inspect the wall in good light. Touch up missed crevices, thin spots, or edges as needed. Remove painter’s tape carefully, ideally before the paint hardens completely on the tape line.
Then let the finish cure according to the paint manufacturer’s instructions. Dry to the touch is not the same as fully cured. Avoid banging furniture into the wall, leaning garden tools against it, or otherwise testing your luck too soon.
Best Paint Colors for Cinder Block Walls
If you are painting cinder blocks indoors, soft white, warm greige, muted sage, charcoal, or earthy taupe can instantly make the wall feel more intentional and less “unfinished utility room.” Outdoors, classic white, deep gray, olive green, black, and sandy neutrals all work well depending on the style of your home and landscape.
Light colors brighten basements and garages. Dark colors can look modern and dramatic, but they may show dust more quickly outdoors. If you want the wall to fade into the background, choose a color close to surrounding concrete, siding, or trim.
Common Mistakes to Avoid
- Skipping cleaning: Dust and residue can wreck adhesion.
- Ignoring moisture: Damp blocks and paint are not friends.
- Using regular wall primer: Masonry needs masonry-friendly products.
- Painting uncured new block: Patience beats peeling.
- Using a thin roller nap: Smooth-wall tools struggle on rough block.
- Trying to cover in one coat: Two coats usually win.
- Painting over possible lead paint without precautions: Older painted surfaces need extra care.
Indoor vs. Outdoor Cinder Block Painting
Indoor cinder block walls are common in basements, laundry rooms, workshops, and garages. These areas benefit from easy-to-clean acrylic latex finishes and lighter colors that reduce the cave effect.
Outdoor cinder block walls need more weather resistance. Use exterior products rated for masonry, and avoid painting right before rain or during extreme temperatures. A beautiful paint job done in bad weather is still a bad paint job.
How Long Does Painted Cinder Block Last?
A properly prepped and painted cinder block wall can look good for years. Indoor walls generally last longer because they are protected from sun, rain, and freeze-thaw cycles. Exterior walls may need touch-ups sooner, especially in harsh climates or high-moisture areas.
The biggest factors are prep quality, moisture control, product choice, and whether the wall was primed correctly. Fancy paint helps, but prep still does the heavy lifting.
Real-World Experience: What Painting Cinder Blocks Actually Feels Like
Painting cinder blocks sounds simple when you say it quickly. “Oh, I’m just painting a block wall.” Then you meet the wall. The wall has pores. The wall has dust in places physics should not allow. The wall has enough texture to eat half your primer and most of your self-confidence.
One of the first things many DIYers notice is how different cinder blocks feel compared with standard interior walls. Drywall is forgiving. Cinder block is blunt. It shows you every missed spot, every lazy pass with the roller, and every moment you thought, “That corner is probably fine.” It was not fine.
The cleaning stage often takes longer than expected. A wall that looks merely dusty can release an astonishing amount of debris once you brush it. Outdoors, old cinder block may hide mildew, chalky residue, cobwebs, and dirt packed into the texture. Indoors, basement walls frequently carry years of dust and mystery marks from bikes, boxes, tools, and household life in general.
Then comes the primer, which is the moment many people realize why masonry products exist. The block drinks the first coat with almost supernatural enthusiasm. You roll, step back, and wonder whether the wall secretly licked the paint off while you were blinking. This is normal. Very annoying, but normal.
Using the right roller makes a huge difference in the actual experience. A thicker nap roller feels slower at first, but it reaches into the texture far better than a thin roller cover. A thin roller on cinder block tends to skim the surface, leaving tiny holidays and uneven coverage that show up later like little taunts in daylight.
Brushwork matters more than people expect too. Mortar lines, corners, and those little pinholes around the face of the block can stay stubbornly unpainted unless you deliberately work paint into them. This is why many successful paint jobs feel less like “rolling a wall” and more like “negotiating with a rough surface until it cooperates.”
Color choice also changes the experience. White and pale shades brighten the space immediately, especially in basements and utility rooms. The transformation can be dramatic enough to make an unfinished room feel cleaner and more intentional in a single afternoon. Darker colors can look striking and modern, but they often require more care for consistent coverage, particularly if the block surface is uneven.
There is also a deep, oddly satisfying moment when the second coat goes on. The first coat usually looks a little patchy and underwhelming. The second coat is when the wall starts to look finished on purpose. That is the point where many DIYers suddenly become extremely proud and begin mentally repainting every other ugly masonry surface they own.
At the same time, cinder block teaches patience. If the wall has moisture issues, they will show up. If you paint too soon after washing, the surface may not cooperate. If you skip repairs, cracks can remain visible. The material is honest that way. It rewards careful prep and punishes shortcuts with the emotional subtlety of a tax audit.
Still, the results are often worth it. A painted cinder block wall can make a basement feel less institutional, a garden wall feel more polished, and a garage feel like a real extension of the home instead of a place where old extension cords go to retire. It is one of those projects that is not especially glamorous during the process, but the before-and-after difference can be huge.
If you go into it expecting a little extra prep, a little extra primer, and a little extra texture-related nonsense, the project becomes much less frustrating. And once it is done, you get the quiet joy of looking at a former eyesore and thinking, “Well, that turned out way better than expected.” That is peak DIY happiness right there.
Final Thoughts
If you want to know how to paint cinder blocks the right way, the secret is not fancy technique. It is choosing the right products and respecting the prep. Clean thoroughly, repair damage, use a masonry-friendly primer, and apply two solid coats of paint with the right roller.
Whether you are updating a basement wall, refreshing an outdoor block fence, or making a garage look less like a bunker, painted cinder blocks can dramatically improve the space. Just do not skip the boring steps. In painting, the boring steps are usually the hero.