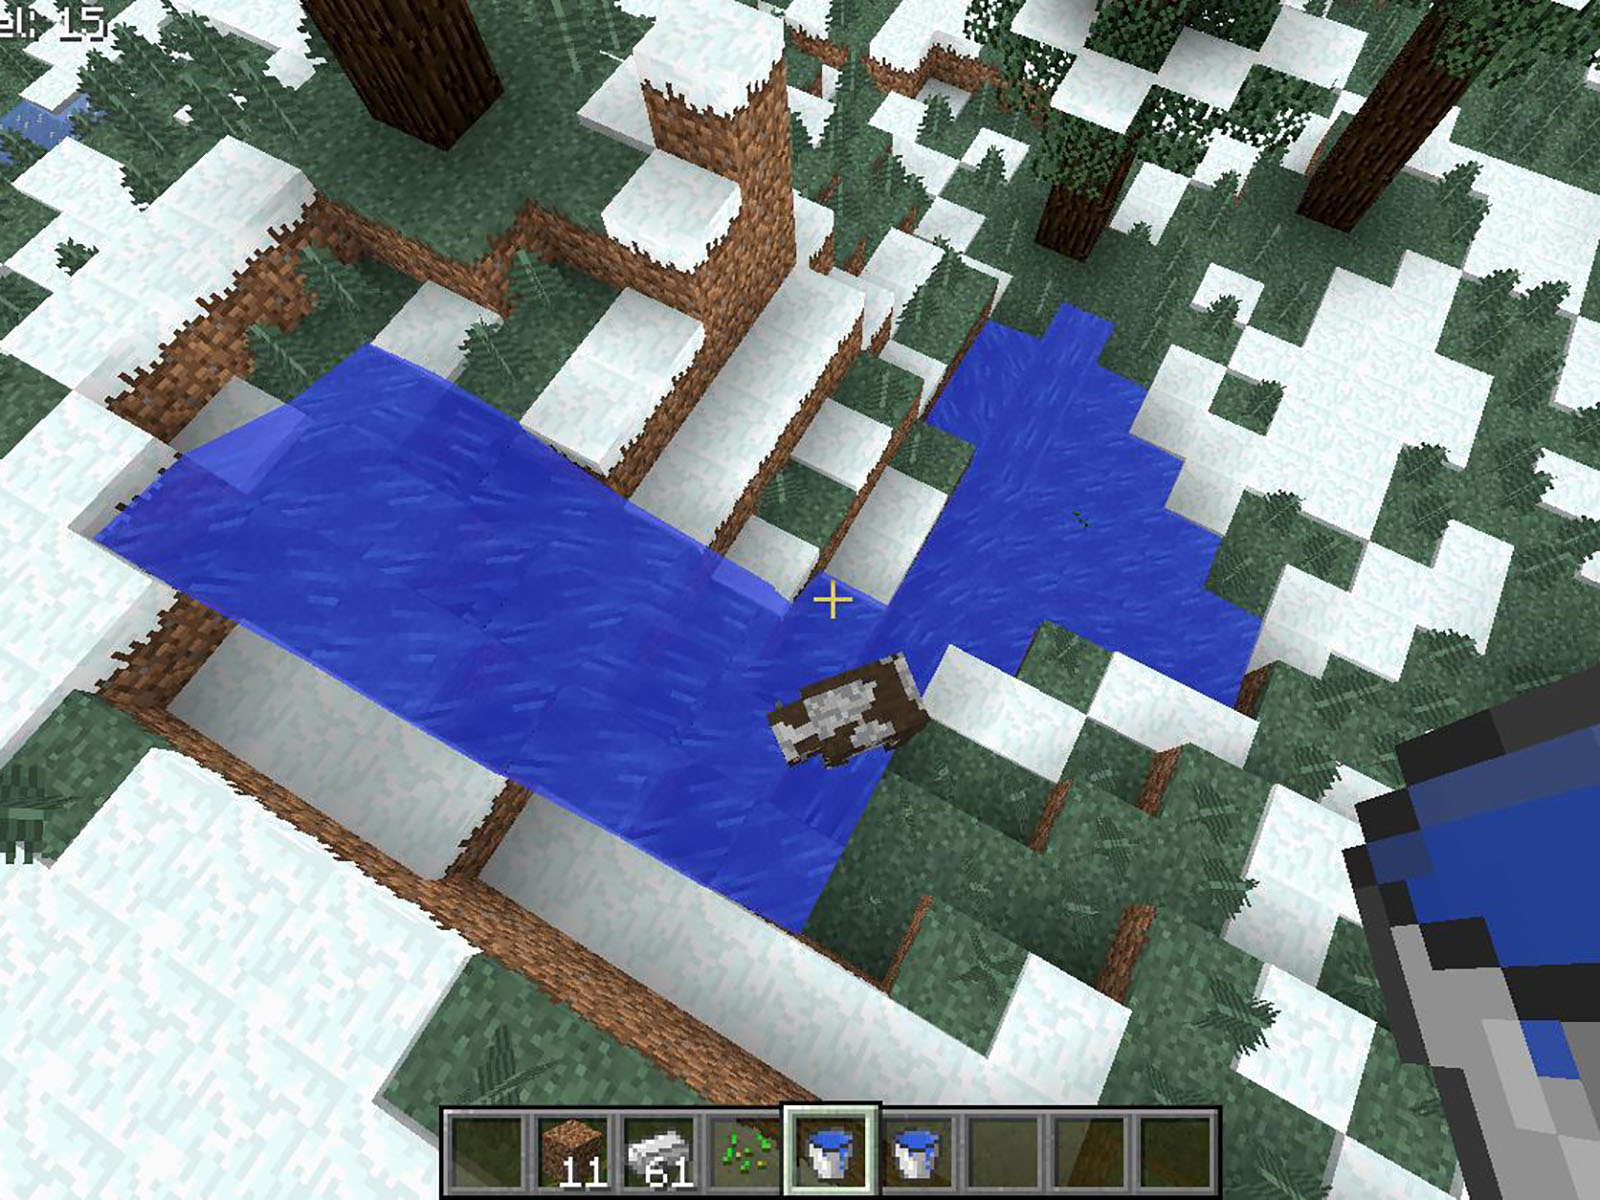
Water in Minecraft looks peaceful until it escapes from one block, floods your mine, ruins your redstone, and turns your carefully designed medieval harbor into what can only be described as “wet regret.” Learning how to control the water level in Minecraft is one of those skills that separates casual builders from players who can shape rivers, lakes, elevators, farms, moats, aquariums, and underwater bases without screaming into a stack of cobblestone.
The good news is that Minecraft water follows understandable rules. Once you know the difference between a water source block and flowing water, how far water travels, how buckets and sponges work, and when to use commands like /fill, you can raise, lower, flatten, drain, or redirect water with confidence. Whether you are playing Survival, Creative, Java Edition, Bedrock Edition, or Minecraft Education, this guide explains practical ways to manage water levels without turning your world into a soggy science experiment.
What “Water Level” Means in Minecraft
In real life, water levels rise and fall naturally. In Minecraft, water is block-based. That means the “level” of water in a lake, canal, pond, or aquarium is usually controlled by where you place or remove water source blocks. A calm flat surface is made of source blocks. A sloping stream or waterfall is made of flowing water.
So when players ask how to control the water level in Minecraft, they usually mean one of four things:
- Raising the surface of a pond, lake, river, or canal.
- Lowering or draining water from a build area.
- Making water flat instead of uneven and flowing.
- Turning water on and off for farms, traps, elevators, or decorative builds.
Each goal uses a slightly different method. A small pond can be fixed with buckets. A giant custom lake may need kelp, ice, or commands. An ocean monument project needs sponges, sand walls, or serious patience. Your first step is deciding whether you want a clean Survival-friendly method or the faster Creative/command approach.
Understand Water Source Blocks First
The most important concept is the water source block. A source block is the “real” water block. It sits still, can refill buckets, and creates flowing water around it if there is space. Flowing water spreads outward and downward from source blocks, but it is not the same thing as a source block.
Source Water vs. Flowing Water
If water is perfectly still and flat, it is probably a source block. If it is slanted, moving, or pulling you in a direction, it is flowing water. This difference matters because buckets collect source blocks, bubble columns need source water, and flat lakes require source blocks across the surface.
Water can flow several blocks horizontally from its source and can fall downward for a long distance. This is why one badly placed bucket on a mountain can become a dramatic waterfall that reaches your base, your farm, your mine entrance, and possibly your emotional support chicken.
The Infinite Water Source Trick
One of the easiest ways to control water in Survival is to create an infinite water source. Dig a 2-by-2 hole, place water in two opposite corners, and the hole will refill itself as you take water with a bucket. This gives you unlimited water for ponds, farms, elevators, and build repairs.
You can also create a simple 1-by-3 infinite source by placing water at both ends. The center block becomes renewable water. However, the 2-by-2 version is usually safer because it is harder to accidentally break.
How to Raise the Water Level in Minecraft
To raise water level, you need to add water source blocks at the new height. Do not just pour one bucket into a deep hole and expect a perfect lake. Minecraft will create flowing water, not a clean flat surface.
Method 1: Use Buckets for Small Areas
For small pools, fountains, garden ponds, and canals, buckets are the simplest method. Build the walls first, decide the final surface height, then place water source blocks along the edges and corners. Minecraft will often generate new source blocks between existing source blocks, helping the surface fill itself.
A good beginner method is:
- Build the pond or pool shape.
- Place a temporary dirt or glass floor one block below the desired water surface.
- Add water source blocks across the top layer until the surface becomes flat.
- Remove the temporary floor carefully if you want the pool to be deeper.
This works because the water surface is established first. If you try to fill a deep lake from the bottom, you may end up with uneven currents that push you around like the world’s least relaxing lazy river.
Method 2: Use Kelp to Turn Flowing Water into Source Water
Kelp is extremely useful when filling vertical water columns, elevators, or deep pools. In many water builds, placing kelp upward through downward-flowing water converts those water blocks into source blocks. This is especially helpful for bubble elevators, because soul sand and magma block bubble columns require source water to work properly.
For a water elevator, build a vertical tube, pour water from the top, then place kelp from the bottom all the way up. Break the kelp afterward. The column should now be full of source blocks. Place soul sand at the bottom for an upward elevator, or magma block for a downward pull.
Method 3: Use Ice for Large Flat Surfaces
Ice can help create water over broad areas. Place ice blocks across the planned surface, then break or melt them so they become water. This can be useful in cold-biome builds, custom lakes, or sky bases where carrying buckets back and forth gets old fast.
The key is spacing. If the ice is too far apart, you will get currents. If the ice is placed in a controlled pattern, the water has a better chance of forming a flat layer. For big projects, combine ice with temporary blocks underneath so the surface forms cleanly before you remove supports.
How to Lower or Drain Water in Minecraft
Lowering water is the opposite process: remove source blocks, block off flow, and clear the water layer by layer. The best method depends on the size of the area.
Method 1: Use Blocks to Replace Water
The old-school Survival method is to fill the water area with sand, gravel, dirt, or another easy-to-break block. Once the blocks replace the water, mine them out. Sand and gravel are useful because gravity helps them fall into place.
This method is slow but reliable. It works well for small underwater rooms, pond edits, and controlled sections of ocean. For large spaces, divide the project into smaller cells with walls. Trying to drain a huge ocean area all at once is how Minecraft teaches humility.
Method 2: Use Sponges
Sponges are the premium tool for water removal. Place a dry sponge near water, and it absorbs nearby water, turning into a wet sponge. Dry the wet sponge in a furnace and use it again. If you have access to ocean monuments or Creative inventory, sponges are the fastest Survival-friendly way to clear water from underwater builds.
For best results, seal the area first. A sponge works much better in a contained section than in open ocean, where surrounding water can immediately flow back in. Build walls, work from top to bottom, and keep a furnace nearby for drying wet sponges.
Method 3: Use Commands to Remove Water
If cheats are enabled, commands are the fastest way to lower water level. The most common Java-style command is:
This replaces water with air inside the selected coordinate box. For example, if you want to remove water from a rectangular aquarium, stand near one corner, note the coordinates, note the opposite corner, and run the command with those two points.
For Bedrock Edition, the command structure may include block-state brackets depending on the version and syntax suggestions shown in-game. Use the command autocomplete to avoid mistakes. Minecraft’s command interface is your friend here; it is the one friend who will say, “No, that bracket goes there,” without judging your life choices.
How to Set a Specific Water Level with Commands
Commands are the best option when you want precise water control. You can raise a lake by one layer, create an artificial sea, drain a basement, or build a puzzle where water rises and falls.
Fill an Area with Water
To add water to a selected region, use:
If you only want to fill empty space and avoid replacing walls, terrain, or decorations, use a replace filter:
This is ideal for raising water inside a dam, tank, canal, or custom lake without destroying the shape around it.
Lower Water by One Layer
To lower water, select only the top layer and replace water with air:
Notice that the Y coordinate is the same for both corners. That targets one flat horizontal slice. Repeat the command with lower Y values to drain layer by layer.
Create a Flat Lake Surface
For a flat artificial lake, choose the surface Y level and fill that layer with water. Then fill deeper layers below it if needed. A clean command plan looks like this:
- Use
/fillto clear unwanted blocks or old water currents. - Use
/fillwith water at the desired surface layer. - Fill below the surface if the lake needs depth.
- Use
replace airwhen you want to protect existing terrain.
Always test commands in a copy of your world if the build matters. One wrong coordinate can replace your castle with water, which is technically a moat, but emotionally a disaster.
How to Stop Water from Flowing Where You Do Not Want It
To control water level, you also need to control water movement. Water spreads into available spaces, so the simplest solution is to block paths before placing water.
Build Barriers First
Before adding water, build the container. Use solid blocks for dams, walls, pool edges, aquarium glass, or canal borders. Add water only after the shape is finished. If you pour water first and build later, you will spend half the project chasing currents.
Use Slabs, Stairs, and Waterlogged Blocks Carefully
Modern Minecraft includes waterlogging, which allows certain blocks to share space with water. This is great for decoration but can surprise players who expect every partial block to stop water. If a block can be waterlogged, it may hold water instead of blocking it. Test your design in a small area before using it across a massive build.
Create Controlled Spillways
For dams and rivers, give water a planned route. Use channels, gates, and drop points. A controlled spillway makes water look intentional instead of accidental. This is especially useful for fantasy builds, farms, and mountain bases where a waterfall can become a dramatic centerpiece rather than a plumbing emergency.
How to Control Water with Redstone
Redstone lets you turn water on and off. The most common tool is a dispenser with a water bucket inside. When powered, the dispenser places water in front of it. When powered again with the empty bucket inside, it can collect the water source back.
Simple Water Gate
Place a dispenser facing the area where you want water to appear. Put a water bucket inside. Connect the dispenser to a button, lever, pressure plate, or redstone circuit. This can create temporary water streams for crop farms, mob farms, item transport systems, traps, and secret entrances.
Common uses include:
- Flushing crops into hoppers.
- Moving mobs toward a collection point.
- Opening and closing decorative fountains.
- Creating timed water traps in adventure maps.
- Turning item streams on and off.
Water Streams for Farms
Water streams are often used to push items or mobs. Because water has a limited horizontal flow distance from a source, long channels usually need repeated source blocks or clever drops. Ice under item streams can help items move faster, while signs, trapdoors, or drop steps may be used in some designs depending on edition behavior.
Common Problems and Quick Fixes
Problem: My Lake Has Currents
Currents mean some blocks are flowing water instead of source blocks. Add more source water across the surface, use kelp in vertical areas, or temporarily place blocks under the surface while filling.
Problem: My Bubble Elevator Does Not Work
Bubble columns need source water. If your soul sand or magma block is not creating bubbles all the way up, convert the column with kelp, then break the kelp and try again.
Problem: Water Keeps Coming Back
You may not have removed all source blocks, or the area may still be connected to open water. Seal the space with walls first, then drain it in sections. In ocean projects, dividing the area into smaller compartments makes the job much easier.
Problem: My Command Replaced Too Much
Use smaller coordinate regions. Work in layers. Add replace air or replace water when appropriate so the command targets only the block type you want to change.
Best Method by Situation
For a tiny garden pond, use buckets and an infinite water source. For a custom lake, use temporary blocks, ice, kelp, or commands. For a water elevator, use kelp to create source blocks and soul sand or magma blocks for movement. For draining an underwater base, use walls and sponges. For massive Creative builds, use /fill commands in controlled sections.
The best Minecraft builders do not fight water. They plan for it. They build the shape first, add water second, and fix currents before decorating. That one habit saves hours.
Experience Notes: What Actually Works Best in Real Builds
After building enough Minecraft ponds, harbors, underwater rooms, crop farms, and bubble elevators, one lesson becomes painfully clear: water rewards preparation and punishes confidence. The classic mistake is pouring a bucket into an unfinished space and thinking, “I’ll fix the edges later.” You will fix the edges later. You will also fix the floor, the cave below the floor, the redstone behind the wall, and possibly the sheep that got swept into your basement.
For small builds, I always start with the final water line. If I am making a pond, I shape the pond first, add a temporary layer of dirt one block below the surface, and then place water until the top is perfectly flat. Only after the surface behaves do I dig out the depth below. This feels backward at first, but it prevents messy currents. It is much easier to deepen a calm pond than to calm a deep chaotic one.
For large lakes, I prefer working in sections. I divide the area with temporary dirt or glass strips, fill one section at a time, and remove the dividers last. This method is slower than using one dramatic command or dumping buckets everywhere, but it gives better control. It also helps you spot uneven water before the problem spreads across the entire lake like gossip in a village trading hall.
For underwater bases, sponges are worth the effort. Sand and gravel work, but sponges make the job feel professional. The trick is to seal the build completely before using them. If even one side is open to the ocean, the water keeps flowing back and the sponge feels useless. Once the room is sealed, start at the top and work downward. Keep furnaces nearby, dry wet sponges in batches, and bring extra fuel. A small sponge-drying station can save a ridiculous amount of time.
For bubble elevators, kelp is the hero. Many players pour water from the top, place soul sand, see no bubbles, and assume something is broken. Usually, the problem is that the column contains flowing water. Plant kelp from the bottom to the top, break it, then place soul sand again. Suddenly the elevator works, and you feel like a redstone engineer even though the plant did most of the labor.
Commands are unbeatable for Creative mode, but they should be used with respect. Before running a big /fill, I test a tiny version nearby. I also write down coordinates carefully and target one layer at a time. The most useful command habit is adding filters such as replace air or replace water. That small phrase can be the difference between “I raised the lake” and “I deleted the front half of my castle and invented indoor fishing.”
In the end, water control is less about one magic trick and more about choosing the right tool. Buckets are perfect for detail work. Kelp fixes columns. Sponges clear rooms. Barriers shape rivers. Dispensers automate flow. Commands handle huge edits. Once you understand those roles, Minecraft water stops being a problem and becomes one of the most flexible design tools in the game.
Conclusion
Controlling the water level in Minecraft comes down to understanding source blocks, planning your shape, and choosing the right method for the size of the job. Use buckets for small builds, kelp for source columns, sponges for draining, dispensers for redstone control, and /fill commands for precise Creative editing. When water behaves badly, do not panic. Find the source blocks, isolate the area, and work one layer at a time.
Once you master these techniques, you can build clean lakes, working dams, elegant fountains, efficient farms, underwater bases, bubble elevators, canals, harbors, and adventure-map puzzles. Minecraft water may be stubborn, but with the right approach, you can make it sit, stay, flow, rise, fall, and generally behave better than most villagers in a doorway.