The high and tight haircut is the haircut equivalent of a crisp white T-shirt: simple, sharp, and almost impossible to argue with. Born from military grooming traditions and adopted by athletes, barbershop regulars, and low-maintenance legends everywhere, this cut keeps the sides and back extremely short while leaving a clean strip of length on top. It looks disciplined without looking boring, rugged without requiring a motorcycle, and neat enough to make your grandmother nod approvingly.
Learning how to do a high and tight haircut takes patience, good lighting, reliable clippers, and the humility to remember one golden rule: you can always cut more hair, but you cannot glue it back on with confidence. This guide walks you through the process in 11 practical steps, from preparing the hair to blending the transition, detailing the neckline, and maintaining the cut afterward.
Whether you are cutting your own hair, helping a friend, or practicing basic barbering skills, the goal is the same: short, clean sides; a controlled top; and a balanced shape that follows the head instead of fighting it like a tiny lawnmower rebellion.
What Is a High and Tight Haircut?
A high and tight is a short men’s haircut where the sides and back are clipped very close, usually with a #0, #1, or #2 guard, while the top is left longer. The “high” refers to how far up the short sides go, often near the temples or the point where the head begins to curve. The “tight” refers to the close cut around the sides, back, ears, and neckline.
Compared with a regular crew cut, the high and tight has stronger contrast. Compared with a skin fade, it can be less technically demanding if you keep the sides at one short length. That makes it a useful haircut for beginners, although a perfectly blended high and tight still takes practice.
Tools You Need Before You Start
Before clippers touch hair, set up your workspace. A rushed haircut in a dim bathroom is how good intentions become emergency buzz cuts.
Basic haircut tools
- Hair clippers with guards, especially #1, #2, #3, and #4
- A trimmer for the neckline, sideburns, and around the ears
- Barber comb or styling comb
- Spray bottle with water
- Hair clips for sectioning the top
- Hand mirror or three-way mirror
- Cape or towel
- Clipper brush, blade oil, and disinfecting spray
- Scissors, if you plan to texture or shorten the top by hand
If this is your first time, start longer than you think you need. A #3 or #4 on top and a #2 on the sides gives you room to correct mistakes. Once your confidence improves, you can go tighter.
How to Do a High and Tight Haircut: 11 Steps
Step 1: Wash, dry, and inspect the hair
Start with clean hair. Product buildup, sweat, and oil can make clippers drag, which leads to uneven cutting and a deeply unpleasant facial expression from the person in the chair. Wash the hair, towel-dry it, and leave it slightly damp if you plan to comb and section it. If you are using clippers over most of the head, mostly dry hair is easier to cut evenly.
Before cutting, inspect the scalp for moles, bumps, scars, cowlicks, thinning areas, or sensitive skin. A high and tight exposes more scalp than longer styles, so small details matter.
Step 2: Decide how high and how tight you want it
Not every high and tight is the same. A conservative version may use a #2 on the sides and a #4 on top. A bolder military-style version may use a #0 or #1 on the sides with a short top. A skin-tight version fades all the way down to bare skin, but that requires more skill and more careful blending.
For most beginners, a safe formula is:
- Sides and back: #1 or #2 guard
- Top: #3, #4, or scissor-cut length
- Transition zone: blend with #2, #3, and clipper-over-comb
Choose the final look before you start. Haircuts are easier when they have a plan. Otherwise, the clippers become the boss, and clippers are not known for emotional intelligence.
Step 3: Section the top
Use a comb to separate the top from the sides. The top section should sit like a narrow strip running from the front hairline to the crown. Clip it out of the way if the hair is long enough. This keeps you from accidentally cutting into the top while working on the sides.
A classic high and tight often leaves the top squared and compact. The section should not be too wide, or the haircut may turn into a regular undercut. It should not be too narrow, either, unless you are intentionally going for a very severe military look.
Step 4: Start at the back with your side guard
Attach your chosen side guard, usually #1 or #2. Begin at the nape of the neck and move upward in smooth strokes. Keep the clipper flat against the head at first, then flick or rock outward as you approach the transition area. This outward motion prevents a hard shelf from forming where the short sides meet the longer top.
Work slowly in vertical strips. Overlap each pass slightly so you do not leave dark patches. If the hair is thick or coarse, go over the same area from multiple directions because hair does not always grow politely in one direction.
Step 5: Cut the sides up to the high point
Move from the back toward the sides. Follow the same upward motion and stop around the temples or just below the point where the head begins to round. That high stopping point gives the haircut its signature shape.
A helpful visual: imagine a horseshoe-shaped line around the upper sides of the head. Everything below that line gets clipped short. Everything above it either stays longer or gets blended carefully. Keep both sides even by checking in the mirror often. Do not trust your “barber instincts” after one side only; mirrors exist because confidence lies.
Step 6: Cut or clip the top
Now address the top. For an easy version, use a #3 or #4 guard and clip from front to back, following the shape of the head. Keep the clipper guard flat and use steady strokes. For a more customized finish, use scissors to trim the top, lifting sections with a comb or fingers and cutting small amounts at a time.
If the person has a round face, leaving a little more height on top can create a longer, leaner appearance. If the hair is thinning, keeping the top too long may make thin areas more visible, while a shorter top can create a cleaner, more even look.
Step 7: Blend the transition area
The blend is where the haircut earns its respect. Switch to a guard between the side length and the top length. For example, if the sides are #1 and the top is #4, use #2 and #3 guards to soften the line between them.
Use a light scooping motion. Start just below the visible line, move upward, and flick away from the head. Do not dig into the hair. You are polishing the transition, not mining for treasure. If a dark line remains, open the clipper lever slightly or use a half guard if you have one. Small adjustments are better than one dramatic swipe.
Step 8: Use clipper-over-comb for stubborn bulk
Some hair types create bulky corners where the top meets the sides. This is common with thick, straight, or coarse hair. To fix it, hold a comb against the area where the bulk sticks out and run the clipper over the comb, removing only the hair that extends past the teeth.
Clipper-over-comb gives you more control than simply switching to a shorter guard. It is especially useful around the parietal ridge, the area where the head curves from the side into the top. Keep your comb steady and take tiny amounts. This technique is powerful, which is barber-speak for “easy to overdo.”
Step 9: Detail the ears, sideburns, and neckline
Remove the guard or use a trimmer to clean around the ears, sideburns, and neckline. Fold the ear gently out of the way and use short, careful strokes. Square or slightly taper the sideburns depending on the wearer’s style.
For the neckline, avoid pushing the line too high. A natural neckline usually grows out better than an aggressively carved one. If you square the neckline, keep it balanced. If you taper it, use small upward strokes so the finish looks clean but not painted on.
Step 10: Check symmetry from every angle
Use a hand mirror to check the back and sides. Look for uneven patches, heavy corners, missed hairs, or a transition line that is too obvious. Good lighting is essential. Natural light is best, but a bright bathroom light works better than the moody glow of one exhausted bulb.
Comb the top into its final position. If the front looks too heavy, trim lightly. If one side looks darker than the other, blend carefully. Step back often. The closer you stare, the more every hair starts looking suspicious.
Step 11: Clean, style, and maintain the cut
Brush away loose hair, rinse the neckline if needed, and apply a small amount of lightweight styling cream, matte paste, or pomade to the top. The high and tight does not need much product. A pea-sized amount is often enough unless the hair has strong texture or wants to stage a rebellion.
Clean your tools after the cut. Brush hair from the blades, disinfect according to product directions, dry the tools, and apply clipper oil. Clean blades cut better, last longer, and reduce the chance of irritation.
Common Mistakes to Avoid
Starting too short
The fastest way to panic is to begin with a #0 guard when you really wanted a #2. Start longer, check the shape, then go shorter if needed.
Creating a hard line too high
A high and tight should be sharp, but the transition still needs intention. If the short area climbs too high without blending, the haircut can look unfinished.
Ignoring head shape
Every head has curves, dips, corners, and surprises. Follow the natural shape instead of forcing a perfectly straight line around the skull.
Over-detailing the neckline
A neckline that is cut too high may look clean for one day and awkward for two weeks. Keep the finish natural and conservative.
Best Face Shapes and Hair Types for a High and Tight
The high and tight works well for many face shapes, but it is especially flattering for oval, square, and round faces. On round faces, the short sides and slightly longer top can create the illusion of height. On square faces, the cut emphasizes a strong jawline. On oval faces, almost any variation works because oval face shapes are basically the teacher’s pet of haircut geometry.
For thick hair, the high and tight removes bulk and makes styling easier. For curly or coily hair, it can create a clean silhouette, but avoid shaving too close if the wearer is prone to razor bumps or ingrown hairs. For thinning hair, a shorter top and tight sides can make density look more even.
How Often Should You Maintain a High and Tight?
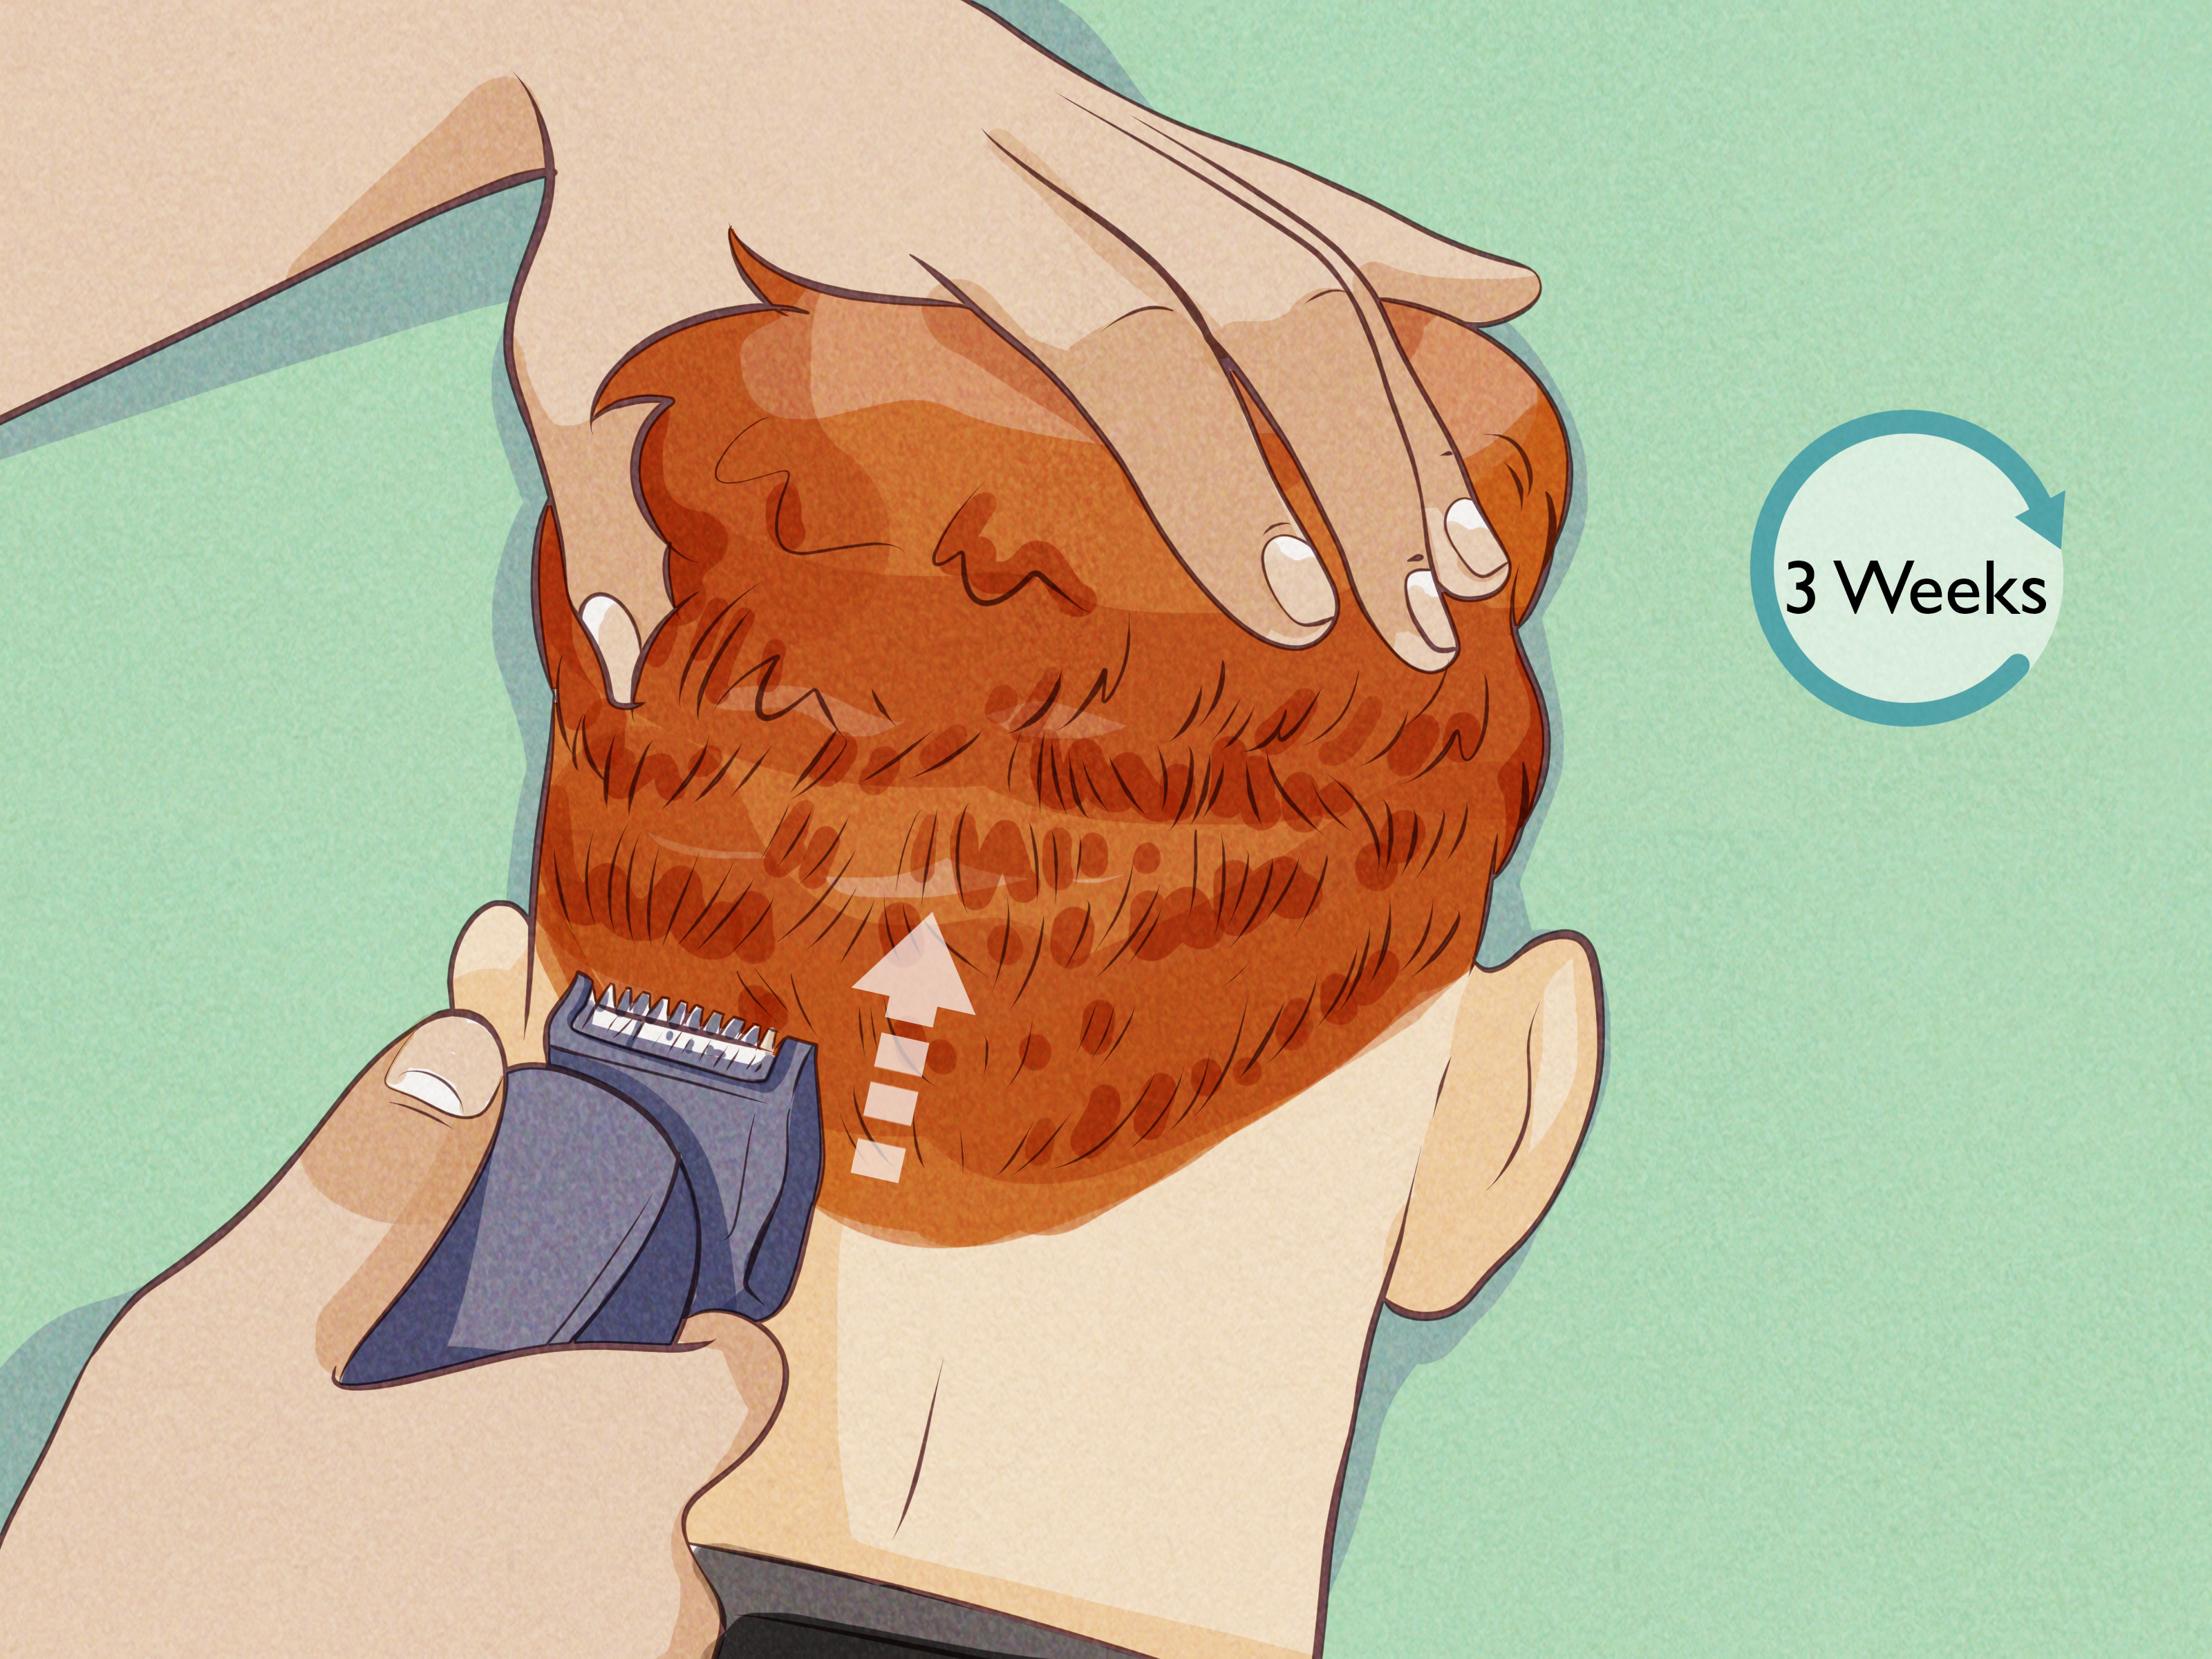
Because the sides are very short, a high and tight grows out quickly. For a sharp look, trim every two to three weeks. For a softer, more casual version, every three to four weeks may be enough. The tighter the sides, the sooner the haircut will show growth.
At home, you can refresh the neckline and around the ears between full cuts. Just avoid chasing perfection every morning. That road leads to a neckline somewhere near the crown.
Real-World Experience: What You Learn After Cutting a Few High and Tight Haircuts
The first thing you learn from doing a high and tight haircut is that the style looks simple only after it is finished. Before that, it is a small engineering project with hair. The sides must be short but not patchy. The top must be longer but not disconnected in a strange mushroom-cap way. The blend must be clean, yet not so overworked that the whole haircut creeps upward by accident.
One practical experience is that different hair textures respond very differently to the same guard. A #2 on fine, light hair may look soft and natural. A #2 on dense, dark hair may still look heavy because the scalp contrast is stronger. That is why visual checking matters more than blindly trusting the number on the guard. Guard sizes are useful, but your eyes make the final decision.
Another lesson is that the crown can be tricky. Hair around the crown often grows in a swirl, and if you cut too aggressively against it, the top may stick up like it has received shocking personal news. It is better to cut the crown gradually, comb it into place, and check how it sits naturally before removing more length.
Beginners also discover that the back of the head is where confidence goes to be tested. The front and sides are easy to see. The back requires mirrors, patience, and a willingness to move slowly. If you are cutting your own hair, do not rush the back neckline. Use small trimmer strokes, check often, and remember that a slightly natural neckline is better than a crooked “perfect” line.
One of the most useful habits is stepping away from the haircut for a moment. When you stare too closely, every tiny shadow looks like a disaster. Step back, look at the whole head shape, and judge the balance. Many small imperfections disappear when the haircut is viewed naturally.
Finally, experience teaches that comfort matters. If the clipper blade gets hot, stop and let it cool. If the skin looks irritated, do not keep scraping the same spot. If the person in the chair looks nervous, explain what you are doing before you do it. A good high and tight is not just about the final look; it is about a controlled process. Calm hands make cleaner lines. Good preparation prevents weird surprises. And yes, cleaning up the hair afterward is part of the job, unless you enjoy finding tiny clippings in your socks three days later.
Conclusion
A high and tight haircut is one of the most practical short hairstyles for men because it is clean, masculine, low-maintenance, and adaptable. The key is to plan the length, section the top, clip the sides carefully, blend in small stages, and finish with clean detail work around the ears and neckline.
If you are new to cutting hair, begin with longer guards and work down gradually. Use mirrors, good lighting, and patient movements. The best high and tight does not happen because you rush; it happens because you respect the shape of the head and let the haircut develop step by step.