Correction fluid is a tiny office hero until it leaps off the paper and lands on your shirt like a bold little snowstorm with commitment issues. Whether you call it correction fluid, White-Out, liquid paper, or “that white blob currently ruining my day,” the problem is the same: it dries fast, sticks hard, and laughs politely at plain water.
The good news? You can often remove correction fluid from clothes without retiring the garment to the “yard work only” pile. The trick is to treat the stain based on what correction fluid actually is: a mix of white pigment, binders, and either water-based or solvent-based ingredients. That means the best cleaning method depends on the fabric, the age of the stain, and whether the fluid has already dried into a crusty little badge of shame.
This guide covers three practical ways to get correction fluid out of fabric: a gentle detergent method, a solvent method for stubborn dried stains, and a professional-style approach for delicate or expensive clothing. You’ll also find safety tips, fabric warnings, common mistakes, and real-world experience notes at the end so you can clean smarternot just scrub harder like you’re auditioning for a laundry-themed action movie.
Before You Start: Do These 5 Things First
Before choosing one of the three methods below, pause for a quick stain inspection. Correction fluid behaves differently from coffee, ketchup, or ink. It often forms a raised layer on top of the fabric, so your first job is to remove excess material without pushing it deeper into the fibers.
1. Let wet correction fluid dry slightly
This may sound backward, but trying to wipe very wet correction fluid can spread it into a larger white smear. If the blob is thick, let it dry until it is no longer runny, then gently lift the excess.
2. Scrape, don’t grind
Use the edge of a spoon, a dull butter knife, or an old credit card to lift the dried correction fluid. Work gently. Your goal is to remove the crust, not shave the garment like a parmesan block.
3. Check the care label
If the clothing says “dry clean only,” treat that as a serious warning. Solvents, water, rubbing, and washing can all damage delicate fabrics, linings, dyes, and finishes. Wool, silk, rayon, acetate, triacetate, modacrylic, leather, suede, and embellished garments require extra caution.
4. Test any cleaner first
Apply your chosen cleaner to a hidden seam or inside hem. Wait a few minutes, then blot with a white cloth. If color transfers, the fabric puckers, or the texture changes, stop. The stain is annoying, but a faded mystery patch is not an upgrade.
5. Avoid heat until the stain is gone
Do not put the garment in the dryer until the correction fluid stain has disappeared. Heat can make many stains harder to remove and may lock the remaining pigment into the fibers. Air-dry first, inspect, then repeat treatment if needed.
Way 1: Use Liquid Detergent for Fresh or Water-Based Correction Fluid
If the stain is fresh, small, or from a water-based correction fluid, start with the gentlest approach: liquid laundry detergent or dish soap. This method is safest for most washable fabrics and should be your first move before reaching for stronger solvents.
Best for:
Cotton, polyester, blends, washable school uniforms, casual shirts, jeans, and fresh stains that have not been dried in a machine.
What you’ll need:
- A dull knife, spoon, or plastic card
- Liquid laundry detergent or mild dish soap
- Cold or lukewarm water
- A soft toothbrush or clean cloth
- White paper towels
Step-by-step instructions
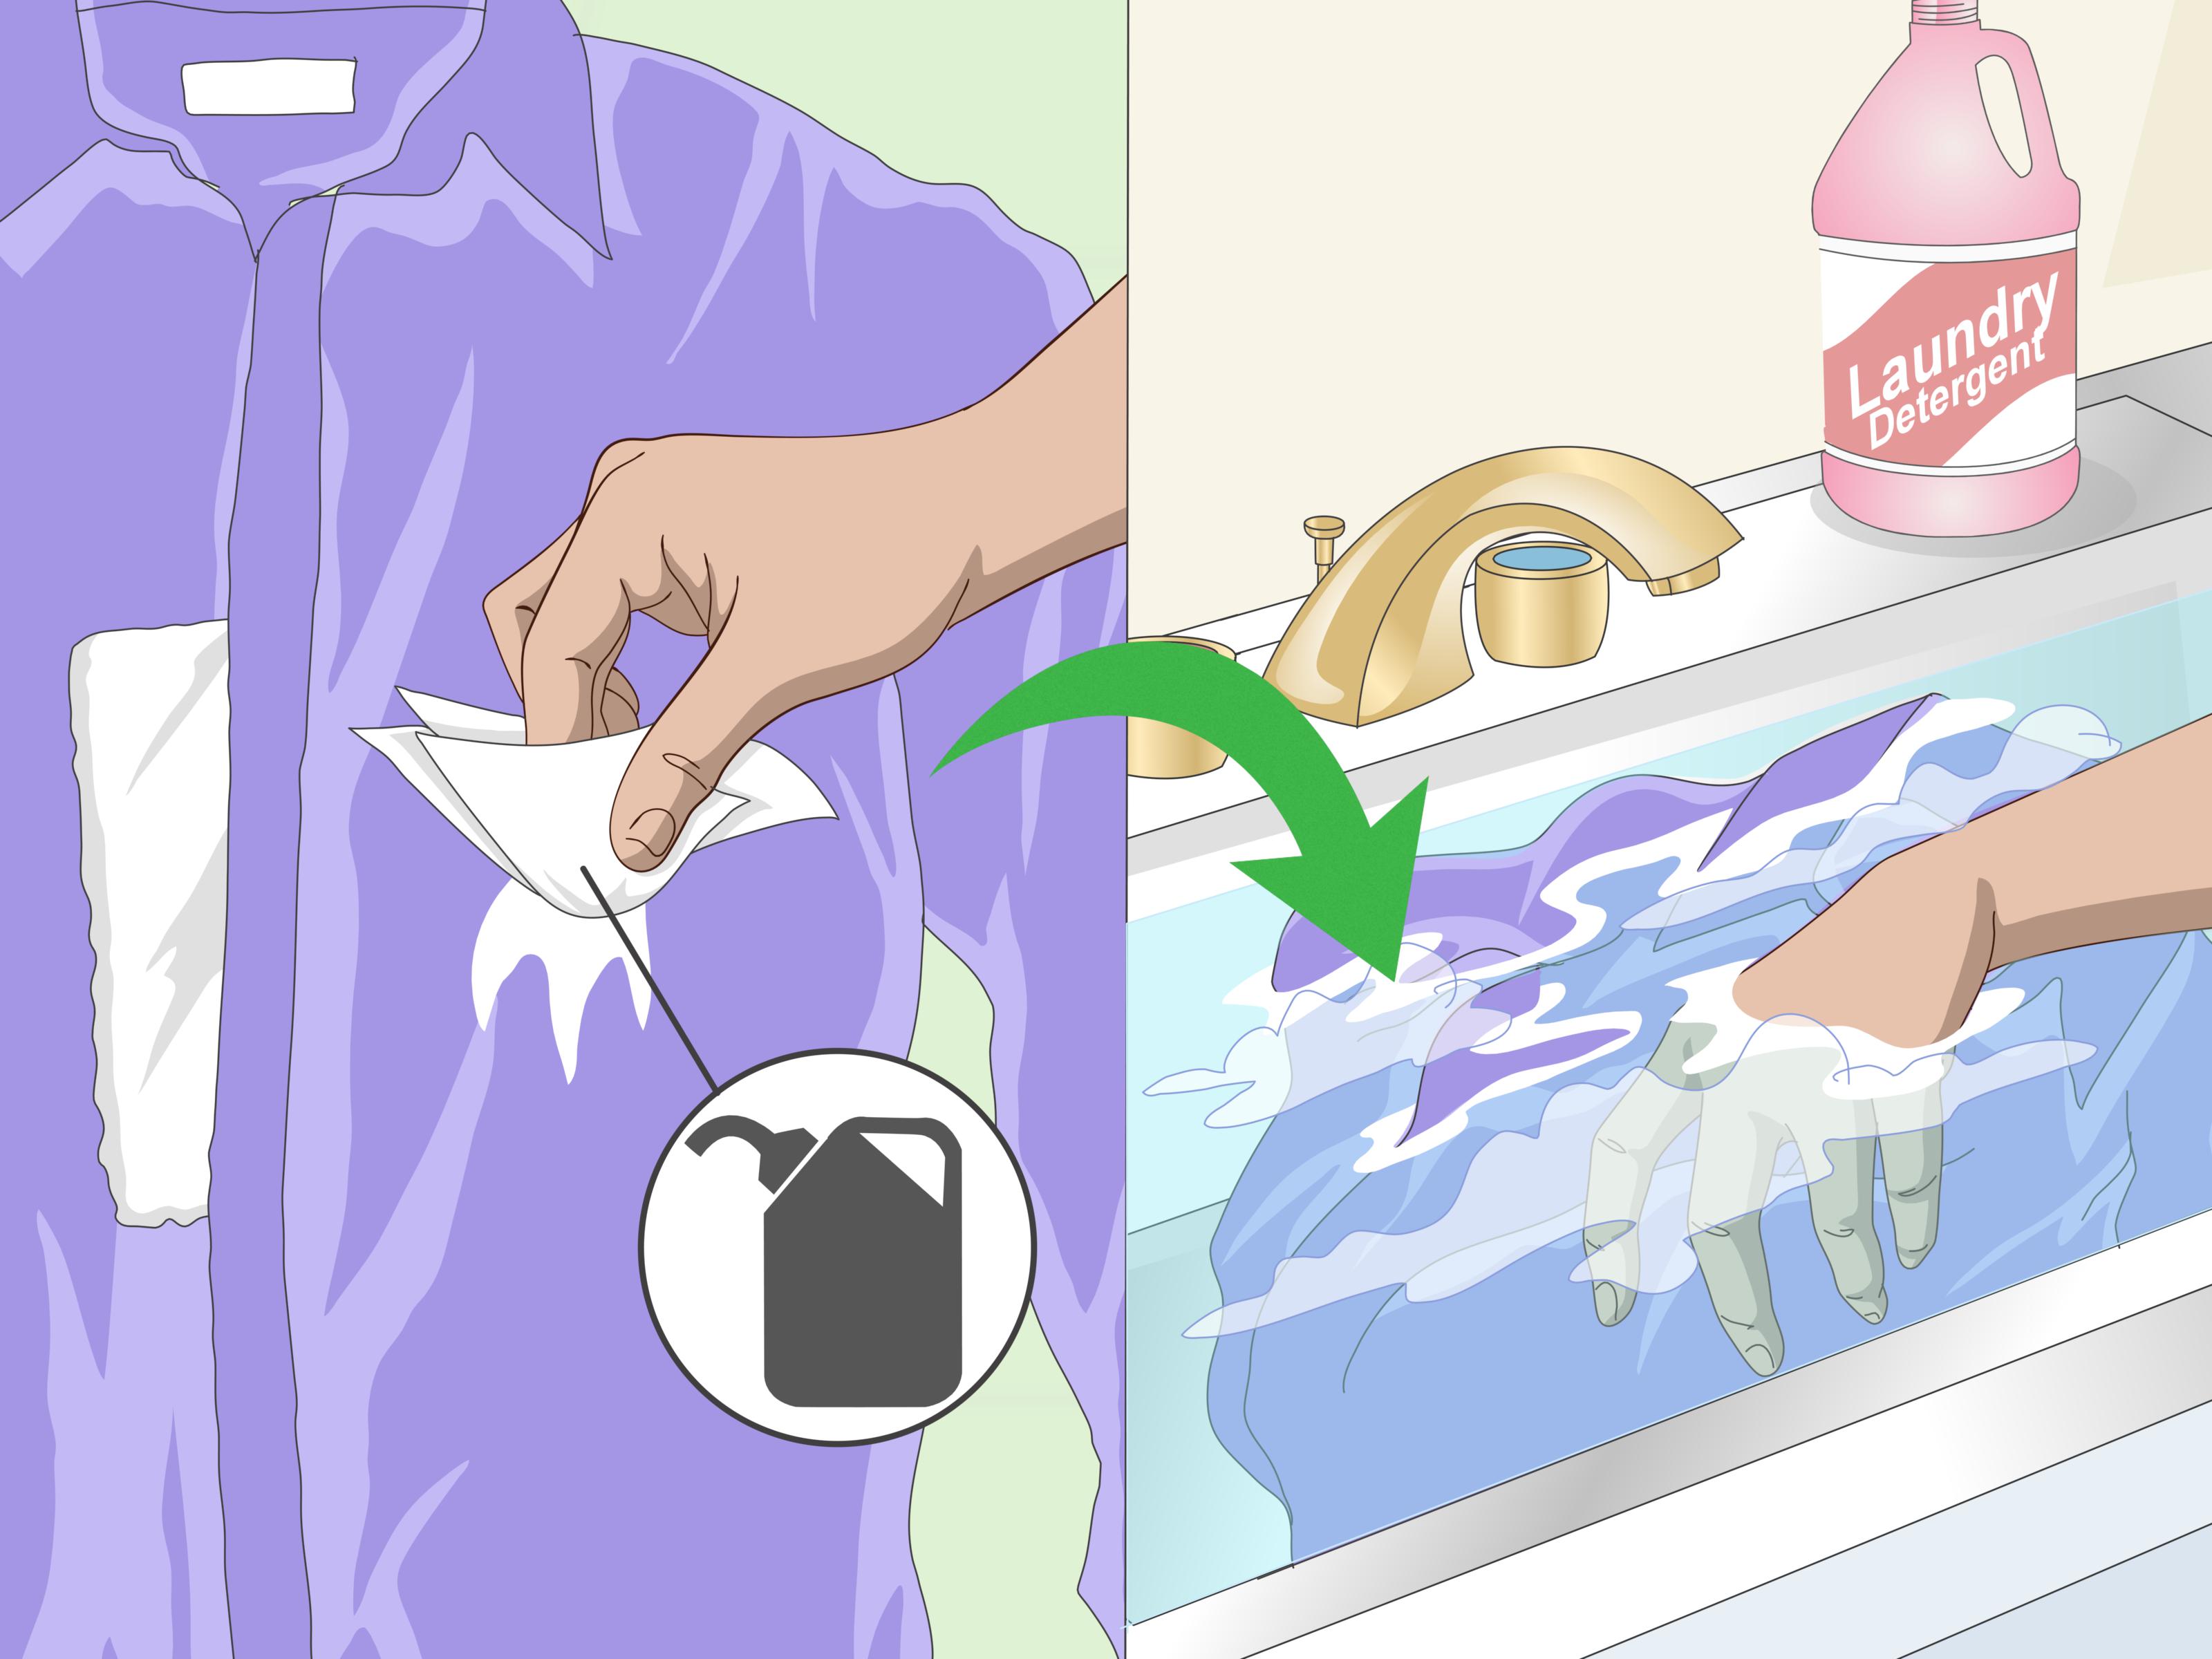
Step 1: Remove the excess. Once the correction fluid is no longer wet and spreadable, gently scrape off as much as possible. Hold the fabric flat and work from the outside edge of the stain toward the center.
Step 2: Rinse from the back. Turn the garment inside out and run cold or lukewarm water through the back of the stain. This helps push loose particles out of the fabric instead of driving them deeper.
Step 3: Apply detergent. Rub a small amount of liquid laundry detergent or dish soap directly onto the stained area. Let it sit for 5 to 10 minutes. If the fabric is sturdy, use a soft toothbrush in tiny circles. If it is thin or stretchy, blot instead of brushing.
Step 4: Rinse and inspect. Rinse thoroughly. If the stain lightens but remains visible, repeat the detergent treatment. Correction fluid may need more than one round because the white pigment can cling like it signed a lease.
Step 5: Wash normally. Launder the garment according to the care label. Use the warmest water safe for the fabric, but avoid hot water if you are unsure.
Step 6: Air-dry only. After washing, air-dry the clothing and inspect the area in bright light. If any white residue remains, repeat treatment before using a dryer.
Why this method works
Detergent helps loosen oily or sticky components while water flushes away loose pigment. It is not always strong enough for old solvent-based correction fluid, but it is the safest place to begin. Think of it as knocking politely before bringing out the stain-removal battering ram.
Way 2: Use Rubbing Alcohol or Acetone for Dried Correction Fluid
If detergent barely touches the stain, you may be dealing with a solvent-based correction fluid or an older dried spot. In that case, rubbing alcohol or acetone-based nail polish remover can help break down the hardened film.
This method is powerful, but it is also the one that requires the most caution. Acetone can damage certain fabrics, remove dyes, and dissolve acetate fibers. Rubbing alcohol is usually milder, so start with alcohol before trying acetone.
Best for:
Durable washable fabrics such as cotton, denim, polyester, and some blendsonly after a hidden spot test.
Do not use acetone on:
- Acetate
- Triacetate
- Modacrylic
- Delicate synthetics with unknown fiber content
- Garments with unstable dyes
- Leather, suede, vinyl, or coated fabrics
What you’ll need:
- Rubbing alcohol or acetone-based nail polish remover
- White paper towels or clean white cloths
- Cotton swabs
- Liquid laundry detergent
- Water
- Gloves, if your skin is sensitive
Step-by-step instructions
Step 1: Work in a ventilated area. Alcohol and acetone evaporate quickly and can be flammable. Keep them away from candles, cigarettes, stovetops, space heaters, and other ignition sources. Open a window if possible.
Step 2: Place the stain face-down. Lay the stained area face-down on a stack of white paper towels. This setup lets the solvent push the correction fluid out of the fabric and into the towels beneath it.
Step 3: Apply solvent from the back. Dip a cotton swab or white cloth in rubbing alcohol. Dab the back of the stain gently. Do not flood the fabric. Replace the paper towels as they pick up residue.
Step 4: Move to acetone only if needed. If rubbing alcohol does not work and the fabric passed the hidden spot test, try a tiny amount of acetone-based nail polish remover. Blot gently. Never scrub aggressively, because friction can rough up the fabric and spread dissolved pigment.
Step 5: Rinse thoroughly. Once the stain has loosened, rinse the area with cool water. You want to remove both the correction fluid residue and the solvent.
Step 6: Pretreat with detergent. Apply liquid laundry detergent and let it sit for 5 to 10 minutes. This helps remove the last oily or chalky residue.
Step 7: Wash and air-dry. Wash according to the care label, then air-dry. Inspect before repeating or placing the garment in the dryer.
Important safety note
Never mix cleaning products randomly. Do not combine acetone with bleach, ammonia, or other household chemicals. Also, do not use solvents near open flames. Correction fluid stains are irritating; accidental chemistry experiments in your laundry room are worse.
Way 3: Use a Commercial Stain Remover or Take It to a Dry Cleaner
Some correction fluid stains refuse to leave because they have dried for days, been heated in the dryer, or landed on delicate fabric. When the stain is stubbornor the clothing is expensivethe smartest method is a commercial stain remover, dry-cleaning solvent, or professional cleaning.
Best for:
Set-in stains, business clothes, delicate garments, “dry clean only” items, wool, silk, rayon, structured jackets, lined garments, or anything you would be genuinely sad to ruin.
Option A: Use a laundry stain remover
Choose a prewash stain remover designed for washable fabrics. Scrape off excess correction fluid first, then apply the product according to its label. Let it sit for the recommended time, wash as directed, and air-dry before inspecting.
This option is helpful when detergent alone is too weak but you do not want to use acetone. It is also useful for school uniforms, work shirts, and everyday clothing that can tolerate normal laundering.
Option B: Use a dry-cleaning solvent carefully
Dry-cleaning solvents are designed to dissolve oily or waxy stains without using water, but they must be handled carefully. Use only products labeled for fabric stain removal, follow the instructions exactly, and work in a ventilated area away from flames. Always test first.
For spot treatment, place the stained area face-down over absorbent towels, apply a small amount of solvent from the back, and blot rather than rub. After the solvent evaporates, pretreat with detergent if the garment is washable, then launder according to the label.
Option C: Go to a professional cleaner
If the garment is dry-clean-only, expensive, vintage, lined, embellished, or made of delicate fabric, skip the home chemistry show and take it to a professional cleaner. Tell them exactly what caused the stain and whether you already tried anything. That information helps them choose the right spotting agent.
Professional cleaning is not admitting defeat. It is simply recognizing that your favorite blazer deserves more than a cotton swab and optimism.
Common Mistakes That Make Correction Fluid Stains Worse
Rubbing the stain while it is wet
Wet correction fluid spreads easily. Rubbing can turn one dot into a cloudy white continent. Blot or let it dry slightly, then scrape.
Using hot water immediately
Hot water does not magically melt correction fluid. In some cases, heat can make stain removal harder. Start with cool or lukewarm water.
Skipping the fabric test
A hidden spot test takes a few minutes and can save the garment. Acetone in particular can remove color or damage certain fibers.
Putting the garment in the dryer too soon
A dryer can set remaining residue. Air-dry until you are completely sure the stain is gone.
Using bleach as the first solution
Correction fluid is already white, so bleach is usually not the answer. Bleach may damage fabric, alter color, or create new problems. Use it only when the garment is white, bleach-safe, and the care label allows it.
How to Remove Correction Fluid from Different Fabrics
Cotton
Cotton usually tolerates detergent and careful solvent treatment well. Scrape, pretreat, rinse, and wash. For white cotton, oxygen-based stain removers may help with remaining discoloration, but always follow the label.
Polyester
Polyester is durable, but it can hold oily residues. Use detergent first, then rubbing alcohol if needed. Test acetone carefully, because dyes and finishes can vary.
Denim
Denim can handle gentle scraping and repeated detergent treatment. Be careful with acetone on dark jeans because it may lift dye and leave a lighter patch that screams, “Something happened here.”
Wool and silk
Do not experiment aggressively on wool or silk. Scrape off what you can, then consult a professional cleaner. Water, rubbing, and solvents can change texture, shape, and color.
Acetate and triacetate
Avoid acetone completely. It can dissolve or severely damage these fibers. If the care label lists acetate or triacetate, choose professional cleaning.
Experience Notes: What Actually Helps in Real Life
After dealing with correction fluid stains in real-life situations, one lesson becomes obvious: speed matters, but patience matters more. The fastest person is not the one who scrubs immediately like a panicked raccoon. The fastest person is the one who stops the stain from spreading, removes the excess, and chooses the right cleaner the first time.
For example, a small correction fluid dot on a cotton work shirt is usually manageable. Let the dot dry just enough to stop smearing, scrape it with a spoon, rinse from the back, and treat it with liquid detergent. Many fresh stains fade after one or two rounds. The shirt may not forgive you emotionally, but it often recovers physically.
A dried blob on dark pants is a different story. Dark fabric shows every mistake, especially if you use too much acetone. In that situation, rubbing alcohol is a safer first step. Place the stain face-down on paper towels and dab from the back. If the towels start picking up white residue, you are winning. Replace the towels often, because dirty towels can transfer residue back into the fabric. Laundry is unfair that way.
Another practical tip: use cotton swabs for tiny spots. A large cloth soaked in solvent can spread the stain beyond its original borders. A cotton swab gives you more control, especially around seams, pockets, cuffs, and school uniforms. Work slowly from the outside edge toward the center. This prevents the stain from expanding into a pale halo.
For school clothing, backpacks, and casual cotton blends, detergent plus repeated rinsing is often enough. Parents may be tempted to use the strongest product in the house immediately, but stronger is not always smarter. A stain remover that is safe for washable fabrics is usually a better middle step before acetone. If the clothing belongs to a child, check pockets too. Correction pens, markers, crayons, and mystery crumbs often travel together like a tiny office-supply crime ring.
For office clothes, especially blazers, dress pants, silk blouses, wool skirts, and lined garments, the best experience-based advice is simple: do less. Scrape gently, avoid water if the label says dry clean only, and bring it to a cleaner. Tell the cleaner it is correction fluid. Do not say “white stuff” unless you enjoy watching professionals guess.
One common frustration is the ghost stain: the thick white layer is gone, but a chalky haze remains. This usually means pigment is still trapped in the fibers. Reapply detergent, gently brush if the fabric allows, rinse, and air-dry. Repeat before using heat. Stain removal is sometimes less like flipping a switch and more like convincing a stubborn guest that the party ended two hours ago.
Finally, keep realistic expectations. A fresh correction fluid stain on washable cotton has a good chance of coming out. A stain that has been dried in a hot dryer three times may be permanent or may require professional treatment. The earlier you act, the better your odds. The calmer you act, the less likely you are to turn a small stain into a full laundry documentary.
Final Thoughts
Learning how to remove correction fluid from clothes is mostly about choosing the right level of force. Start gentle with scraping, rinsing, and detergent. Move up to rubbing alcohol or acetone only after testing the fabric. Use commercial stain removers or professional cleaning for stubborn stains and delicate garments.
The golden rules are simple: scrape first, blot instead of rub, test cleaners before using them, keep solvents away from heat and flames, and never machine-dry the garment until the stain is completely gone. Correction fluid may be designed to hide mistakes on paper, but with the right approach, it does not have to become a permanent mistake on your clothes.