Teak furniture is the golden retriever of outdoor furniture: handsome, loyal, weather-resistant, and somehow always more expensive than you expected. Thanks to its dense grain and natural oils, teak can survive sun, rain, humidity, and the occasional backyard barbecue disaster better than many other woods. But when that warm honey-brown color fades into a silvery gray patina, many homeowners start asking the same question: Can you stain teak furniture?
The answer is yes, but teak is not the same as pine, oak, or that mystery wood coffee table you once bought because it was “rustic.” Teak’s natural oil content makes it resistant to moisture, insects, and decay, but it also means stain does not always soak in evenly unless the surface is cleaned, sanded, tested, and sealed correctly. Skip the prep, and your teak may look blotchy, sticky, or like it had a disagreement with a bottle of barbecue sauce.
This guide explains how to stain teak furniture in 12 practical steps, from cleaning and sanding to choosing the right stain, applying thin coats, sealing the finish, and maintaining the color over time. Whether you are refreshing an outdoor teak dining set, restoring an indoor teak chair, or rescuing a patio bench that has seen too many summers, the process below will help you get a smooth, rich, long-lasting finish.
Before You Stain Teak Furniture: What Makes Teak Different?
Teak is a dense tropical hardwood prized for outdoor furniture because it contains natural oils that help resist water, rot, and pests. That is excellent news for durability. It is slightly less convenient when you want to stain it because those same oils can slow absorption and interfere with some finishes.
Untreated teak naturally weathers from golden brown to silver gray. This gray color is not usually a sign that the wood is ruined; it is surface oxidation from sun and weather exposure. Some people love the aged coastal look. Others want the original warm tone back. Staining teak furniture is mainly about color control, surface protection, and giving the piece a more polished appearance.
For best results, choose a stain or teak sealer made for dense hardwoods. Semi-transparent exterior stains, teak-specific stains, marine-grade wood finishes, and certain gel stains can work well depending on whether your furniture lives indoors or outdoors. Avoid heavy, opaque finishes if you still want the teak grain to shine through. Teak grain is too pretty to bury under a muddy brown disguise.
Tools and Materials You Will Need
- Mild dish soap or teak cleaner
- Soft-bristle brush or sponge
- Clean water and garden hose for outdoor furniture
- Drop cloth or plastic sheeting
- Painter’s tape, if needed
- Rubber gloves, safety glasses, and dust mask or respirator
- Sandpaper: 120-grit, 180-grit, and 220-grit
- Sanding block or orbital sander
- Tack cloth or lint-free rags
- Mineral spirits or manufacturer-recommended cleaner
- Teak-compatible stain or sealer
- Natural-bristle brush, foam brush, or lint-free applicator cloth
- Clear protective topcoat, if appropriate
- Metal container with water for oily rag disposal
How to Stain Teak Furniture in 12 Steps
Step 1: Decide Whether Staining Is the Right Choice
Before opening a can of stain, decide what look you want. If you love teak’s natural golden color, a teak sealer or oil-based protective finish may be enough. If your furniture has faded unevenly, has mismatched replacement parts, or needs a deeper tone, staining may be the better option.
For outdoor teak furniture, semi-transparent stains are usually more forgiving than solid stains because they enhance the grain rather than hiding it. For indoor teak furniture, a gel stain can be useful because it sits more evenly on dense wood. If the piece is valuable, vintage, or designer-made, test carefully or consult a refinishing professional before making major changes.
Step 2: Choose the Right Stain for Teak
Look for products labeled for hardwoods, dense woods, marine wood, or outdoor furniture. A teak-specific stain or sealer is often the safest choice because it is designed to work with teak’s natural oils. Water-based stains may dry faster and have lower odor, while oil-based stains often penetrate more deeply and enrich the wood tone. Gel stains are thicker and can help reduce blotchiness on difficult surfaces.
For patio furniture, select an exterior-grade product with UV resistance and moisture protection. For indoor furniture, choose a stain compatible with your final topcoat. Always read the label because the manufacturer’s instructions outrank internet confidence, even when the internet is wearing a tool belt.
Step 3: Move the Furniture to a Safe Work Area
Work outdoors or in a well-ventilated space such as an open garage. Place the furniture on a drop cloth to protect the floor or patio. Keep the piece out of direct sunlight while staining because hot surfaces can make stain dry too quickly, leaving lap marks and uneven color.
Good airflow matters. Many stains, varnishes, and solvents release strong fumes. Open doors and windows, use fans to move air away from you, and wear the recommended protective gear. Keep children, pets, and curious neighbors away from the project until everything is dry.
Step 4: Remove Cushions, Hardware, and Accessories
Take off cushions, fabric slings, glass tops, metal brackets, and any removable hardware. If hardware cannot be removed, cover it with painter’s tape. This prevents stain from smearing onto surfaces where it does not belong.
Removing accessories also lets you reach hidden areas where dirt collects. Outdoor furniture is especially talented at hiding pollen, dust, spiderwebs, and mysterious crumbs from snacks no one remembers eating.
Step 5: Clean the Teak Thoroughly
Cleaning is not optional. Stain will not bond properly to dirt, mildew, old oil, sunscreen residue, or patio grime. Mix mild dish soap with warm water and scrub the wood with a soft-bristle brush or sponge. For heavily weathered furniture, use a teak cleaner according to the product directions.
Rinse well with clean water and avoid pressure washing at close range because too much pressure can roughen the wood fibers. Let the furniture dry completely. Depending on humidity and weather, this may take 24 to 48 hours. Staining damp teak is like trying to write with a wet marker: technically possible, mostly disappointing.
Step 6: Inspect the Surface and Make Small Repairs
Once the furniture is dry, inspect every surface. Look for cracks, loose joints, raised grain, splinters, water stains, mildew marks, or old finish that needs removal. Tighten screws and repair loose parts before sanding.
If the furniture has deep gouges, use a wood filler or epoxy suitable for exterior use if the piece will remain outside. Match the filler color as closely as possible to the final stain. Let repairs cure completely before moving to the next step.
Step 7: Sand With the Grain
Sanding is where the final finish is won or lost. Start with 120-grit sandpaper if the surface is rough, gray, or uneven. Move to 180-grit, then finish with 220-grit for a smooth surface. Always sand in the direction of the grain to avoid scratches that become painfully obvious after staining.
Use a sanding block for flat surfaces and hand-sand curved arms, legs, slats, and edges. An orbital sander can save time on tabletops and benches, but use light pressure. Teak is dense, and aggressive sanding can create swirl marks. The goal is not to punish the furniture for aging; the goal is to open the surface enough for the stain to absorb evenly.
Step 8: Remove Every Bit of Dust
After sanding, vacuum the furniture or brush away loose dust. Then wipe the surface with a tack cloth or lint-free rag. Some finishers wipe teak with mineral spirits before staining to remove fine dust and surface oils, but you should only do this if it is compatible with your stain and recommended by the product label.
Dust left behind can create bumps, dull spots, and gritty texture. If you want a smooth finish, treat dust like glitter after a craft project: assume it is everywhere until proven otherwise.
Step 9: Test the Stain in a Hidden Area
Never stain the entire piece without testing first. Apply your stain to the underside of a chair, the back of a leg, or another hidden area. Let it dry fully and check the color in natural light.
Teak can produce warmer or darker results than expected. A stain that looks “natural brown” on the can may look orange, red, or dramatically fancy on actual teak. Testing helps you adjust the color, application time, and number of coats before committing to the visible surfaces.
Step 10: Apply a Thin, Even Coat of Stain
Stir the stain thoroughly. Do not shake it unless the manufacturer says so, because shaking can create bubbles. Apply stain with a brush, foam applicator, or lint-free cloth, working in manageable sections. Follow the grain and keep a wet edge to reduce lap marks.
Let the stain penetrate for the time listed on the label, then wipe off the excess with a clean cloth. This step is especially important with teak. Leaving too much stain on the surface can make it sticky, uneven, or slow to dry. Thin coats are better than one heavy coat. Furniture finishing rewards patience; it does not reward the “more sauce, more flavor” theory.
Step 11: Let It Dry and Apply Additional Coats if Needed
Allow the first coat to dry according to the manufacturer’s instructions. Drying time depends on stain type, temperature, humidity, airflow, and how much product was applied. Oil-based stains often need more time than water-based stains.
If you want a deeper color, apply a second thin coat after the first has dried. Lightly scuff-sand with 220-grit sandpaper if the product instructions recommend it. Remove dust before adding another coat. Stop when the color is rich but still natural. Overstaining teak can hide its beautiful grain and make the furniture look heavier than intended.
Step 12: Seal and Maintain the Finish
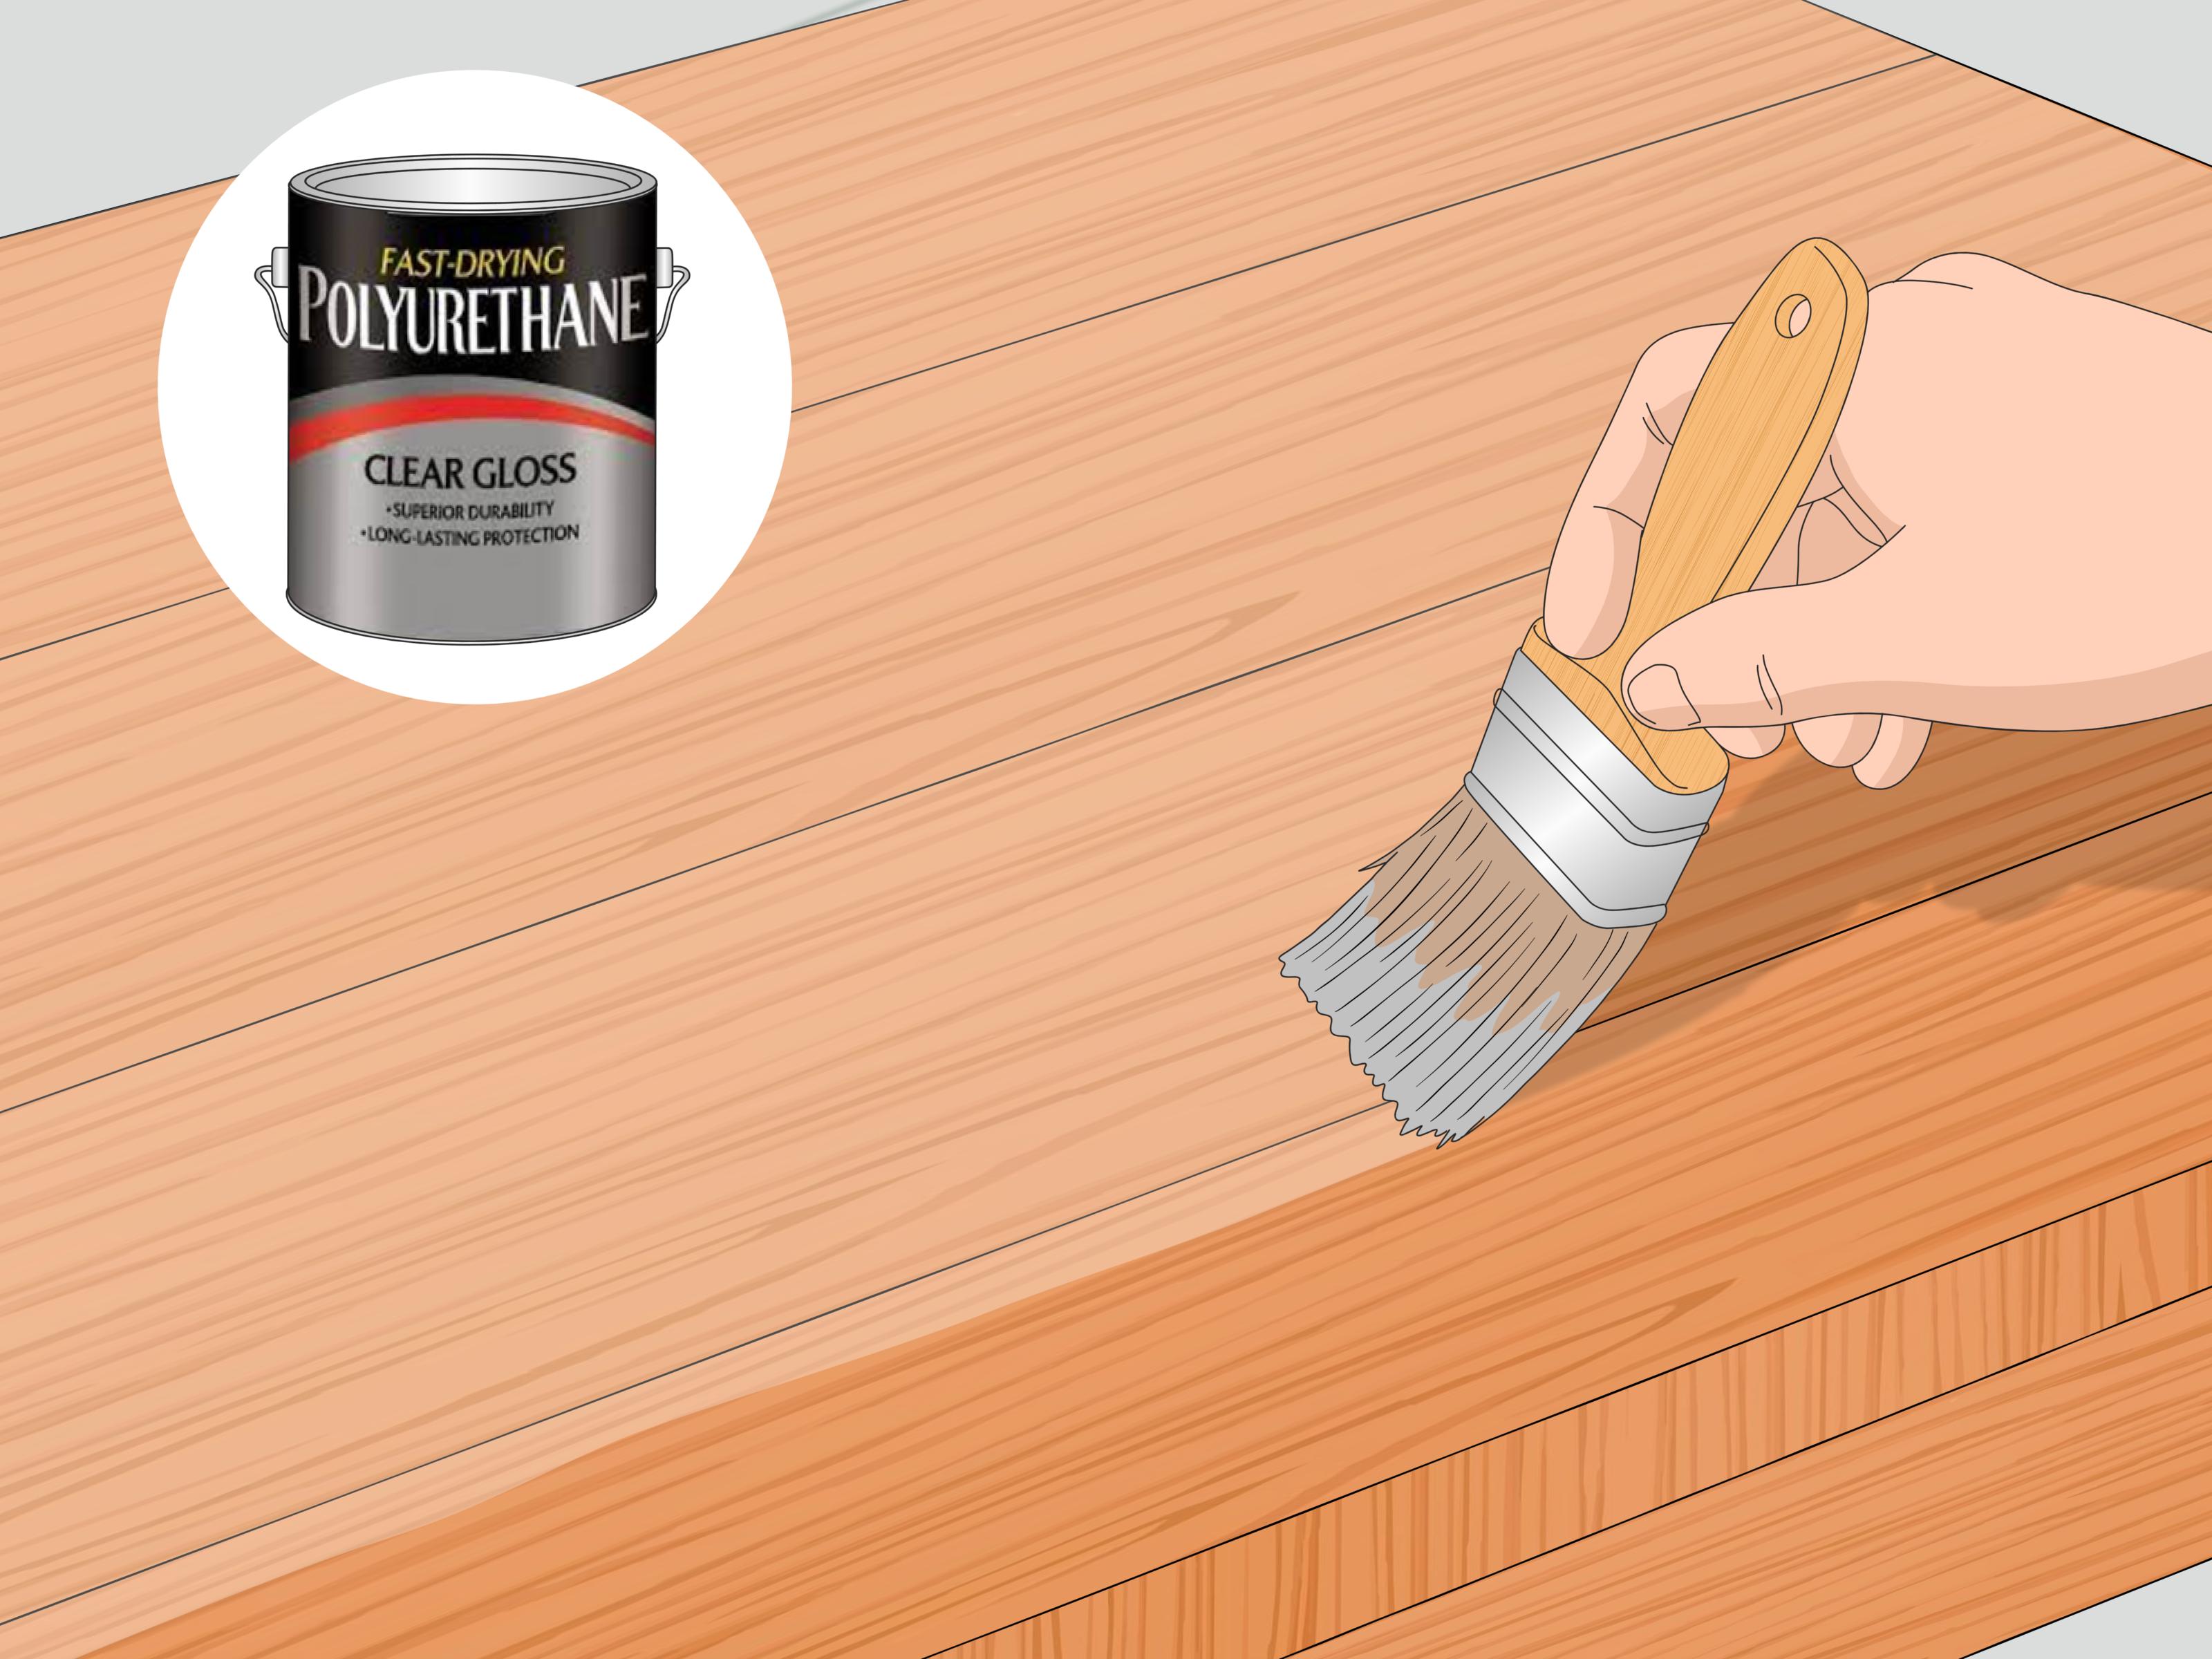
Once the stain has fully dried, decide whether to apply a protective topcoat. Indoor teak furniture may benefit from polyurethane, varnish, or lacquer, depending on the desired sheen and durability. Outdoor teak furniture usually does best with an exterior-rated teak sealer, marine varnish, or compatible outdoor topcoat designed for UV and moisture exposure.
Do not apply a topcoat until the stain has cured enough for the next product. Incompatible layers can peel, cloud, or remain tacky. For outdoor furniture, plan light maintenance once or twice a year. Clean the teak, sand rough spots gently, and refresh the sealer as needed. A little maintenance now prevents a dramatic rescue mission later.
Common Mistakes to Avoid When Staining Teak
Using the Wrong Product
Standard interior stain may not hold up on outdoor teak furniture. Choose a product made for the furniture’s location and exposure. Exterior teak needs UV and moisture resistance; indoor teak needs beauty, durability, and compatibility with household use.
Skipping the Test Patch
Teak has personality. The same stain can look different on new teak, weathered teak, and previously oiled teak. A test patch protects you from surprise colors and uneven absorption.
Applying Too Much Stain
Heavy coats do not make teak better protected. They usually make it sticky. Apply thin coats, let the stain penetrate, and wipe away excess before it dries on the surface.
Staining Before the Wood Is Dry
Moisture trapped in teak can interfere with stain absorption and drying. After cleaning, give the furniture enough time to dry completely. When in doubt, wait longer.
Ignoring Rag Safety
Oil-soaked rags can be a fire hazard if they are piled up. Lay them flat outdoors to dry away from buildings, or place them in a metal container filled with water according to local disposal guidance. Do not toss wet oily rags into a trash can and hope for the best. Hope is not a fire-prevention system.
Best Stain Colors for Teak Furniture
The best stain color depends on the style of your space. For a classic teak look, choose golden teak, natural teak, honey brown, or light walnut. These tones enhance the wood without overpowering it. For a richer indoor look, medium walnut or warm chestnut can make teak feel elegant and grounded.
Avoid very dark stains unless you are intentionally going for a dramatic look. Dark colors absorb more heat outdoors and can make dust, scratches, and water spots more visible. Semi-transparent stains are usually the safest choice because they let the grain remain the star of the show.
How Long Does Stained Teak Furniture Last?
Stained teak furniture can look good for years with proper care, but outdoor exposure changes everything. Sun, rain, humidity, and temperature swings gradually wear down finishes. In many climates, outdoor teak may need cleaning and touch-ups once or twice per year. Covered patios extend the life of the finish, while full-sun poolside locations demand more maintenance.
Indoor stained teak lasts much longer because it is not battling weather every day. Dust regularly, clean spills quickly, and avoid harsh cleaners. Use coasters, pads, and placemats on tabletops. Teak is tough, but it is not magical. Even superheroes appreciate a coaster.
Experience-Based Notes: What This Project Feels Like in Real Life
Staining teak furniture looks simple on paper: clean, sand, stain, wipe, dry. In real life, the project teaches patience faster than a slow internet connection. The first lesson most DIYers learn is that teak hides dirt extremely well. A chair can look “pretty clean” until the rinse water turns brown and you realize the furniture has been quietly collecting an entire season of pollen, dust, and outdoor living.
The second lesson is that sanding takes longer than expected, especially on furniture with slats. A teak dining table is straightforward because the top is wide and flat. A teak chair with arms, curves, corners, and narrow gaps is a tiny obstacle course. The best approach is to put on music, work slowly, and avoid rushing the details. The areas you ignore during sanding are usually the exact areas that look uneven after staining. Furniture has a petty sense of humor that way.
Another common experience is color anxiety. When stain first touches teak, it may look too dark, too orange, or too intense. Do not panic immediately. Wet stain often looks stronger than the final dry color. That is why the test patch matters so much. A hidden test gives you a preview without turning the main tabletop into an emotional support project.
Wiping off excess stain is also more important than beginners expect. Many people assume leaving extra stain on the surface will make the wood richer. With teak, it often makes the surface tacky. The better method is to apply a controlled coat, allow short penetration time, and wipe thoroughly with clean rags. The wood should look enhanced, not glazed like a donut.
Drying time can feel slow, especially in humid weather. A finish that seems dry on top may still be soft underneath. Moving cushions back too soon, stacking chairs too early, or placing a vase on a freshly finished table can leave marks. Give the finish time to cure. Future you will be grateful, and future you is the one who has to stare at the tabletop every morning.
The most satisfying part comes at the end, when the grain reappears with depth and warmth. Weathered gray teak can look tired before the project begins, but after cleaning, sanding, staining, and sealing, the furniture often feels completely revived. It does not look brand-new in a plastic showroom way. It looks cared for, richer, and more intentional. That is the real charm of refinishing teak: you keep the character while restoring the color.
For homeowners working on a full patio set, the best practical tip is to break the job into sections. Do the table one day and the chairs another day. Label cushions and hardware. Keep extra rags nearby. Work in shade. Take photos before you start so you can appreciate the transformation later. And do not schedule a dinner party for the same evening unless your guests enjoy sitting on invisible chairs while you explain drying times.
Staining teak furniture is not difficult, but it rewards careful hands. Clean thoroughly, sand evenly, test first, apply thin coats, and respect the drying process. Do that, and your teak furniture can return to the warm, elegant centerpiece it was meant to be.
Conclusion
Learning how to stain teak furniture is really learning how to work with teak’s natural strengths. This wood is dense, oily, durable, and beautiful, but it does not respond well to shortcuts. A successful finish starts with deep cleaning, complete drying, careful sanding, dust removal, and a small test patch. From there, thin coats of teak-compatible stain or sealer create a rich color while preserving the grain.
The most important rule is simple: do not rush. Teak furniture is an investment, and staining it properly protects both its appearance and its value. Whether you are restoring a weathered patio set or updating an indoor teak piece, the 12 steps above will help you create a finish that looks warm, smooth, and professional without making your weekend feel like a woodworking reality show.