If you’ve ever downloaded an awesome Minecraft map, custom survival world, or your friend’s chaotic “totally normal” base (that somehow contains 400 chickens), you’ve probably asked the same question: How do I actually put this world into Minecraft?
Good news: it’s not hard. Slightly less good news: the steps are different depending on whether you’re using Minecraft Java Edition or Bedrock Edition (Windows, mobile, console). And if you put the folder in the wrong spot, Minecraft will act like your world never existed. Rude, but common.
This guide walks you through exactly how to insert a world into Minecraft on Java and Bedrock, including file formats, save locations, common mistakes, and troubleshooting tips. We’ll also cover what to do if your world is in the wrong format (like ZIP vs. MCWORLD) and how to handle cross-edition world conversion if needed.
What “Insert a World” Means in Minecraft
In plain English, “insert a world” means importing a world save so Minecraft can see it in your world list. Depending on your edition and device, that usually means one of these actions:
- Moving a world folder into the correct save directory
- Opening a .mcworld file so Minecraft imports it automatically
- Using an Import button (common in Bedrock/Education interfaces)
- Uploading the world to a Realm so another device (especially consoles) can access it
The most common world file formats you’ll see are:
- .zip / .rar compressed archive (needs extraction first in many cases)
- .mcworld Bedrock-style world package (usually imports with one click/tap)
- World folder an uncompressed folder containing world files like
level.dat,region, and more
Before You Start
1) Back up your current worlds
Before importing anything, make a backup. This is especially important if you’re replacing a world on a Realm, testing a converted world, or moving files around manually. One wrong drag-and-drop can turn your favorite build into a digital ghost story.
2) Check your Minecraft edition
Java and Bedrock worlds are not directly interchangeable. A Java world won’t simply open in Bedrock, and a Bedrock world won’t directly open in Java. If you need cross-edition support, use a converter tool (more on that later).
3) Check the world version
If the world was built in a much newer or older Minecraft version, it may load with issues (missing blocks, weird chunks, broken redstone, etc.). If possible, match the world’s version to your game version or import it carefully and test first.
How to Insert a World in Minecraft Java Edition
This method works for Windows, macOS, and Linux using Minecraft Java Edition.
Step 1: Download and extract the world file
Most Java maps come as a .zip or .rar. Download it, then extract it.
After extraction, you should have a folder (not just a random pile of files) that contains world data. A healthy Java world folder usually includes files/folders like:
level.datregiondata- (sometimes)
DIM-1andDIM1for Nether/End
Common mistake: You unzip the file and accidentally get an extra folder layer like:
MyMap.zip > MyMap > MyMap > level.dat
If you drop the outer folder into saves, Minecraft may not detect the world. Make sure the folder you paste is the one that directly contains level.dat.
Step 2: Find your Java saves folder
The default Java save location is inside your .minecraft folder.
- Windows:
%APPDATA%\.minecraft\saves - macOS:
~/Library/Application Support/minecraft/saves - Linux:
~/.minecraft/saves
Quick Windows trick: Press Win + R, paste %appdata%\.minecraft\saves, and hit Enter.
If you use a custom launcher or a modded instance manager, your Java instance may use a different game directory. In that case, open the launcher/instance folder and locate that instance’s saves folder.
Step 3: Paste the world folder into saves
Copy the extracted world folder and paste it into the saves folder.
That’s it. Seriously. No secret wizard menu required.
Step 4: Launch Minecraft Java and open the world
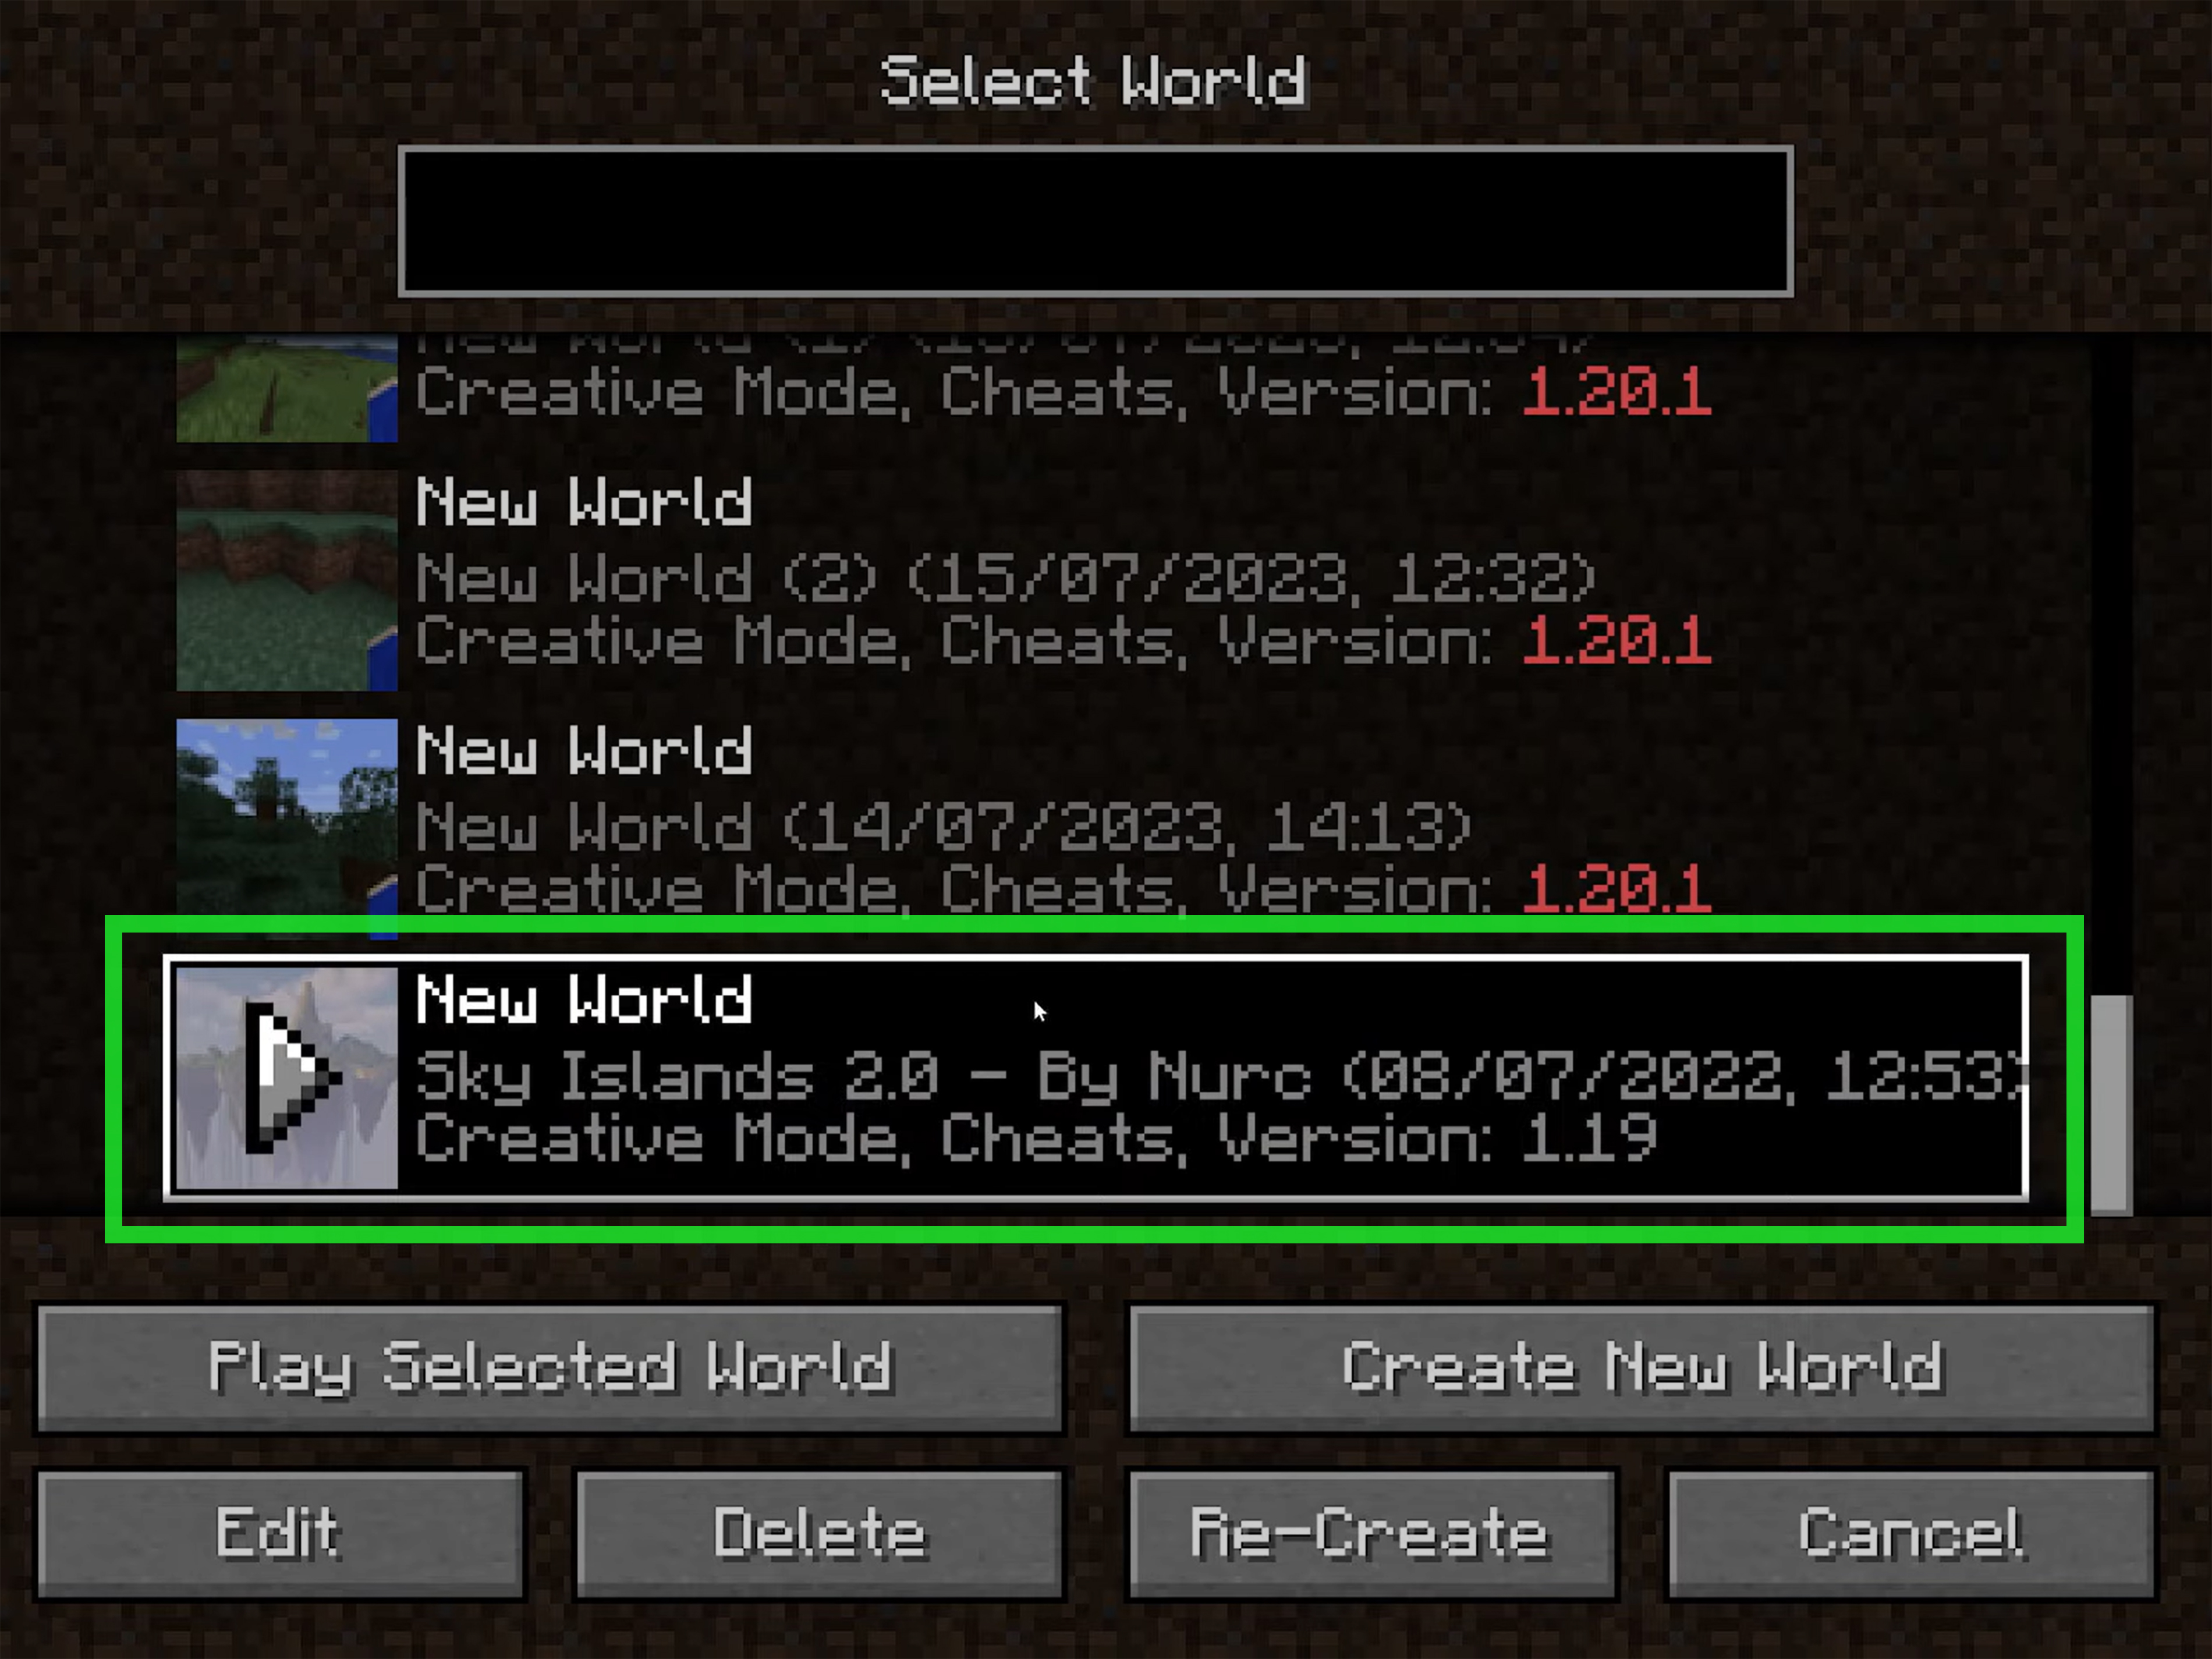
Open Minecraft Java Edition, click Singleplayer, and your imported world should appear in the list. If it does, congratulations your digital real estate is now installed.
How to Insert a World in Minecraft Bedrock Edition
Bedrock is a little more flexible in some ways and a little more “why is this hidden?” in others. The easiest method is usually a .mcworld file, which Minecraft can import automatically.
Bedrock on Windows (Minecraft for Windows)
Method A: Open a .mcworld file (easiest)
If your download is already a .mcworld file, just double-click it. Minecraft for Windows should launch and import the world automatically.
On many Bedrock builds, opening an imported world package shows a confirmation and makes the world available in the Play menu.
Method B: Convert ZIP to .mcworld (if needed)
If the file downloads as a .zip instead of .mcworld:
- Make sure file extensions are visible in Windows (File Explorer > View > Show > File name extensions).
- Rename the file extension from
.zipto.mcworld. - Double-click the renamed file.
This works well for many Bedrock-compatible worlds and add-on world packages.
Method C: Manual folder install (advanced)
If you have an extracted world folder and want to place it manually, the classic Bedrock world path on Windows is often:
%localappdata%\Packages\Microsoft.MinecraftUWP_8wekyb3d8bbwe\LocalState\games\com.mojang\minecraftWorlds
Some Microsoft/Minecraft documentation also references newer Bedrock file locations under the Bedrock app’s com.mojang folders (including shared/user paths), so paths can vary by install type or build. If one path looks empty, use the game’s import/open-file method instead it’s usually more reliable.
Bedrock on Android
Method A: Tap the .mcworld file
The easiest method on Android is still the best one: download the .mcworld file, then open it from your Downloads folder or file manager. Minecraft should handle the import and add it to your world list.
On many Android setups, you can open the file using the system file browser (or another file explorer app if needed) and choose Minecraft.
Method B: Manual copy for ZIP/folder installs
If you only have a ZIP version, extract it and move the world folder into the Bedrock worlds directory. On many devices/guides, that’s shown as:
games/com.mojang/minecraftWorlds
Android storage behavior can vary by version and device, and some official Minecraft support references the app data area under Android/data/com.mojang.minecraftpe. If manual browsing is blocked, use the .mcworld method instead it’s faster and avoids folder-permission drama.
Bedrock on iPhone / iPad (iOS, iPadOS)
Method A: .mcworld import
Most mobile map downloads are in .mcworld format. Tap the download, choose Open in Minecraft, and the game should import the world automatically.
Once imported, open Minecraft, go to Play, and you should see the new world listed.
Method B: ZIP file on iPhone/iPad
If you downloaded a ZIP archive instead, iOS/iPadOS can unzip files directly in the Files app. You can extract the archive, then repackage/rename if needed but this is more finicky than using a proper .mcworld file.
Pro tip: if the map creator offers both ZIP and MCWORLD, choose MCWORLD on mobile every time. Your future self will be grateful.
Bedrock on Console (Xbox, Switch, PlayStation)
Direct local file importing is limited on consoles. The most practical method is usually:
- Import/upload the world on a PC or mobile Bedrock device
- Upload it to a Realm
- Open that Realm world from your console
Official Minecraft support also documents using Realms to move Bedrock worlds between devices, and notes platform limitations (especially around certain console-to-console transfer scenarios). If your console won’t let you browse files directly, Realms is the standard workaround.
Can You Insert a Java World into Bedrock (or Bedrock into Java)?
Not directly but yes, with a converter.
A commonly used tool is Chunker, which is designed to convert worlds between Java and Bedrock. Microsoft’s Minecraft creator documentation also references Chunker and explains that it can convert many core world elements across editions.
Important conversion caveats
World conversion is helpful, but it isn’t magical. Some things may not transfer perfectly, including:
- Entities / mobs
- Player inventories
- Some redstone behavior
- Certain commands, plugins, or modded content
In other words: convert first, test second, celebrate third.
Troubleshooting: Why Your World Isn’t Showing Up
1) Wrong folder depth
This is the #1 issue. Minecraft needs the actual world folder the one containing level.dat not an extra wrapper folder.
2) Wrong edition
If you imported a Java world into Bedrock without converting it (or vice versa), the game won’t load it correctly. Use a converter like Chunker first.
3) Wrong save path
Java and Bedrock use different save locations. Java uses .minecraft/saves, while Bedrock uses com.mojang/minecraftWorlds paths (which vary by platform/build).
4) File extensions are hidden
Windows sometimes hides file extensions, so a file that looks like map.mcworld might actually be map.mcworld.zip. Turn on File name extensions in File Explorer before renaming anything.
5) Corrupted or incomplete download
If the world still won’t import, re-download it. If the archive won’t extract, the file may be corrupted.
6) Version mismatch
A world made for a very different Minecraft version may load with missing content or fail to appear properly. Try updating your game or launching the world in a compatible version first.
7) Custom launcher or modded instance path (Java)
If you use a launcher like Modrinth, Prism, or another multi-instance setup, your world may belong in a specific instance folder, not the default .minecraft directory. In many cases, you can open the instance folder from the launcher and navigate to saves directly.
Best Practices for Importing Minecraft Worlds
- Keep a backup copy of the original download and your current save
- Name folders clearly (e.g.,
Skyblock_1.21_Original) - Test imported worlds offline first before putting them on a Realm or server
- Avoid editing files inside the archive unless you know what you’re doing
- Use .mcworld on Bedrock when possible for the easiest import process
- Check for level.dat before pasting any Java map folder
Player Experiences and Practical Tips (Extended Notes)
Here’s the part most quick guides skip: the “real life” experience of importing worlds is less about the official steps and more about tiny mistakes that happen in normal use. If you’re helping family, students, or friends install Minecraft worlds, these are the patterns you’ll see over and over.
Experience #1: The invisible success. A lot of players import a world correctly, then assume it failed because they don’t immediately see it at the top of the list. Minecraft doesn’t always sort imported worlds the way people expect. The world may appear farther down the list, especially if the internal world name is different from the file name. I’ve seen players search for “LuckyBlockMap” when the world shows up as “New World” because that was the original save name. Always scan the full list before retrying the install five times and creating a folder avalanche.
Experience #2: The “double-folder trap” is undefeated. This is so common it deserves a trophy. Someone extracts a ZIP, gets a folder, opens it, sees another folder with the same name, and pastes the outer one into saves. Minecraft says, “No thanks.” The fix is simple: open the folder and look for level.dat. If you can’t see level.dat yet, you’re probably still one folder too high. This one issue solves a huge percentage of “my map won’t show up” complaints.
Experience #3: Bedrock imports are easiest when the file is already .mcworld. If you’re publishing maps, giving students project files, or sending a world to a friend, exporting as .mcworld is the nicest thing you can do. It removes the need for extraction tools and path-hunting. On Windows and mobile, users can usually open the file and let Minecraft do the work. ZIP files are still useful, but they create more support questions.
Experience #4: Mobile file managers behave differently. On Android especially, one phone will let you browse everything and another will act like the folder structure is a classified government archive. This is usually a storage permission or Android version issue, not user error. When manual installation becomes annoying, switching to the .mcworld method can save 20 minutes of confusion and at least one dramatic “I give up” speech.
Experience #5: Realms is the bridge for console players. Console players often assume they can plug in a USB drive and drop in a map. In most cases, that’s not how Bedrock on consoles works. The smoothest workflow is: import on PC/mobile, upload to Realm, open on console. It’s not as direct as desktop file management, but it’s dependable. For families, classrooms, or friend groups, this method also creates a nice shared pipeline for distributing worlds.
Experience #6: Conversion tools are great, but expectations matter. When players convert Java to Bedrock (or the reverse), they expect perfection. Usually they get “mostly excellent, with a few weird bits.” A farm might need rebuilding. Redstone may need tweaks. Mob placements may change. The world itself usually survives just fine, but technical contraptions often need cleanup. If you treat conversion like a migration instead of a clone, the process feels much less frustrating.
Experience #7: Backups are boring until they’re heroic. Everyone skips backups until the day they accidentally replace the wrong world on a Realm or import a broken version over a good one. Then suddenly backups become the greatest invention in computing. Make one copy before you import. Make another before you convert. Label them clearly. Your future self will think you’re a genius.
Bottom line: once you understand the difference between Java save folders and Bedrock .mcworld imports, importing Minecraft worlds becomes routine. The process sounds technical the first time, but after one or two successful installs, it’s basically a five-minute task and you’ll be the go-to “Minecraft file wizard” in your group.
Final Thoughts
Learning how to insert a world into Minecraft is one of those skills that sounds complicated but quickly becomes second nature. For Java Edition, it’s mostly about putting the correct folder into .minecraft/saves. For Bedrock Edition, it’s usually easiest to open a .mcworld file and let Minecraft import it for you.
If the world doesn’t appear, don’t panic check the folder structure, confirm the edition, and verify the file type. Once those three things are right, Minecraft world imports are usually smooth.