A DIY baby gate sounds simple: a few boards, a hinge, a latch, and suddenly your tiny explorer is no longer treating the staircase like Mount Everest. But here is the grown-up truth hiding behind the cute Pinterest photos: a baby gate is not just a home decor project. It is a safety barrier. That means it needs to be strong, smooth, secure, and built for real life—including sticky hands, surprise toddler strength, and the mysterious ability of children to find every weakness in a room within 4.7 seconds.
The good news? You can build a DIY baby gate that looks better than a plastic store-bought gate and works well for many low-risk areas, such as doorways, hallways, laundry rooms, playroom entrances, and pet-free zones. The important part is knowing where DIY makes sense and where a certified, professionally tested baby gate is the smarter choice. For the top of stairs, safety experts consistently recommend a hardware-mounted child safety gate designed and tested for stair use. Translation: this is not the place for a decorative farmhouse experiment, no matter how charming the wood stain looks under afternoon light.
This guide walks you through how to plan, build, install, and test a DIY baby gate with practical safety principles, beginner-friendly materials, and real-world lessons. We will keep it useful, honest, and just funny enough to make sanding slightly less emotionally damaging.
What Is a DIY Baby Gate?
A DIY baby gate is a homemade barrier designed to block a child from entering an unsafe or off-limits area. Most DIY versions are made from wood and installed with hinges, screws, and a child-resistant latch. Unlike a commercial baby gate, a homemade gate has not gone through formal product testing, so it should be designed conservatively and used thoughtfully.
The best DIY baby gate projects usually share a few features: vertical slats instead of climbable horizontal rails, a sturdy frame, smooth edges, secure hardware, a latch adults can open but children cannot easily defeat, and a mounting method that attaches directly into solid wood framing or properly installed anchors. If the gate wiggles like a nervous intern, it is not finished.
Where a DIY Baby Gate Works Best
DIY baby gates are best for flat, low-risk openings where a fall would not be catastrophic. Think of them as helpful traffic control for tiny humans, not emergency guardrails for cliffs.
Good Places for a DIY Baby Gate
- Doorways between rooms
- Hallways leading to a home office or craft room
- Kitchen entrances when cooking
- Laundry room doors
- Playroom boundaries
- Pet food areas, if the design is still safe for children
Places to Avoid With an Untested DIY Gate
- The top of stairs
- Open stair landings
- Balcony doors or raised decks
- Fireplace zones unless the barrier is heat-safe and professionally appropriate
- Any area where a gate failure could lead to a serious fall or burn
For stairs, use a hardware-mounted baby gate specifically labeled for stair use. Pressure-mounted gates are convenient for some doorways, but they are not the right choice at the top of stairs because they can loosen or be pushed out of place. Your toddler may be small, but toddlers are basically chaos engines wearing socks.
Safety First: Rules Before You Pick Up a Saw
Before building a homemade baby gate, treat safety as the design style. Rustic is optional. Secure is not.
Use Vertical Slats
Avoid horizontal rails that can act like a ladder. Babies grow into toddlers, and toddlers look at climbable objects the way mountain goats look at cliffs: with confidence they have not earned. Vertical slats reduce climbing opportunities and create a cleaner, safer design.
Keep Openings Small and Consistent
Large gaps can create head, neck, arm, or leg entrapment risks. Use closely spaced vertical slats and avoid V-shaped openings, decorative cutouts, accordion patterns, or anything that creates a trap. If the design looks like a cute little obstacle course, redesign it.
Hardware-Mount Whenever Possible
A solid DIY baby gate should be attached with screws into wall studs, door framing, or strong wood posts. Drywall alone is not enough. If you cannot mount into solid structure, use the correct heavy-duty anchors for the wall type and test carefully. When in doubt, ask a carpenter or professional childproofing specialist.
Choose a Child-Resistant Latch
A simple hook-and-eye latch may look charming, but many toddlers can defeat simple latches after watching you use them a few times. Choose a latch that requires adult coordination, preferably a two-step action. Place it high enough that a child cannot reach it, while still keeping it convenient for adults.
Make Every Edge Smooth
Sand corners, round sharp edges, fill screw holes, and check for splinters. Babies use their hands and mouths to inspect the world, which is adorable until you realize your woodworking finish has become part of the taste-test menu.
Tools and Materials for a Simple Wooden DIY Baby Gate
This basic design works well for many interior doorways and hallway openings. Adjust measurements to fit your space, and always measure twice. Actually, measure three times if you have ever cut a board too short and stared at it like it personally betrayed you.
Materials
- 1×3 or 1×4 boards for the outer frame
- 1×2 boards or square dowels for vertical slats
- Wood screws
- Wood glue
- Two sturdy hinges
- Child-resistant latch
- Mounting board, if attaching to trim or an uneven surface
- Sandpaper or sanding sponge
- Non-toxic paint, stain, or clear sealer
- Optional: wood filler and pocket hole plugs
Tools
- Tape measure
- Pencil
- Level
- Miter saw, circular saw, or hand saw
- Drill and drill bits
- Screwdriver bit
- Clamps
- Stud finder
- Safety glasses
How to Build a DIY Baby Gate
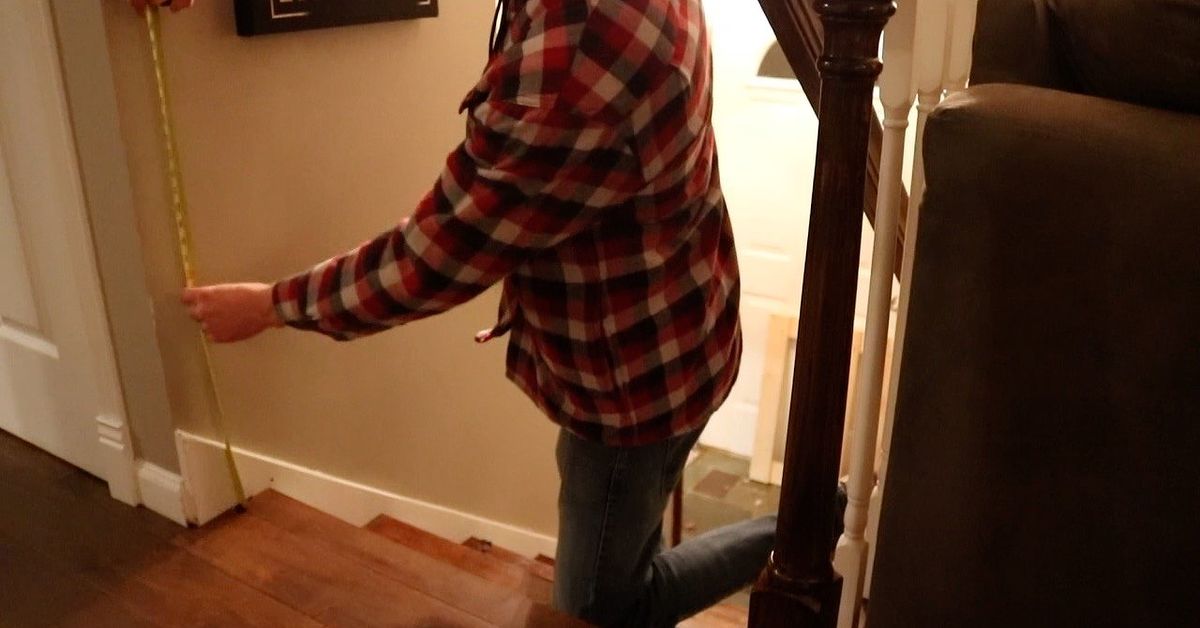
Step 1: Measure the Opening
Measure the width at the top, middle, and bottom of the opening. Houses are rarely perfectly square, because apparently walls enjoy having personalities. Use the narrowest measurement as your guide. Leave enough clearance on the latch side so the gate can swing freely without rubbing.
Also decide which way the gate should open. For doorways and hallways, it should open in the direction that makes traffic easiest. For any gate near stairs, it should never swing out over the stairs. Again, for stair tops, choose a certified stair gate rather than relying on a homemade design.
Step 2: Design the Frame
A simple rectangular frame is the easiest and strongest option for most DIYers. Use two vertical side boards and two horizontal boards for the top and bottom. Keep the gate tall enough to discourage climbing and leaning. Many families prefer a gate around 30 inches tall or more, but the correct height depends on the child, location, and design.
Do not add decorative crossbars, X patterns, or low rails that make the gate easier to climb. The farmhouse look is popular, but a baby gate should not double as toddler gym equipment.
Step 3: Cut the Boards
Cut the frame pieces to size. Dry-fit them on a flat surface before attaching anything. If the frame looks crooked now, it will look even more crooked once installed, and then you will have to pretend it is “handcrafted character.”
Cut the vertical slats to fit inside the frame. Space them evenly and keep gaps narrow. Use a spacer block to make the spacing consistent. Consistency is what separates a polished DIY baby gate from “I built this during nap time and panic.”
Step 4: Assemble the Gate
Apply wood glue at the joints and fasten the frame with screws. Pre-drill holes to prevent splitting. If you are using pocket holes, position them on the back side of the gate where they are less visible. Attach each vertical slat securely at the top and bottom. A slat that twists or wiggles should be fixed before installation.
After assembly, gently shake the gate. It should feel rigid. If it flexes too much, add reinforcement in a way that does not create climbable steps. The goal is sturdy, not fancy.
Step 5: Sand and Finish
Sand all surfaces until smooth. Pay special attention to corners, slat edges, and screw areas. Fill holes if needed, then sand again. Use a child-safe, low-VOC finish and allow it to cure fully before installing the gate. Dry to the touch is not always the same as fully cured, so follow the finish manufacturer’s instructions.
Step 6: Install the Hinges
Attach the hinges to the gate first, then mark the wall or mounting board. Use a level. A crooked gate may still function, but it will annoy you every single day like a cabinet door that refuses to behave.
Whenever possible, screw the hinge side into a stud or solid door frame. If the wall surface is uneven, install a vertical mounting board first. This creates a flat, strong surface for the hinges and latch.
Step 7: Install the Latch
Install the latch high on the gate, away from little hands. Test it repeatedly. Open it while carrying a laundry basket. Open it one-handed. Close it without looking. If adults cannot use it easily, they may leave it open, and an open baby gate is just decorative fencing with good intentions.
Step 8: Test the Gate Like a Tiny Inspector
Push gently at different points. Pull the latch side. Check the hinges. Look for gaps at the bottom and sides. Make sure the gate cannot be lifted off its hinges by accident. Watch for pinch points where small fingers could get caught. Then test again after a few days of use, because hardware can settle.
Design Ideas That Look Good and Stay Practical
Modern Minimalist Gate
Use smooth wood, clean vertical slats, and a painted finish that matches your trim. White, black, soft gray, and natural wood tones all work well. This style blends into modern homes without shouting, “A toddler lives here and controls the remote.”
Farmhouse-Inspired Gate
If you love farmhouse style, keep the charm but skip climbable diagonal braces. Use a solid frame, vertical slats, and warm stain. Add visual interest with color or trim detail rather than ladder-like cross pieces.
Extra-Wide DIY Gate
For wide openings, consider a double-door design with two hinged panels meeting in the middle. Use strong hinges, a secure center latch, and a floor-safe stop if needed. Extra-wide gates need extra attention because wider panels can sag over time.
Removable Gate for Renters
Renters should be careful with wall damage, but safety still comes first. For low-risk doorways, a pressure-mounted commercial gate may be better than a DIY build. If screws are allowed, mount into trim or use a removable mounting board and patch holes when moving out. Never trade safety for a security deposit. The deposit will not catch a falling child.
Common DIY Baby Gate Mistakes
Using a Pet Gate Instead of a Baby Gate
Pet gates are not the same as baby gates. Some are too low, too easy to climb, too flexible, or not designed with child entrapment risks in mind. A gate that can stop a sleepy golden retriever is not automatically safe for a determined toddler with cracker crumbs and ambition.
Mounting Into Drywall Only
Drywall is not structural enough for a gate that gets pulled, leaned on, bumped, and rattled daily. Use studs, framing, posts, or proper anchors rated for the load. If the gate moves at the mount, fix the mount.
Adding Decorative Gaps
Decorative cutouts may look cute, but they can create entrapment or climbing hazards. Keep the design boring in the right ways: straight, smooth, vertical, and secure.
Forgetting Adult Convenience
If the gate is hard to use, people will step over it. Stepping over a gate while holding a baby, coffee, or laundry is how slapstick comedy becomes an urgent care visit. Build a gate adults can open and close naturally.
Maintenance: Keep the Gate Safe Over Time
A DIY baby gate is not a “build it and forget it” project. Check it weekly at first, then regularly as part of your home safety routine. Tighten loose screws, inspect hinges, test the latch, and look for cracks, splinters, or finish wear. As children grow, reassess whether the gate still works. If your child can climb it, open it, shake it loose, or use nearby furniture to defeat it, the gate has officially retired.
Remove baby gates when they are no longer safe or useful. Many families stop using gates when a child can reliably navigate stairs and no longer tries to climb barriers, but every child and home is different. The key is not age alone; it is behavior, ability, and risk.
Real-Life Experience: What Building a DIY Baby Gate Teaches You
The first thing most people learn from building a DIY baby gate is that the opening you are trying to protect is probably not square. You measure the top and feel confident. Then you measure the bottom and discover your doorway has been living a secret life. This is why careful measuring matters. A gate that fits perfectly at the top but rubs at the bottom will drive you bananas every time you walk through it. A little planning saves a lot of muttering.
The second lesson is that hardware quality matters more than expected. Cheap hinges may work on a decorative cabinet, but a baby gate gets used constantly. Adults push it, kids pull it, pets bump it, and everyone expects it to keep behaving. Good hinges and a reliable latch make the whole project feel better. They also reduce sagging, rattling, and that sad little scraping sound that says, “You should have spent three more dollars.”
Another experience many DIYers mention is the importance of installing the gate before the baby is truly mobile. Parents often think they have time. Then one morning, the baby performs a surprise army crawl toward the dog bowl like a tiny determined commando. Babyproofing always feels early until it suddenly feels late. Installing the gate ahead of time gives you space to adjust the latch, tighten hardware, and get used to using it before it becomes part of your daily safety system.
Style is also trickier than it looks. A beautiful gate should match the home, but safety limits the design. You may want diagonal farmhouse braces, open geometric shapes, or decorative scrollwork. Then you realize those features can create footholds or risky openings. The best DIY baby gate usually ends up simpler than the inspiration photo, and that is a good thing. Clean vertical slats, a smooth frame, and a nice finish can still look custom without turning the gate into a climbing wall.
Finishing takes patience, especially if you are painting. One coat rarely looks perfect. Sanding between coats feels excessive until you touch the final result and realize it is smooth enough for little hands. A durable finish also makes cleaning easier, which matters because baby gates collect fingerprints, snack dust, and mysterious smudges that nobody in the house will admit creating.
The biggest lesson is that a baby gate changes household habits. You start closing it automatically. Guests need a quick explanation. Older siblings may need reminders. Grandparents may need a latch demonstration and possibly a small ceremony. A gate only works when people use it consistently, so the design must be practical for everyday life. The best DIY baby gate is not just the one that looks good in photos. It is the one that closes easily, stays secure, feels sturdy, and quietly does its job while your child explores the safe parts of the house.
Conclusion
A DIY baby gate can be a smart, attractive, and budget-friendly project when it is built for the right location and designed with safety at the center. Use sturdy materials, vertical slats, smooth finishes, strong hinges, and a child-resistant latch. Mount it into solid structure, test it often, and avoid risky designs that create footholds or entrapment hazards.
For low-risk doorways and room dividers, a homemade wooden baby gate can blend beautifully with your home while helping manage your child’s ever-expanding travel plans. For the top of stairs or any high-risk area, choose a certified, hardware-mounted gate made for that purpose. DIY confidence is wonderful, but gravity has never once cared how nice your stain color is.
Build carefully, inspect regularly, and remember: the goal is not to stop curiosity. The goal is to give curiosity a safer place to roam.