Thermal paste may be the least glamorous component in a computer. It ke an interstellar battle station. Yet this modest compound sits at one of the most important junctions in a PC: the interface where heat moves from the processor into the CPU cooler.
Apply thermal paste correctly, and your cooler can transfer heat efficiently while the processor maintains stable performance. Use too little, leave old compound underneath, or mount the cooler unevenly, and CPU temperatures may climb even when the heatsink itself is perfectly capable.
Fortunately, learning how to apply thermal paste is much easier than the internet’s endless debates about dots, lines, crosses, and abstract paste art might suggest.
What Does CPU Thermal Paste Do?
The metal top of a desktop processor is called the integrated heat spreader, or IHS. The flat metal base of an air cooler, all-in-one liquid cooler, or water block presses against this surface.
Although both pieces of metal look smooth, they contain microscopic valleys and imperfections. Without a thermal interface material, those tiny spaces hold air. Because air transfers heat poorly, it can reduce the effectiveness of the cooler.
CPU thermal paste fills these microscopic gaps, helping heat travel from the processor’s heat spreader into the cooler’s base plate. From there, heat moves through heat pipes, cooling fins, liquid, or a radiator before fans release it into the surrounding air.
Thermal Paste Is a Gap Filler, Not an Insulator
The objective is not to build a thick layer between the processor and cooler. Direct metal contact generally transfers heat more efficiently than paste, so the ideal application is a thin layer that fills imperfections while keeping the two surfaces close together.
That is why adding more thermal compound does not automatically improve CPU cooling. Paste is a gap filler, not frosting for an expensive silicon cupcake.
When Should You Apply or Replace Thermal Paste?
You normally need fresh thermal compound when:
- Installing a cooler that does not have pre-applied paste
- Replacing the processor while reusing the same cooler
- Removing or loosening a cooler that has already contacted the CPU
- Correcting a contaminated, excessive, or poorly distributed application
- Troubleshooting unexplained temperature increases in an older computer
Many modern air coolers and AIO liquid coolers arrive with thermal paste already applied to the cold plate. Inspect the cooler before opening a syringe. If you see a neat factory layer, do not add another blob on top of it.
There is no universal schedule requiring thermal paste replacement every year. A quality compound may remain effective for several years. Replace it whenever the cooler is removed, or investigate it when CPU temperatures, fan noise, stability, or performance change meaningfully after other causes have been considered.
Tools and Materials You Will Need
- A suitable non-conductive CPU thermal paste
- High-concentration isopropyl alcohol or thermal-paste remover
- A lint-free cloth, microfiber cloth, coffee filter, or cleaning wipe
- Cotton swabs for careful edge cleanup
- The screwdriver or mounting tool required by the cooler
- The cooler manual and correct socket hardware
- A clean, stable, well-lit workspace
For an ordinary desktop installation, conventional non-conductive paste is the safest choice. Liquid metal is a specialized material that may be electrically conductive and incompatible with certain metals. It should not be handled like standard thermal grease.
How to Apply Thermal Paste Step by Step
1. Shut Down and Prepare the Computer
Turn off the PC, switch off the power supply when applicable, and disconnect the power cable. Press the case power button briefly to help discharge residual power.
Place the computer on a stable work surface. If you are servicing a laptop or compact system, follow the manufacturer’s disassembly instructions and disconnect the battery when the design allows it.
Before applying paste, organize the backplate, brackets, spacers, screws, and tools. Once compound is sitting on the processor, discovering that an important mounting bar is still inside the box becomes surprisingly inconvenient.
2. Remove the Existing Cooler Carefully
If you are replacing old thermal paste, loosen the cooler screws gradually in a diagonal pattern. Do not completely remove one corner while the opposite side remains tight.
Once the mounting hardware is released, gently twist the cooler to break the grip of the old compound before lifting it. Avoid yanking the cooler straight upward. Thick or aged paste can act like an adhesive, particularly on socket designs where the processor may be pulled from the socket with the heatsink.
3. Clean the CPU and Cooler
Use a dry lint-free material to remove the bulk of the old paste. Then lightly dampen a clean section with isopropyl alcohol and wipe the processor heat spreader and cooler base until no visible residue remains.
Do not pour alcohol directly onto the processor or motherboard. Use a cotton swab carefully around the edges, but avoid pushing dissolved compound into the CPU socket.
Allow both surfaces to dry completely. They should be free of fingerprints, fibers, dust, grease, and old thermal compound.
4. Remove the Cooler’s Protective Film
Many new coolers ship with a clear or printed plastic film covering the cold plate. Remove it before installation.
This sounds obvious, but forgotten protective film is a classic cause of immediate overheating. It is the PC-building equivalent of trying to read a book while it is still shrink-wrapped.
5. Apply a Small Amount of Thermal Paste
For most mainstream desktop processors, place a compact dot of paste in the center of the integrated heat spreader. Depending on the CPU size and paste viscosity, this is commonly described as approximately the size of a grain of rice or a small pea.
Do not spread the paste with your finger. Skin oils can contaminate the material, and manual spreading may create uneven areas. Unless the manufacturer provides a stencil, spatula, or different instructions, let the cooler’s mounting pressure distribute the compound.
6. Lower the Cooler Straight Down
Align the cooler before it touches the paste. Lower it vertically with steady pressure and avoid sliding it across the processor.
Keep the cooler stable while engaging the mounting hardware. Start every screw before fully tightening any one of them. Tighten each fastener a few turns at a time in a diagonal or X pattern to distribute pressure evenly.
Stop when the mounting system reaches its designed limit. Do not use excessive force. The brackets, springs, standoffs, and screws are designed to produce the correct pressure when installed according to the manual.
7. Connect the Fan or Pump
Connect an air cooler’s fan to the appropriate CPU fan header. For an AIO liquid cooler, connect the pump, radiator fans, controller, and power cables exactly as the manufacturer specifies.
A flawless thermal paste application with an unplugged pump is simply a very organized route to overheating.
8. Inspect the Installation
The cooler should feel secure and should not rock when touched gently. A tiny amount of squeeze-out is not necessarily harmful when the paste is non-conductive, but compound flooding the socket or motherboard indicates that too much was used.
If you lift the cooler after it contacts the paste, clean both surfaces and start again with fresh compound. Reusing the compressed layer can create air pockets and inconsistent contact.
Which Thermal Paste Pattern Is Best?
No single application pattern is ideal for every CPU, paste viscosity, and cooler design. Common methods include:
- Center dot: A simple default for most mainstream desktop processors
- Short line: Sometimes recommended for rectangular heat spreaders
- X pattern: Helps move paste toward the corners of a larger CPU lid
- Multiple dots: Often used on large workstation or server processors
- Manual spread: Appropriate when the manufacturer supplies a stencil or applicator
Follow the pattern recommended by the thermal-paste or cooler manufacturer. CPU packages vary significantly in shape and surface area, so advice intended for a compact consumer processor may not provide adequate coverage for a large workstation chip.
The correct amount is the smallest quantity that creates broad, thin coverage after mounting. Too little can leave dry regions. Too much can create an unnecessarily thick interface, spill over the processor, and turn future maintenance into a gray archaeological excavation.
Common Thermal Paste Mistakes
Adding New Paste Over Old Compound
Old paste may be contaminated, partially dry, or uneven. Layering new material over it prevents a clean and predictable interface. Always clean both surfaces first.
Using Household Substitutes
Toothpaste, petroleum jelly, food products, and other improvised substances are not suitable long-term thermal interface materials. They may dry, separate, corrode surfaces, or perform inconsistently.
Touching Clean Contact Surfaces
Fingerprints leave oils behind. Once the heat spreader and cold plate are clean, handle the cooler by its edges and keep your fingers away from the contact area.
Tightening One Corner First
Fully tightening one screw before engaging the others can tilt the cooler. Start every fastener and tighten them gradually in an alternating pattern.
Assuming Paste Fixes Every Temperature Problem
High CPU temperatures can also result from clogged heatsink fins, poor case airflow, an incorrect fan curve, a failed liquid-cooling pump, high room temperature, aggressive motherboard power settings, or an undersized cooler. Thermal paste is important, but it is not wizard paste.
How to Test CPU Temperatures After Applying Paste
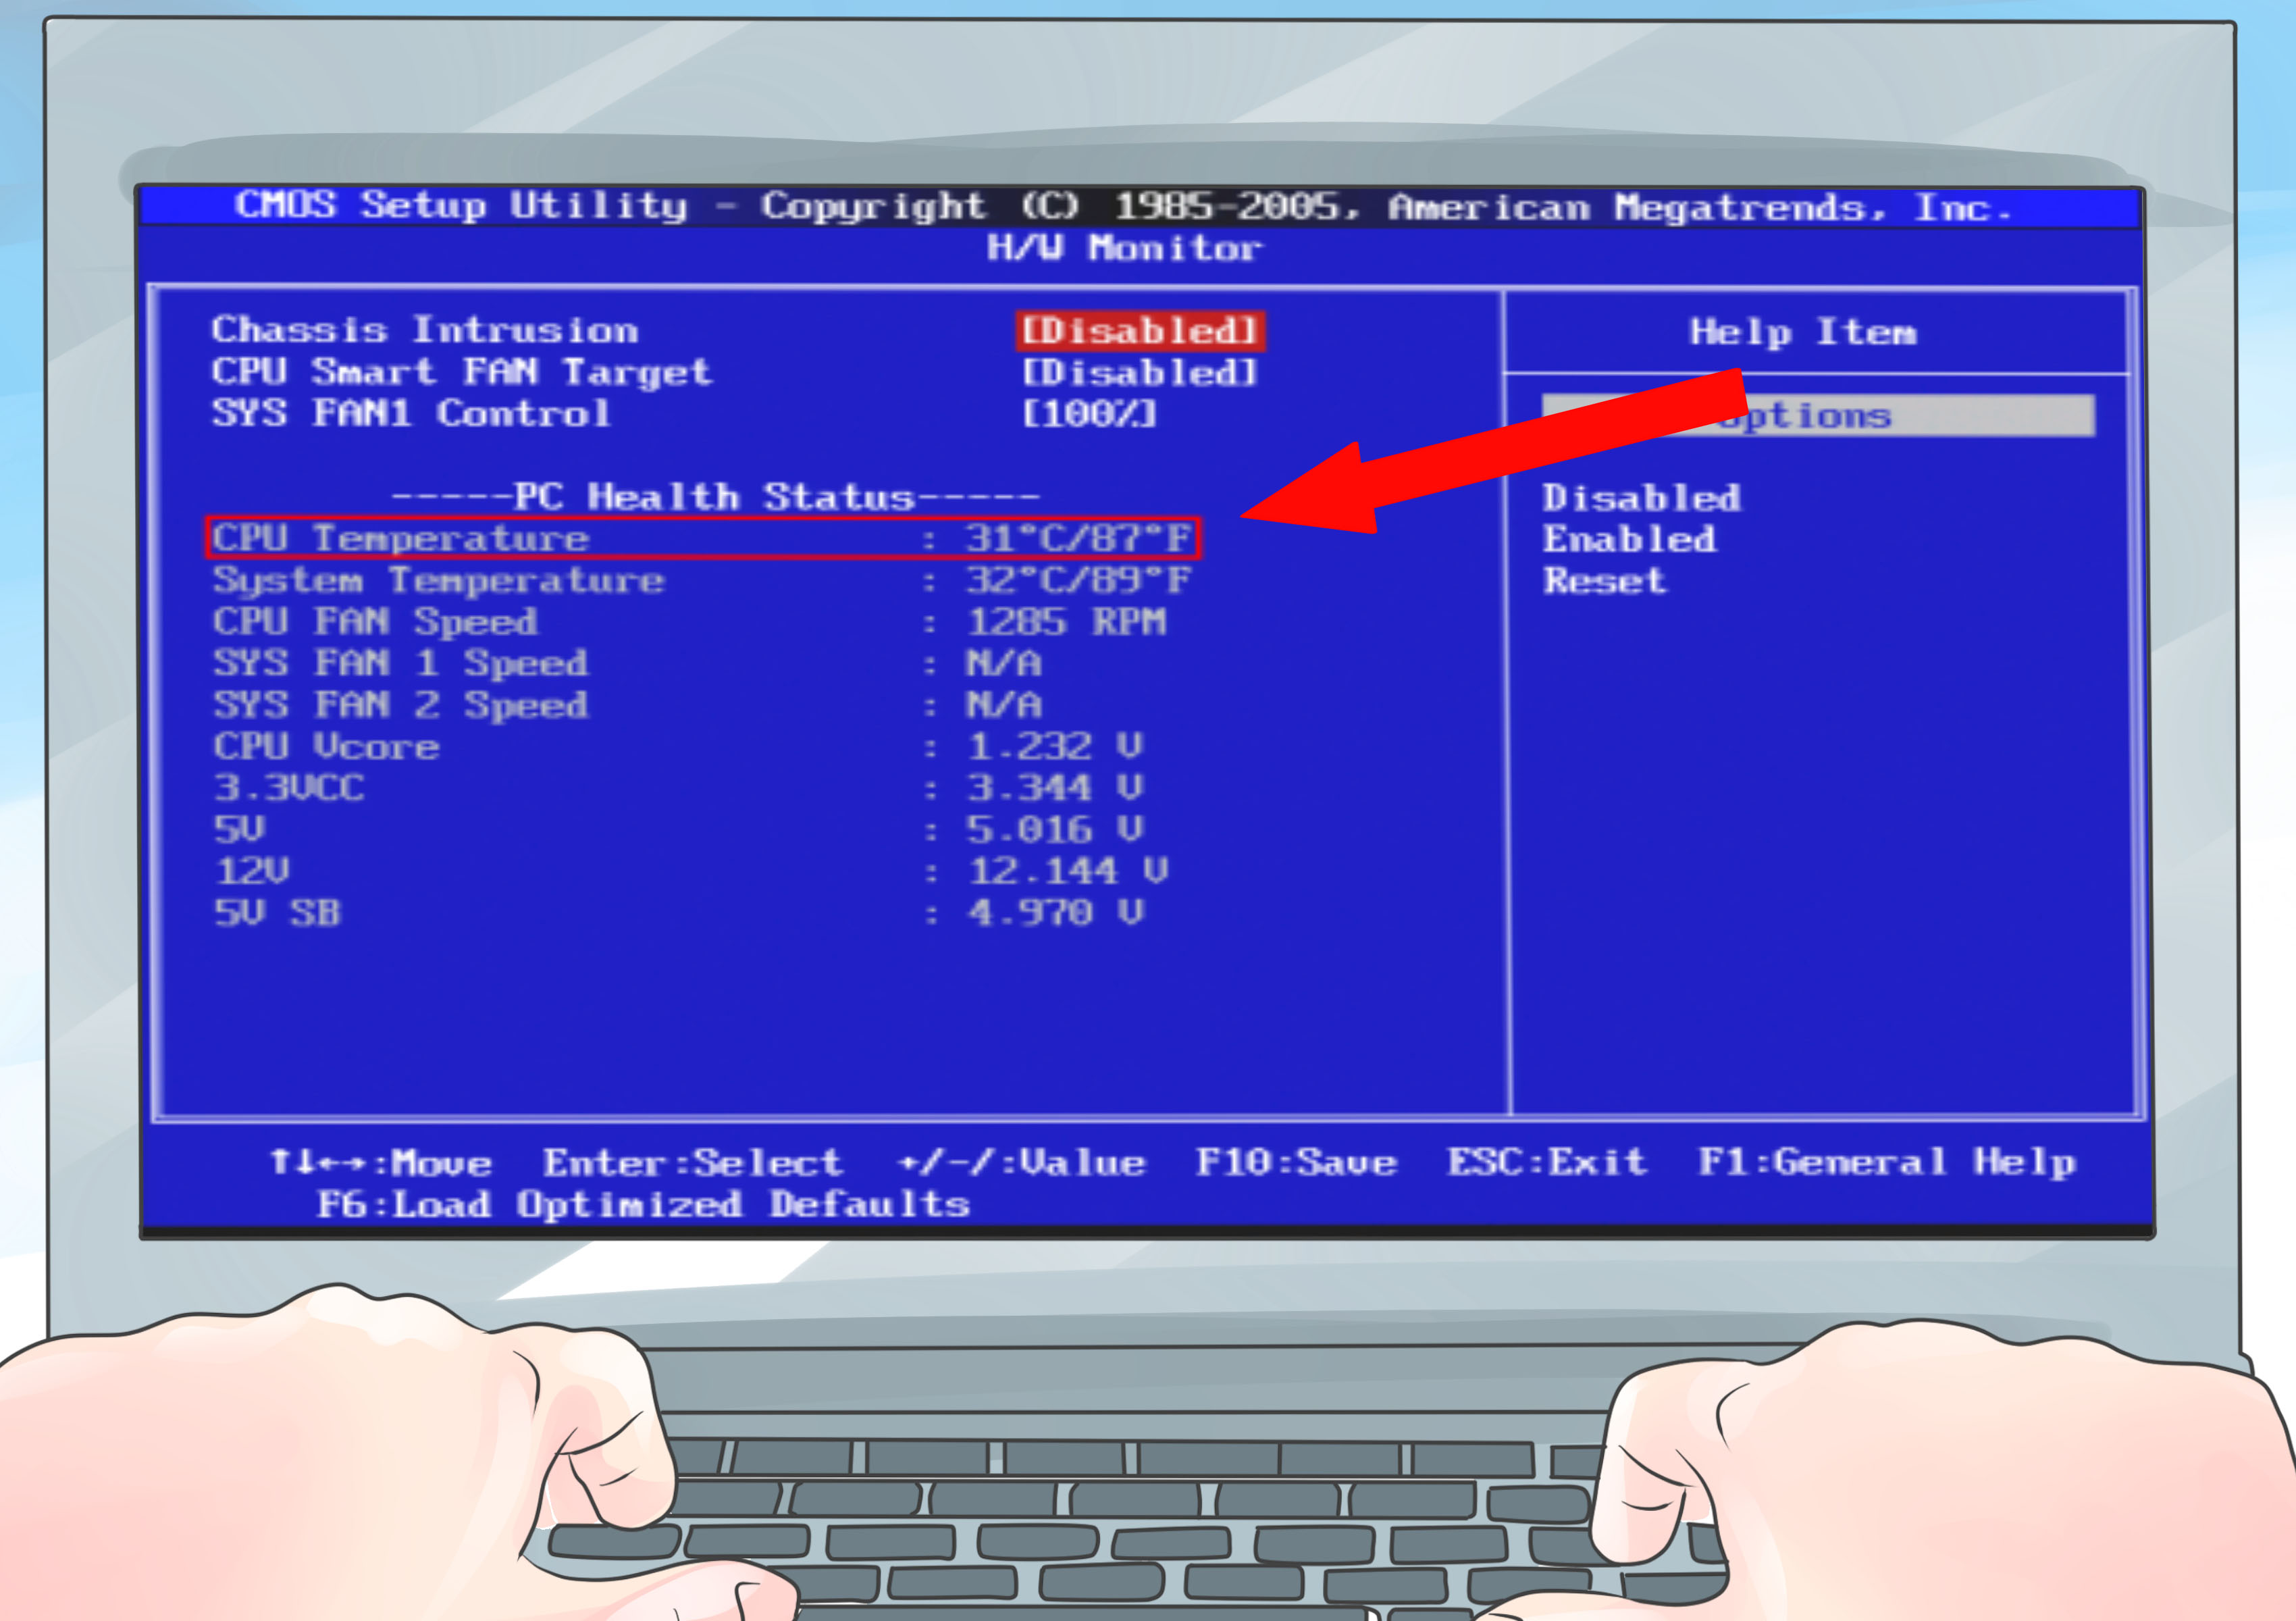
After reassembling the computer, enter the BIOS or operating system and verify that the CPU fan or pump reports a plausible speed. Use a trusted monitoring utility that supports your processor and motherboard.
Observe idle behavior, and then run a repeatable workload such as a rendering test, game benchmark, compilation task, or established CPU stress test. When comparing results, use the same workload, test duration, fan profile, power settings, and approximately the same room temperature.
Watch temperature, clock speed, package power, and fan noise together. Modern processors may boost aggressively until they approach a thermal or power limit, so a single temperature number does not explain the entire cooling situation.
If the CPU temperature rises extremely quickly, the computer shuts down, or severe throttling appears under a modest workload, stop the test. Recheck the protective film, cooler mounting, fan or pump connections, socket compatibility, and thermal paste application.
Practical Experience: Lessons From Real Thermal Paste Jobs
The first lesson from repeated CPU cooler installations is that preparation saves more time than any clever application pattern. The smoothest jobs begin with the correct backplate positioned, the screws sorted, the cooler manual open, and the cables planned before the syringe cap comes off. The messiest jobs begin with paste on the processor and the sudden discovery that a mounting bracket is upside down.
A center dot is usually the most dependable starting method on ordinary desktop CPUs because it minimizes handling. The cooler provides the spreading force, and there is no card or spatula dragging dust through the compound. On larger heat spreaders, however, following the manufacturer’s line, X, or multi-dot diagram can provide more reliable edge coverage.
The practical lesson is not that one geometric shape is magical. The amount and pattern must match the size of the contact area and the behavior of the specific compound.
Mounting pressure often matters more than cosmetic perfection. A beautiful paste pattern cannot compensate for one loose corner, incorrect spacers, or unevenly tightened screws. When a newly serviced computer runs hotter than expected, the most useful first question is frequently, “Is the cooler seated correctly?” rather than, “Should the dot have been slightly wider?”
Cleaning technique also improves with experience. Trying to remove every trace of old compound with one aggressive wipe tends to smear it toward the edges. A cleaner approach is to lift the bulk with a dry lint-free wipe, use alcohol for the remaining film, and finish with a fresh section of material.
On an older system, running the computer briefly before shutting it down can soften stubborn paste and make the cooler easier to release. The system must then be completely powered off and unplugged before removal begins.
Another valuable habit is recording a temperature baseline. Human memory is unreliable, particularly when room temperature and fan noise change from day to day. Before maintenance, note the ambient temperature, idle reading, sustained load temperature, CPU package power, fan speed, and clock behavior. Repeat the same test afterward.
This comparison helps separate a real improvement from the comforting placebo effect of having cleaned something expensive.
Sometimes a fresh application produces little or no temperature reduction. That does not automatically mean the job failed. The previous thermal paste may already have been adequate, while the actual limitation is restricted case airflow, a small cooler, high processor power consumption, or an aggressive motherboard configuration.
In other cases, temperatures improve briefly and then rise again. That pattern may indicate loosening mounting hardware, a cooling-pump problem, accumulating dust, or a thermal compound poorly suited to the operating conditions.
The final practical lesson is not to chase perfection at the expense of reliability. A reputable, non-conductive thermal paste applied cleanly beneath an evenly mounted cooler is sufficient for most computers. Exotic compounds and elaborate patterns may help specialized systems, but the fundamentals deliver the greatest benefit: clean surfaces, an appropriate amount of paste, proper mounting pressure, working fans or pumps, and controlled testing.
Boring? Perhaps. Effective? Absolutely.
Conclusion: A Small Step With a Major Cooling Role
Applying thermal paste correctly is a straightforward part of CPU heat management. Clean the processor and cooler, remove any protective film, use a small amount of suitable compound, lower the cooler straight down, and tighten the mounting hardware evenly.
Then connect the cooling equipment and test the system under consistent conditions. Do not let application-pattern arguments turn a short maintenance task into an existential crisis. Proper coverage, even pressure, and manufacturer guidance matter more than internet folklore.