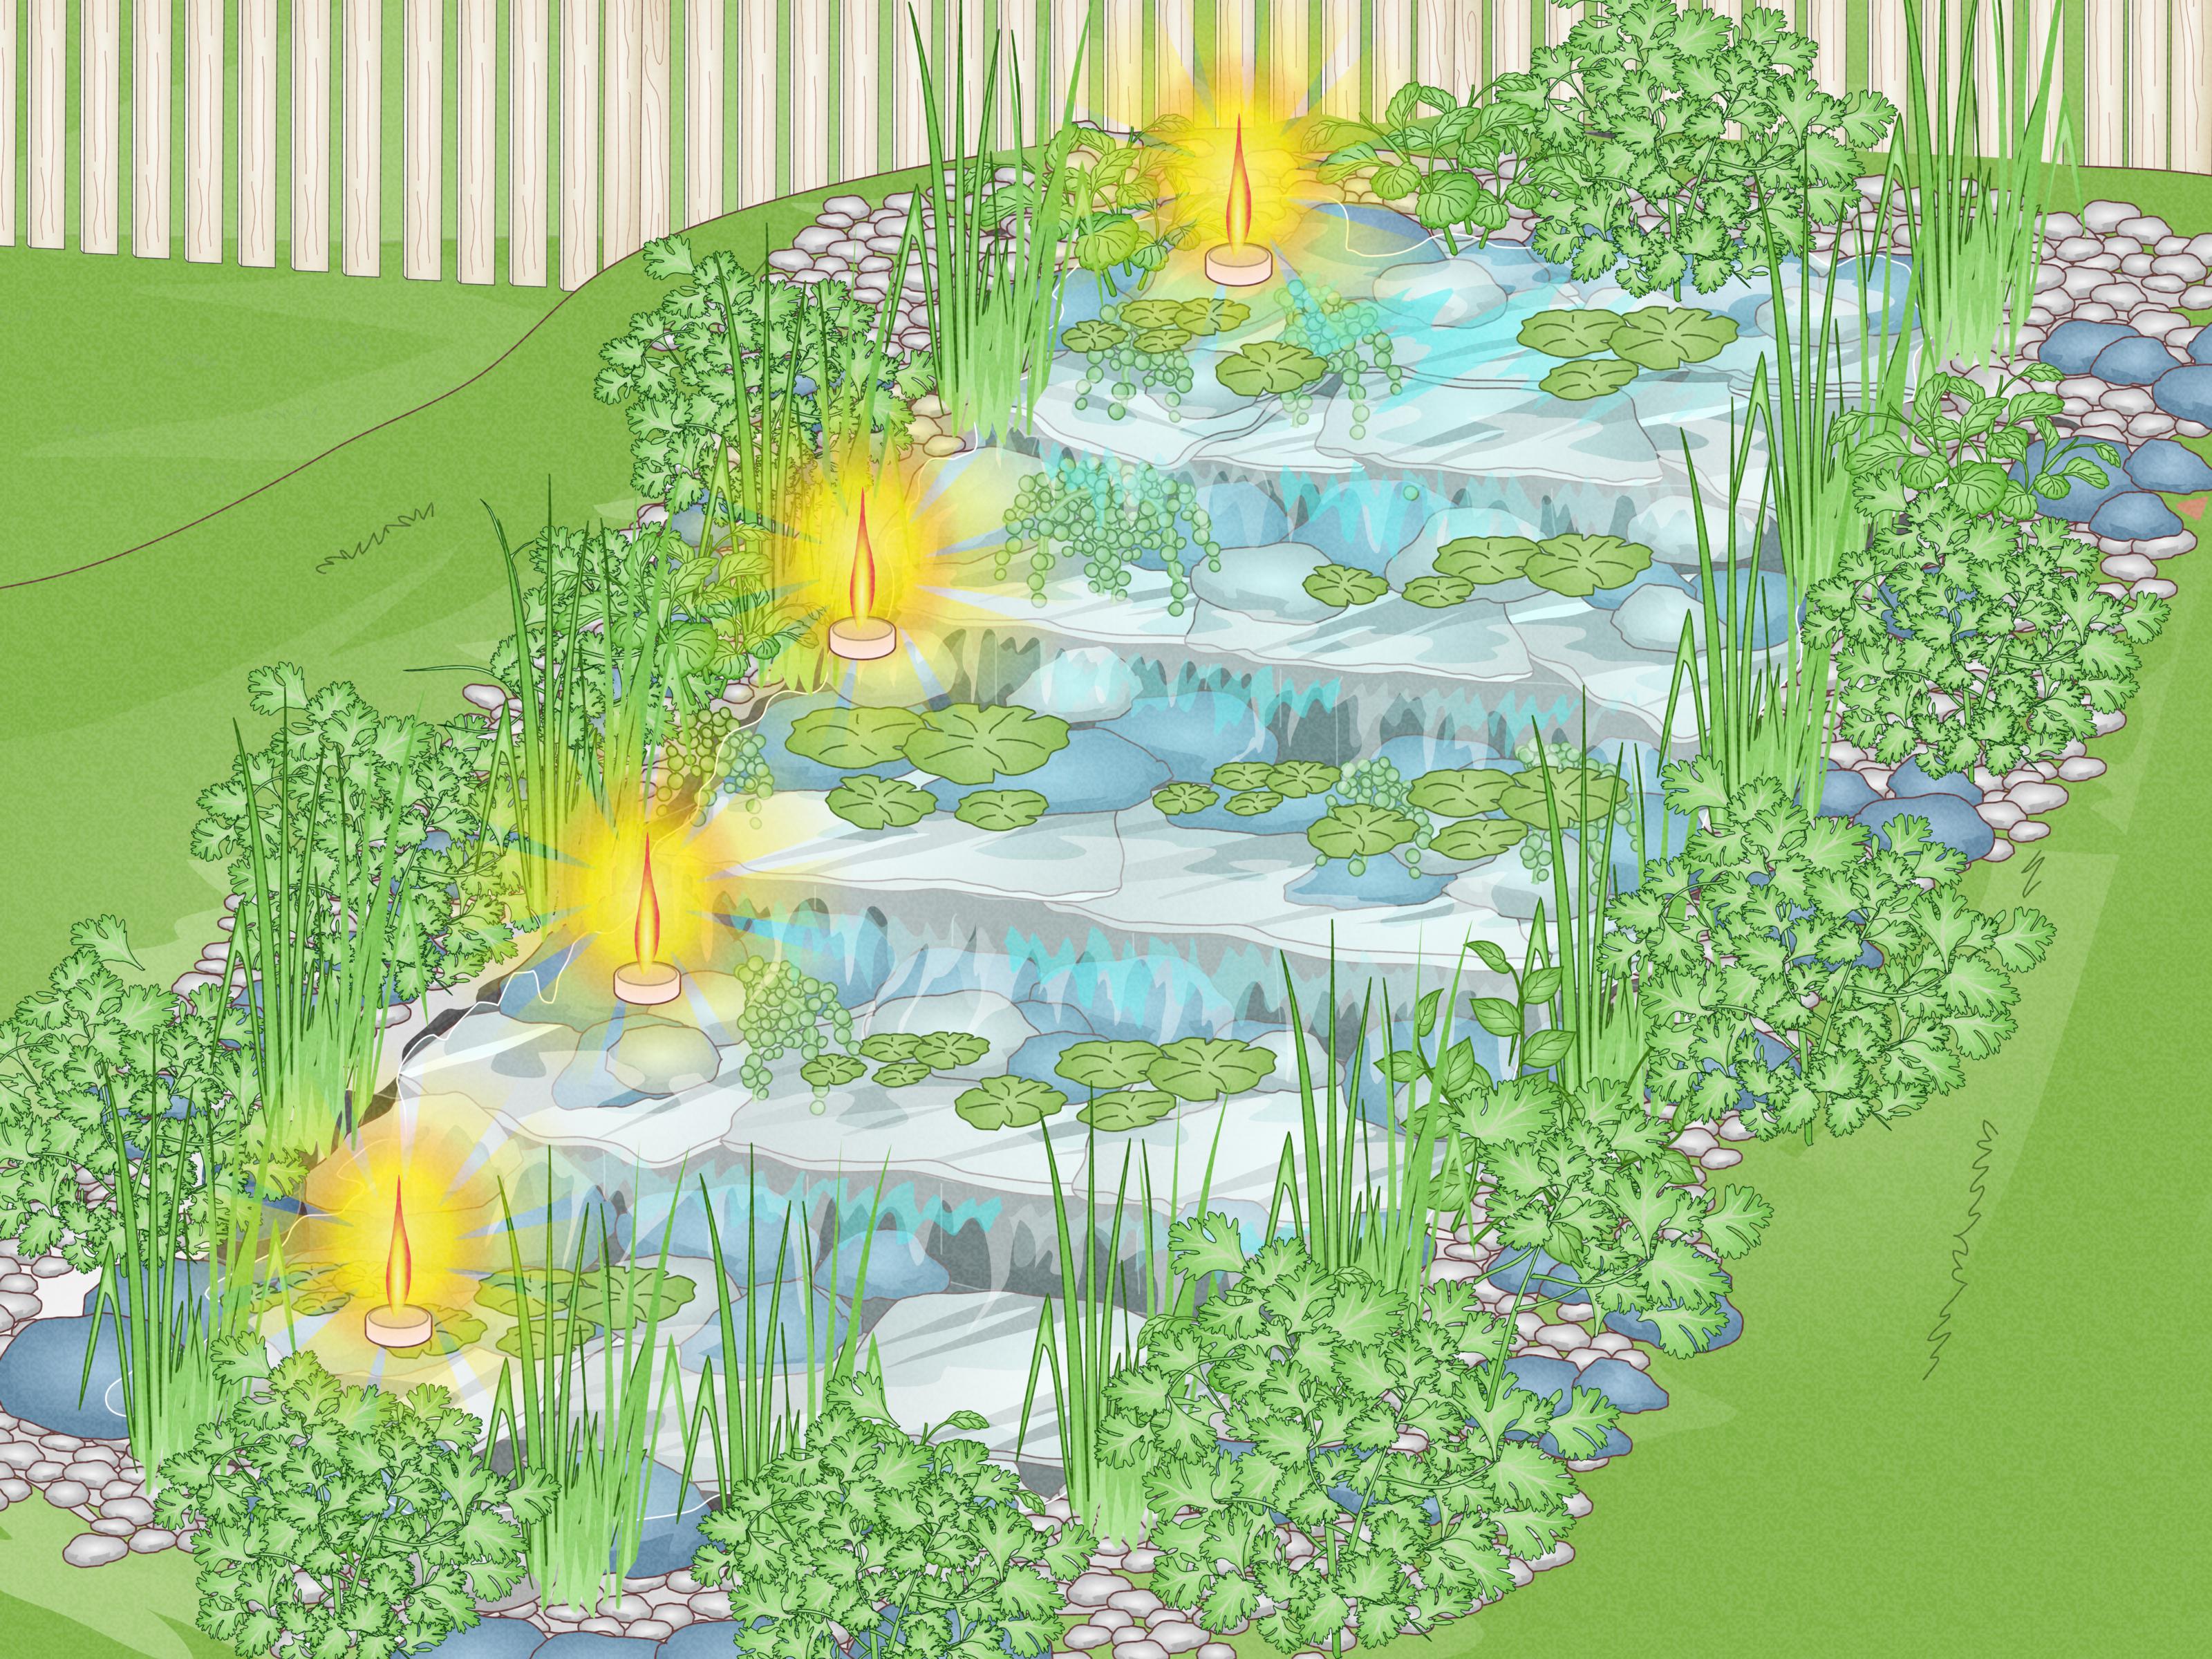
If your backyard feels a little too quiet, a little too flat, or a little too “why is this patch of grass judging me,” building a stream might be exactly the upgrade it needs. A man-made backyard stream adds movement, sound, texture, and the kind of peaceful vibe that makes even a basic patio chair feel like luxury seating. The good news? You do not need a mountain, a bulldozer, or the budget of a botanical garden. You need a smart plan, the right materials, a realistic design, and a willingness to get gloriously dirty for a weekend or three.
This guide focuses on building a decorative recirculating stream in a residential landscape, usually paired with a pondless reservoir or a small basin. In other words, you are not trying to reroute nature or audition for a public works contract. You are creating a backyard water feature that looks natural, sounds relaxing, and behaves itself. Let’s get into the details.
What It Really Means to Build a Stream
When homeowners search for how to build a stream, they usually mean one of two things: creating a landscape water feature that looks like a natural creek, or modifying an actual stream on their property. Those are wildly different projects. This article covers the first option: a backyard stream powered by a recirculating pump.
A decorative stream typically includes a water source or hidden reservoir, flexible tubing, a pump, liner, underlayment, gravel, rock, and planting around the edges. Water gets pumped uphill through plumbing, spills out at the top, then flows back down through the stream channel. The result is all the charm of moving water without needing your backyard to come with its own trout population.
Why a Backyard Stream Is Worth the Effort
A well-built stream does more than look pretty. It creates white noise that can help mask traffic, nosy neighbors, and the mysterious leaf blower that always starts the second you sit down. It also adds visual movement to a flat yard, attracts birds and pollinators, and can make the landscape feel cooler and more alive during warm weather.
Many homeowners also prefer a pondless stream design because it offers the beauty of moving water with less open standing water. That can make maintenance simpler and reduce some safety concerns for homes with young children or pets. It is also easier to fit into smaller spaces than a full pond-and-waterfall installation.
Step 1: Choose the Right Location
This step matters more than people think. A beautiful stream in the wrong place becomes an expensive lesson with rocks on top.
Work with the natural slope
The easiest stream to build is one that follows the yard’s existing grade. If your property already slopes, great. You are ahead of the game. If your yard is flat, you can still build a stream, but you will need to create elevation with soil, berms, or rock work.
Keep it visible
Place the stream where you can enjoy it from a patio, deck, kitchen window, or favorite chair. A hidden water feature is like buying concert tickets and sitting in the parking lot.
Avoid tree roots and heavy leaf drop
Large roots make excavation harder, and overhanging trees can dump leaves and debris into the water. That means more cleaning and a greater chance of clogging the system.
Think about utilities and electrical access
Before digging, call 811 and have underground utility lines marked. Do not skip this step. “I was only digging a little” is not a winning defense when you meet a cable line face-to-face. You also need safe access to electricity for the pump, ideally with a properly protected outdoor circuit.
Protect your house and drainage patterns
Your stream should not send overflow toward the home’s foundation. Keep the feature a sensible distance from structures and think through where excess water will go during heavy rain. Water is soothing right up until it decides your basement looks thirsty.
Step 2: Design the Stream Before You Dig
Resist the temptation to start excavating based on vibes alone. Good stream design saves money, time, and several dramatic sighs.
Sketch the shape
Use a hose or rope to lay out the stream path on the ground. Curves usually look more natural than ruler-straight lines. A stream with gentle bends, varied width, and a few focal points tends to feel more like nature and less like a drainage ditch with ambition.
Decide on the length and width
A backyard stream does not need to be huge to be effective. Even a short run can deliver sound and visual appeal. What matters is proportion. In a compact yard, a stream that is too wide can feel crowded. In a large yard, one that is too tiny can disappear into the landscaping.
Plan the drops and pools
The best streams are not one long, boring slide. Include small cascades, wider resting sections, shallow riffles, and rock groupings that create changing sound. Tiny elevation drops make the water sparkle and chatter. Broader sections slow the flow and look more natural.
Choose pondless or basin-fed
A pondless stream is one of the most popular options for residential landscapes. Water disappears into a hidden underground reservoir filled with a vault and rock cover, then gets pumped back to the top. It is a smart setup for homeowners who want movement and sound without maintaining a full pond.
Step 3: Gather the Materials
The exact list depends on your design, but most DIY stream projects include:
- EPDM liner or another durable stream liner
- Protective underlayment
- Submersible pump
- Flexible PVC or kink-free tubing
- A reservoir or basin, often for pondless designs
- Rock, gravel, cobble, and accent boulders
- Waterfall foam for directing surface flow
- Shovel, rake, wheelbarrow, level, and tamper
- A GFCI-protected electrical source
- Aquatic or moisture-loving plants for the edges
Do not buy the pump as an afterthought. Pump selection is tied to stream length, desired water effect, and head height, which is the vertical distance the pump must lift the water. A weak pump gives you a sad trickle. An oversized one can blast water out of the channel like it is trying to leave home.
Step 4: Excavate the Channel
Once the layout is marked, start digging. This is where the project shifts from “nice idea” to “well, I guess we are doing this now.”
Create a shaped channel, not a trench
Dig a stream bed with subtle variation. Some areas should be slightly wider or deeper than others. Include shelves and pockets where rocks and plants can sit naturally. The channel should feel organic, not machine-perfect.
Make sure the sides are high enough
The stream edges must contain splashing and directional flow. Low edges invite leaks and water loss. Build up berms where needed, especially along curves and cascade areas.
Compact the soil
Loose soil settles. Settling changes grades. Changed grades create weird flow paths, hidden leaks, and a future version of you asking some very creative questions. Compact the base and sidewalls before liner installation.
Step 5: Install Underlayment and Liner
This layer is the insurance policy for your stream. Skip it, and the rocks below may eventually introduce themselves to your liner in the least friendly way possible.
Lay underlayment across the entire channel first. Then place the liner over it, leaving generous overlap on the sides. Do not stretch the liner drum-tight. Let it settle into curves and contours. A little slack helps it conform to the shape of the stream and reduces stress points.
At the top of the stream, connect the liner securely to the spillway or waterfall box. At the bottom, make sure the liner extends properly into the hidden reservoir or collection basin so all returning water ends up where it belongs.
Step 6: Install the Reservoir, Pump, and Plumbing
For a pondless stream, the hidden reservoir is the behind-the-scenes hero. It stores the water, hides the pump system, and keeps the visual focus on the stream itself.
Set the reservoir below grade
Excavate the basin according to the system size you need. Install the reservoir components, vault, and pump according to the manufacturer’s specifications. Cover the top with structural support and decorative stone so it disappears into the landscape.
Run the plumbing uphill
Tubing carries water from the pump in the reservoir back to the top spillway. Hide the plumbing alongside the stream edge or beneath adjacent grade. Keep bends smooth and connections tight.
Test the system before finishing
Fill the reservoir and run the pump before all the decorative rock goes in. This helps you spot leaks, adjust flow, and confirm the water is returning cleanly to the basin. It is much easier to solve problems before half a ton of stone starts acting like permanent furniture.
Step 7: Rock the Stream for a Natural Look
This is where design judgment matters. Good rock placement makes the stream look like it has always been there. Bad rock placement makes it look like a gravel truck sneezed.
Start with large anchor stones
Place bigger boulders first along outside curves, drop points, and major visual transitions. These stones create structure and help define the stream path.
Use mixed sizes
Add medium rock, cobble, and gravel around the larger pieces. Nature rarely uses only one rock size, and your stream should not either. Variation creates realism and improves how water behaves across the surface.
Direct the water over the rocks
Use waterfall foam carefully behind selected rocks to stop water from sneaking underneath them. The goal is to push flow across visible surfaces so you hear it and see it. Otherwise, your expensive stream may become a quiet underground plumbing demo.
Step 8: Add Plants and Finish the Edges
Plants are what turn a construction project into a landscape. They soften edges, hide liner, and help the stream feel settled into the yard.
Choose moisture-tolerant plants close to the water and more drought-tolerant plants farther upslope. Ornamental grasses, iris, sedges, ferns, creeping groundcovers, and native perennials often work well. If you want the stream to look established faster, plant in groups rather than lonely little singles spaced like they had an argument.
Mulch surrounding beds, but keep loose mulch out of the watercourse. Fine mulch has a magical ability to travel exactly where you do not want it.
Step 9: Maintain the Stream So It Stays Beautiful
A backyard stream is not zero-maintenance, but it should not become your second job either.
Top off water regularly
Evaporation and splash-out are normal. Check water levels often, especially in hot weather.
Clean debris
Leaves, twigs, and sludge can clog intake areas and reduce flow. A quick weekly cleanup is easier than a full rescue mission later.
Inspect the pump and tubing
If flow drops, check the intake screen, filter elements, and plumbing. Pumps work hard; they deserve occasional attention and less judgment.
Adjust rocks after settling
Some stones may shift slightly after the system runs for a while. Small adjustments can improve both appearance and sound.
Common Mistakes to Avoid
- Building too close to the house or sending overflow toward the foundation
- Skipping the utility-marking step before digging
- Choosing a pump without calculating lift and flow needs
- Making the stream too straight, too shallow, or too uniform
- Using only tiny rock, which looks flat and artificial
- Ignoring maintenance access to the pump and reservoir
- Installing the feature directly under messy trees
- Trying to modify a natural stream as if it were a decorative yard project
Should You DIY or Hire a Pro?
A small stream can absolutely be a DIY landscaping project if you are comfortable with excavation, basic grading, liner work, and pump installation. But if your yard has major slope challenges, drainage issues, large boulders, difficult electrical access, or you want a complex multi-drop design, hiring a professional can be money well spent.
Also, if you are talking about a real creek or stream on your property, stop right there and get local guidance. Working in or near natural waterways can involve permits, erosion control requirements, ecological considerations, and rules that vary by state and municipality. Backyard beauty is great. Unplanned legal adventures are less relaxing.
Final Thoughts
Building a stream is one of the most rewarding landscape projects you can take on. It combines design, engineering, gardening, and a bit of theatrical flair. When done right, it becomes the feature people walk toward without even realizing it. They hear it first, then see the shimmer, then suddenly they are standing at the edge saying something profound like, “Wow, this is nice.”
Start with a realistic design, respect slope and drainage, choose the right pump, hide the hardware well, and use plants and stone like an artist with muddy boots. The result is a backyard stream that feels natural, sounds peaceful, and looks like your yard got promoted.
Experience and Practical Lessons From Building a Backyard Stream
The most surprising part of building a stream is how quickly it teaches humility. On paper, the idea seems simple: dig a channel, add liner, stack some rock, turn on pump, become woodland wizard. In reality, the stream will immediately reveal whether you respected gravity, thought through splash patterns, and understood that “close enough” is not a valid water-management strategy.
One of the first real-world lessons many builders learn is that sound matters just as much as appearance. A stream can look amazing and still disappoint if it sounds like a faucet with performance anxiety. Small adjustments to rock placement often make the biggest difference. Move one flat stone an inch forward and suddenly the water starts making that cheerful babbling sound people actually want. Move it the wrong way and the stream goes silent, or worse, sprays water out of the channel like it is offended.
Another common experience is realizing the stream needs to be viewed from specific angles. During construction, it is easy to obsess over the top-down look while standing in the mud with a shovel. But once the project is done, most people enjoy the feature from a patio, window, or walkway. That means the best cascades, curves, and planting pockets should be designed for those sightlines, not just for the person kneeling beside a wheelbarrow on build day.
Water loss is another issue that surprises first-time builders. It is not always a dramatic leak. Sometimes the culprit is a tiny low edge, an off-center rock, or water sneaking under a stone instead of over it. This is why test runs are so valuable. The stream will tell you what it wants to do. Your job is to gently convince it to behave better.
Many DIY builders also discover that planting is not the finishing touch. It is part of the illusion. Without plants, a new stream can look raw and recently assembled. Once grasses, ferns, sedges, iris, and low groundcovers start filling in, everything softens. The edges disappear. The stream begins to look less like a project and more like a place.
Then there is maintenance, which is far less dramatic than construction but more important in the long run. Debris cleanup, pump checks, and occasional rock adjustments keep the feature working. The good news is that many homeowners find the upkeep oddly enjoyable. Once the stream is built, tinkering with it can feel more like gardening than repair work.
In the end, building a stream is part construction project, part landscape design, and part ongoing relationship with moving water. It rewards patience, observation, and a sense of humor. Because no matter how carefully you plan, there will probably be one moment when you are standing ankle-deep in mud, holding a wet rock, wondering how a simple idea became an outdoor philosophy course. Then you turn the pump on, hear the first clean cascade, and decide it was absolutely worth it.