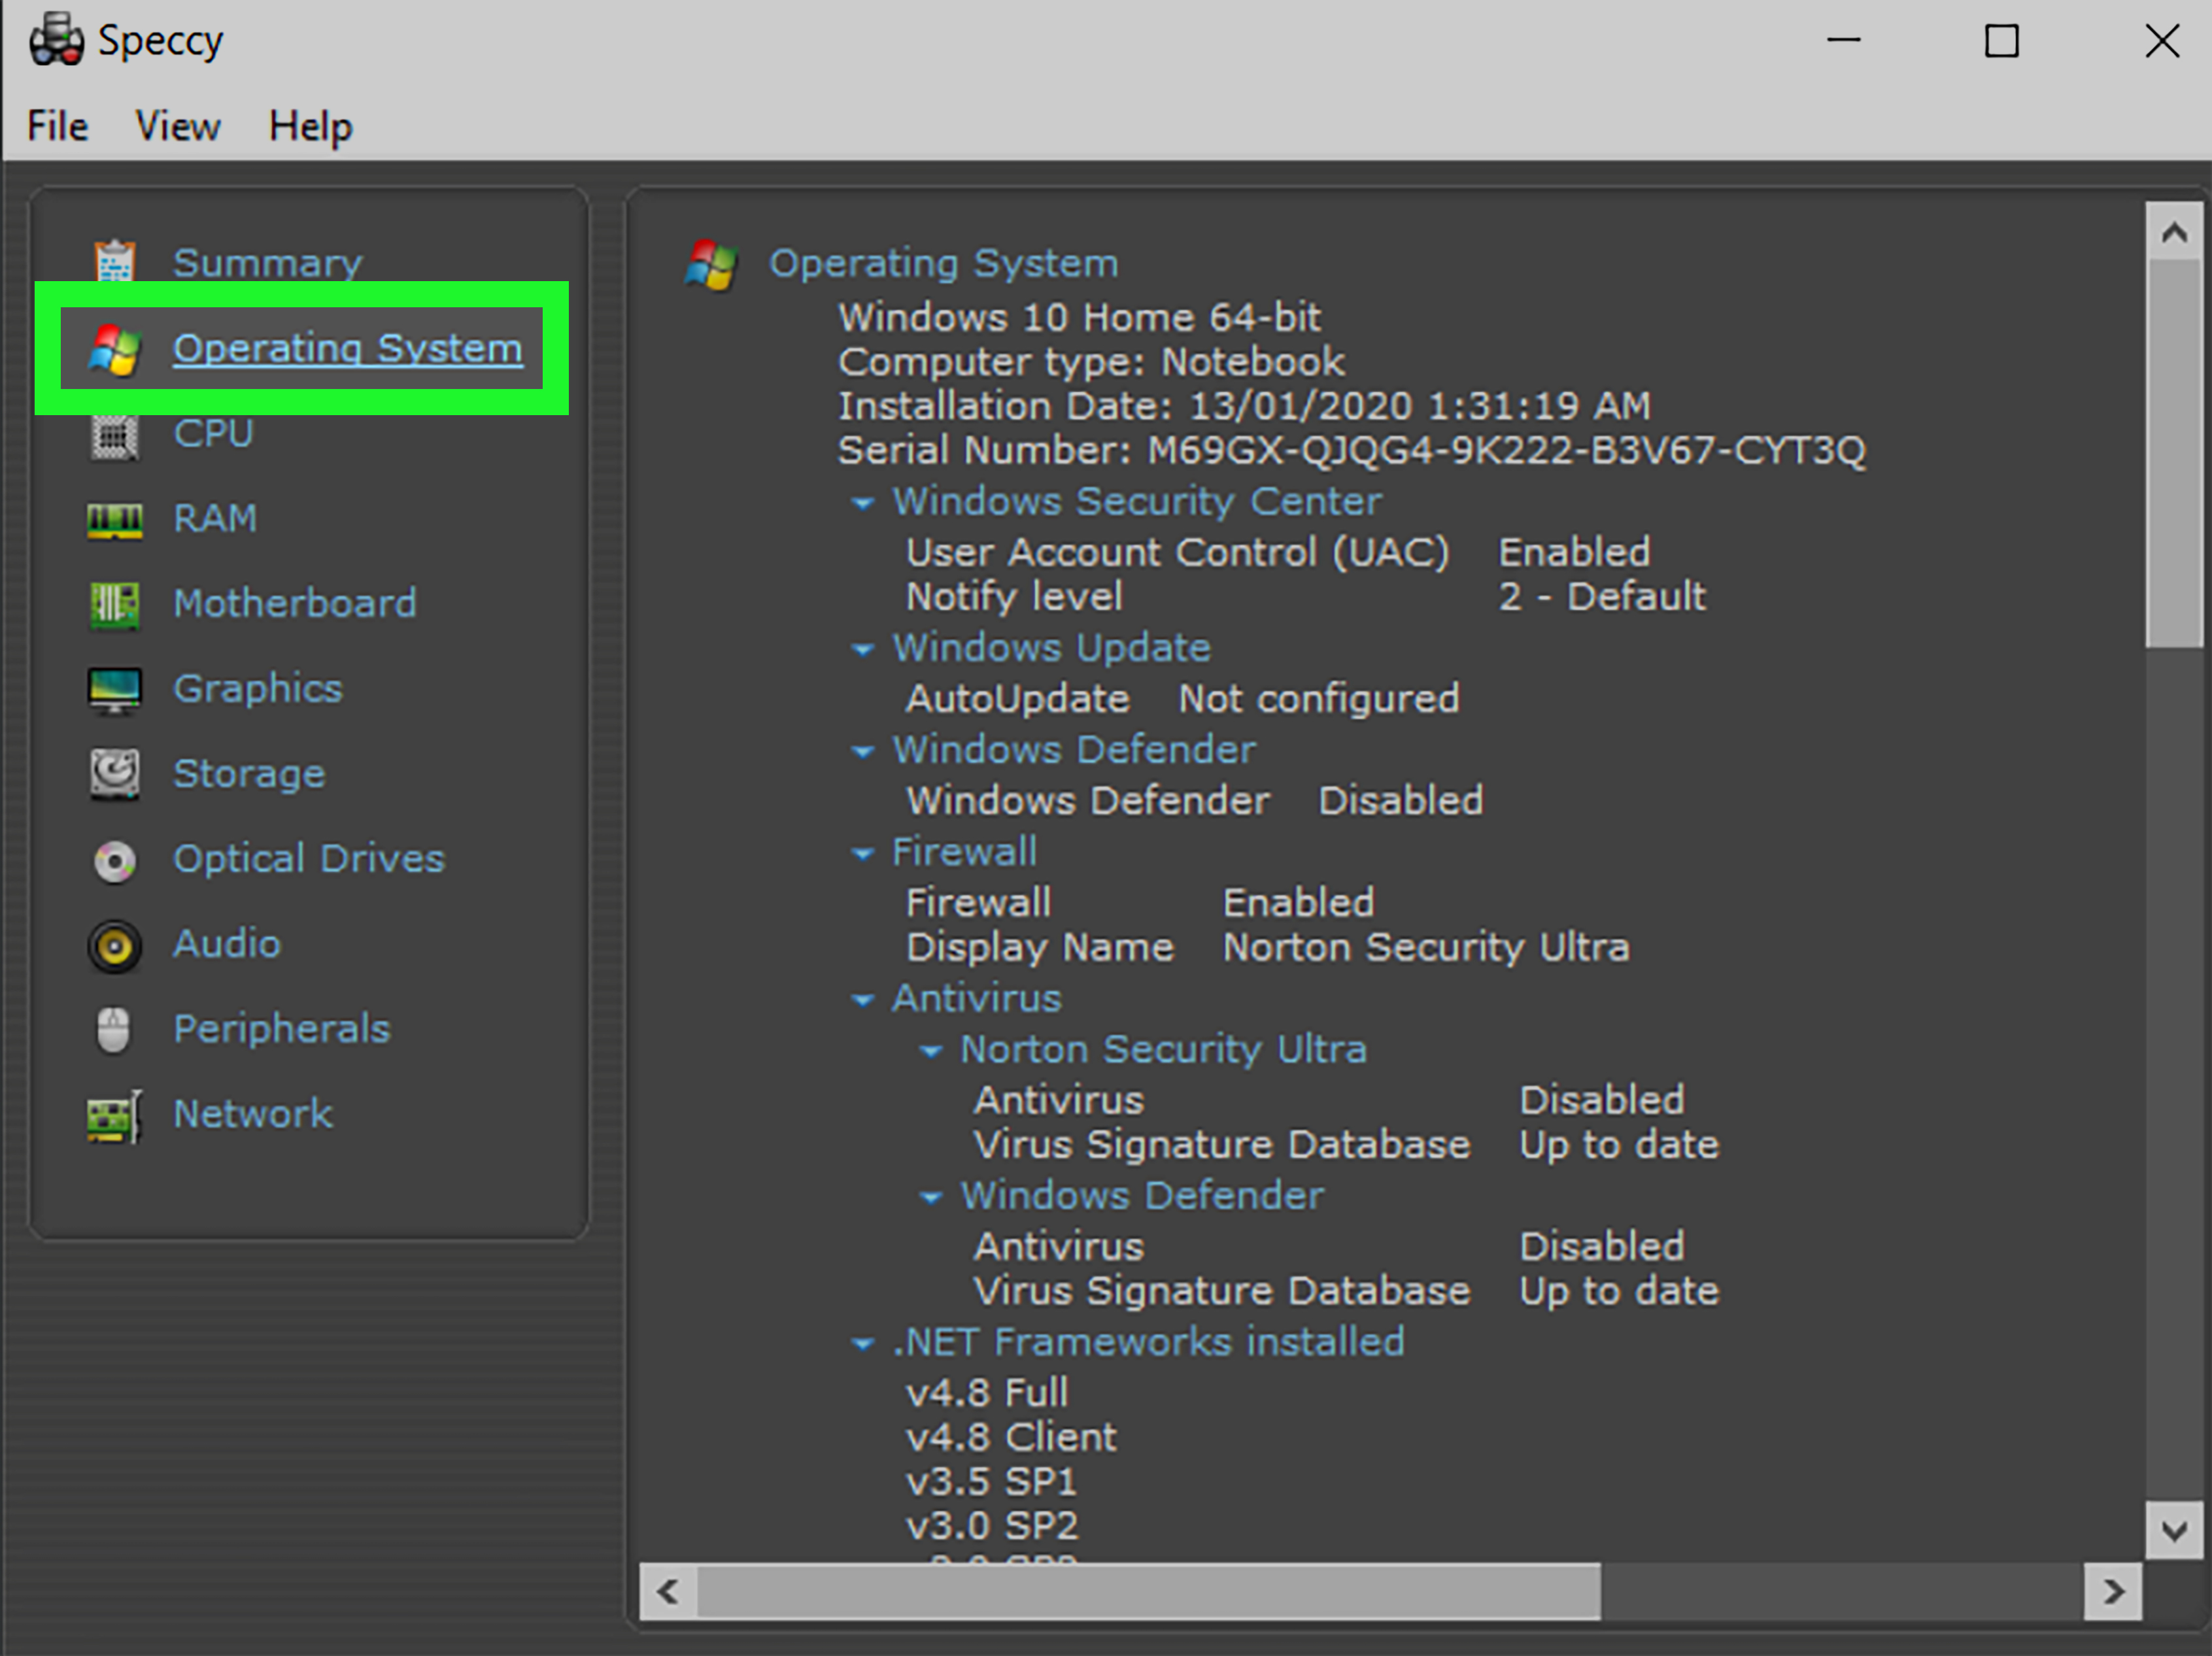
Need to know what’s inside your Windows 10 PC without unscrewing the case like a dramatic movie hacker? Good news: Windows already gives you several easy ways to check your PC specs. Whether you want to see your processor, RAM, graphics card, storage, system type, or Windows version, you can find the details in just a few clicks.
Knowing how to check PC specs on Windows 10 is useful for more than satisfying your inner tech detective. You may need that information before installing software, upgrading RAM, troubleshooting lag, buying a game, replacing a part, or asking tech support for help. And yes, it is much easier than trying to remember what the salesperson said three years ago while pointing at a sticker on the box.
In this guide, you’ll learn six simple methods to check your computer specifications in Windows 10. Some methods are perfect for beginners who just want the basics. Others go deeper and reveal the kind of details that make advanced users nod with approval. Let’s open the hood without actually opening the hood.
Why It Helps to Know Your PC Specs
Before we jump into the step-by-step methods, it helps to know why these details matter. Your PC specs tell you what your computer can realistically handle. If your device has a modest processor and 4GB of RAM, asking it to edit giant videos and run modern games at the same time is like asking a bicycle to tow a boat.
When you check your Windows 10 specs, you can confirm whether your computer has enough memory for multitasking, whether the CPU is powerful enough for work or gaming, whether the GPU can handle creative apps, and whether your system is 32-bit or 64-bit. These details also help you compare your computer against app requirements, especially for games, design software, and productivity tools.
Even if you are not especially technical, learning where to find this information can save time and prevent bad upgrade decisions. It is a lot cheaper to check your specs first than to buy the wrong RAM and then stare at it like it personally betrayed you.
Method 1: Check PC Specs in Settings
If you want the fastest and easiest method, start with the Settings app. This is the best option for everyday users who need a quick overview of their PC.
How to do it
- Click the Start button.
- Select Settings.
- Click System.
- Scroll down and choose About.
What you can see
On the About page, Windows 10 shows important basics such as your device name, processor, installed RAM, device ID, product ID, system type, and Windows edition, version, and OS build. If all you need is a quick answer to questions like “How much RAM do I have?” or “Is my system 64-bit?” this is the cleanest place to look.
This method is simple and beginner-friendly, but it is not the deepest view available. Think of it as the movie trailer version of your PC specs: enough to know what’s going on, but not every behind-the-scenes detail.
Method 2: Use System Information for a Full Overview
If Settings gives you the appetizer, System Information gives you the full buffet. This built-in Windows tool shows a much more detailed breakdown of your hardware and software configuration.
How to do it
- Press Windows + R to open the Run dialog box.
- Type
msinfo32and press Enter.
What you can see
The System Summary section includes your PC model, processor, installed memory, BIOS version, baseboard information, virtualization status, and more. You can also browse categories for components, display, storage, network, and software environment.
This method is great when you want to go beyond the basics. It is especially useful if you need to check motherboard-related details, BIOS information, system model numbers, or a broader hardware profile for troubleshooting. If your computer were applying for a passport, this tool would probably ask for childhood records too.
Method 3: Use the DirectX Diagnostic Tool
The DirectX Diagnostic Tool, also called DxDiag, is another excellent way to inspect your Windows 10 system. It is especially handy when you want to check graphics-related information.
How to do it
- Press Windows + R.
- Type
dxdiagand press Enter. - If prompted, allow Windows to run the tool.
What you can see
On the System tab, you can view your computer name, processor, memory, Windows version, and DirectX version. On the Display tab, you can check details about your graphics card and related drivers. Audio and input device information can also appear in other tabs.
If you are a gamer, creator, or someone trying to figure out whether the PC’s graphics are causing the problem, this method is a strong choice. DxDiag is like that one friend who notices the graphics card immediately and only later remembers to say hello.
Method 4: Check Specs in Task Manager
Task Manager is often used to close frozen apps, but it can also show useful hardware details in real time. This is one of the best methods if you want both specs and live performance data.
How to do it
- Press Ctrl + Shift + Esc to open Task Manager.
- If needed, click More details.
- Select the Performance tab.
What you can see
In the Performance tab, you can click CPU, Memory, Disk, Wi-Fi or Ethernet, and GPU to see key information. For example, the CPU section can show cores and logical processors. The Memory section shows how much RAM is installed and how much is in use. The GPU section helps identify your graphics hardware and activity.
This method is ideal when your question is not just “What do I have?” but also “What is my PC doing right now, and why does the fan sound emotionally overwhelmed?”
Method 5: Use Command Prompt
If you like quick text-based answers or want a no-frills way to view system details, Command Prompt is a solid option. The built-in systeminfo command can show a surprisingly detailed snapshot of your computer.
How to do it
- Type Command Prompt in the Windows search bar.
- Open the app.
- Type
systeminfoand press Enter.
What you can see
The results include the Windows version, build, manufacturer, model, processor, installed memory, BIOS data, network information, and system type. It is a practical method if you need a quick text summary that can be copied and shared.
You can also use more focused commands when you only need a smaller slice of information. For example, many users check memory or OS details this way instead of digging through menus. It is not flashy, but it gets the job done. Think of it as the black coffee of Windows tools.
Method 6: Use PowerShell
PowerShell is another built-in Windows tool, and it can give you a broad view of your computer specifications with a simple command. It is especially helpful for users who want a little more flexibility than Command Prompt provides.
How to do it
- Type PowerShell in the Windows search bar.
- Open Windows PowerShell.
- Type
Get-ComputerInfoand press Enter.
What you can see
This command returns a broad set of system and operating system properties. Depending on your setup, it can include Windows details, BIOS information, hardware data, system manufacturer, and memory-related information.
PowerShell is a smart option when you want more than casual browsing but do not want to dig through multiple menus. It is also useful if you are comfortable with commands and want to filter or reuse the information later. In other words, it makes you feel at least 12% more powerful immediately.
Which Method Should You Use?
All six methods work, but the best one depends on what you need.
| Method | Best For | Depth |
|---|---|---|
| Settings > About | Quick basics like CPU, RAM, system type, Windows version | Basic |
| System Information | Detailed hardware and software overview | Very detailed |
| DxDiag | Graphics, audio, DirectX, and driver-related details | Detailed |
| Task Manager | Live performance plus CPU, memory, disk, and GPU info | Moderate |
| Command Prompt | Fast text summary and shareable system details | Detailed |
| PowerShell | Broader system data for advanced users | Detailed |
If you are a beginner, start with Settings or Task Manager. If you need deep details for troubleshooting or upgrades, go with System Information, Command Prompt, or PowerShell. If the question is mostly about the GPU, head straight for DxDiag or the GPU section in Task Manager.
Common Questions About Windows 10 Specs
How do I know if my Windows 10 PC is 32-bit or 64-bit?
Open Settings > System > About and look for System type. This will tell you whether your operating system is 32-bit or 64-bit.
How can I check my graphics card on Windows 10?
The easiest ways are DxDiag and Task Manager. DxDiag gives a graphics-focused view, while Task Manager shows your GPU in the Performance tab.
What is the best method for checking detailed PC specs?
System Information is the best all-around tool for a detailed view. It offers a more complete picture than the About page and is easier for many people to navigate than command-line tools.
Can I check specs without installing third-party software?
Absolutely. Every method in this article uses tools already built into Windows 10. No downloads, no mystery apps, and no software that politely asks for permission before becoming your new personality.
Real-World Experiences: Why These Methods Matter in Everyday Life
Checking PC specs sounds simple, but in real life, it often becomes the difference between confidence and chaos. A college student trying to install video editing software may assume every laptop can handle the workload, only to discover the system has limited RAM and integrated graphics. A quick stop at Settings or Task Manager could save that student from a frustrating afternoon of lag, crashes, and dramatic sighing.
Gamers run into this all the time too. A game trailer looks amazing, the download begins, and excitement reaches dangerous levels. Then the game launches at approximately three frames per century. In many cases, the problem is not the game itself. It is that the PC does not meet the recommended requirements. By checking the CPU, RAM, and GPU in advance through DxDiag or Task Manager, users can avoid disappointment and know whether they need lower settings, an upgrade, or a fresh dose of honesty.
Remote workers also benefit from knowing their system specs. During a video call, maybe the PC becomes slow whenever too many browser tabs are open, a spreadsheet is running, and a meeting platform is using the camera. That kind of slowdown often points to limited memory or an overworked processor. Task Manager is especially helpful here because it shows both the hardware and the live usage. It turns vague frustration into a specific answer.
Another common experience happens when people buy a used desktop or laptop. Sellers may list a device as “fast,” “great for school,” or the classic “works perfectly.” Those phrases are not technical specifications. Before buying, a smart user should open System Information, check the processor, verify the installed RAM, confirm the Windows version, and look at the graphics hardware. A five-minute check can prevent weeks of regret.
Parents helping kids with school software face similar moments. Educational apps, design tools, and coding platforms all have requirements. If a child says, “The computer says this app can’t run,” the solution often starts with checking whether the system is 64-bit, whether enough RAM is installed, and what Windows version is running. The answer is usually somewhere in About, System Information, or Command Prompt.
Tech support situations are another big one. When a support agent asks for the PC model, BIOS version, or amount of installed memory, many users freeze as if they have just been asked to recite ancient runes. But once you know where to look, it becomes routine. You stop feeling lost, and the support process moves much faster.
The best part is that these methods build confidence. Once people learn where to find their PC specs, computers feel less mysterious. You start understanding what your machine can do, what it struggles with, and what upgrades might actually help. That knowledge is practical, empowering, and occasionally good for winning arguments with software that claims your computer is “not supported.”
Conclusion
Learning how to check PC specs on Windows 10 is one of those small skills that pays off again and again. Whether you prefer the simplicity of Settings, the depth of System Information, the graphics focus of DxDiag, the live view in Task Manager, or the command-based options in Command Prompt and PowerShell, Windows gives you several reliable ways to find what you need.
The smartest approach is to match the tool to the task. Need the basics fast? Use Settings. Need detailed hardware information? Open System Information. Chasing graphics details or game compatibility? Try DxDiag or Task Manager. Want a text-based summary? Use Command Prompt or PowerShell. Once you know these six methods, checking your PC specs becomes less of a chore and more of a superpower with a keyboard shortcut.