Few household mysteries are as annoying as a faucet that suddenly goes from “refreshing stream” to “sad little drizzle.” You turn the handle, expect a normal flow, and instead get water that sputters, sprays sideways, or trickles like it is being rationed by a very dramatic camp counselor. Before you blame the city, the pipes, or the ghost of plumbing past, check the small part at the tip of your faucet: the aerator.
A faucet aerator is the tiny screen or insert screwed into the end of a faucet spout. Its job is simple but important. It mixes air into the water stream, helps reduce splashing, improves the feel of the flow, and can limit water use without making the faucet feel useless. Over time, though, that hardworking little part can collect mineral deposits, sand, rust flakes, pipe debris, and general gunk. When that happens, your faucet may lose pressure, spray unevenly, or make washing a spoon feel like a full-time job.
The good news: cleaning a faucet aerator is one of the easiest DIY plumbing fixes you can do. You usually do not need a plumber, a toolbox the size of a refrigerator, or a dramatic renovation montage. In many cases, all you need is a towel, pliers, an old toothbrush, white vinegar, and about 20 to 60 minutes, depending on how crusty the aerator has become.
What Is a Faucet Aerator?
A faucet aerator is a small removable fitting located at the end of many bathroom and kitchen faucets. It often looks like a little metal ring with a mesh screen inside. Some aerators are visible and easy to unscrew by hand. Others are recessed or hidden inside the faucet spout and require a small aerator key.
Inside the aerator, you may find several small parts: a housing, screen, washer, flow restrictor, and sometimes a plastic insert that shapes the water stream. These parts work together to create a smooth, controlled flow. If you have ever used a faucet that feels strong but does not splash everywhere, thank the aerator. It is the tiny traffic director keeping your water from behaving like a garden sprinkler at a birthday party.
Why Faucet Aerators Get Clogged
Aerators clog because they sit directly in the path of water, catching whatever travels through the faucet. That is useful because it keeps debris from landing in your glass or sink, but it also means the aerator becomes a collection point.
Common causes of clogged faucet aerators include:
- Hard water minerals: Calcium and magnesium can form white or chalky buildup on the screen.
- Rust particles: Older pipes or water heater sediment can send tiny flakes into the faucet.
- Sand and grit: This can happen after plumbing repairs, water main work, or well-water disturbance.
- Pipe debris: Small bits of plumber’s tape, plastic, or scale may get trapped after faucet installation or repair.
- Biofilm and grime: Moist areas can collect residue over time, especially if the faucet is rarely cleaned.
If only one faucet has low flow, the aerator is one of the first things to inspect. If every faucet in the house has weak water pressure, the issue may be bigger, such as a partially closed main valve, pressure regulator problem, supply line issue, leak, or municipal water concern.
Signs Your Faucet Aerator Needs Cleaning
A clogged aerator usually announces itself in ways that are hard to ignore. The faucet may still work, but something feels off. Maybe the water comes out weaker than usual. Maybe it sprays left, right, and somehow slightly upward, as if it has developed opinions. Maybe the stream looks cloudy or uneven.
Look for these warning signs:
- Slow water flow from one faucet
- Uneven or sideways spray
- Sputtering when you turn on the water
- White crust around the faucet tip
- Reduced hot and cold water flow from the same faucet
- Water that feels weaker even when the handle is fully open
- Small particles trapped in the screen
If the water flow improves when the aerator is removed, you have found the culprit. If the flow is still weak with the aerator off, the problem may be inside the faucet cartridge, supply line, shutoff valve, spray head, or home plumbing system.
Tools and Supplies You Need
Cleaning a faucet aerator does not require fancy equipment. In fact, this is the kind of repair that makes you feel handy without forcing you to crawl under the house and question your life choices.
Gather these items:
- Soft cloth or towel
- Adjustable pliers or channel-lock pliers
- Rubber band or masking tape, optional for protecting the finish
- Small bowl
- White vinegar
- Old toothbrush or small cleaning brush
- Toothpick or needle, used carefully
- Aerator key, if you have a hidden or recessed aerator
- Paper towel or phone camera for documenting part order
White vinegar is the classic choice because it helps dissolve mineral deposits without being overly harsh. Avoid strong acids, abrasive powders, and aggressive cleaners unless your faucet manufacturer specifically says they are safe. Specialty finishes such as matte black, oil-rubbed bronze, unlacquered brass, nickel, and copper may react poorly to long vinegar exposure, so always be cautious.
Step-by-Step: How to Clean a Faucet Aerator
Step 1: Close or Cover the Drain
Before removing anything, cover the sink drain with a stopper, towel, or small rag. Aerator parts are small, sneaky, and apparently trained in escape tactics. One dropped washer can turn a five-minute repair into a sink-drain rescue mission.
Step 2: Try to Unscrew the Aerator by Hand
Grip the aerator at the end of the faucet and turn it counterclockwise. On many standard faucets, the aerator housing will loosen by hand. If it does not move, do not immediately attack it with bare pliers. That is how shiny chrome becomes “vintage scratched chrome.”
If the aerator is stuck, wrap it with a soft cloth first. Then gently use pliers to turn it counterclockwise. Apply steady pressure rather than sudden force. If it still refuses to move, soak the faucet tip with a vinegar-filled plastic bag for 15 to 30 minutes to loosen mineral deposits.
Step 3: Use an Aerator Key for Hidden Aerators
Some modern faucets have hidden, recessed, or cache aerators. These sit inside the faucet spout and cannot be grabbed from the outside. If you see small notches inside the faucet tip, you probably need an aerator key. The key fits into the slots and turns the aerator out.
Aerator keys often come with the faucet, but they are easy to misplace because they look like the kind of tiny plastic thing everyone throws into a junk drawer with batteries, mystery screws, and expired coupons. If yours is gone, hardware stores sell universal aerator key kits in several sizes.
Step 4: Take a Photo Before Disassembly
Once the aerator is removed, take a quick photo of the parts before you separate them. Aerators may include a washer, screen, flow insert, and housing. The order matters. A photo gives you a cheat sheet when it is time to put everything back together.
If parts fall out before you can photograph them, lay them on a paper towel in the order they came out. Keep the washer in good condition because a damaged or missing washer can cause leaks around the faucet tip.
Step 5: Rinse Away Loose Debris
Hold the aerator parts under running water. Rinse from both sides if possible. You may see tiny stones, black specks, rust flakes, or white mineral chips wash away. For stubborn debris, use a toothbrush to gently scrub the screen.
Do not gouge the screen with sharp tools. A toothpick can help dislodge particles, but use it carefully. If the mesh is torn, bent, or badly corroded, replacement is better than cleaning.
Step 6: Soak the Aerator in White Vinegar
Place the aerator parts in a small bowl of white vinegar. For light buildup, 15 to 30 minutes may be enough. For heavy hard water scale, soak for a few hours. Some badly clogged aerators benefit from an overnight soak, but do not soak delicate finishes or visible metal housings too long if you are unsure how the finish will react.
The vinegar helps dissolve limescale and mineral crust. You may notice bubbles or small particles loosening in the bowl. That is the satisfying part of the job, like watching your faucet apologize for being difficult.
Step 7: Brush, Rinse, and Inspect
After soaking, scrub the screen and parts with an old toothbrush. Rinse thoroughly under clean water. Hold the screen up to the light. You should be able to see through the mesh. If it still looks blocked, repeat the vinegar soak and brushing process.
Inspect the washer and plastic insert. If the washer is cracked, flattened, or brittle, replace it. If the plastic insert is warped or damaged, the aerator may continue to spray poorly even after cleaning.
Step 8: Flush the Faucet Before Reinstalling
Before putting the aerator back, briefly turn on the faucet and let water run for a few seconds. This flushes out any loose debris sitting at the end of the spout. Use gentle flow and aim carefully because without the aerator, water may splash more than usual.
This step is especially helpful after plumbing work, water heater service, or a recent water shutoff. New debris can travel through the line and immediately clog the freshly cleaned aerator if you skip the flush.
Step 9: Reassemble and Reinstall
Put the aerator parts back in the correct order. Thread the aerator onto the faucet by hand first. It should turn smoothly. If it feels crooked or tight right away, stop and restart. Cross-threading can damage the faucet spout or aerator housing.
Once it is snug, turn on the faucet and check the flow. If water leaks around the aerator, tighten it gently a little more. Do not overtighten. Aerators need to be secure, not welded to the faucet by sheer determination.
How to Clean a Faucet Aerator Without Removing It
Sometimes the aerator is stuck, hidden, or you simply do not have the correct key. In that case, you can try a no-removal vinegar soak.
Here is how:
- Fill a small plastic bag with white vinegar.
- Place the bag over the faucet tip so the aerator is submerged.
- Secure the bag with a rubber band.
- Let it soak for 15 to 60 minutes.
- Remove the bag and scrub the faucet tip with a soft brush.
- Run hot and cold water to flush loosened debris.
This method works well for light mineral buildup and exterior crust. However, if the screen is packed with grit, removing the aerator is still the better fix. Think of the bag method as a surface-level spa treatment. Helpful, yes. Deep cleaning, not always.
When Cleaning Does Not Fix Slow Water
If the faucet still has slow water after cleaning the aerator, do a quick test. Remove the aerator again and run the faucet without it. If the water is strong without the aerator, the aerator may be damaged, too restrictive, or still clogged. Replacing it is inexpensive and often solves the problem.
If the water is still weak without the aerator, look beyond the faucet tip. Check whether the shutoff valves under the sink are fully open. Inspect flexible supply lines for kinks. If the faucet has a pull-down sprayer, clean the spray head screen or hose filter. If only hot or only cold water is weak, the problem may be in the cartridge, valve, or supply line for that side.
Call a plumber if you notice sudden pressure loss throughout the home, leaking pipes, discolored water that does not clear, banging pipes, or pressure problems after major plumbing work. Cleaning an aerator is a great first move, but it cannot fix a failing pressure regulator, corroded pipe, or hidden leak.
How Often Should You Clean a Faucet Aerator?
For most homes, cleaning faucet aerators every six months is a practical schedule. If you live in a hard-water area, use well water, or notice white buildup quickly, clean them every one to three months. Kitchen faucets may need more attention because they are used heavily and often include pull-down spray heads with small internal screens.
Also clean aerators after plumbing repairs, water heater replacement, water main work, or any event that stirs up sediment. If the city shuts off water on your street and your faucet flow gets weird afterward, the aerator probably caught the debris like a tiny bouncer at the faucet door.
Should You Replace the Aerator Instead?
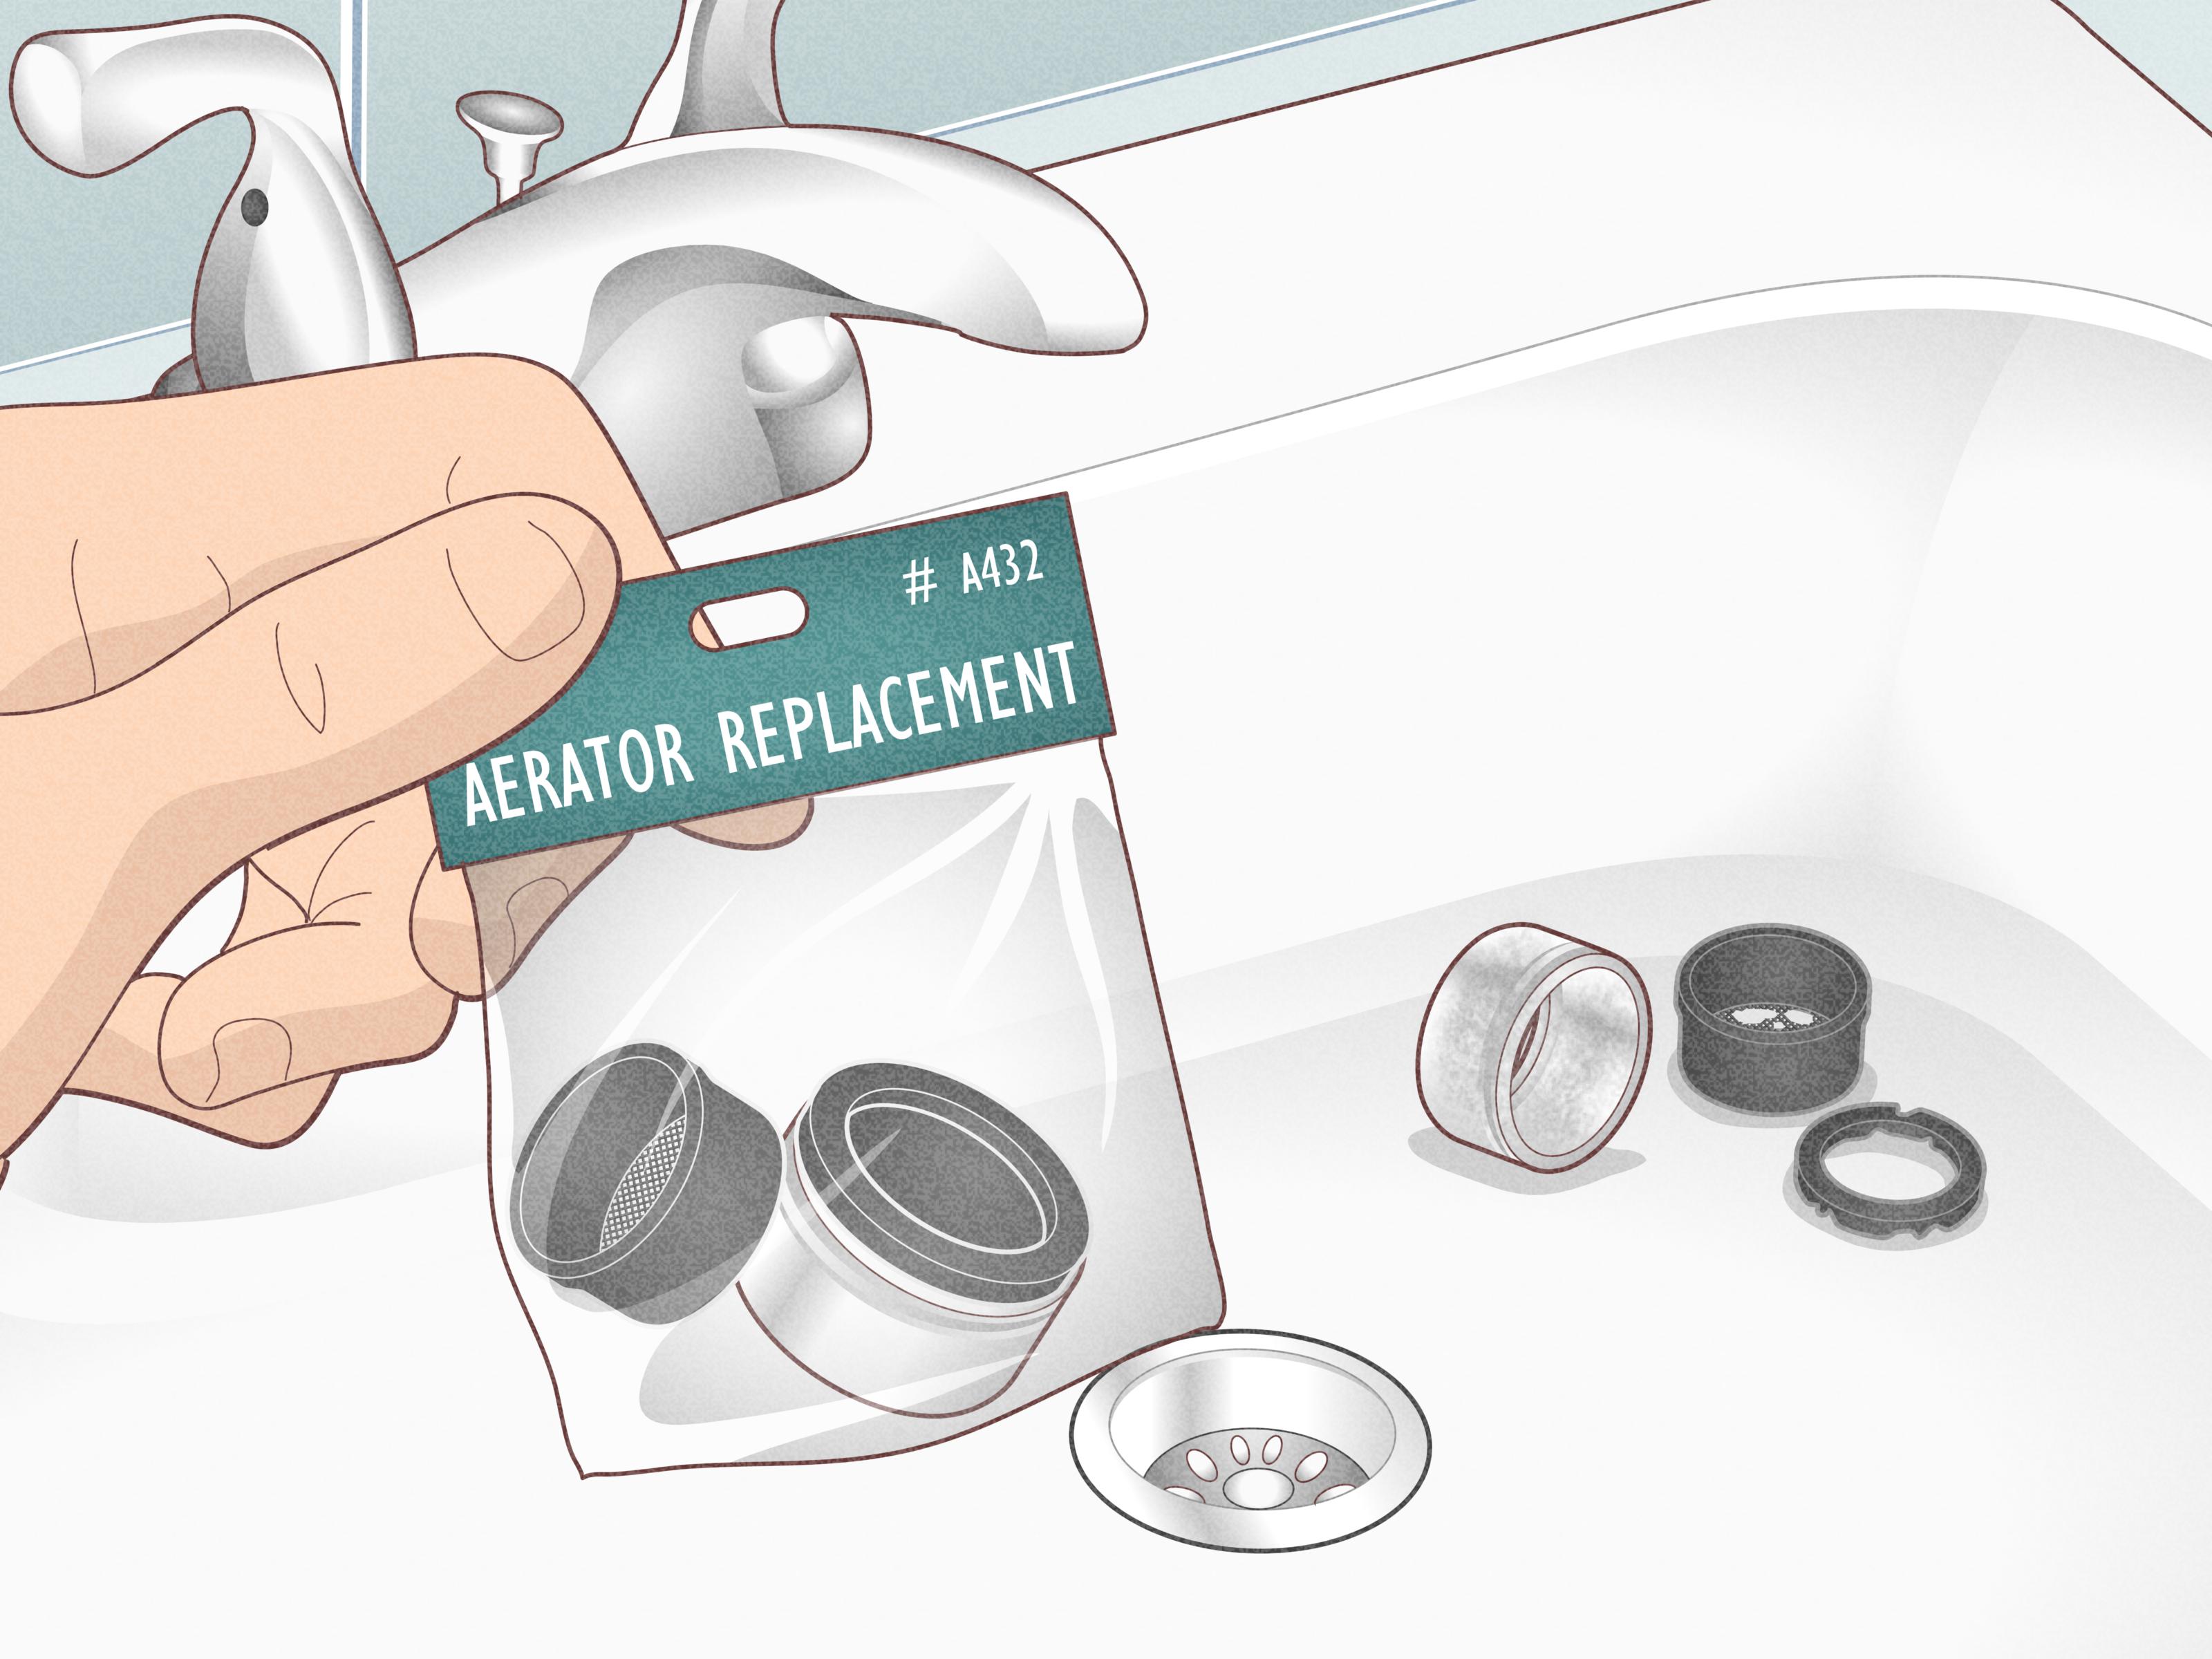
Cleaning is usually enough, but replacement makes sense when the aerator is cracked, corroded, missing parts, or repeatedly clogging. Replacement is also smart if you want a different flow rate or a more efficient WaterSense-style aerator.
Before buying a replacement, identify the thread type and size. Aerators may have male or female threads. A male aerator has threads on the outside; a female aerator has threads on the inside. Bring the old aerator to the hardware store if possible, or check the faucet brand and model. Hidden aerators require more specific sizing, so matching the old part matters.
Water Flow, Water Pressure, and Why the Difference Matters
People often say “low water pressure” when they mean “low water flow.” Pressure is the force pushing water through the plumbing. Flow is the amount of water coming out over time. A clogged aerator restricts flow at the faucet tip, even if your home’s pressure is perfectly normal.
That is why cleaning the aerator can feel like magic. You are not increasing the pressure from the city or well system. You are removing the tiny traffic jam at the faucet exit. The water was ready to move; the aerator was just acting like a clogged coffee filter.
Safety and Finish Protection Tips
Most aerator cleaning is safe and simple, but a few precautions help prevent damage:
- Wrap pliers with a cloth before gripping the aerator.
- Do not use steel wool on faucet finishes.
- Avoid long vinegar soaks on specialty finishes unless approved by the manufacturer.
- Never force a stuck aerator hard enough to bend the faucet spout.
- Start threading by hand to avoid cross-threading.
- Replace damaged washers to prevent leaks.
- Keep small parts away from the drain.
If you are renting, keep the old aerator if you replace it. Some landlords prefer original parts, and keeping the old one avoids a tiny but surprisingly annoying disagreement later.
Extra Experience: Real-Life Lessons From Cleaning Faucet Aerators
After cleaning a few faucet aerators, you start to notice patterns. The first lesson is that the worst-looking faucet is not always the most clogged one. Sometimes the bathroom sink with shiny chrome and no visible crust has a screen packed with sediment. Meanwhile, the kitchen faucet that looks like it has survived three cooking experiments and a pasta-water explosion flows perfectly. Appearances lie. Water flow tells the truth.
One useful habit is to test the faucet before and after cleaning. Fill a measuring cup for 10 seconds and compare the difference. You do not need laboratory precision. The goal is to see whether the cleaning made a noticeable improvement. In many homes, the change is obvious immediately. The faucet goes from tired drizzle to smooth stream, and suddenly washing your hands no longer feels like waiting for a glacier to melt.
Another experience-based tip: always check both hot and cold water. If both sides are slow, the aerator is more likely to be the issue. If only hot water is slow, the problem may be related to the hot-side valve, cartridge, or sediment from the water heater. If only cold is slow, look at the cold shutoff valve or supply line. This simple test can keep you from scrubbing the same innocent aerator three times while the real problem sits under the sink wearing a tiny villain cape.
Hidden aerators deserve special respect. Many modern faucets look sleek because the aerator is recessed inside the spout. That design is attractive, but when cleaning time comes, you need the correct key. If you just moved into a home, check the cabinet under the sink for a small plastic tool taped to the supply line or stored with the faucet paperwork. Homeowners often do not realize the tool is there. It may look unimportant, but it is basically the magic key to the faucet kingdom.
For hard water homes, vinegar soaking works best when combined with brushing. Soaking alone loosens minerals, but brushing clears the screen. A soft toothbrush is ideal because it can reach the mesh without damaging it. If the aerator still looks clogged after one soak, repeat the process rather than scraping aggressively. Patience is cheaper than replacing a scratched faucet tip.
Do not ignore the washer. A small rubber washer can decide whether your faucet behaves beautifully or leaks around the aerator like it has sprung a tiny fountain. If water drips from the threads after reinstalling, remove the aerator and check the washer position. Sometimes it is upside down, twisted, missing, or cracked. Replacing a washer costs very little and can save you from overtightening the aerator in frustration.
One of the most common mistakes is tightening the aerator too much. People want to make sure it is secure, so they crank it down with pliers. Later, when it needs cleaning again, it is stuck like it has signed a lifetime contract. Hand-tight plus a gentle nudge is usually enough. If it leaks, tighten slightly. The goal is snug, not heroic.
It also helps to make aerator cleaning part of a seasonal home routine. Clean the aerators when you change HVAC filters, test smoke alarms, or deep-clean the kitchen. A six-month rhythm keeps buildup from becoming stubborn. In hard-water areas, a shorter schedule is better. If white scale appears quickly on faucets and shower doors, it is probably forming inside the aerator too.
Finally, replacement should not feel like failure. Aerators are small, inexpensive parts that wear out. If cleaning no longer restores flow, or if the stream remains crooked, buy a matching replacement. A new aerator can improve flow, reduce splash, and make the faucet feel new again. Sometimes the smartest DIY move is not heroic cleaning; it is knowing when a five-dollar part has done its duty and deserves retirement.
Conclusion
Cleaning a faucet aerator is one of the fastest ways to fix clogs, slow water, and strange spray patterns. Start by removing the aerator, rinsing loose debris, soaking mineral buildup in white vinegar, brushing the screen, flushing the faucet, and reinstalling everything carefully. If the flow improves, you solved the problem with a simple DIY fix. If it does not, the next suspects are the spray head, cartridge, shutoff valves, supply lines, or broader plumbing system.
The best part is that aerator maintenance is quick, affordable, and beginner-friendly. A clean aerator helps your faucet work better, reduces splashing, supports efficient water use, and saves you from blaming the entire plumbing system for a problem caused by a tiny clogged screen. Small part, big difference. Plumbing rarely gets more satisfying than that.