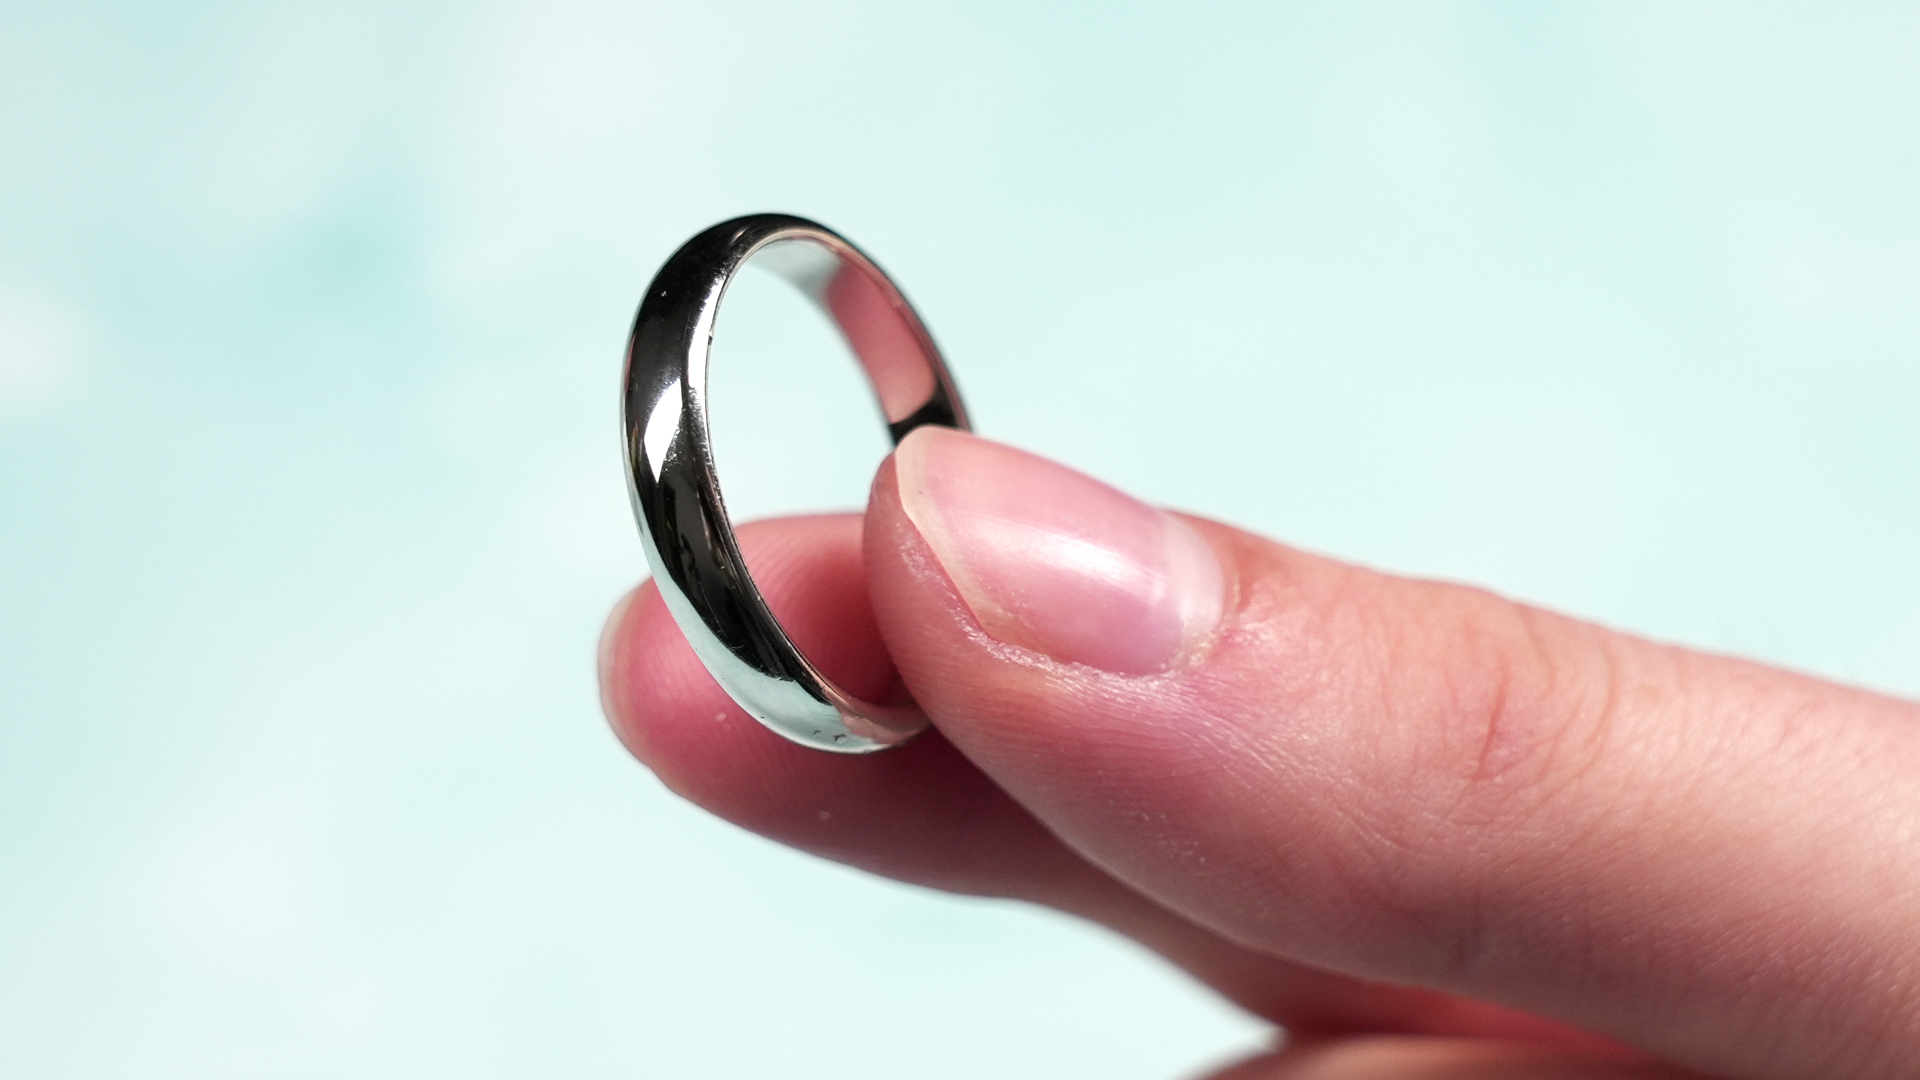
Sterling silver is beautiful, timeless, and just dramatic enough to turn black when ignored. One week your favorite bracelet looks like it belongs in a boutique display case; the next, it looks as if it survived a pirate shipwreck. The good news? Most sterling silver tarnish is not permanent damage. In many cases, you can brighten dull silver at home using a simple combination of baking soda, aluminum foil, hot water, and a little patience.
This guide explains how to clean sterling silver with baking soda and aluminum safely, when the method works best, when you should avoid it, and how to keep your silver shining longer. Whether you are cleaning rings, necklaces, flatware, trays, charms, or thrift-store treasures, the goal is the same: remove tarnish without treating your silver like a kitchen pan that owes you money.
Why Sterling Silver Tarnishes
Sterling silver is usually made of 92.5% silver and 7.5% other metals, commonly copper. Pure silver is soft, so those added metals help make jewelry, flatware, and decorative pieces stronger for everyday use. However, silver reacts with sulfur-containing compounds in the air, on skin, in food, and even in certain storage materials. That reaction creates silver sulfide, the dark layer we call tarnish.
Tarnish is not the same as dirt. Dirt sits on the surface. Tarnish is a chemical change on the surface. That is why soap alone may remove fingerprints and grime but still leave your silver looking gray, yellow, brown, or black. The baking soda and aluminum method works because it uses a gentle electrochemical reaction to help reverse tarnish rather than simply scraping it away.
How Baking Soda and Aluminum Clean Silver
The short version: aluminum is more reactive than silver. When tarnished sterling silver touches aluminum foil in a hot baking soda solution, sulfur can move away from the silver and toward the aluminum. The silver surface becomes brighter, while the foil may become dull, gray, or stained. In other words, the foil takes one for the team.
Baking soda helps make the water conductive, allowing the reaction to happen more efficiently. Salt is often added because it can also improve conductivity, though some people prefer using only baking soda and hot water for a gentler bath. The important detail is contact: the silver must touch the aluminum foil. If the pieces float around without touching the foil, the magic show becomes more of a waiting room.
What You Need
- Aluminum foil
- A glass, ceramic, or heat-safe plastic bowl or baking dish
- Boiling or very hot water
- Baking soda
- Optional: table salt or kosher salt
- Plastic or wooden tongs
- A soft microfiber cloth
- Mild dish soap for pre-washing
Basic Ratio
For small jewelry pieces, use about 1 tablespoon of baking soda per cup of hot water. For larger bowls or flatware, use 2 to 4 tablespoons of baking soda. If adding salt, use about 1 tablespoon per cup of water or slightly less for delicate items. This is not a cake recipe, so perfect measuring is not required, but avoid dumping half the box into a tiny bowl and calling it enthusiasm.
Step-by-Step: How to Clean Sterling Silver with Baking Soda and Aluminum
Step 1: Wash Off Surface Dirt
Before removing tarnish, wash your silver with warm water and a drop of mild dish soap. This removes lotion, oils, dust, food residue, and mystery gunk from the “I forgot this was in a drawer” era. Rinse well and set the piece aside. A clean surface allows the tarnish-removal reaction to work more evenly.
Step 2: Line the Container with Aluminum Foil
Line the bottom of your heat-safe container with aluminum foil, shiny side up or down. The side does not matter as much as full contact. If you are cleaning flatware or several jewelry pieces, use enough foil to cover the base so every item can touch aluminum directly.
Step 3: Add Baking Soda and Optional Salt
Sprinkle baking soda over the foil. Add salt if you want a stronger cleaning bath for heavily tarnished items. For delicate sterling silver jewelry, especially pieces with fine details, start with baking soda only. You can always repeat the process; you cannot un-overdo it.
Step 4: Pour in Hot Water
Carefully pour boiling or very hot water into the container. The mixture may fizz slightly, especially if salt or other ingredients are added. Stir gently with a wooden or plastic utensil to dissolve the baking soda. Do not use a metal spoon unless you enjoy making the chemistry more crowded than necessary.
Step 5: Add the Sterling Silver
Place the sterling silver pieces into the bath so each item touches the aluminum foil. Avoid piling pieces on top of one another. Chains should be spread out as much as possible. Flatware should lie in a single layer. If a piece has stubborn tarnish on one side, make sure that side has contact with the foil.
Step 6: Soak Briefly
Let the silver soak for 2 to 5 minutes. Light tarnish may disappear quickly. Heavier tarnish may need 10 minutes or a second fresh bath. Check often. Do not leave sterling silver soaking for an hour while you scroll through your phone and accidentally reorganize your entire digital life.
Step 7: Rinse Thoroughly
Use plastic or wooden tongs to remove the silver. Rinse each item under warm running water to remove any baking soda residue. Residue can dry into a chalky film, especially in tiny crevices, chain links, engraving, or decorative patterns.
Step 8: Dry and Buff Immediately
Dry the silver completely with a soft microfiber cloth. This step matters. Water left on silver can cause spotting, dullness, or new tarnish. After drying, gently buff the surface to restore shine. The baking soda and aluminum bath removes tarnish, but a cloth brings back the finished glow.
What Sterling Silver Items Can You Clean This Way?
This method is best for plain sterling silver items without fragile stones, glue, intentional darkened details, or valuable antique patina. Good candidates include simple sterling silver rings, plain chains, charms, spoons, forks, small trays, napkin rings, and decorative items with moderate tarnish.
However, not all silver should take a hot bath. Avoid this method for jewelry with pearls, opals, turquoise, emeralds, coral, amber, or other porous or heat-sensitive stones. Also avoid it for pieces with glued settings, painted details, intentionally oxidized designs, blackened grooves, or museum-quality antiques. The method may remove attractive patina from recessed areas, making old silver look flatter and less defined.
When Not to Use Baking Soda and Aluminum
Do not use this method on silver-plated items if the plating is thin, worn, or flaking. Silver plate has only a layer of silver over another metal, so aggressive cleaning can reveal the base metal underneath. If your piece is valuable, sentimental, or antique, consider a professional jeweler or conservator before experimenting.
You should also skip the foil bath for pieces with heavy black decorative oxidation. Many sterling silver rings and pendants are intentionally darkened in the recessed areas to make patterns stand out. The baking soda and aluminum reaction may lighten those dark details, which is fantastic if you dislike design contrast and less fantastic if you wanted the ring to keep its character.
Baking Soda Paste vs. Aluminum Foil Bath
A baking soda paste is another common way to clean silver. You mix baking soda with a little water, rub it gently onto the tarnished surface, rinse, and dry. This works well for large items or isolated tarnish spots. However, baking soda is mildly abrasive, so rubbing too hard can leave tiny scratches, especially on high-polish silver.
The aluminum foil bath is different. Instead of relying mainly on rubbing, it uses a chemical reaction. That makes it useful for chains, grooves, and detailed surfaces where a cloth cannot easily reach. Still, it is not a universal replacement for polishing. If your silver is clean but lacks shine, a high-quality silver polishing cloth may be the better finishing move.
How to Clean Sterling Silver Jewelry Safely
For jewelry, start gently. Wash the piece with mild soap and warm water, then inspect it. If it is a plain sterling silver piece, use a short baking soda and aluminum bath. Rinse thoroughly, dry completely, and buff with a soft cloth. For chains, move them around during rinsing to remove residue from the links.
For gemstone jewelry, be cautious. Diamonds and some durable stones may tolerate warm cleaning, but many gems do not like heat, soaking, or sudden temperature changes. Pearls, opals, turquoise, and similar stones should not go into this bath. When in doubt, clean only the silver areas with a polishing cloth or ask a jeweler.
How to Clean Sterling Silver Flatware
Flatware usually responds well to the foil method, especially when tarnish is light to moderate. Line a large baking dish or sink with foil, add baking soda and hot water, and place the utensils in a single layer. Make sure handles and bowls touch the foil. Soak briefly, rinse well, and dry immediately.
Be extra careful with sterling-handled knives. Some knife handles are hollow or attached with materials that may not appreciate soaking or heat. Do not leave knives submerged for long periods. Wash and dry them by hand, and avoid dishwashers unless the manufacturer specifically says the piece is dishwasher-safe.
Common Mistakes to Avoid
Using the Method on the Wrong Item
The biggest mistake is treating every shiny gray object as if it were solid sterling silver. Check markings such as “925,” “Sterling,” or manufacturer stamps. If you cannot identify the item, use the gentlest cleaning method first.
Soaking Too Long
Longer is not always better. The bath can remove tarnish quickly, but extended soaking may affect patina, adhesives, or delicate details. Check the piece every few minutes.
Skipping the Rinse
Baking soda residue can hide in patterns and chain links. Rinse thoroughly, especially on engraved pieces or filigree jewelry.
Air-Drying Silver
Air-drying sounds harmless, but it can leave water spots. Hand-dry silver immediately with a lint-free cloth.
Scrubbing with Harsh Tools
Never use steel wool, rough sponges, abrasive pads, or stiff brushes on sterling silver. They can scratch the surface and make future tarnish cling more easily.
How to Prevent Sterling Silver from Tarnishing
The best cleaning routine is the one you do not need very often. Store sterling silver in anti-tarnish bags, soft cloth pouches, or lined jewelry boxes. Keep pieces separated to prevent scratching. Avoid storing silver in bathrooms, where moisture speeds up tarnish.
Put jewelry on after applying lotion, perfume, sunscreen, or hair products. Remove silver before swimming, showering, cleaning, or using bleach and household chemicals. For flatware, wash soon after meals, especially if the meal includes eggs, onions, mustard, or other sulfur-rich foods. Yes, your brunch can betray your spoons.
Frequent use can actually help silver stay brighter because handling and gentle washing prevent heavy tarnish buildup. Silver that sits untouched for years tends to darken faster. So if you own sterling silver flatware, use it occasionally. Life is short; eat takeout noodles with the fancy fork if the mood strikes.
Troubleshooting: Why Is My Silver Still Tarnished?
If tarnish remains after one bath, the silver may not have touched the aluminum well enough. Try again with fresh foil and make sure the darkest areas are in contact with it. You can also gently buff with a polishing cloth after rinsing and drying.
If the piece still looks yellow, gray, or cloudy, it may need a silver polish designed for sterling silver. If the surface looks uneven, pitted, or worn, the item may be silver-plated rather than solid sterling, or it may have old damage that cleaning cannot fix. In that case, a professional opinion is worth more than another round of kitchen chemistry.
My Real-World Experience Cleaning Sterling Silver with Baking Soda and Aluminum
The first time I tried cleaning sterling silver with baking soda and aluminum, I expected disappointment. It sounded too simple, like one of those household hacks where someone says, “Just use a lemon!” and suddenly you are standing in your kitchen with sticky counters and no solutions. But the method actually worked, especially on plain sterling silver pieces that had turned dull from storage.
The biggest lesson was that contact with the aluminum foil matters more than people think. I once dropped a small sterling charm into the bowl and assumed the hot water would handle everything. It improved slightly, but not dramatically. Then I pressed the charm gently against the foil with a wooden spoon, and the tarnish began fading faster. That small adjustment made the difference between “maybe cleaner?” and “oh, there it is.”
I also learned not to overcrowd the bowl. When several rings, chains, and charms sit in a pile, only some surfaces touch the foil. The pieces on top may barely change. Now I clean in small batches. Rings go in first, then chains, then larger pieces. It takes a few extra minutes, but the results are more even and there is less untangling afterward. A wet silver chain can tie itself into a knot with the confidence of a professional magician.
Drying is another step that deserves respect. Early on, I rinsed a necklace and left it on a towel, thinking it would dry naturally. It did dry, but it also developed little water marks and a slightly cloudy look. Now I pat pieces dry, then use a microfiber cloth to buff them lightly. For chains, I lay them flat, press gently with the cloth, and let them finish drying in open air only after most moisture is gone.
The method is most satisfying on moderately tarnished pieces. Lightly dull silver brightens quickly, while very black silver may need a second bath with fresh foil. But I do not use this method on every piece. If jewelry has pearls, turquoise, glued stones, or intentional dark oxidation, I skip the soak and use a polishing cloth instead. The goal is not to make every piece look factory-new; the goal is to make it look cared for.
For flatware, the baking soda and aluminum bath feels almost unfairly easy. A tarnished spoon can look dramatically better in minutes. Still, I always wash flatware first, rinse after the bath, and dry each piece immediately. The final hand-buffing is what gives it that dinner-party shine. Without drying and buffing, silver can look clean but not impressive.
Overall, this method has earned a permanent place in my cleaning routine, but with boundaries. It is quick, affordable, and surprisingly effective for the right sterling silver items. It is not the method I would use for heirloom antiques, fragile gemstone jewelry, or anything with sentimental value that makes me nervous. For everyday sterling silver, though, baking soda and aluminum are a reliable team. They are not glamorous, but neither is tarnish.
Conclusion
Cleaning sterling silver with baking soda and aluminum is one of the easiest at-home ways to remove tarnish from plain silver jewelry, flatware, and decorative pieces. The method works because aluminum, baking soda, and hot water create a reaction that helps lift silver sulfide from the surface. For best results, wash first, make sure the silver touches the foil, soak briefly, rinse thoroughly, and dry immediately.
Use this technique wisely. It is excellent for many everyday sterling silver pieces, but it is not ideal for pearls, porous gemstones, glued settings, antiques, silver plate with worn areas, or intentionally oxidized designs. When silver is valuable or fragile, gentle polishing or professional care is the safer path. Done correctly, this humble kitchen method can bring back shine without drama, harsh scrubbing, or a shopping cart full of specialty cleaners.
Note: This article is intended for general household sterling silver care. For valuable antiques, museum-quality pieces, fragile gemstones, or uncertain materials, consult a professional jeweler or conservator before cleaning.