If your Android phone refuses to send a picture message, download a group text, or deliver that very important photo of your dog wearing sunglasses, the problem is often not your phone being dramatic. It is usually MMS configuration. MMS, short for Multimedia Messaging Service, allows Android phones to send and receive photos, videos, audio clips, contact cards, and group messages through your mobile carrier.
Unlike regular SMS, MMS needs more than basic texting service. It usually requires active mobile data, the correct carrier settings, a working SIM or eSIM, and properly configured APN settings. APN stands for Access Point Name, which is the gateway your phone uses to connect to your carrier’s data network. Think of it as the address your Android phone uses to find the right door. If the address is wrong, your message stands outside forever holding a tiny attachment and looking confused.
This guide explains how to configure MMS on Android in 12 practical steps. The instructions work for many Samsung Galaxy, Google Pixel, Motorola, OnePlus, Nokia, and other Android devices, although exact menu names may vary slightly depending on your phone model, Android version, and carrier.
What Is MMS on Android?
MMS is the messaging technology that lets you send multimedia content through your carrier’s cellular network. While SMS is mostly limited to plain text, MMS supports pictures, short videos, GIFs, longer messages, and group conversations. On Android, MMS may be handled by Google Messages, Samsung Messages, your carrier’s messaging app, or another default SMS app.
MMS is different from app-based messaging services like WhatsApp, Facebook Messenger, Telegram, or Signal. Those apps use the internet directly. MMS uses your carrier’s messaging and data infrastructure, which is why carrier settings matter. Wi-Fi alone is not always enough. In many cases, your Android phone must have mobile data turned on, even if you are connected to a strong Wi-Fi network.
Before You Start: What You Need
Before changing settings, gather a few basics. You need an active mobile plan that includes picture messaging or multimedia messaging. You also need a SIM or eSIM that is properly activated. Make sure your phone is unlocked or compatible with your carrier if you recently switched networks. Finally, check your carrier’s official APN settings because values can differ between AT&T, T-Mobile, Verizon-based providers, Mint Mobile, US Mobile, Consumer Cellular, and other mobile virtual network operators.
Do not randomly copy APN settings from an old forum unless you enjoy turning your phone into a pocket-sized puzzle box. Carrier settings can change, and the right APN for one network may not work on another. When possible, use the values from your carrier’s official support page or account setup instructions.
How to Configure MMS on Android: 12 Steps
Step 1: Confirm That Mobile Data Is Turned On
Open Settings, then go to Network & internet, Connections, or Mobile network. Turn on Mobile data. MMS usually needs cellular data to send and receive attachments, even when Wi-Fi is active. If your phone has mobile data disabled, picture messages may sit there spinning like they are training for a marathon.
After enabling mobile data, try sending a small picture message to yourself or a trusted contact. If it works, congratulations: the solution was simple, and your phone was just being picky.
Step 2: Check Your Signal and Airplane Mode
Look at your signal bars. MMS may fail if you are in a basement, elevator, rural area, parking garage, or any place where cellular signal disappears faster than snacks at a meeting. Also check that Airplane mode is turned off. You can toggle Airplane mode on for 10 seconds and turn it off again to refresh the connection.
If you have weak reception, move near a window or outside. MMS depends on your carrier connection, so a strong Wi-Fi signal does not always fix the issue.
Step 3: Make Your Messaging App the Default SMS App
Android needs to know which app should handle SMS and MMS. Open Settings, search for Default apps, and select SMS app. Choose your preferred app, such as Google Messages or Samsung Messages.
If you recently installed a new messaging app, your phone may be confused about who is in charge. Setting one default app prevents MMS downloads from getting stuck between apps like two people both saying, “No, you go first.”
Step 4: Update Your Messaging App
Open the Google Play Store and update your messaging app. Updates often fix bugs related to attachments, group messages, RCS chats, and background syncing. If you use Google Messages, search for it in the Play Store and tap Update if available. Samsung users can also check the Galaxy Store for Samsung Messages updates.
After updating, restart the app and try sending another MMS. A quick update can sometimes solve what looks like a complicated network issue.
Step 5: Restart Your Android Phone
Yes, the classic “turn it off and on again” step deserves its own moment. Restarting your phone refreshes the network connection, clears temporary glitches, and forces the device to reconnect to the carrier. Hold the power button, tap Restart, and wait for your phone to fully reconnect.
Once your signal returns, send a test picture message. If the message sends, you have successfully defeated the tiny gremlin living in your connection cache.
Step 6: Reset APN Settings to Default
APN settings control how your phone connects to mobile data and MMS. On many Android phones, you can reset them before entering anything manually. Go to Settings > Network & internet or Connections > Mobile network > Access Point Names. Tap the three-dot menu and choose Reset to default.
On Samsung Galaxy phones, the path is commonly Settings > Connections > Mobile networks > Access Point Names > More options > Reset to default. Menu wording may vary, but the goal is the same: restore the carrier’s default APN profile.
Step 7: Add a New APN Manually
If resetting the APN does not fix MMS, add a new APN. Open Access Point Names, tap the plus sign or Add, and enter your carrier’s official values. The common fields include Name, APN, MMSC, MMS proxy, MMS port, MCC, MNC, Authentication type, APN type, APN protocol, and APN roaming protocol.
For example, a carrier may use an APN such as fast.t-mobile.com, NXTGENPHONE, ENHANCEDPHONE, Wholesale, or another network-specific value. The MMSC field is especially important for MMS because it tells your phone where to send multimedia messages. Enter values carefully. APN settings can be case-sensitive, and one extra space can ruin the party.
Step 8: Save and Select the New APN
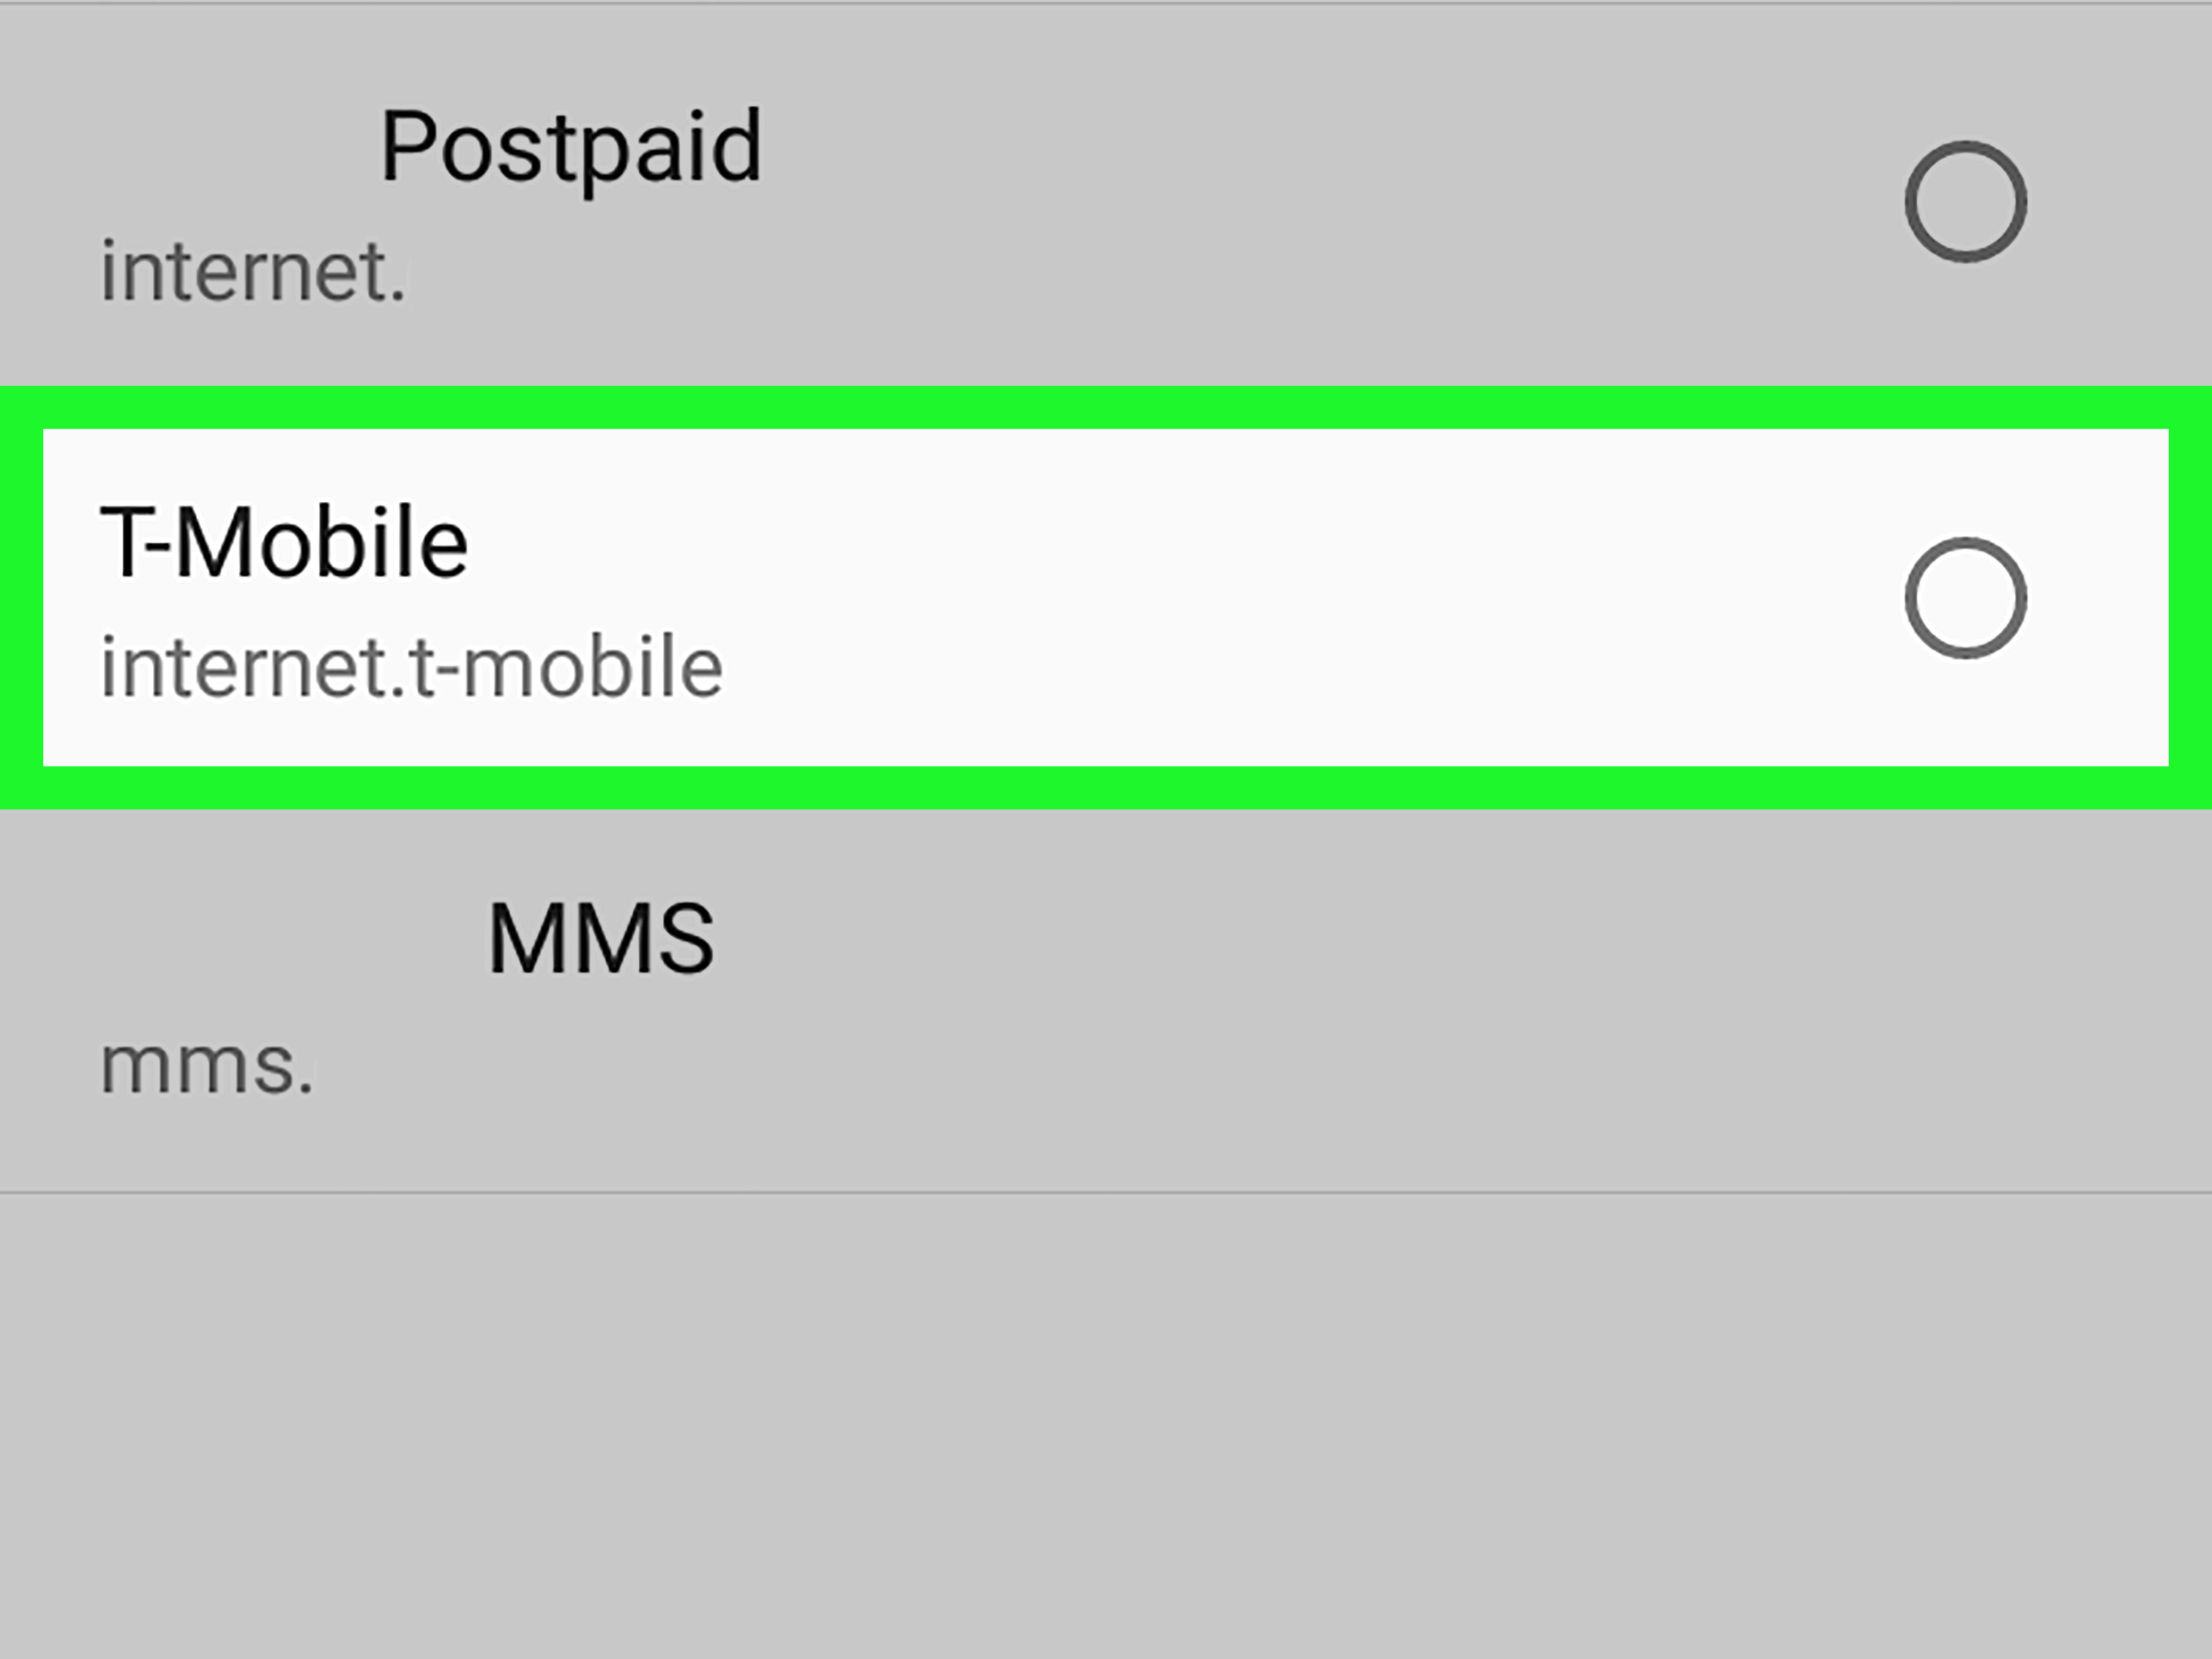
After entering the APN details, tap the three-dot menu and choose Save. Then return to the APN list and select the new APN by tapping the circle or radio button beside it. This step is easy to miss. If you create a perfect APN but do not select it, your phone may keep using the old broken one.
Restart your phone after selecting the new APN. Once it powers back on, wait for mobile data to reconnect before testing MMS again.
Step 9: Check APN Type for MMS
The APN type field tells Android which services the APN supports. A typical phone APN may include values such as default,mms,supl or default,mms,supl,hipri. If mms is missing from the APN type, picture messaging may fail even when mobile internet works.
Do not add random values unless your carrier tells you to. Use the exact APN type from your carrier’s instructions. If the field is blank and your carrier says to leave it blank, leave it blank. Sometimes the best setting is the one you do not touch.
Step 10: Make Sure MMSC, MMS Proxy, and MMS Port Are Correct
The MMSC field is the multimedia messaging service center. It is one of the most important MMS settings. The MMS proxy and MMS port may also be required, depending on your carrier. Some carriers leave proxy and port blank, while others use a specific proxy address and port number such as 80 or 8080.
If mobile data works but MMS does not, the MMSC, proxy, or port fields are prime suspects. Recheck spelling, punctuation, slashes, and dots. A missing colon or incorrect port number can stop MMS from working.
Step 11: Turn Off VPN or Private DNS Temporarily
Some VPN apps, firewall apps, ad blockers, or Private DNS settings can interfere with carrier services. Temporarily disable your VPN and try sending MMS again. To check Private DNS, open Settings, search for Private DNS, and switch it to Automatic if you previously entered a custom provider.
This does not mean VPNs are bad. It simply means troubleshooting works best when fewer things are standing between your phone and the carrier network. MMS is already old-school enough; it does not need extra obstacles.
Step 12: Test MMS With a Small Photo and a Group Message
After saving settings and restarting, test MMS in two ways. First, send a small photo to one person. Second, send a short group message to two or three contacts. This helps confirm both picture messaging and group MMS are working.
If the message fails, note the error message. Common errors include “Message not sent,” “Tap to download,” “Downloading,” or “MMS not supported by network.” These clues can help your carrier support team diagnose the issue faster.
Common Reasons MMS Is Not Working on Android
Mobile Data Is Off
This is the number-one simple cause. MMS usually depends on mobile data. Turn it on, even if you are connected to Wi-Fi.
Incorrect APN Settings
If your APN, MMSC, MMS proxy, or MMS port is wrong, MMS may fail while calls and SMS still work. This often happens after switching carriers, inserting a new SIM, using an unlocked phone, or installing a software update.
Carrier Plan Does Not Support MMS
Most modern phone plans include MMS, but some low-cost, data-only, business, prepaid, or international roaming plans may limit multimedia messaging. Check your plan details if MMS has never worked on the device.
RCS Is Causing Confusion
RCS, or Rich Communication Services, is a newer messaging standard used by apps like Google Messages. RCS can send high-quality media over data, but Android may fall back to SMS or MMS when RCS is unavailable. If messages behave strangely, open your messaging app settings and check RCS chat features. Turning RCS off temporarily can help you determine whether the issue is MMS or RCS-related.
The Phone Is Not Fully Compatible
Unlocked phones are convenient, but not every unlocked Android device supports every carrier band, APN profile, or messaging feature. If MMS never works after correct setup, verify compatibility with your carrier.
Carrier APN Examples for MMS
Carrier settings vary, but here are examples of the kinds of values you may see. These are examples only; always verify with your carrier before entering them.
- T-Mobile: APN may use fast.t-mobile.com, with an MMSC address for picture messaging.
- AT&T: 5G smartphones may use ENHANCEDPHONE, while LTE smartphones may use NXTGENPHONE.
- Mint Mobile: Android setup may use Wholesale as the APN and a Mint-specific MMSC value.
- US Mobile: Settings depend on the network selected, so users should follow the APN profile for their specific US Mobile network.
- Verizon-based services: Many Verizon-network phones auto-configure APN settings, and some devices lock APN editing.
If your APN menu is grayed out or locked, your carrier may control those settings automatically. In that case, remove and reinsert the SIM, restart the phone, reset network settings, or contact the carrier to refresh provisioning.
How to Reset Network Settings on Android
If APN changes do not help, reset network settings. Go to Settings, search for Reset network settings, and follow the prompts. This can reset mobile network preferences, Wi-Fi settings, Bluetooth pairings, and VPN settings. It does not erase photos, apps, or personal files, but you may need to reconnect to Wi-Fi and Bluetooth devices afterward.
Use this step after trying simpler fixes. It is less extreme than a factory reset and often helpful when your phone has stored a messy old carrier configuration.
Safety Tips When Editing MMS Settings
Before editing APN settings, take screenshots of the existing configuration. That way, if the new setup fails, you can restore the old one. Avoid deleting APNs unless your carrier tells you to. If you use dual SIM or eSIM, make sure you are editing the APN for the correct line. Many MMS problems come from changing settings on SIM 1 when your active data line is SIM 2.
Also, do not install random “APN fixer” apps unless you trust the developer. APN settings control network access, so it is smarter to use your phone’s built-in settings and your carrier’s official instructions.
Real-World Experience: What Usually Works Best
From practical experience, configuring MMS on Android is rarely about one magic button. It is more like checking a chain. If one link is weak, the message fails. The most common pattern is this: SMS works, calls work, mobile internet may even work, but picture messages refuse to send. That usually means the basic carrier connection is alive, but the MMS-specific part of the APN is wrong or missing.
The first thing that usually helps is turning mobile data on and leaving it on during testing. Many users assume Wi-Fi should handle everything because streaming videos and browsing the web work perfectly. Unfortunately, MMS is not that modern. It often wants a cellular data path, and it can be stubborn about it. If you are helping a family member, this is the first setting to check before diving into APN fields with names that look like robot grocery lists.
The second best trick is resetting APN settings to default. This is especially useful after a phone update, SIM swap, carrier change, or eSIM activation. Android may hold onto old settings from a previous carrier, or it may choose a generic APN that handles data but not MMS. Resetting to default gives the phone a chance to pull the correct carrier profile again.
Another common experience involves unlocked phones. Someone buys a great Android phone, inserts a SIM, and everything seems fine until group texts become individual replies or photos refuse to download. In those cases, manual APN setup often solves the issue. However, it is important to match the exact carrier network, not just the brand name printed on the bill. Many prepaid carriers and MVNOs use larger networks behind the scenes, but they may still require their own APN values.
Dual SIM phones can add another wrinkle. If mobile data is assigned to one SIM and messaging is happening through another, MMS can fail or behave inconsistently. The cleanest setup is to make sure the SIM used for MMS is also allowed to use mobile data during testing. After configuration works, you can fine-tune your preferred SIM settings.
One small but powerful habit is sending yourself a test image after every change. Use a small photo, not a giant 4K vacation masterpiece. A smaller file makes testing faster and reduces the chance that file size limits are the real problem. If a small picture sends but a large video fails, your MMS configuration may be fine; the attachment is simply too large for carrier MMS limits.
Finally, know when to stop tinkering and call the carrier. If your APN settings match the official values, mobile data works, the phone is compatible, and MMS still fails, the issue may be account provisioning. Carrier support can refresh the line, confirm MMS is enabled, replace a faulty SIM, or push settings remotely. That is not admitting defeat. That is handing the mystery to the people with the bigger toolbox.
Final Thoughts
Learning how to configure MMS on Android is useful because picture messaging still matters. Whether you are sending family photos, receiving group texts, sharing screenshots, or getting a contact card from a coworker, MMS remains part of everyday phone life. The good news is that most MMS problems have practical fixes: turn on mobile data, reset APN settings, enter the correct carrier values, save and select the APN, then restart and test.
If you follow the 12 steps above, you can solve many Android MMS problems without panic, guesswork, or sacrificing your phone to the technology gods. And if nothing works, contact your carrier with your phone model, Android version, APN settings, and error message. That information helps support fix the issue much faster.
Note: Carrier settings may change over time. Always confirm APN and MMS values with your mobile provider before manually editing your Android network settings.