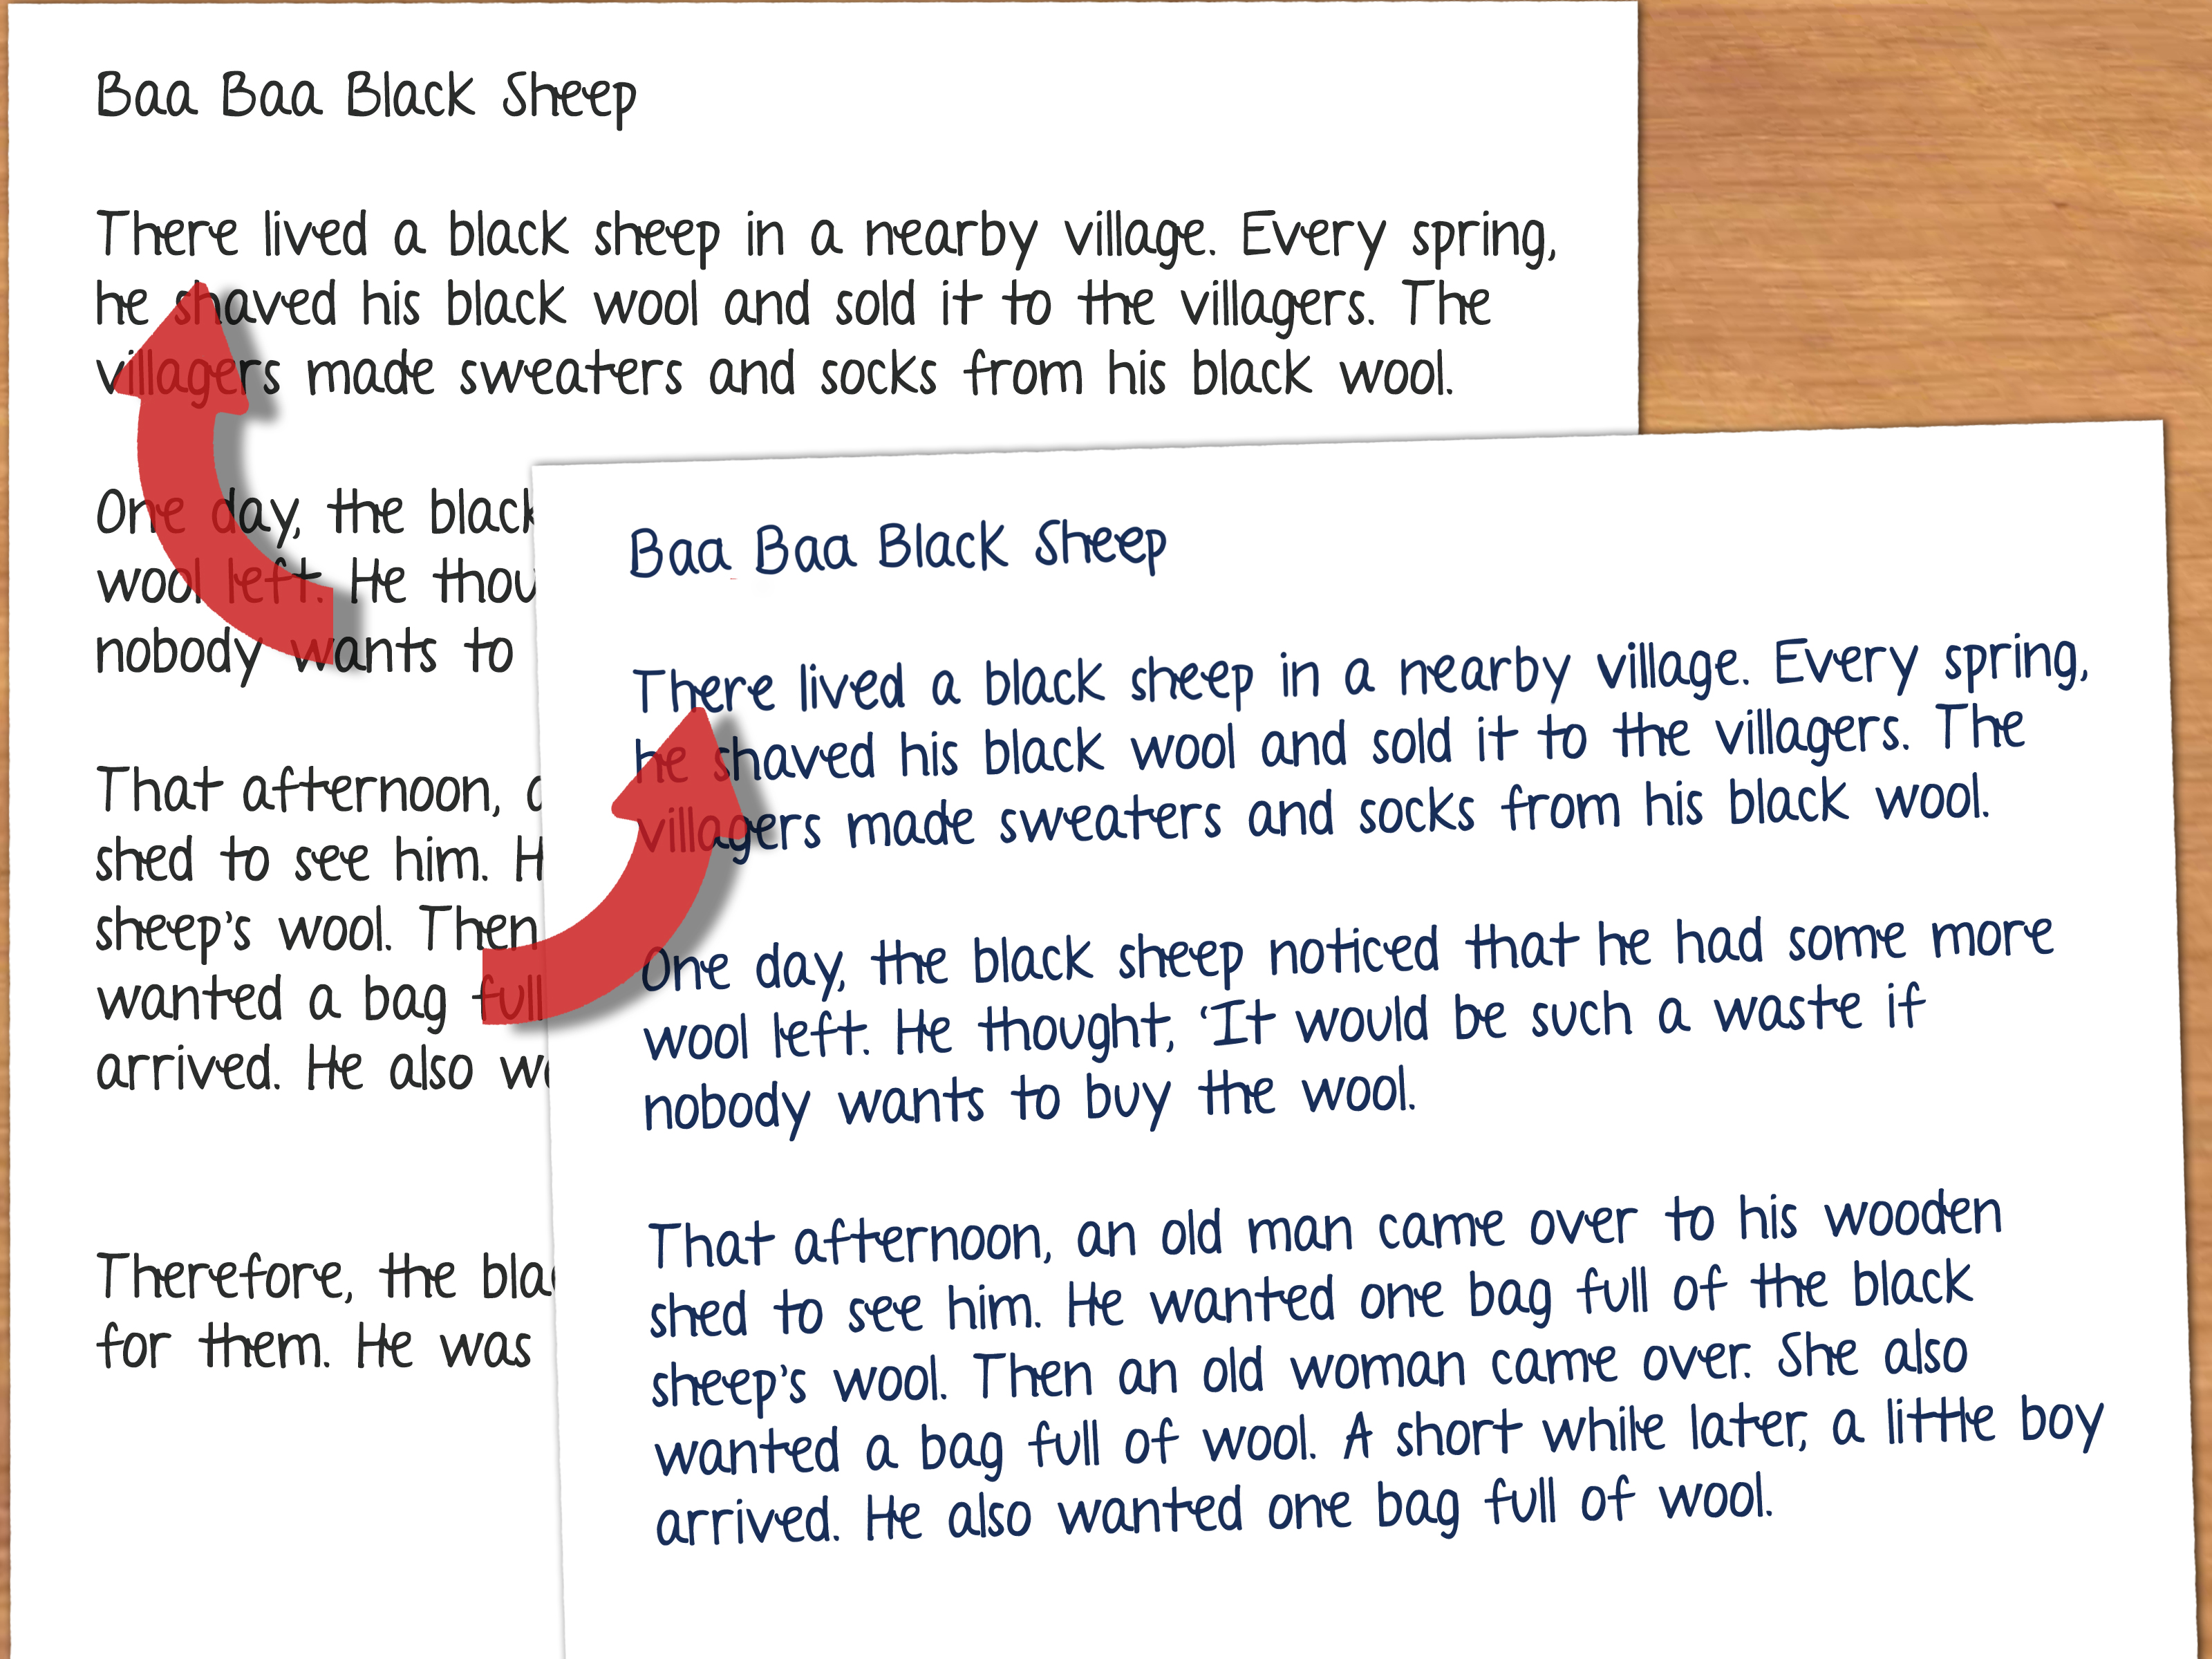
Note: This guide is for ethical handwriting study, art practice, classroom projects, prop-making, and historical transcription. Newrite notes meant to deceive, or impersonate another person.
Handwriting is more than words wearing tiny outfits. It has rhythm, personality, spacing habits, dramatic swoops, and the occasional letter “g” that looks like it escaped from a haunted Victorian diary. Studying someone’s handwriting can be a fun creative exercise, especially when you are learning calligraphy, recreating a historical journal for a school project, designing a movie prop, or simply trying to understand why one person’s cursive looks like a jazz solo.
Still, there is an important line between studying a handwriting style and trying to pass as another writer. Ethical handwriting practice means learning visual features, building stronger pen control, and creating your own original work inspired by a style. It does not mean reproducing another person’s signature, handwriting on legal documents, private notes, checks, school excuses, contracts, or anything that could create confusion about who wrote something.
With that important grown-up disclaimer out of the way, grab a notebook, a comfortable pen, and a sample you have permission to study. Here is how to copy the look and feel of a handwriting style without crossing into forgery territory.
Why Study a Handwriting Style?
Learning from handwriting samples can improve your own writing in surprising ways. You may notice better spacing, cleaner letter formation, smoother cursive writing, stronger rhythm, or a more relaxed grip. Artists often study old letters, postcards, public-domain manuscripts, and family recipes because handwritten work carries mood in a way that typed text cannot.
A neat, compact handwriting style may inspire you to write more clearly in a journal. A loose, rounded style may help you create warm-looking greeting cards. A historic script may add charm to a classroom display. The goal is not to become a handwriting clone. The goal is to become more observant, more skilled, and a little more dangerous around fancy stationery.
How to Copy Someone’s Handwriting Ethically: 8 Steps
Step 1: Choose a Safe and Permission-Based Sample
Start with handwriting you are allowed to study. Good choices include your own old notebooks, public-domain historical letters, handwriting samples shared specifically for practice, a friend’s sample with clear permission, or a fictional handwriting style created for a project.
Avoid using private letters, sensitive paperwork, financial documents, signatures, official forms, personal journals, medical records, school documents, or anything that could be mistaken for an authentic message from another person. Even when your intentions are harmless, it is best to keep the exercise obviously artistic and clearly separate from real-world identity.
For example, a public historical letter from the nineteenth century can be a fascinating practice source because it allows you to observe older penmanship habits. A friend’s handwritten quote can work too, as long as they know you are studying it for art or handwriting practice. A signed lease agreement? Absolutely not. That document belongs in the “do not touch unless you enjoy awkward legal conversations” drawer.
Step 2: Look at the Big Picture Before Studying Individual Letters
Before staring at every lowercase “a” like it contains the meaning of life, step back and observe the overall page. Ask yourself what the handwriting feels like from a distance. Is it narrow or wide? Tall or compact? Smooth or scratchy? Calm or energetic? Does it lean left, right, or stand straight up like it has excellent posture?
Look at these broad handwriting characteristics:
- Overall letter size
- Spacing between words
- Spacing between lines
- Slant or tilt
- Baseline consistency
- Use of print, cursive, or mixed writing
- Pressure and visual darkness of strokes
- Rounded, angular, or simplified letter shapes
This step matters because handwriting is not only about individual letters. A page can feel elegant because of generous white space, playful because of rounded forms, or rushed because the words crowd together. If you focus only on one letter at a time, you may miss the visual rhythm that makes the writing style recognizable.
Step 3: Make a Handwriting Style Sheet
Instead of trying to reproduce a person’s writing word-for-word, create a simple handwriting style sheet. This is a safe and useful way to study visual traits without turning your practice into an imitation exercise.
On one page of your notebook, write headings such as:
- Letter size: small, medium, or large
- Slant: left, right, or upright
- Spacing: tight, moderate, or open
- Capital letters: plain, decorative, oversized, or compact
- Lowercase letters: rounded, narrow, angular, or looped
- Baseline: steady, bouncy, rising, or slightly uneven
- Writing speed: careful-looking, relaxed, quick, or heavily simplified
For instance, you may notice that a sample uses small letters, wide spaces between words, a gentle right slant, and rounded lowercase “m” and “n” shapes. That becomes your style map. You are learning design features, not attempting to make a document look like it came from someone else.
Think of it like studying a painting technique. You can learn how an artist uses shadow and color without pretending you are that artist. Handwriting practice works the same way. Borrow the visual lessons, then make the result your own.
Step 4: Notice Repeating Letter Patterns
Now examine repeated letters and common shapes. Most handwriting styles have patterns that show up again and again. Maybe lowercase “e” letters are tiny and open. Maybe “t” crossbars are long and dramatic. Maybe “y” tails dip below the line with enough enthusiasm to qualify for a roller coaster.
Look for repeated traits in letters such as:
- Lowercase a, g, y, and f
- Uppercase J, M, R, and S
- Words containing double letters
- Letters with loops, tails, or crossbars
- Cursive connections between common letter pairs
Rather than copying a sentence exactly, practice the underlying motion with neutral words or nonsense combinations. For example, if you are studying rounded shapes, write simple drills such as “ooo,” “aaa,” “mmm,” and “nnn.” If the sample uses long ascenders, practice your own letters like “l,” “h,” and “k” in a similar visual mood.
This is where handwriting practice becomes more like learning an instrument. You do not start by performing a concert. You start with scales. In this case, your scales are loops, curves, downstrokes, and tiny circles that may look suspiciously like a toddler’s abstract art at first.
Step 5: Match the General Tools, Not Someone’s Identity
The writing tool affects the look of handwriting. A gel pen creates a different line than a pencil. A felt-tip pen produces a different result from a fountain pen. Even paper texture can change the way your hand moves.
For a style study, choose a tool that creates a similar general visual effect. If the sample looks light and soft, try a pencil or fine-tip pen. If it looks bold and smooth, a rollerball or gel pen may be more comfortable. If you are studying old-fashioned penmanship, a fountain pen or dip pen can help you understand why historic handwriting often has varied line thickness.
Do not obsess over finding the exact pen, ink, or paper used by another person. That is not necessary for creative handwriting practice, and it can pull your attention away from the skills that matter most: letter formation, spacing, rhythm, and legibility.
Choose lined paper if you want help keeping your baseline steady. Choose blank paper if you are practicing visual freedom and decorative writing. Use graph paper if you want to compare height and width. Your notebook does not need to be expensive. A humble legal pad can become a handwriting dojo if you give it enough respect.
Step 6: Practice the Motion Slowly
Good handwriting is partly visual and partly physical. Your eyes may understand a style immediately, but your hand needs time to learn the movement. Start slowly. Write one line at a time. Focus on smooth motion rather than speed.
Try a short warm-up before writing full words:
- Draw gentle circles and ovals.
- Make short straight lines.
- Practice upward and downward curves.
- Write rows of simple letter families, such as “c,” “o,” “a,” and “d.”
- Pause when your hand becomes tense.
Pay attention to pressure. If you grip the pen too tightly, your handwriting may become stiff and heavy. If your grip is too loose, the letters may wobble around the page like they are trying to escape a windy picnic. A relaxed hand usually produces more natural-looking penmanship.
Use short practice sessions of ten to fifteen minutes. Long sessions can be useful, but they often turn into a battle between your wrist and your ambition. Consistent practice beats heroic suffering almost every time.
Step 7: Write Original Sentences in the Inspired Style
Once you understand the main traits, write your own original text. This is the key ethical step. Use a grocery list, a favorite quote you wrote yourself, a journal entry, a fictional postcard, or a short poem. Do not copy private messages, signatures, or official language.
Try something simple, such as:
“The coffee cooled down, but the idea got better.”
Then write the sentence several times using the visual characteristics you observed: similar spacing, similar roundness, similar slant, or similar letter size. After each version, compare the overall look. Does it feel too cramped? Are the letters too tall? Is the slant too dramatic? Did your lowercase “r” suddenly become a tiny mountain range?
Adjust one feature at a time. Change the spacing first. Then adjust size. Then work on slant or letter shape. Trying to fix everything at once can make handwriting practice feel like assembling furniture without instructions, tools, or emotional stability.
Step 8: Add Your Own Voice and Label the Work Clearly
The final goal is not to erase your own handwriting personality. It is to expand your creative range. Once you can recognize and practice a style’s features, blend them with your own natural writing habits.
Maybe you like the sample’s wide spacing but prefer your own uppercase letters. Maybe you enjoy its gentle right slant but want clearer lowercase “s” shapes. Maybe you love the old-fashioned loops but want a cleaner, more modern baseline. Great. That means you are learning rather than copying.
If you use the style in artwork, a school display, a costume prop, or a fictional project, label it appropriately. Phrases such as “handwriting study,” “inspired by historical correspondence,” or “fictional prop handwriting” make your intent clear. Transparency is not boring. Transparency is what keeps a fun creative project from wandering into a terrible true-crime documentary.
Common Mistakes to Avoid When Studying Handwriting
Handwriting style practice is simple in theory, but a few common mistakes can slow down progress. The first is rushing. A handwriting sample may look effortless because the original writer developed those habits over years. Your first attempts may look awkward, and that is normal. Every elegant script began as a slightly confused row of letters.
Another mistake is focusing only on decoration. Fancy loops and dramatic capital letters can be fun, but legibility still matters. If every word looks beautiful but nobody can read it, you may have created art, but you may also have created a treasure map to nowhere.
Do not ignore posture, comfort, and pen grip. Sit with your shoulders relaxed. Keep both feet supported if possible. Let your forearm rest comfortably on the table. Rotate the page slightly to match your natural writing angle. Small ergonomic adjustments can make handwriting feel smoother almost immediately.
Finally, do not try to make your practice “perfect.” Handwriting naturally varies from line to line. Even the same writer does not produce identical letters every time. Focus on consistency of style, not robotic duplication. A living handwriting style has rhythm. It breathes. It occasionally takes a weird little detour and then returns home safely.
How to Improve Faster
To improve your handwriting style study, keep a small folder or notebook of practice pages. Date each session. After a week or two, compare your early work with your later work. You may notice that your spacing became more even, your letters became less tense, or your cursive connections began to flow more naturally.
Practice with different content. Write short phrases, lists, quotes, addresses for imaginary postcards, or descriptions of objects around you. Different words reveal different handwriting challenges. A sentence packed with rounded letters will feel different from one containing tall letters, sharp angles, and descenders.
You can also create themed handwriting exercises. Try a vintage postcard style, a friendly bakery-menu style, a detective-notebook style, or a whimsical fairy-tale journal style. The more you explore, the more you discover what you actually enjoy in handwriting.
Most importantly, keep the process playful. Handwriting is a physical skill, but it is also a personal one. You are not just making letters. You are making marks that carry mood, energy, and intention. That is much more interesting than simply trying to write like someone else.
Final Thoughts
Learning how to copy someone’s handwriting safely is really about learning how to observe a handwriting style. Study the spacing, slant, letter shapes, rhythm, and overall page layout. Practice those features with your own original words. Keep the project clearly artistic, educational, or historical, and never use the skills to imitate signatures or create deceptive documents.
The best handwriting practice does not make you a duplicate of another person. It gives you more control over your own penmanship. You may end up with smoother cursive, cleaner notes, more expressive cards, and a much stronger appreciation for the tiny personality hiding inside every handwritten “hello.”
Real-World Experience: What Handwriting Style Practice Feels Like
The first time many people try a handwriting style study, they expect a dramatic transformation. They imagine writing one page of practice and suddenly producing elegant letters worthy of a period drama. Reality usually arrives wearing sweatpants. The first page may look stiff. The second page may look worse. By the third page, your lowercase letters may appear to be negotiating separate peace treaties.
That awkward beginning is part of the process. Handwriting involves visual observation, muscle memory, timing, and patience. You may recognize a beautiful style immediately, but your hand has its own opinions. It may prefer your usual slant, your usual spacing, and your familiar way of forming letters. Asking it to move differently can feel strange at first.
A useful personal exercise is to compare two practice pages: one written quickly and one written slowly. The quick version often reveals your natural habits. The slow version reveals what you are trying to learn. Neither is wrong. The difference between them shows where practice can help.
For example, someone studying a neat, compact handwriting style may discover that their own letters are naturally larger and more rounded. Instead of fighting that tendency, they can borrow only one or two features from the sample, such as tighter word spacing or a steadier baseline. Over time, the result becomes more polished without becoming artificial.
Another common experience is realizing how much emotion changes handwriting. A relaxed writing session may produce smooth lines and even spacing. A rushed session before a deadline may produce letters that lean in five different directions and appear to be late for a train. This is normal. Handwriting reflects movement, comfort, fatigue, confidence, and attention.
Many people also find that handwriting style practice becomes calming. Repeating loops, curves, and simple letter families can feel almost meditative. The task gives your brain one small visual problem to solve at a time. Make the “o” rounder. Open the “e” a little more. Leave more space between words. Suddenly, twenty minutes have passed, your desk is covered in paper, and you have become emotionally invested in the personality of a lowercase “g.”
The most rewarding part is seeing your own handwriting improve. You may start by studying another style, but eventually your notes, journals, labels, cards, and creative projects begin to look more intentional. Your handwriting becomes easier to read and more expressive at the same time.
That is the real benefit of ethical handwriting study. You are not trying to borrow someone else’s identity. You are building your own visual voice, one line at a time.