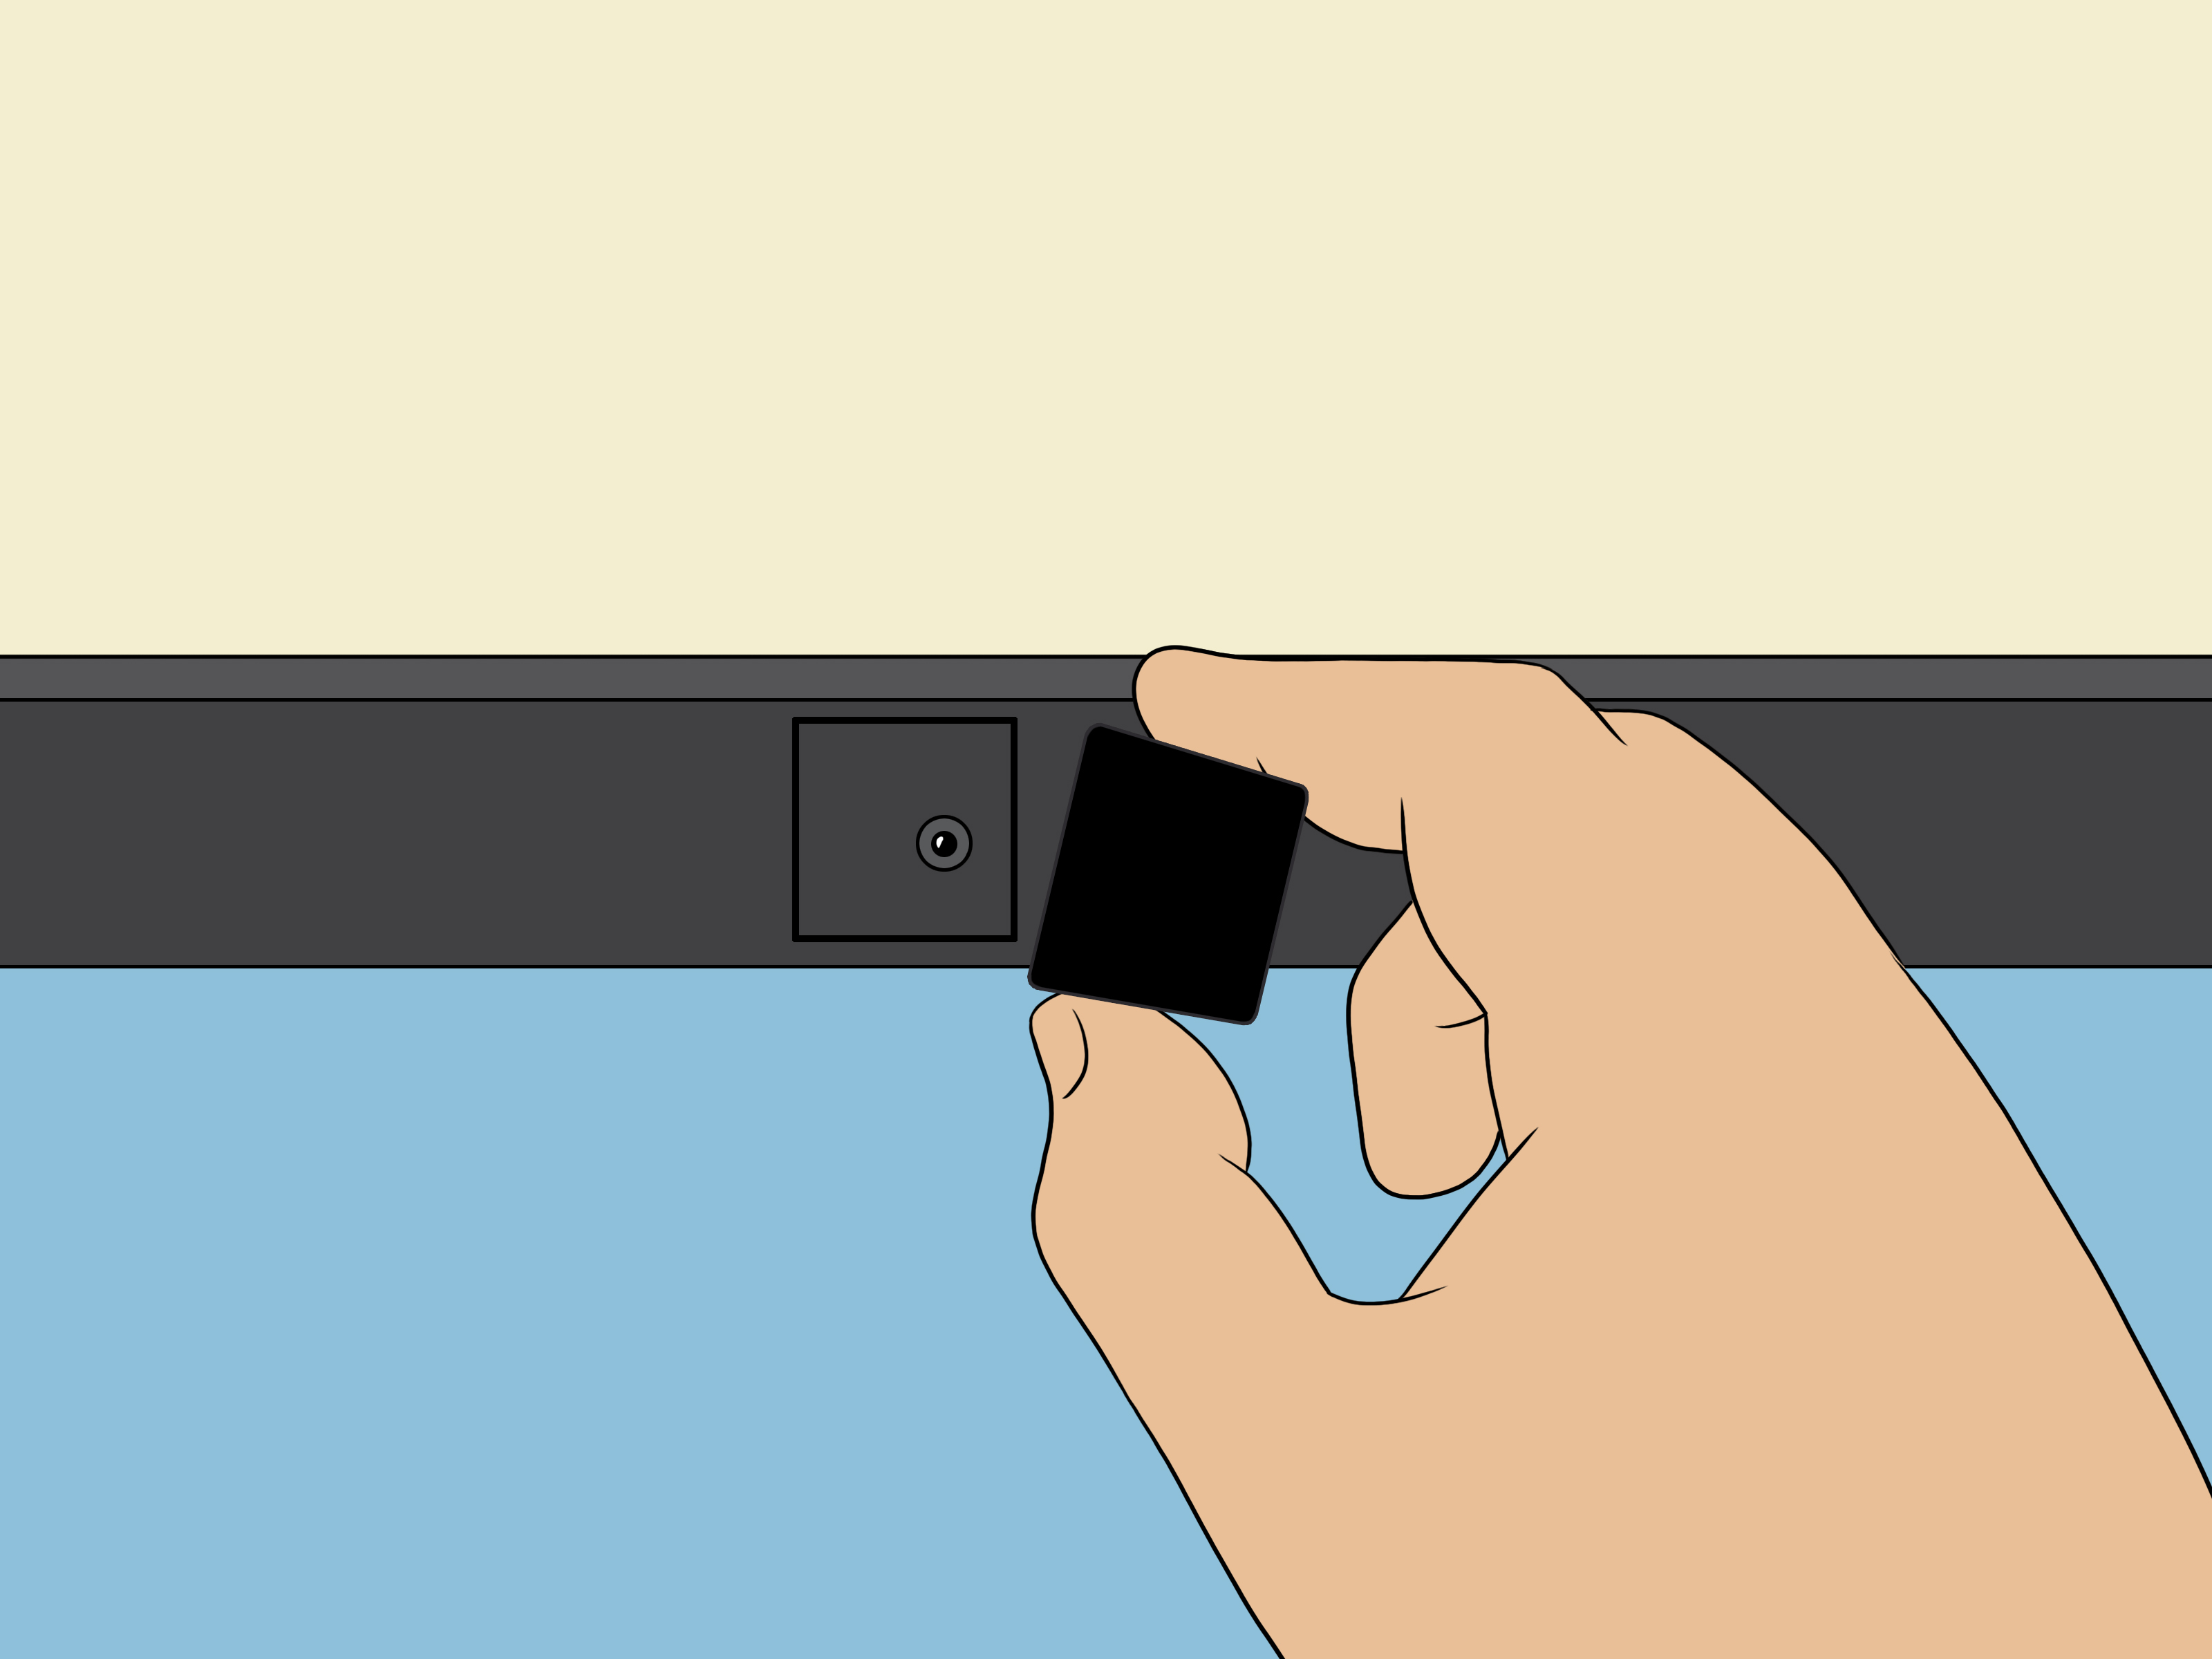
Let’s be honest: the tiny camera sitting above your screen is useful right up until it feels a little too observant. Maybe you work from home. Maybe you attend online classes. Maybe you just don’t love the idea of your webcam staring at you while you eat cereal at 11:47 p.m. Whatever the reason, covering your computer camera is a simple privacy habit that can bring real peace of mind.
The good news? You do not need a high-tech gadget, a degree in cybersecurity, or a roll of suspiciously industrial tape. In many cases, the best webcam cover is the one that is simple, safe for your device, and easy to move when you need to hop on Zoom, Google Meet, Teams, or FaceTime.
That said, not every solution is a smart one. Some camera covers are too thick for slim laptops. Some adhesives leave residue. Some DIY fixes work beautifully for desktops but are risky for MacBooks and other tightly closing laptops. So before you slap something sticky on your screen and call it a day, here’s a practical guide to seven quick and easy ways to cover your computer camera without turning your laptop into a tiny regret sandwich.
Why people cover their computer cameras in the first place
Covering a webcam is not just a paranoid tech ritual anymore. It is a common privacy habit. People cover laptop and desktop cameras for a few big reasons: to prevent accidental video during meetings, to reduce anxiety about unwanted access, and to add a physical privacy barrier that software settings alone cannot provide.
That physical barrier matters because software controls are great, but they are still software. A shutter, sticker, flap, or removable cover gives you a visible, low-tech “nope” between the lens and the outside world. It is also handy when you want a fast reminder that your camera is off, especially during work calls, school sessions, or online interviews.
Still, common sense matters here. A webcam cover should protect your privacy without damaging your computer, blocking the microphone, or leaving a gummy mess that makes your laptop look like it lost a fight with a craft drawer.
Before you cover anything, remember these safety rules
1. Thin is in
If you use a laptop that closes tightly, especially a slim model, avoid thick plastic covers unless the manufacturer clearly supports them. Ultra-thin options are safer than chunky sliders that can press against the display.
2. Avoid aggressive adhesives
Strong glue can leave residue or damage the area around the camera. A removable, low-tack solution is usually the smarter move.
3. Do not block sensors or microphones
On some laptops, the camera sits near microphones, ambient light sensors, or facial recognition hardware. A sloppy cover can interfere with more than just the lens.
4. External webcams are different
If you use a USB webcam, you have more flexibility. Covering it is easy, and unplugging it when you are done is even better.
1. Use the built-in privacy shutter
If your laptop already has a privacy shutter, congratulations: your easiest solution is literally built in. Many business and mainstream laptops from brands like Dell, HP, and Lenovo now include a small physical slider that covers the lens. It is quick, clean, and made for the job.
This is the gold standard for convenience. You do not need tape, you do not need scissors, and you do not need to explain why your laptop has a neon sticky square stuck to its forehead. Just slide the shutter closed when you are done with a call, and open it again when you need the camera.
Best for: people who want the simplest, safest webcam cover option.
Downside: only works if your device came with one.
2. Install an ultra-thin sliding webcam cover
If your computer does not include a built-in shutter, an ultra-thin sliding webcam cover can be a solid upgrade. These covers stick near the lens and slide open or closed as needed. They are popular for a reason: they look tidy, feel intentional, and can blend into the device better than tape or paper.
But this is the solution where buyers need a little self-control. Not all webcam covers are laptop-friendly. If the cover is too thick, your laptop lid may not close properly. On thinner laptops, that extra pressure can damage the display over time. The safest move is to choose a cover marketed as ultra-thin and verify it is appropriate for tightly closing laptops.
Best for: users who want a reusable, polished, everyday fix.
Downside: cheap versions can be too thick or too sticky.
3. Use a Post-it note, sticky tab, or page marker
This is the office-supply classic. A small piece of a Post-it note, sticky flag, or page marker can cover a webcam in seconds. It is cheap, removable, and easy to replace. You can even trim it to size so it does not look like your laptop is wearing a yellow superhero mask.
The trick is to use only a tiny piece and place it gently. You want enough tack to stay in place, but not so much that it leaves residue or peels awkwardly. This method is especially good for people who only need occasional privacy, such as students, remote workers, or anyone who shares a computer space.
Best for: temporary use, quick fixes, and low-cost privacy.
Downside: it may peel off in a bag or look less polished than a purpose-built cover.
4. Try painter’s tape or washi tape
If you want something just as easy as a sticky note but a little more secure, painter’s tape or washi tape is a strong option. Both are typically low-tack and easier to remove cleanly than heavy-duty tape. A small strip can cover the camera lens without much fuss, and you can fold over one edge to make a little pull tab.
This is a great DIY method because it is flexible and fast. It also works well on external webcams, monitors with built-in cameras, and desktops. The key word here is low-tack. Do not reach for duct tape, packing tape, or anything that seems like it belongs in a garage emergency. Your laptop is not a busted garden hose.
Best for: DIY users who want a removable cover that stays put.
Downside: it is not as sleek as a shutter and can look homemade, because it is homemade.
5. Make a simple paper flap
Want a no-residue, budget-friendly solution that still feels clever? Make a tiny paper flap. Cut a small rectangle from index card stock or sturdy paper, then attach just the top edge with low-tack tape so the flap can lift up and down over the lens. Think of it as a mini blackout curtain for your webcam.
This works especially well if you use your camera often and do not want to peel tape on and off all day. The flap stays attached, but you can move it out of the way quickly. It is also a fun little project if you enjoy practical DIY solutions and do not mind sacrificing half a notecard for the cause.
Best for: frequent camera users who want a reusable homemade option.
Downside: it is not the prettiest solution, unless your craft skills are secretly elite.
6. Cover or unplug your external webcam
If you use a standalone USB webcam, privacy gets much easier. Many external webcams already come with built-in caps or shutters. If yours does not, you can use a sticky note, tape, or a purpose-built cover with less worry than you would on a thin laptop. Better yet, unplug the webcam when you are finished using it.
That last step is the underrated champion of webcam privacy. A physically disconnected webcam is not going to surprise you later. It is simple, effective, and wonderfully low drama.
Best for: desktop users and anyone with a USB camera.
Downside: unplugging is not as convenient if you are constantly joining calls throughout the day.
7. Pair a physical cover with camera permission controls
Okay, this one is not technically a cover all by itself, but it absolutely belongs on the list. A physical webcam cover works best when paired with camera permission controls in your operating system and browser. Think of it as locking the front door and closing the curtains.
On Windows, you can manage which apps have access to your camera. On Chromebooks, you can turn off camera access in privacy controls. In browsers like Chrome, you can also review which websites are allowed to use your camera. That means even if you uncover the lens for a meeting, you still control which apps and sites can ask to use it.
Best for: anyone who wants better privacy, not just better tape placement.
Downside: it takes a minute to set up, which is still shorter than a lot of software updates.
What not to use on your computer camera
Thick plastic covers on slim laptops
These can create pressure when the lid closes. If your laptop has very little clearance, choose something extremely thin or removable before closing it.
Strong adhesive labels
Anything that leaves sticky residue can become annoying fast. That residue attracts dust, looks messy, and may be difficult to clean safely.
Transparent tape
This one sounds obvious, but it still happens. Transparent tape is not a real webcam cover. That is not privacy. That is arts and crafts optimism.
Metal or magnetic attachments
Unnecessary bulk or strange attachments near a modern display can be more trouble than they are worth.
How to choose the right webcam cover for your setup
The best method depends on your computer and how often you use the camera.
- For MacBooks and other ultra-thin laptops: use only very thin, non-residue options, or remove the cover before closing the lid.
- For work laptops with built-in shutters: use the shutter and stop there. You already won.
- For students and occasional users: sticky tabs, Post-it notes, and paper flaps are inexpensive and effective.
- For desktop setups: external webcams are easiest to cover and easiest to unplug.
- For privacy-minded users: combine a physical cover with permission settings in Windows, Chrome, or Chromebook privacy controls.
Does covering your webcam actually help?
Yes, in one very specific and important way: it physically blocks the lens. That means if the camera is activated when you do not expect it, the camera cannot capture useful video through an opaque cover. It is not a complete privacy strategy by itself, because it does not mute your microphone or secure your accounts, but it is a smart and very practical layer.
In other words, a webcam cover is not a substitute for software updates, strong passwords, and sensible privacy settings. It is a backup plan, a visual reminder, and a simple physical barrier. And sometimes, simple wins.
Common experiences and lessons people learn after covering their computer camera
One of the most common experiences people have is not fear of hackers, but embarrassment. Remote workers often realize how easy it is to leave a camera on after a meeting ends. Students have similar stories from virtual classes, where the camera activates before they are fully ready. A simple cover solves that fast. The moment the lens is blocked, there is less stress. You do not have to wonder whether your webcam software glitched, whether the meeting app reopened, or whether you clicked the wrong button while juggling tabs.
Another common lesson is that the “best” cover is usually the one you will actually use every day. Fancy covers sound great until they are too thick, fall off in a backpack, or leave adhesive residue around the camera ring. Many people start with a store-bought slider and eventually switch to something simpler, like a trimmed sticky tab or a built-in shutter, because convenience matters more than looking high-tech. A privacy habit only works when it becomes second nature.
Laptop owners also learn very quickly that not all devices tolerate the same solutions. Someone with a chunky desktop monitor can get away with a wider range of covers, but someone with a slim laptop may notice the lid does not close comfortably once a plastic shutter is attached. That small detail becomes a big deal over time. A cover that seems harmless can create screen pressure, especially if the laptop is packed tightly in a bag. That is why thinness matters so much in real-world use.
External webcam users usually discover the simplest truth of all: unplugging the device feels great. It is the digital version of turning off a lamp. There is no guessing, no second-guessing, and no late-night “Wait, is that camera still active?” moment. People who work at permanent desks often say unplugging gives them more peace of mind than any sticker ever could.
There is also the human side of privacy. Plenty of people cover their webcams not because they expect an attack every day, but because the cover helps them feel more comfortable in their own space. Home offices, bedrooms, dorm rooms, and shared apartments are personal environments. A covered camera is a small boundary marker. It says, “This device works for me, not the other way around.”
And then there is the funny part: once someone starts covering their webcam, they often become an evangelist. They notice coworkers with uncovered cameras. They remind family members. They give sticky tabs to friends like tiny privacy gifts. It is one of those rare tech habits that is cheap, easy, and immediately understandable. No long tutorial. No subscription. No dramatic setup. Just cover the lens and carry on with life.
Final thoughts
If you want to cover your computer camera, the smartest solution is the one that is safe for your device, easy to use, and simple enough to become a habit. Built-in shutters are ideal. Ultra-thin slider covers can work well. Sticky notes, painter’s tape, and paper flaps are perfectly respectable DIY options. And if you use an external webcam, unplugging it is about as direct as privacy gets.
The main goal is not to panic. It is to be practical. A webcam cover is one of those tiny changes that takes only seconds but can make your device feel much more under your control. In a world full of digital complexity, that kind of low-tech solution is honestly kind of beautiful.