Cutting fabric sounds simple until your “perfect rectangle” looks like it took a scenic route through a windstorm. The good news? Learning how to cut fabric accurately is not magic, and it does not require a secret sewing society handshake. It simply takes the right tools, a flat surface, a little patience, and a healthy respect for grainlinethe quiet boss of the sewing room.
Whether you are making curtains, sewing your first skirt, quilting a patchwork block, cutting felt for a craft project, or finally turning that beautiful cotton print into something useful, accurate fabric cutting sets the tone for everything that follows. If the pieces are crooked, stretched, or cut against the grain, even excellent sewing can struggle to save the project. If the pieces are clean and balanced, your seams behave better, your corners meet more politely, and your finished project looks intentional instead of “I fought the fabric and the fabric won.”
This guide explains how to cut fabric step by step, from preparing the material to choosing between scissors and a rotary cutter. You will also learn how to cut fabric straight, how to follow a pattern, how to handle slippery or stretchy materials, and how to avoid the most common mistakes beginners make.
Why Cutting Fabric Correctly Matters
Fabric is not like paper. It stretches, shifts, frays, twists, curls, clings, and occasionally acts like it has personal plans for the afternoon. When you cut fabric accurately, you protect the shape of your project before the sewing even begins.
Correct cutting helps your garment hang properly, keeps quilt blocks square, makes hems easier to fold, and prevents seams from looking wavy. It also saves fabric, which is especially important when working with expensive linen, velvet, silk, denim, wool, or specialty prints. A careless cut can turn a one-yard project into a dramatic lesson in humility.
The biggest secret is this: fabric has structure. Woven fabric has lengthwise grain, crosswise grain, and bias. Knit fabric has stretch direction. Directional prints and fabrics with nap, such as corduroy or velvet, must be cut consistently so the finished project does not look like two different fabrics had a disagreement.
Tools You Need to Cut Fabric
Fabric Scissors or Dressmaker Shears
A sharp pair of fabric scissors is a sewing-room essential. Use them only for fabric. Not wrapping paper. Not cardboard. Not mysterious kitchen tasks. Paper dulls blades quickly, and dull scissors chew fabric instead of slicing it cleanly.
Fabric shears are excellent for cutting curves, garment pieces, small notches, and areas where you need control. Choose scissors that feel comfortable in your hand and are long enough to make smooth cuts through your fabric.
Rotary Cutter
A rotary cutter looks a bit like a pizza cutter, but please do not use it on pizza unless your sewing room has gone completely off the rails. Rotary cutters are popular for quilting, straight lines, long strips, slippery fabrics, and projects where keeping fabric flat is important.
A 45 mm rotary cutter is a versatile everyday size for cotton, felt, vinyl, and multiple light layers. A 60 mm cutter is better for thicker fabrics, batting, denim, canvas, and heavier materials. Always use a rotary cutter with a cutting mat, and retract or lock the blade when you are done.
Cutting Mat
A self-healing cutting mat protects your table and helps preserve the sharpness of rotary blades. Many mats include measurement grids, diagonal bias lines, and angle guides, which are extremely helpful when cutting quilt pieces, strips, bias tape, or straight edges.
Clear Ruler
A transparent acrylic ruler makes measuring and cutting far easier. Quilting rulers are especially useful because you can see the fabric underneath and align the ruler with the grain, selvage, or printed design.
Pins, Clips, or Pattern Weights
Pins hold pattern pieces in place, but they can distort delicate fabric if used carelessly. Pattern weights are a great alternative because they keep the paper and fabric flat without poking holes. Clips are helpful for materials that should not be pinned, such as vinyl, cork fabric, faux leather, or coated fabrics.
Fabric Marking Tools
Use tailor’s chalk, washable fabric pens, disappearing ink markers, or tracing paper to transfer marks. Always test first on a scrap. Some markers vanish too soon, some refuse to vanish at all, and some behave differently after ironing. Fabric markers are tiny drama machines; test them before trusting them.
Step 1: Prewash and Press the Fabric
Before cutting fabric, decide whether it needs prewashing. Many natural fabrics, including cotton, linen, and rayon, can shrink. If you plan to wash the finished item later, wash and dry the fabric before cutting. This helps prevent your handmade shirt from becoming doll clothing after its first laundry day.
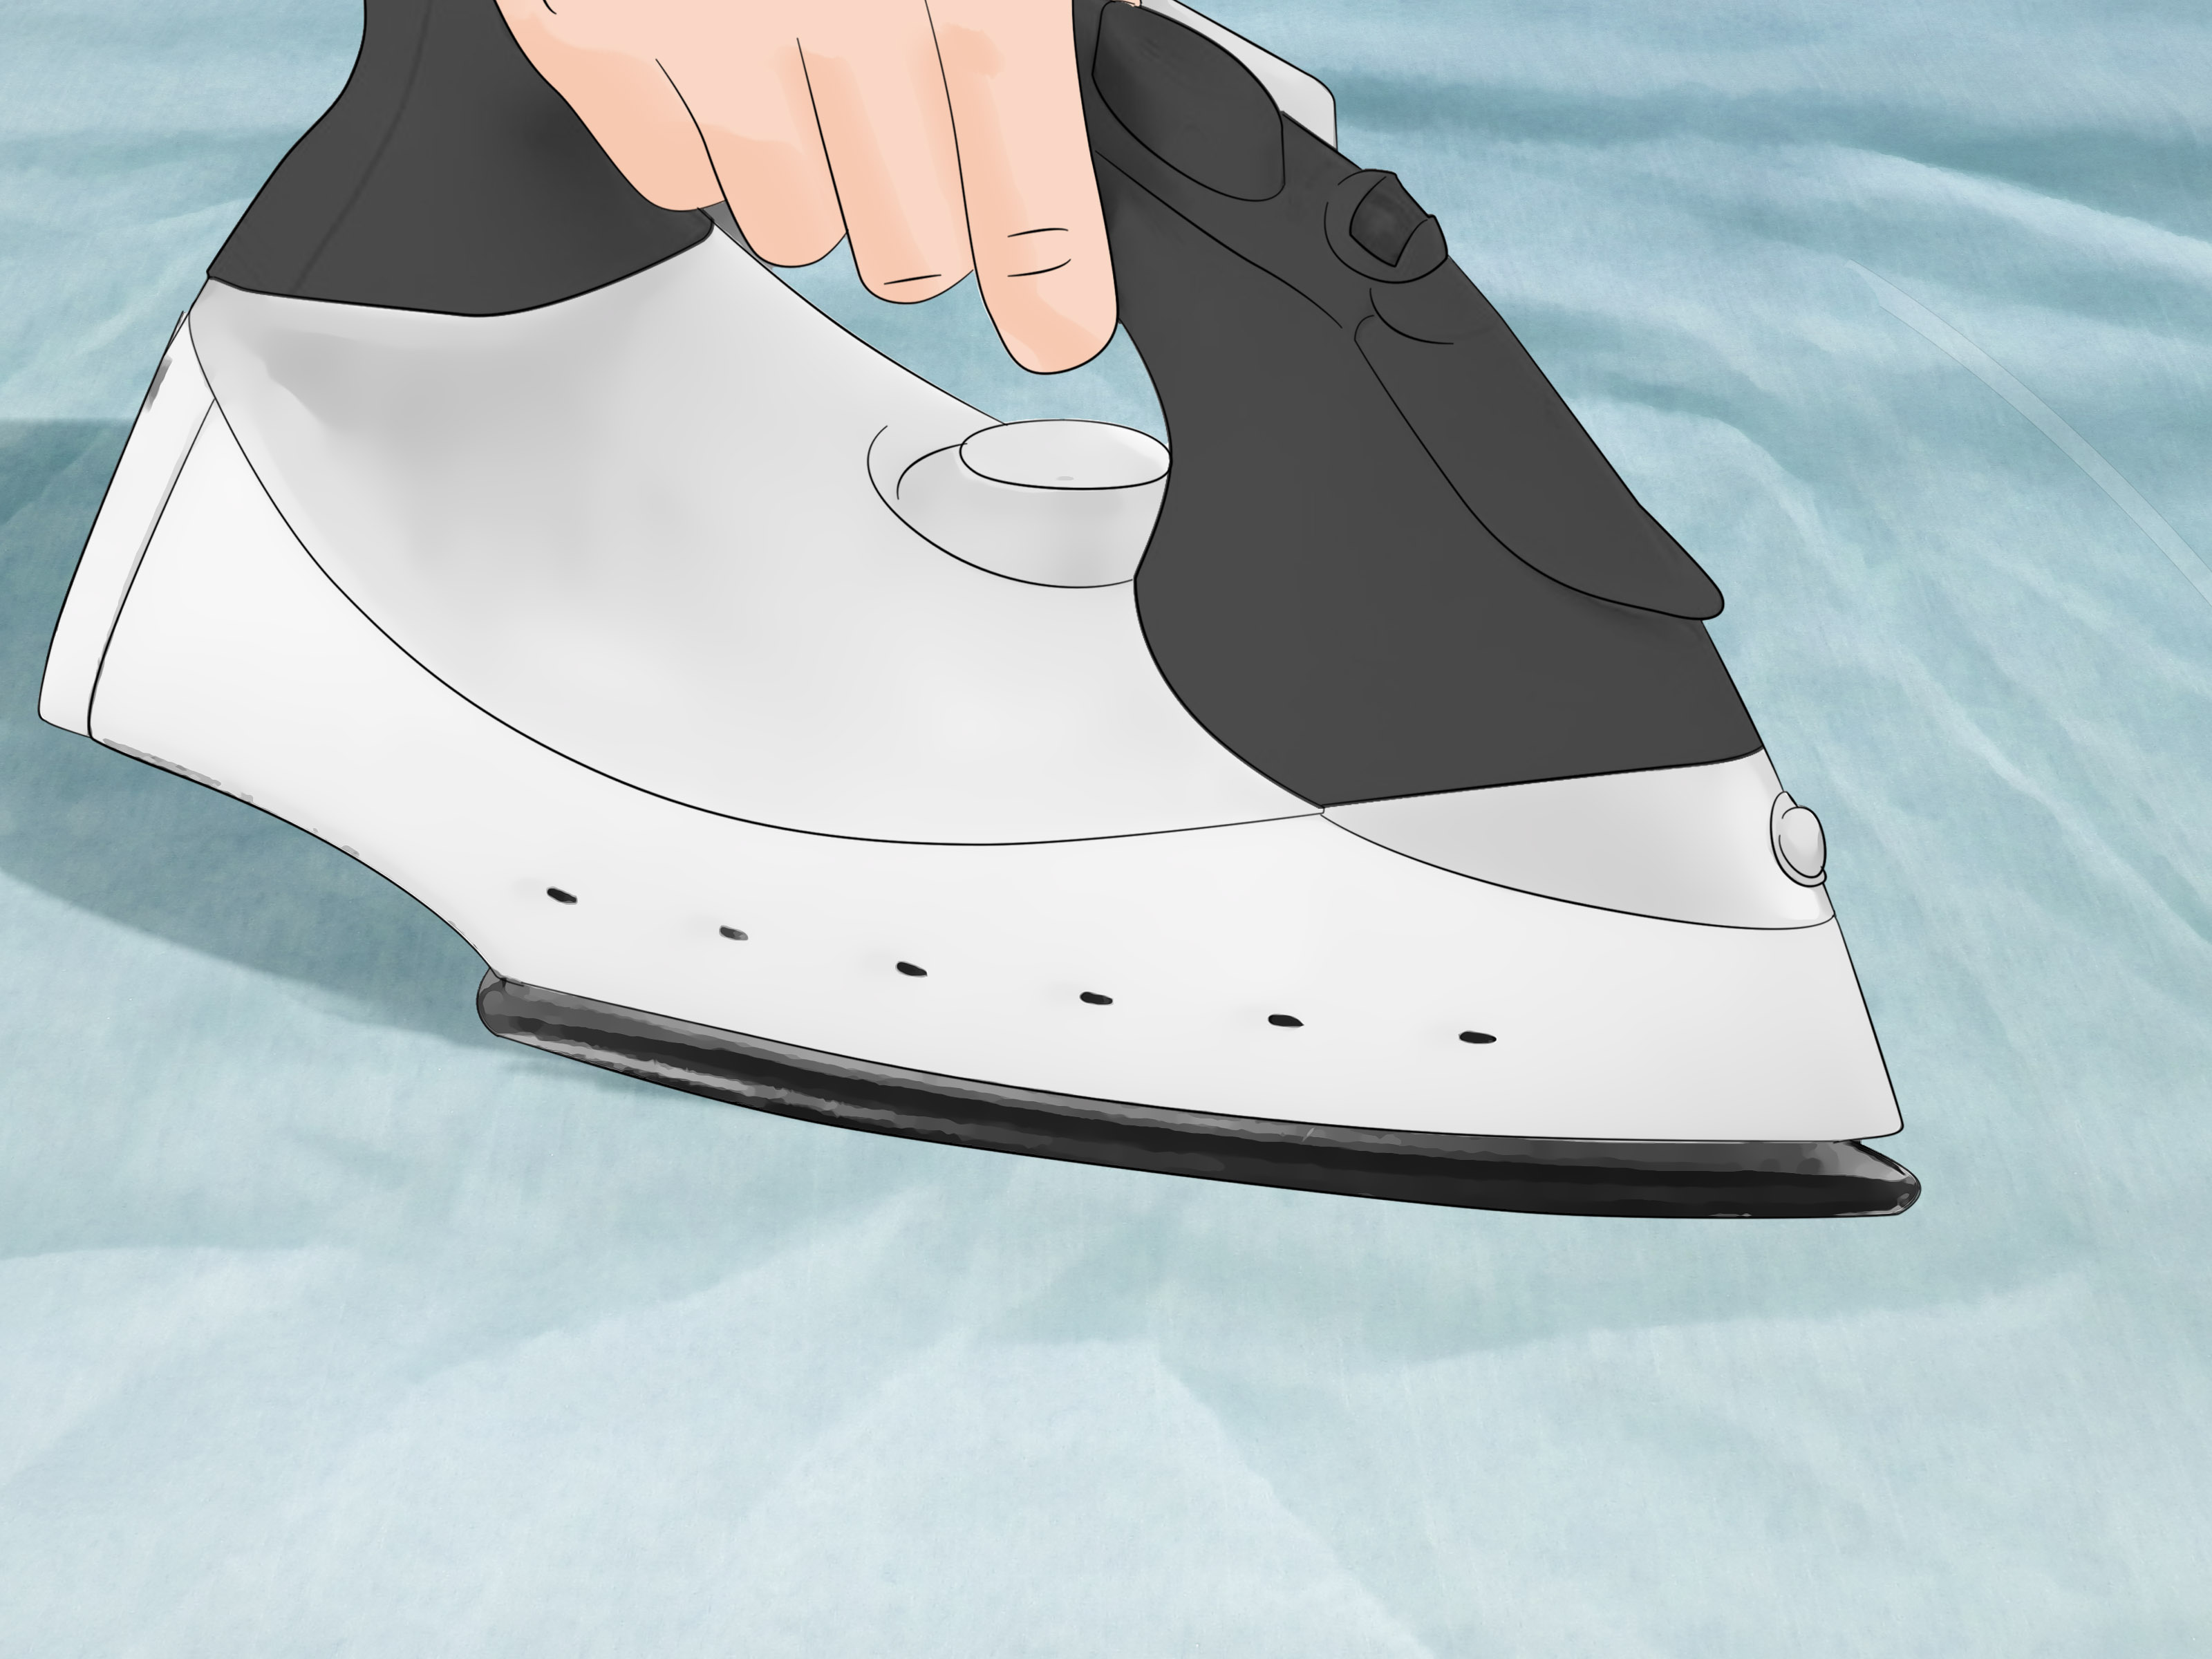
After washing, press the fabric. Do not just wave the iron vaguely in its direction. Wrinkles create inaccurate cuts because the fabric is not lying in its true shape. Press the fabric flat, using the correct heat setting for the fiber. For delicate materials, use a pressing cloth.
Let the fabric rest after pressing. Some fabrics stretch or distort while being handled, and giving them a moment to relax on the table helps them settle before you cut.
Step 2: Find the Grainline
Understanding grainline is one of the most important parts of learning how to cut fabric. The grainline affects how the fabric hangs, stretches, and behaves.
Lengthwise Grain
The lengthwise grain runs parallel to the selvage, which is the finished edge of the fabric. This direction is usually the strongest and least stretchy. Most garment pattern pieces are placed along the lengthwise grain because it helps clothing hang smoothly.
Crosswise Grain
The crosswise grain runs from selvage to selvage. It usually has slightly more give than the lengthwise grain. Some projects use the crossgrain intentionally, especially when working with border prints or certain design layouts.
Bias
The bias runs diagonally at a 45-degree angle to the grain. Fabric cut on the bias has more stretch and drape. Bias cutting is used for bias tape, flowing skirts, curved edges, and designs that need graceful movement. It is beautiful, but it can also stretch if handled roughly, so treat bias-cut pieces like they are carrying a tray of full coffee cups.
Step 3: Square the Fabric
Fabric is not always cut straight at the store. Even if it looks straight, one edge may be angled. Before cutting pattern pieces or strips, square the fabric so you have a reliable starting point.
For woven fabric, fold it with the selvages together and check whether the fold lies flat without diagonal wrinkles. If the fabric twists, gently adjust it until the selvages align and the fold is smooth. For some woven fabrics, you can establish a straight crossgrain by pulling a thread and cutting along the line, or by making a small snip and tearing across the grain if the fabric allows it.
For quilting cotton, use a cutting mat and ruler to trim one edge straight. Align the fold or selvage with the mat grid, place the ruler perpendicular to the edge, and cut a clean line. Once one edge is square, measuring becomes much easier.
Step 4: Lay the Fabric Flat
Use the largest flat surface available. A cutting table is ideal, but a clean dining table works. The floor can work too, although your knees may send a formal complaint. Avoid cutting fabric while it hangs off the table, because the weight can pull and distort the grain.
Smooth the fabric with your hands, but do not stretch it. Stretchy knits, rayon challis, silk, chiffon, and lightweight lining fabrics can shift easily. If the fabric is slippery, cut one layer at a time instead of folding it. For extra control, place tissue paper underneath or use pattern weights and a rotary cutter.
Step 5: Place the Pattern Pieces Correctly
If you are using a sewing pattern, read the layout guide before cutting. Pattern companies include cutting diagrams for a reason, and that reason is usually to prevent fabric-related regret.
Look for symbols such as grainline arrows, “cut on fold,” notches, darts, button placements, and fold lines. The grainline arrow on the pattern piece should be parallel to the selvage or lengthwise grain unless the pattern says otherwise. Measure from one end of the grainline arrow to the selvage, then measure from the other end. Adjust until both distances are equal.
For “cut on fold” pieces, place the marked edge exactly on the folded edge of the fabric. Do not place it near the fold. Do not place it “close enough.” Sewing is generous in spirit, but not always in geometry.
Step 6: Secure the Pattern
Once the pattern is aligned, secure it. Use pins placed inside the seam allowance, or use pattern weights if you prefer not to pin. If using pins, insert them smoothly and avoid lifting the fabric too much. Too many pins can distort delicate fabric, while too few pins can let the pattern slide around.
Pattern weights are especially helpful with rotary cutting because the fabric stays flat. You can buy pattern weights or use clean household items such as washers, small beanbags, heavy coasters, or canned food. Just avoid anything dusty, sticky, or likely to roll away mid-cut like a tiny villain.
Step 7: Cut the Fabric
How to Cut Fabric With Scissors
Keep the lower blade of the scissors resting on the table as much as possible. This prevents the fabric from lifting and shifting. Use long, smooth strokes on straight edges and smaller cuts around curves. Do not chop rapidly unless you enjoy jagged edges with emotional depth.
Cut just outside the pattern edge if you need to preserve the paper pattern. Keep your eyes on the cutting line, not the tips of the scissors. For curves, turn the fabric gently rather than twisting your wrist into an advanced yoga pose.
How to Cut Fabric With a Rotary Cutter
Place the fabric on a cutting mat and align your ruler with the cutting line. Hold the ruler firmly with your non-dominant hand, keeping your fingers away from the ruler edge. Press the rotary cutter down and roll it away from your body in one smooth motion.
Do not saw back and forth. If the blade skips threads, it may be dull or you may not be pressing evenly. Replace dull blades promptly. A sharp blade is safer because it requires less force and gives cleaner results.
Step 8: Transfer Pattern Marks Before Removing the Pattern
After cutting, transfer important marks before removing the paper pattern. Mark darts, notches, pleats, buttonholes, pocket placements, and matching points. These marks are the GPS of your sewing project. Skip them, and you may later find yourself asking why one sleeve looks confident and the other looks confused.
You can use tailor’s chalk, fabric pens, tailor’s tacks, tracing paper, or small snips in the seam allowance. For notches, cut tiny outward triangles or small snips within the seam allowance. Never cut too deeply into the seam line.
How to Cut Different Types of Fabric
Cotton Fabric
Cotton is beginner-friendly because it presses well, lies flat, and cuts cleanly. Quilting cotton, cotton lawn, and cotton poplin are excellent fabrics for practicing. Prewash cotton to reduce shrinkage, press it flat, square the edges, and cut with scissors or a rotary cutter.
Knit Fabric
Knit fabric stretches, so do not pull it while cutting. Lay it flat and let it relax. Pay attention to the direction of greatest stretch, especially for garments. Many knit patterns are designed so the stretch goes around the body. Pattern weights and a rotary cutter often work better than pins and scissors because they reduce shifting.
Silk, Chiffon, and Slippery Fabric
Slippery fabrics require patience. Cut single layers when possible. Use a sharp rotary cutter or very sharp shears. Some sewists place tissue paper under the fabric to stabilize it while cutting. Avoid letting the fabric hang off the table, because gravity will absolutely try to participate.
Velvet, Corduroy, and Napped Fabric
Nap means the fabric has a directional surface. Velvet and corduroy look different depending on which way the pile runs. Cut all pattern pieces in the same direction unless your design intentionally uses contrast. You may need extra fabric to match the layout properly.
Denim and Canvas
Heavy fabrics need sharp tools. Use sturdy shears or a 60 mm rotary cutter for thick layers. Cut fewer layers at a time to maintain accuracy. If the fabric is bulky, use clips instead of pins when assembling pieces later.
Plaid, Striped, and Directional Prints
Printed fabric requires planning. Stripes and plaids should line up at major seams when possible, especially at side seams, center fronts, pockets, and hems. Cut one layer at a time for better control. Directional prints, such as flowers that all face one way, must be cut consistently so your finished project does not have upside-down tulips marching across one sleeve.
Common Fabric Cutting Mistakes
Using Dull Scissors
Dull scissors crush and chew fabric. They also make your hand work harder. Keep fabric scissors sharp and use them only for fabric.
Ignoring Grainline
If you cut off grain, garments may twist, hems may hang unevenly, and fabric may stretch strangely. Grainline is not a suggestion; it is the project’s skeleton.
Cutting Before Pressing
Wrinkles change the shape of fabric. Always press before cutting unless the fabric cannot be pressed safely.
Letting Fabric Hang Off the Table
Fabric that hangs off the edge can pull itself out of alignment. Keep the entire cutting area supported.
Forgetting to Mark Notches and Darts
Cutting is not finished until markings are transferred. Missing marks can slow down sewing and create avoidable mistakes.
Practical Example: Cutting Fabric for a Simple Tote Bag
Let’s say you want to cut fabric for a basic tote bag. Start by prewashing and pressing a medium-weight cotton canvas. Fold the fabric with selvages together and smooth it flat. Use a ruler and cutting mat to square one edge.
Measure two rectangles for the outer bag, two rectangles for the lining, and two long strips for handles. If the tote pattern uses a directional print, make sure the design faces the same direction on both outer pieces. Mark the top edge, bottom corners, and handle placement. Cut the pieces with a rotary cutter for straight lines or fabric shears if you are more comfortable with scissors.
Before sewing, stack matching pieces together and check that the rectangles are the same size. This small quality-control moment can save you from discovering later that your tote bag has developed a mysterious lean.
Professional Tips for Cleaner Cuts
Use long strokes for straight seams and shorter strokes for curves. Replace rotary blades when they skip threads. Press pattern paper if it is wrinkled, using a dry iron on low heat. Cut delicate fabric in a single layer. Keep pets away from the cutting table unless your design concept includes surprise paw-shaped pattern weights.
For repeated pieces, such as quilt squares, use a ruler and rotary cutter for consistency. For garment pieces, double-check grainline before every major cut. If you are tired, stop cutting. Sewing mistakes are fixable; cutting mistakes often become “creative design features.”
Experience Notes: What Cutting Fabric Teaches You Over Time
The longer you cut fabric, the more you realize that accuracy is built from small habits. The first habit is slowing down. Beginners often rush because cutting feels like the boring step before the fun part. But experienced sewists know that cutting is where the project quietly succeeds or quietly plots revenge. Taking five extra minutes to align the grainline, press the fabric, and check the layout can save an hour of seam ripping later.
One useful experience is learning how fabric “talks” when you handle it. Cotton sits politely. Linen wrinkles if you look at it too confidently. Rayon drapes beautifully but shifts when you breathe near it. Knits stretch and curl at the edges. Velvet changes color depending on direction. Denim behaves like a sturdy friend until you stack too many layers and ask your scissors to become industrial machinery. Every fabric has a personality, and cutting becomes easier when you stop treating all materials the same.
Another lesson is that tools matter, but technique matters more. Expensive scissors cannot fix a wrinkled cutting surface. A fancy rotary cutter cannot save a ruler that keeps sliding. Pattern weights, sharp blades, good lighting, and a stable table all help, but the real skill is paying attention. Measure twice, cut once is famous advice because it is painfully true. Measure once, cut wrong, and suddenly you are inventing a smaller project.
Cutting fabric also teaches you to respect scraps. At first, leftover fabric looks like clutter. Later, you see it as test material. Scraps are perfect for checking marker visibility, practicing buttonholes, testing stitch length, trying interfacing, or confirming whether a fabric shrinks under steam. A scrap can answer questions before the main fabric has to suffer for science.
Many sewing mistakes begin with optimism. “This fold is probably straight.” “The stripe is close enough.” “I can cut this slippery lining while standing at a weird angle.” These sentences often lead to regret. Good cutting comes from replacing optimism with proof. Is the fold smooth? Are both ends of the grainline arrow the same distance from the selvage? Is the print direction correct? Is the fabric fully supported? Proof is less glamorous than guessing, but it produces better seams.
Finally, cutting fabric becomes more enjoyable when you make the space comfortable. Clear the table. Use bright light. Put the tools within reach. Keep a small trash bowl nearby for threads and trimmings. Play music if it helps you focus. Cutting does not have to feel like a tense exam. With practice, it becomes a calm preparation ritualthe moment where flat fabric starts becoming something real.
Conclusion
Learning how to cut fabric is one of the most valuable skills in sewing, quilting, and crafting. Clean cutting begins before the blade touches the material: prewash when needed, press carefully, identify the grainline, square the fabric, arrange pattern pieces correctly, and secure everything before cutting. Choose fabric scissors for control, a rotary cutter for speed and precision, and the right marking tool for your fabric type.
The best fabric cutting technique is not about being perfect. It is about being deliberate. When you slow down, support the fabric, follow the grain, and use sharp tools, your project becomes easier to sew and more professional in the end. The fabric may still try a little nonsense now and thenit is fabric, after allbut you will know how to keep it in line.