A strong baseball arm is not created by performing endless curls, squeezing a hand gripper until your fingers file a complaint, or throwing as hard as possible every afternoon. Effective throwing strength comes from a coordinated system involving the legs, hips, core, shoulder blades, rotator cuff, arm, wrist, and hand.
That is why the best baseball arm-strengthening program looks more like total-body athletic training than an “arm day” at the gym. The goal is not merely to produce force. A player must also transfer that force efficiently, control the arm as it accelerates, and safely slow it down after releasing the ball. Sports-medicine and strength-conditioning guidance consistently emphasizes rotator-cuff endurance, scapular control, core stability, lower-body strength, mobility, gradual throwing progression, and adequate recovery.
What Does “Arm Strength” Mean in Baseball?
In baseball, arm strength usually describes a player’s ability to throw with useful velocity, accuracy, endurance, and repeatable mechanics. A shortstop firing across the diamond, a catcher attempting to throw out a runner, and an outfielder launching the ball toward home plate all need slightly different combinations of these qualities.
Maximum strength is only one ingredient. Throwing also depends on:
- Rotator-cuff endurance to stabilize the shoulder joint.
- Scapular control so the shoulder blade moves smoothly with the arm.
- Core strength to transfer force between the lower and upper body.
- Hip and leg power to initiate the kinetic chain.
- Forearm and wrist capacity to control the ball and tolerate repeated throwing.
- Mobility through the shoulder, upper back, and hips.
- Recovery capacity so tissues adapt instead of becoming chronically irritated.
The shoulder is a highly mobile joint, and the rotator cuff helps rotate the arm while keeping the head of the upper-arm bone centered in its socket. The shoulder blade must also move and remain controlled during overhead actions. Weakness, poor timing, or restricted mobility in either area can make throwing feel inefficient and may increase stress elsewhere in the chain.
Safety Rules Before Beginning
These exercises are intended for healthy players developing general strength and durability. They are not a treatment plan for an injured shoulder or elbow.
Stop throwing and seek an evaluation from a qualified sports-medicine professional when pain is sharp, worsening, persistent, or accompanied by swelling, weakness, numbness, reduced motion, or a sudden drop in throwing ability. Players should not attempt to “tough out” shoulder or elbow pain. Medical organizations also recommend gradual conditioning, age-appropriate pitch limits, required rest, and time away from throwing during the year.
Begin each session with five to ten minutes of light movement, dynamic mobility, and easy throwing or band work. Resistance exercises should feel controlled and technically clean. The rotator cuff responds well to appropriate resistance; it does not need a dumbbell that requires its own parking permit.
13 Exercises to Develop Baseball Arm Strength
1. Band External Rotation at the Side
This simple exercise strengthens the external rotators of the shoulder, including muscles that help stabilize the arm during throwing and assist with deceleration.
Attach a light resistance band near waist height. Stand sideways to the anchor with the working elbow bent 90 degrees and held against your ribs. Keeping the elbow still, rotate the forearm away from your body. Pause briefly, then return slowly.
Suggested starting dose: Two or three sets of 12 to 15 controlled repetitions per arm.
A rolled towel between the elbow and ribs can help prevent the arm from drifting. Choose a band light enough that your shoulder does not shrug or twist backward.
2. Band External Rotation in the 90/90 Position
This variation places the arm in a position that more closely resembles part of the throwing motion. It can be useful for advanced athletes who already demonstrate good shoulder control.
Anchor a light band in front of you at approximately head height. Raise the upper arm to shoulder level, bend the elbow 90 degrees, and rotate the forearm backward until it is nearly vertical. Return under control without allowing the ribs to flare or the lower back to arch.
Suggested starting dose: Two sets of 8 to 12 repetitions.
This exercise should remain light. Its purpose is control and endurance, not proving that you can tow a pickup truck with resistance tubing.
3. Side-Lying External Rotation
Side-lying external rotation is another direct way to train the posterior rotator cuff. Lie on your non-throwing side with the working elbow bent 90 degrees and tucked against your torso. Hold a light dumbbell and rotate the hand upward while keeping the elbow in place.
Lower the weight slowly for two or three seconds. That controlled lowering phase is valuable because throwing requires the posterior shoulder to help slow the arm after release.
Suggested starting dose: Two or three sets of 10 to 15 repetitions with a very light weight.
4. Serratus Push-Up Plus
The serratus anterior helps control the shoulder blade as the arm moves overhead. A push-up plus trains this muscle while also developing trunk and shoulder stability.
Perform a normal push-up from the floor, an elevated bench, or the knees. At the top, keep the elbows straight and gently push the floor away so the upper back rounds slightly and the shoulder blades move forward around the rib cage. Return to a neutral plank without bending the elbows.
Suggested starting dose: Two or three sets of 8 to 15 repetitions.
Do not collapse between the shoulder blades. NASM guidance identifies serratus push-ups, wall slides, and Y-T-W variations as useful options for improving scapular control.
5. Prone Y-T-W Raises
Prone Y-T-W raises strengthen several muscles that position and stabilize the shoulder blades. Lie face down on a bench or the floor and lift your arms into three shapes:
- Y: Arms diagonally overhead.
- T: Arms extended directly to the sides.
- W: Elbows bent while drawing the shoulder blades down and back.
Use body weight or extremely light dumbbells. Keep the neck relaxed and avoid shrugging toward the ears.
Suggested starting dose: Six to ten repetitions in each position.
The American Council on Exercise similarly recommends maintaining a braced trunk and controlled shoulder-blade positioning during prone scapular stabilization exercises.
6. Band Face Pull With External Rotation
Face pulls strengthen the upper back, rear shoulder, and external rotators. Anchor a band at eye level. Pull the band toward your face while separating your hands and drawing your elbows backward. Finish with the hands near the sides of your head rather than letting them collapse toward your chest.
Suggested starting dose: Two or three sets of 10 to 15 repetitions.
Move smoothly and keep your rib cage stacked over your pelvis. If the exercise becomes a full-body tug-of-war, the resistance is too heavy.
7. Single-Arm Cable or Band Row
A strong upper back supports shoulder-blade control and helps balance the large amount of forward movement involved in throwing and hitting.
Stand in an athletic position while holding a cable or band with one hand. Pull the elbow toward your back pocket without rotating excessively or shrugging. Slowly extend the arm and allow the shoulder blade to move naturally before beginning the next repetition.
Suggested starting dose: Three sets of 8 to 12 repetitions per side.
Progress by using a split stance, half-kneeling position, or single-leg stance to challenge the core and hips.
8. Bottoms-Up Kettlebell Carry
Hold a light kettlebell upside down so its base points toward the ceiling. Keep the elbow bent approximately 90 degrees and walk slowly while maintaining a stable wrist and shoulder.
The unstable position encourages the hand, forearm, rotator cuff, and shoulder-blade muscles to work together. Begin with a short distance and a light kettlebell. The bell should remain controlled rather than wobbling like gelatin during an earthquake.
Suggested starting dose: Two or three carries of 20 to 30 seconds per side.
Players who cannot control the kettlebell can begin with a regular suitcase carry or a light dumbbell held at shoulder height.
9. Forearm Pronation and Supination
Pronation and supination describe turning the palm down and up. These actions are important for general forearm capacity and ball control.
Hold the end of a light hammer, training bar, or small dumbbell with the elbow bent and supported. Slowly rotate the forearm in each direction without forcing the end range. Moving your hand farther from the weighted end makes the exercise harder.
Suggested starting dose: Two sets of 10 to 15 repetitions in each direction.
Keep the motion pain-free. This is a small-muscle exercise, so “more weight” is not automatically more useful.
10. Wrist Extension and Flexion
Sit with the forearm supported on a bench or thigh and the hand extending beyond the edge. Use a light dumbbell to bend the wrist upward and downward. Perform one set with the palm up for wrist flexion and another with the palm down for wrist extension.
Suggested starting dose: Two sets of 12 to 20 repetitions in each position.
Move through a comfortable range and lower the weight slowly. Grip strength can also be trained with carries, but avoid exhausting the forearms immediately before a throwing session.
11. Half-Kneeling Pallof Press
Throwing requires rotation, but players must first be able to resist unwanted rotation. The Pallof press trains the trunk to remain stable while an external force attempts to turn it.
Attach a band or cable at chest height. Kneel sideways to the anchor with one knee down. Hold the handle against your chest, brace your abdomen, and press your hands straight forward. Prevent the band from rotating your torso.
Suggested starting dose: Two or three sets of 8 to 12 repetitions per side, pausing briefly with the arms extended.
Keep the hips level and breathe normally. Turning purple is not a required part of core training.
12. Rear-Foot-Elevated Split Squat
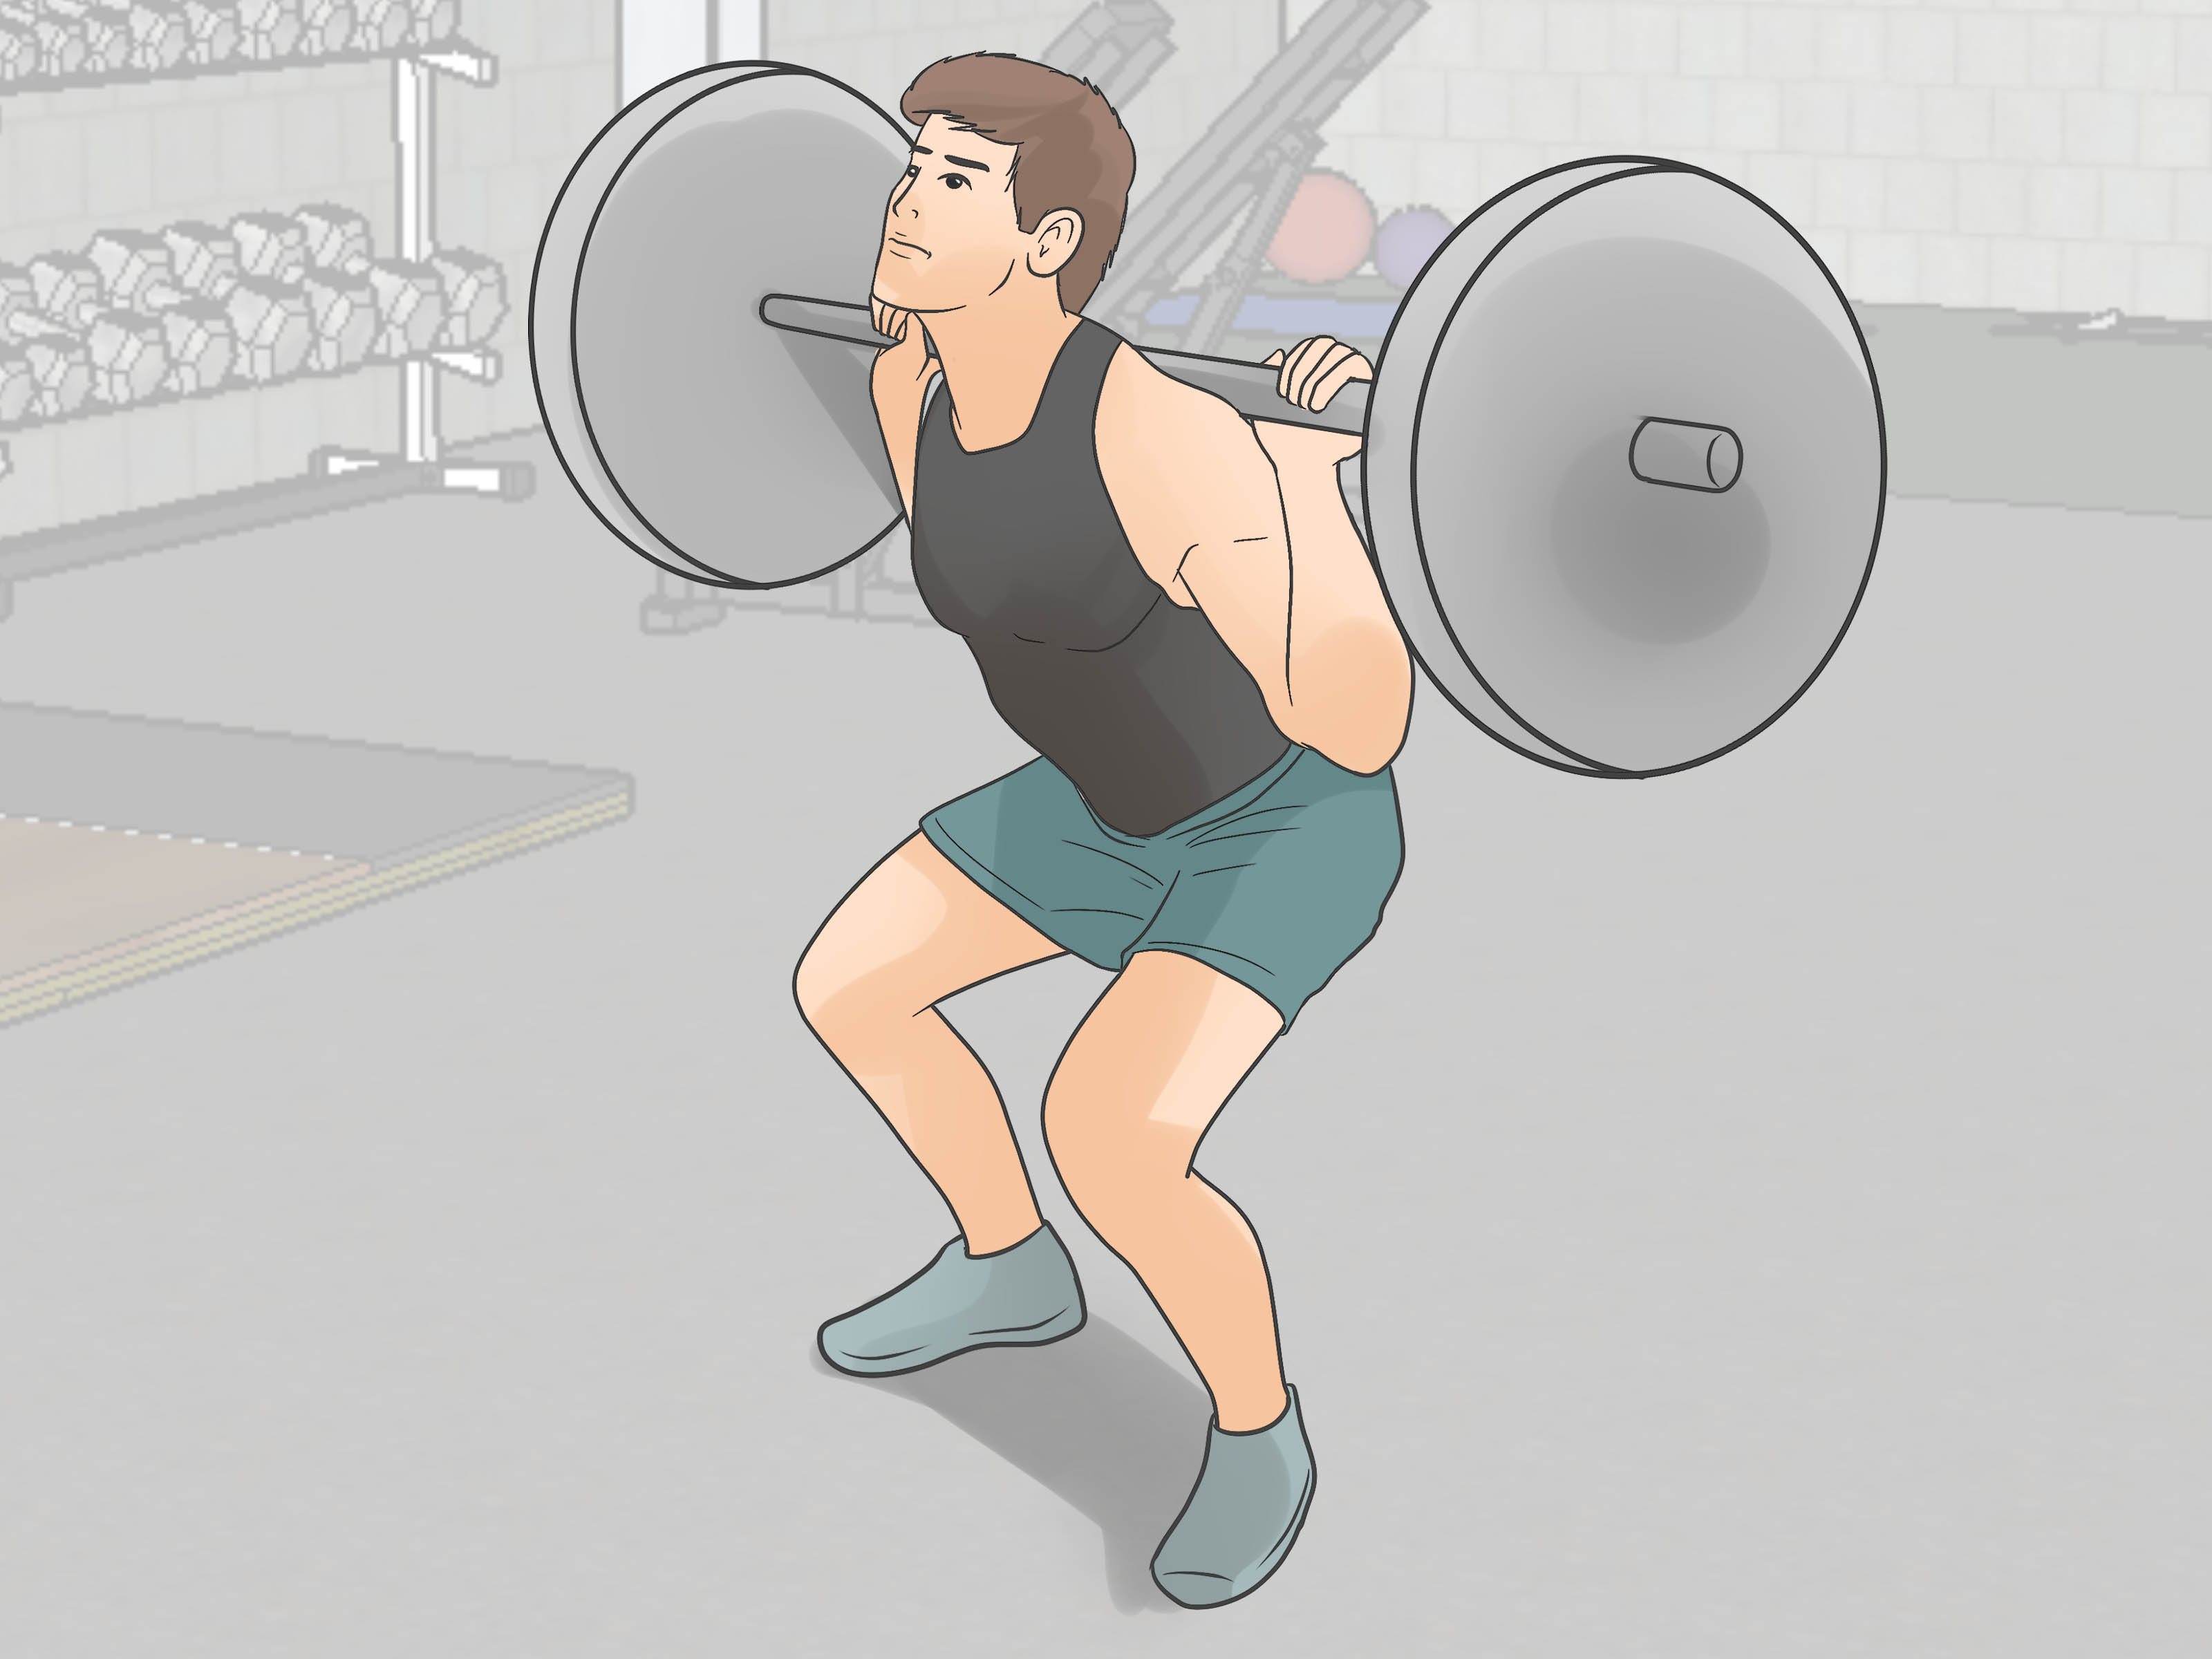
The arm may release the ball, but the legs begin much of the force-production process. Single-leg strength is especially relevant because throwing involves shifting weight, stabilizing on one leg, and landing under control.
Stand in a split stance with the rear foot resting on a low bench. Lower the back knee toward the floor while keeping the front foot planted. Drive through the front leg to return to standing.
Suggested starting dose: Three sets of 6 to 10 repetitions per leg.
Begin with body weight. Add dumbbells only after you can maintain balance, knee alignment, and torso control.
13. Rotational Medicine-Ball Scoop Toss
This drill develops explosive force transfer from the ground through the hips and torso. Stand sideways to a sturdy wall while holding a light medicine ball near the back hip. Load the hips, rotate forcefully, and throw the ball into the wall. Catch the rebound only when it is safe to do so.
Suggested starting dose: Three or four sets of three to six explosive throws per side.
Each repetition should be fast and crisp. Stop the set when speed declines. Medicine-ball work is power training, not cardio disguised as punishment.
How to Organize These Exercises
You do not need to perform all 13 exercises in one session. That approach usually creates a long workout, tired shoulders, and a sudden interest in skipping the entire program.
Sample Two-Day Baseball Strength Plan
Day One:
- Rear-foot-elevated split squat: 3 sets of 8 per leg
- Single-arm row: 3 sets of 10 per side
- Push-up plus: 3 sets of 10
- Band external rotation: 2 sets of 15 per side
- Pallof press: 2 sets of 10 per side
- Wrist extension and flexion: 2 sets of 15
Day Two:
- Rotational medicine-ball scoop toss: 4 sets of 4 per side
- Prone Y-T-W raises: 2 rounds of 8 in each position
- Face pull with external rotation: 3 sets of 12
- Side-lying external rotation: 2 sets of 12 per side
- Bottoms-up carry: 3 sets of 20 seconds per side
- Forearm pronation and supination: 2 sets of 12 per direction
Most players can begin with two strength sessions per week. More experienced athletes may train three or four days, but shoulder volume, throwing volume, competition schedules, and recovery must be considered together. University Hospitals recommends regular arm-care work while also training the posterior chain, core, legs, single-leg balance, thoracic mobility, and posterior-shoulder mobility. NSCA guidance likewise treats arm care as one component of a broader strength-and-conditioning plan rather than an isolated collection of band exercises.
Combine Strength Training With a Gradual Throwing Program
Gym strength does not automatically become baseball throwing ability. Players must practice throwing with efficient mechanics and gradually increase distance, intensity, and volume.
Start with easy catch at a comfortable distance. Increase either the number of throws, throwing distance, or intensity gradually rather than raising all three at once. High-intensity mound work, maximum-effort pulldowns, and long throwing sessions should not be added simply because the arm feels good that day.
Young players should follow current age-specific pitch-count and rest recommendations. MLB and USA Baseball’s Pitch Smart guidance also encourages proper warmups, required rest periods, avoiding simultaneous participation on multiple teams, and taking several months away from competitive throwing each year. Strengthening exercises cannot cancel out excessive workload. No resistance band is powerful enough to negotiate with an overused elbow.
Common Mistakes That Limit Arm Development
Training Only the Throwing Arm
Both sides should generally be trained. The non-throwing side contributes to posture, trunk control, catching, hitting, and overall athletic balance.
Using Too Much Resistance
Rotator-cuff exercises usually require less weight than rows, presses, or lower-body lifts. Heavy resistance that causes shrugging, twisting, or reduced range defeats the purpose.
Ignoring the Lower Body
Weak legs and poor hip control can force the upper body to produce more of the throw. Squats, split squats, lunges, hinges, jumps, and sprinting belong in a complete baseball program.
Strengthening Without Mobility
Players need enough shoulder, upper-back, and hip mobility to reach throwing positions without compensation. Mobility should be individualized; aggressive stretching is not automatically better, especially when a player already has unusual shoulder laxity.
Throwing Through Pain
Normal muscular fatigue and mild post-training soreness differ from joint pain, sharp discomfort, or a progressively “dead” arm. Persistent symptoms deserve professional attention. Boston Children’s Hospital, HSS, AAOS, ASMI, and AOSSM all emphasize proper conditioning, rest, gradual return, and early response to pain in throwing athletes.
Practical Experiences and Lessons From Building a Stronger Baseball Arm
The most common experience among players beginning an arm-strength program is surprise: the light exercises are often harder than expected. An athlete may confidently row a heavy dumbbell and then struggle to complete 12 clean external rotations with a light band. That does not mean the player is generally weak. It reveals that the smaller stabilizing muscles need endurance, coordination, and patient progression.
Another familiar pattern is the “more must be better” phase. A player discovers band exercises, performs every variation found online, and turns a 10-minute warmup into a 45-minute shoulder marathon. Within a few weeks, the arm feels tired rather than powerful. The lesson is straightforward: arm-care work should support throwing, not compete with it. Four well-chosen exercises performed consistently usually beat 17 exercises performed until the shoulder resembles an exhausted office printer.
Players also tend to judge progress only by throwing distance or radar-gun readings. Those measurements matter, but early improvements often appear elsewhere. The shoulder may feel less tired late in practice. Throws may remain accurate for more innings. Recovery between sessions may become easier. The athlete may control the landing leg better or maintain posture instead of falling toward the glove side. These less glamorous changes often create the foundation for later performance gains.
A useful real-world approach is to keep a simple training log. Record throwing distance, approximate intensity, number of high-effort throws, strength exercises, sleep quality, and how the arm feels the next morning. Patterns become easier to recognize. For example, a player may notice that the arm feels heavy after combining maximum-effort throwing, heavy upper-body lifting, and poor sleep on consecutive days. The solution is not necessarily another recovery gadget. Sometimes the revolutionary answer is scheduling.
Many athletes also improve when they stop treating the throwing arm as a separate machine. A weak front leg, unstable trunk, or poorly controlled shoulder blade can disrupt the sequence of a throw. Once split squats, rotational medicine-ball work, rows, and core exercises are added, the movement often feels more connected. The athlete is no longer trying to manufacture the entire throw from the shoulder.
Consistency is the final lesson. Arm strength rarely changes dramatically after one heroic workout. It develops through months of sensible training, progressive throwing, quality sleep, adequate nutrition, and planned rest. A player who performs 15 focused minutes twice a week throughout the offseason will usually build more useful capacity than someone who attacks an enormous program for six days and then abandons it because opening a refrigerator suddenly feels like a shoulder test.
For younger athletes, the best experience is often a varied one. Playing other sports, developing general coordination, learning sound mechanics, and taking time away from repetitive throwing can support long-term athletic growth. Specialization and year-round throwing may feel like shortcuts, but durable development is usually built on broad movement skills and responsible workloads.
Conclusion
Developing arm strength for baseball requires more than strengthening the biceps or throwing at maximum effort. A complete program trains the rotator cuff, shoulder-blade muscles, upper back, forearms, core, hips, and legs while preserving mobility and respecting recovery.
Choose four to six exercises per session, use clean technique, and progress gradually. Pair strength work with an organized throwing plan, monitor total workload, and never use exercise as permission to ignore pain. The strongest baseball arm is not simply the one that produces the hardest throw. It is the one that can produce quality throws repeatedly, recover reliably, and remain available throughout the season.
Important note: This article provides general fitness education and is not individualized medical advice. Players with current shoulder or elbow pain, previous surgery, growth-plate concerns, or significant motion loss should consult a sports-medicine physician, physical therapist, athletic trainer, or qualified strength professional before beginning a new program.