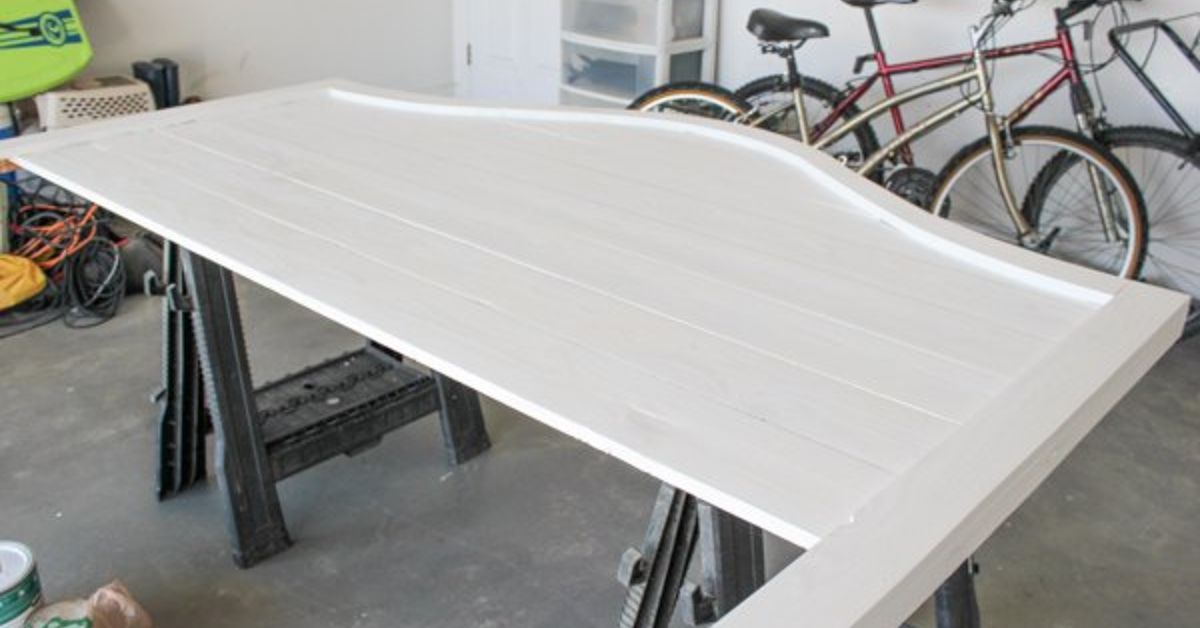
Fresh lumber is wonderfully cooperative, but it can also look suspiciously innocent. When a project needs the warmth of a farmhouse find rather than the glow of aisle-seven boards, you can distress new wood intentionally. The trick is not to “damage” it at random. It is to copy the believable signs of age: softened edges, uneven grain, shallow dents, layered color, and wear where hands, dishes, boots, or drawers would actually make contact.
That is the heart of #FixerUpperStyle: rustic character with enough restraint that the finished piece still looks designed. You are aiming for a wood finish with a backstory, not evidence from a lumberyard brawl.
Begin With the Look You Want
Decide what kind of old your project should resemble. A dining table normally has rounded corners, subtle marks on the front edge, and a finish darkened in low spots. A wall sign may be gray, dry-looking, and more textured. A painted cabinet may have rubbed corners and a darker color sitting in its grooves.
This imagined history keeps you from overdoing it. Real age is selective. It does not place identical dents in tidy rows across every inch of a board.
Choose Wood That Can Handle the Treatment
Solid wood gives the best result. Pine and poplar are affordable, soft enough to dent easily, and popular for painted farmhouse furniture. Oak and ash have pronounced open grain that responds beautifully to wire brushing, stain, and whitewash. Woods with higher natural tannins can react more strongly to gray aging solutions, so always test the exact species on an offcut.
Be gentle with veneer, particleboard, and MDF. Deep sanding or hammering can expose layers that will never look like rustic wood. For these materials, use paint, glaze, and light edge sanding instead of heavy texture work.
What You Need
- Medium- and fine-grit sandpaper or sanding sponges
- A stiff wire brush
- A small hammer, short chain, screws or washers, and a cloth bag of pebbles
- Stain, paint, glaze, whitewash, or a commercial wood-aging product
- Lint-free rags, brushes, gloves, a drop cloth, and a compatible clear topcoat
Use good ventilation and follow product labels. Keep oil- or solvent-soaked rags in a fire-resistant covered metal container until they are disposed of correctly. Finishes can look quaint on a farmhouse shelf, but their vapors and rags are not quaint at all.
How to Distress New Wood Step by Step
1. Make a Sample Board First
Use the same species and sanding schedule as the real project. Divide a scrap into small sections and test your dents, wire brushing, stain, paint, and sealer. Label the back. This five-minute rehearsal can prevent an expensive “rustic” tabletop from becoming a very large cutting-board-shaped lesson.
2. Sand Off the Newness
Start with clean, dry unfinished wood. Sand away milling fuzz and lightly soften sharp edges. Medium grit works well for initial smoothing; finish with a finer grit in areas you plan to stain. Sand with the grain whenever possible. Do not polish the surface until it feels like glass, because a slightly open texture helps color settle naturally.
3. Round Edges Where Wear Makes Sense
Real furniture loses crispness first at corners, shelf fronts, drawer edges, and handholds. Use sandpaper to ease only those places. This small adjustment changes the silhouette and often looks more authentic than any dramatic denting technique.
4. Add Shallow, Irregular Marks
Put a few washers, screws, or pebbles into a cloth bag and tap the wood lightly. The bag creates scattered impressions without turning the board into a crime scene. A short chain can add soft, irregular marks; an awl can suggest an occasional old nail hole.
Place marks where impacts would occur: the edge of a bench, the lower rail of a table, the front of a shelf, or the corner of a frame. Use several small marks, fewer medium ones, and perhaps one larger imperfection. Step back often. The most common distressing mistake is continuing after the wood already looks good.
5. Brush the Grain
Drag a stiff wire brush in the direction of the grain. On softwoods, this removes softer fibers more quickly than the harder grain lines and leaves gentle ridges. It works especially well on beams, wall planks, signs, and shelf boards. Brush steadily, not frantically, and clean away all dust before coloring the wood.
Pick Your Distressed Wood Finish
Warm Stain With Pale Highlights
For a classic farmhouse wood finish, apply a medium or dark stain with the grain, then wipe away excess with a clean cloth. Let the color settle in dents and wire-brushed grooves. After it dries, dry-brush a small amount of warm white, cream, or light gray paint over the highest points. Wipe back quickly until the grain remains visible and the paint looks like a faded layer rather than a full coat.
Weathered Gray Wood
Commercial weathering accelerators can create an aged gray or brown cast on bare wood by reacting with natural tannins. The result changes by wood species and even from board to board, so your sample board is still the boss. Homemade vinegar-and-steel-wool solutions are a popular alternative, but they are less predictable. Test, let the sample dry fully, and view it in the room where the piece will live. Wet wood often looks darker than the true finished color.
Painted, Rubbed, and Vintage
For furniture, start with a darker base paint. Once it is dry, rub candle wax sparingly onto corners, molding, drawer edges, and other likely wear points. Apply a lighter topcoat. When dry, sand the waxed areas lightly to reveal the darker layer below. A small amount of brown or charcoal glaze wiped into grooves can add depth, but remove most of it from broad flat surfaces. Old furniture has contrast; dirty furniture has a cleaning problem.
Whitewash for an Airier Look
Thin a water-based white or cream paint according to its directions, brush it with the grain, and wipe away excess. The grain should remain visible. Whitewash is ideal for pine, oak, shiplap-style accents, crates, and small tables when you want rustic texture without a heavy dark finish.
Seal It So the Look Lasts
Distressed does not mean unprotected. A wall sign may need only a low-sheen clear coat, but a table, tray, or bench needs a finish that can handle moisture, wiping, and daily use. Matte, flat, and satin topcoats usually preserve the aged effect better than gloss, which can make even lovely weathered wood look as though it has been dipped in hard candy.
Water-based finishes tend to stay clearer and are often lower odor; oil-based finishes can deepen and warm the color. Choose a finish compatible with your stain or paint, apply thin coats, and follow the drying and recoating instructions exactly. The best final surface feels smooth where hands touch it while retaining visual texture in the grain.
Style It Like a Pro, Not a Prop Department
Distressed wood looks strongest when it has contrast around it. Pair one weathered shelf with clean white walls and simple black brackets. Let a whitewashed bench sit beside a crisp table base. Use understated matte-black, aged-brass, or simple wood hardware. If every object in the room is chipped, gray, scuffed, and aggressively antique, the room can start to feel less farmhouse and more “the moving truck took a difficult route.”
For a quick first project, make a rustic picture frame, a wire-brushed pine shelf, or a painted side table. Small projects teach you how texture, color, and topcoat behave before you commit to a dining table or a full cabinet makeover.
Experience Notes: Lessons From a Distressing Workbench
The most useful lesson from distressing new wood is that restraint is not boring; it is what makes the finish convincing. The first impulse is usually to use every tool available. There is a chain, a hammer, a wire brush, perhaps a mysterious old screwdriver, and a free afternoon. Yet the board that looks best is normally the one that received the fewest marks. Once color settles into a dent or a brushed groove, a subtle texture becomes much more visible. What looked timid on bare pine can look exactly right after stain and sealer.
A sample board is the best insurance policy in the workshop. Create several small test zones: one with stain only, one with brushed grain, one with pale dry brushing, and one with a weathering solution. Write down the order of products and take a photo after each step. The sample becomes a repeatable recipe, especially when you return to a project weeks later and cannot remember whether the beautiful gray came from the finish, the lighting, or sheer beginner’s luck.
Lighting deserves its own warning label. A soft gray finish can look warm and sophisticated in daylight, then turn nearly charcoal under evening bulbs. A creamy whitewash may look fresh beside a cool wall and unexpectedly yellow next to warm trim. Bring your dry samples into the actual room and inspect them morning, afternoon, and evening. Wood does not respect your inspiration board. It respects the light bouncing around the room.
Texture should also suit the project. Deep wire-brushed grooves can look excellent on a shelf, beam, or decorative sign because shadows emphasize the grain. The same grooves on a dining table can catch crumbs, snag a cleaning cloth, and preserve evidence of every pasta dinner for years. A tabletop needs lighter texture and a more durable, smoother topcoat. Decorative projects can be more theatrical because no one is trying to balance a coffee mug on them.
Hardware can quietly make or break the story. A weathered cabinet door paired with ultra-shiny chrome pulls may look confused, while simple black metal, aged brass, or plain wooden knobs support the finish without shouting “frontier theme.” The goal is not historical reenactment. It is harmony: texture, color, hardware, and room style should all appear to be having the same conversation.
Finally, leave room for a little surprise. A knot may take stain more deeply than expected. A small dent may land in exactly the right spot. A brushstroke may become a feature. Controlled imperfection is still a design choice, and those tiny variations are what keep distressed wood from looking mass-produced. The piece does not need to prove it is old. It only needs to feel at home.
A good stop rule helps, too: after each new effect, set the board upright and walk away for a minute. When you return, notice the first thing your eye sees. If it is the grain and overall color, you are winning. If it is one theatrical hammer mark, soften it nowbefore it becomes the project’s entire personality.
Conclusion
To distress new wood successfully, think like a storyteller. Soften the places that would naturally wear, add only plausible marks, build color in layers, test every finish, and protect the surface for the life it will actually live. The result can deliver warm, collected farmhouse character without hunting for barn boards, pulling nails, or explaining why your “reclaimed” wood smells faintly like a basement.
Note: #FixerUpperStyle is used as a descriptive modern-farmhouse aesthetic, not as an affiliation with or endorsement by any television program, brand, or designer.