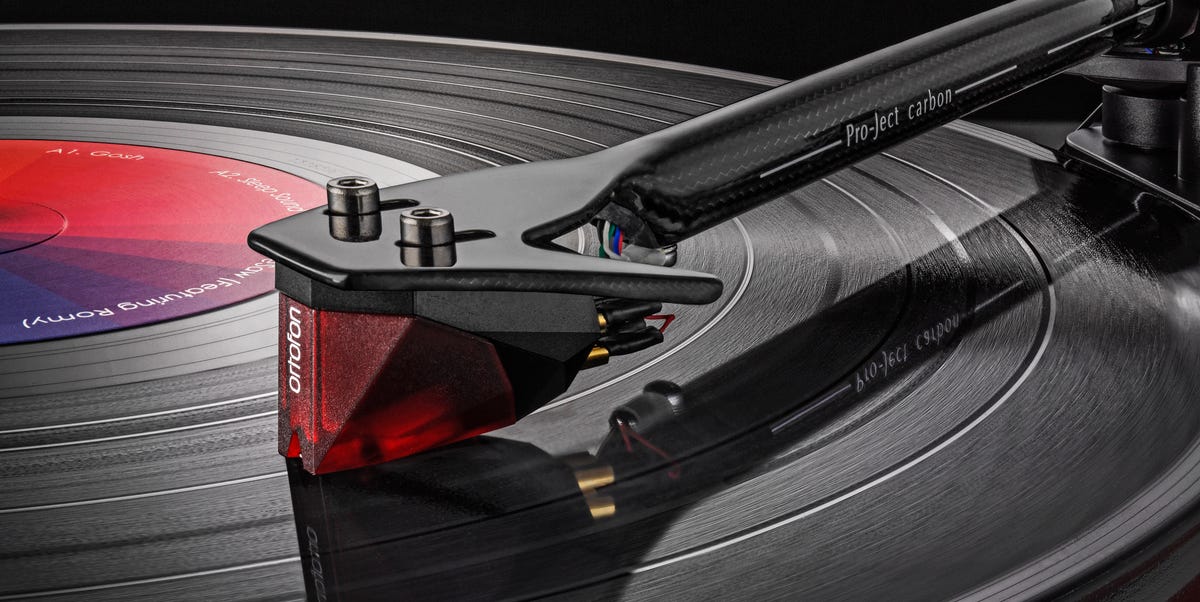
Welcome to vinyl: the hobby where you’ll spend 10 minutes choosing an album, 30 seconds dropping the needle, and the next 45 minutes
telling anyone within earshot that “the warmth is real.” (They’ll pretend they don’t care. They care.)
Getting started with vinyl records doesn’t have to be confusing, expensive, or involve a mysterious guy online insisting you need a
turntable carved from a single piece of endangered mahogany. You just need a solid plan: pick the right starter setup, learn a few
basics of turntable setup, and handle/clean/store records like you actually want them to outlive your current playlist obsession.
What “Getting Into Vinyl” Really Means (and What It Doesn’t)
Vinyl is equal parts music listening and tiny rituals: sliding an LP from its sleeve, cueing a tonearm, flipping sides, and admiring
album art that finally looks like art again. It can sound fantasticbut it’s not automatically “better” than streaming. Vinyl is
different: it’s a physical format with real-world variables like cartridges, tracking force, dust, static, and the
occasional “why does this record sound like bacon?” moment.
The goal as a beginner isn’t perfection. It’s a setup that’s easy to use, won’t damage your records, and gives you enough sound quality
to understand why people fall in love with the format.
Pick Your Starter Setup (Three Paths That Actually Work)
Path A: Turntable + Powered Speakers (Simple, Clean, Beginner-Friendly)
If you want the fewest boxes and cables, this is the “I want music in my room tonight” route. You’ll need:
- A turntable with a built-in phono preamp (or an external phono preamp)
- Powered (active) speakers that accept RCA/3.5mm input
Why it works: powered speakers have amplification built in, and a built-in phono preamp means you can plug into a standard line input
without extra gear. Audio-Technica notes that a turntable’s PHONO/LINE switch controls whether the internal RIAA preamp is engaged,
which matters a lot for correct volume and sound. If you plug into a normal AUX input or powered speakers, you typically want
LINE. If you plug into a receiver’s PHONO input, you typically want PHONO. (Yes, it’s confusing on purpose.
Vinyl enjoys a little drama.)
Path B: Turntable + Receiver/Amplifier + Passive Speakers (Most Flexible)
This is the classic hi-fi path and it scales nicely as you upgrade. You’ll need:
- A turntable (with or without built-in preamp)
- A receiver/integrated amp (with a PHONO input or an external phono preamp)
- Passive speakers
Why it works: speakers tend to be the biggest sound upgrade, and this path gives you more choices. Also, it’s easier to grow:
better speakers, a nicer phono stage, or a cartridge upgrade down the line.
Path C: “All-in-One” Record Players (Proceed with Caution)
Some all-in-one players are fine, but many cheap suitcase-style units cut corners that can lead to poor tracking and unnecessary wear.
If you’re going this route, look for reputable brands, a properly adjustable tonearm, and a replaceable stylus/cartridge. Several
expert roundups have warned that bargain all-in-ones can be risky for your recordsespecially if you’re building a collection you want
to keep. If you’re unsure, Path A is usually the safer “simple” choice.
The One Concept That Unlocks Everything: What a Phono Preamp Does
A turntable’s signal is not the same as a phone, laptop, or streamer. It’s tiny and needs special EQ. A phono preamp (also called a
phono stage) does two important jobs:
- Boosts the very low signal from the cartridge up to line level
- Applies RIAA equalization so music sounds balanced again
Pro-Ject explains that line-level analog output is around 0.316 volts, while phono output is much weakeron the order of
0.0002 to 0.007 voltsdepending on the cartridge. It also notes that records are cut with bass reduced and treble boosted, and the phono
stage applies the opposite curve during playback (RIAA EQ). Audio Advice similarly emphasizes that applying the RIAA curve is a key job
of a phono preamp. Translation: without a phono preamp, your music will be too quiet and/or sound thin and weird.
Turntable Shopping: What Matters for Beginners
Built-in Phono Preamp vs. External
Built-in is convenient and totally fine for starting out. External can reduce noise and improve sound in some systems, and Pro-Ject
notes internal preamps can pick up more noise because they live inside the turntable body. Start simple; upgrade later if the rest of
your system is ready for it.
Manual vs. Automatic
Manual: you cue the record yourself. Automatic: it can start/stop and lift the arm for you. Automatic is great if you’re worried about
accidentally leaving the stylus in the runout groove while you fall asleep to Side B. Either is validchoose the one you’ll actually use.
Belt Drive vs. Direct Drive
Belt drive uses a belt to isolate motor vibration; direct drive spins the platter directly and is popular with DJs and many home listeners.
Both can sound greatdon’t overthink it. Focus more on overall build quality, a decent cartridge, and stable speed.
Cartridge Basics: Moving Magnet (MM) vs. Moving Coil (MC)
Most beginners start with MM cartridges (common, affordable, easy to replace). Pro-Ject notes MC cartridges typically have much weaker output,
which affects the kind of phono preamp you need. Unless you already know you want MC, start with MM and enjoy your life.
Your First 30 Minutes: Setup That Prevents 80% of Vinyl Problems
Take your time here. A careful setup protects your records and makes everything sound better.
1) Put the Turntable on a Stable, Level Surface
A sturdy piece of furniture beats a wobbly shelf every time. If your table is dancing, your stylus is doing unwanted choreography in the groove.
2) Confirm Your PHONO/LINE Setting
If you’re plugging into a receiver’s PHONO input, the turntable’s internal preamp should usually be OFF (PHONO setting).
If you’re plugging into AUX/CD/LINE inputs or powered speakers, the internal preamp should usually be ON (LINE setting).
Audio-Technica breaks down these two setups clearlythis switch is a common “why is my vinyl whispering?” culprit.
3) Balance the Tonearm and Set Tracking Force
Proper tracking force is the downward pressure the stylus applies to the groove. Too light and it can mistrack; too heavy and you increase wear.
A practical setup guide recommends balancing the tonearm so it “floats,” setting the tracking dial to zero, then applying the recommended tracking
force using the counterweightand ideally verifying with a digital stylus force gauge.
Example: Ortofon’s specs for the popular 2M Red list a recommended tracking force of 1.8 g (with a 1.6–2.0 g range). That doesn’t mean you need
that cartridgeit means you should always follow your cartridge’s recommended range.
4) Set Anti-Skate
Anti-skate applies a small outward force to counter the tonearm’s tendency to pull inward. A common beginner rule is to set anti-skate roughly
equal to tracking force, then fine-tune if needed. Some turntables use a dial; others use a small weight and notches. Crutchfield’s setup video
demonstrates a notched anti-skate weight system and notes a “recommended setting” for a specific cartridge example.
5) Cue Like a Pro (Without the Shaky-Hand Panic)
- Use the cue lever if your turntable has one.
- Lower slowly. No “needle drop,” unless you’re trying to invent a new form of modern art.
- Keep the dust cover down during play if it reduces dust in your spacebut if it causes vibration, play with it up. Your room decides.
Buying Records: Build a Collection You’ll Actually Play
New vs. Used
New records are easy: clean, consistent, and returnable if defective. Used records are where the treasure hunt livesthrift stores, record shops,
estate sales, and online marketplaces. The trade-off is condition can vary wildly, so you need a quick inspection routine.
Learn Record Grading (So You Don’t Pay “Mint” Money for “Mystery Crackle”)
Most sellers use the Goldmine grading system (Mint, Near Mint, VG+, VG, and so on). Goldmine’s grading guidance explains that VG+ can show light signs
of wear that don’t affect listening much, while lower grades will have more noticeable noise and wear. Discogs’ grading guide also describes how
lower grades may have surface noise and visible groove wear, yet still be playable.
Beginner buying tip: when in doubt, buy fewer records in better condition. A small “always sounds great” stack beats a huge pile of disappointment.
A Simple Starter Crate (10 Records That Teach You What You Like)
- 2 albums you already love (so you can hear differences and spot issues)
- 2 used records in solid condition (to practice grading and cleaning)
- 2 bass-heavy albums (to test tracking and “is my setup rumbling?”)
- 2 acoustic/vocal records (to test clarity and inner-groove performance)
- 2 wildcards (because vinyl is also about discovery)
Cleaning and Care: The Low-Effort Habits That Protect Your Setup
Handle Records by the Edges (Seriously)
The Library of Congress recommends handling grooved discs by the edge and label areas only and avoiding contact with the playing surface.
Oils and dirt aren’t just grossthey attract dust and can increase noise.
Daily Dust Control (Fast and Worth It)
- Before play: use a carbon fiber or anti-static brush to lift surface dust.
- Keep your stylus clean: Crutchfield recommends gently brushing from behind the stylus and pulling toward younever pushing into the cantilever.
Deep Cleaning (When the “Bacon” Won’t Quit)
If a record is truly noisy, it may need a wet clean. Use a vinyl-specific cleaning solution and a microfiber cloth or record cleaning system.
Avoid household cleaners. If you’re unsure, follow the cleaning product instructions and keep liquids away from labels.
Storage: Upright, Cool, Dry, and Boring (Boring Is Good)
Records like stability. The Library of Congress recommends storing discs upright with sturdy dividers and keeping home collections in a cool,
relatively dry, clean, stable environmentavoiding attics and basements. The U.S. National Archives similarly emphasizes stable temperature and humidity
(and avoiding unregulated spaces like attics/garages). In other words: your records want the opposite of “next to a sunny window on top of a heater.”
Use Better Inner Sleeves
Sleeves matter more than people expect. NEDCC suggests replacing plain record sleeves (without text/graphics) with high-density polyethylene sleeves,
and the Library of Congress lists HDPE sleeves as a good option, including cases where you keep the original paper sleeve for artwork or notes.
Gaylord (a preservation supplier) also recommends replacing paper sleeves with archival-quality sleeves and notes that paper can reduce static.
Stylus and Cartridge 101: When to Replace, and Why You Should Care
Your stylus is the tiny diamond doing all the work. It also wears out. Ortofon notes that, with proper care, a stylus can last up to
1000 hours before performance degradation, while DJ-style use can shorten life substantially. Audio-Technica provides more granular
estimates by stylus shape, listing approximate lifetimes such as 300–500 hours for conical, 300 hours for elliptical,
and up to 1000 hours for MicroLine, with Shibata and special line contact around 800 hours.
Signs you might be due: increased distortion (especially on loud vocals), more sibilance (“sss” sounds get spicy), and tracking issues on records that
used to play fine. If you’re not sure, replacing a stylus is often cheaper than replacing damaged records.
Troubleshooting: Fix the Most Common Vinyl Problems in Minutes
Problem: It’s Too Quiet (or Sounds Thin and Tinny)
This is usually a phono preamp mismatch. If you’re plugged into a PHONO input while your turntable’s preamp is ON, you’re “double preamping.”
If you’re plugged into a LINE input while your turntable’s preamp is OFF, the signal is too weak. Audio-Technica’s PHONO/LINE explanation is the
fastest way to diagnose this.
Problem: One Speaker Is Louder (or One Channel Drops Out)
Swap left/right RCA cables at the amp. Crutchfield notes that if the problem follows the cable, you likely have a faulty RCA or connection;
if it stays put, it may be the amp input. Also recheck anti-skate and cartridge connections if you’re comfortable doing so.
Problem: Hum or Buzz
Check grounding (if your turntable uses a ground wire), cable routing (keep signal cables away from power bricks), and whether you’re on the correct input.
Hum is often a wiring/grounding issue, not a “your records are haunted” issue. (Often.)
Upgrades That Matter (So You Don’t Spend Money on the Wrong Thing)
- Speakers first: Better speakers usually outperform almost any turntable upgrade at the same price.
- Cartridge/stylus upgrade: A better stylus profile can reduce distortion and improve detailjust keep alignment and tracking force correct.
- External phono preamp: Can reduce noise and improve clarity, especially if your current preamp is basic.
- Isolation: If your room vibrates (old floors, big subwoofer nearby), a more stable surface or isolation feet can help.
The best upgrade is the one that solves your actual problem. If your setup already sounds good, the correct next step might be: more records.
Revolutionary concept, I know.
Beginner Experiences: The Real-Life Stuff Nobody Warns You About (500-ish Words of Vinyl Reality)
Starting vinyl is a little like adopting a very charming, slightly dusty pet. It’s lovable, it has quirks, and it will absolutely punish you
for ignoring basic careusually at the exact moment you invite friends over to “hear how good this sounds.”
One of the first beginner experiences is the Great Volume Mystery. You hook everything up, drop the needle, and… the music is so quiet you
assume the band is playing from another zip code. This is usually the PHONO/LINE mismatch: you’re either sending a phono signal into a line input
(too weak) or you’re double-preamping into a PHONO input (too loud/odd). Once you flip the correct switch, it feels like unlocking a cheat code.
Then there’s the “Wait, why is it crackling?” era. New vinyl can carry factory dust; used vinyl can carry a whole biography of someone else’s
living room. You learn quickly that a quick dry brush helpsbut sometimes a wet clean is the difference between “classic album” and “campfire simulation.”
You’ll probably have one night where you deep-clean three records, listen to the quiet lead-in groove, and experience the pure satisfaction of
not hearing random pops every eight seconds.
You’ll also experience the First Used Record Gamble. In the store it looked “pretty good,” and the sleeve art was perfect. At home, Side A plays fine,
and Side B reveals a scratch that sounds like a tiny goblin learned percussion. This is where grading knowledge becomes your superpower. You start
inspecting under bright light, checking for feelable scratches, and asking “has this been play-tested?” without sounding like you’re interrogating a suspect.
Another very real beginner milestone is realizing your furniture is part of the audio system. Put a turntable on a wobbly shelf and suddenly footsteps
become a remix. The first time you move your setup to a sturdier surface and the bass tightens up, you’ll wonder why you didn’t do it sooner.
At some point you’ll also get emotionally attached to sleeves. Not just the jacket artinner sleeves and outer protection. You’ll slide an LP into a
fresh sleeve, reduce static, and feel an unreasonable amount of pride. You may even organize records. Alphabetically. Or by genre. Or by “vibes.”
(The vinyl community accepts all three methods, but will argue about them anyway.)
Finally, you’ll have the Upgrade Day: maybe better speakers, a nicer stylus, or a dedicated phono preamp. The funniest part is that the upgrade itself
is excitingbut the bigger win is confidence. You’ll know what you’re hearing, why it changed, and how to keep it sounding great. And that’s when vinyl
stops being “a complicated hobby” and becomes “the most fun way to listen to music I already love.”