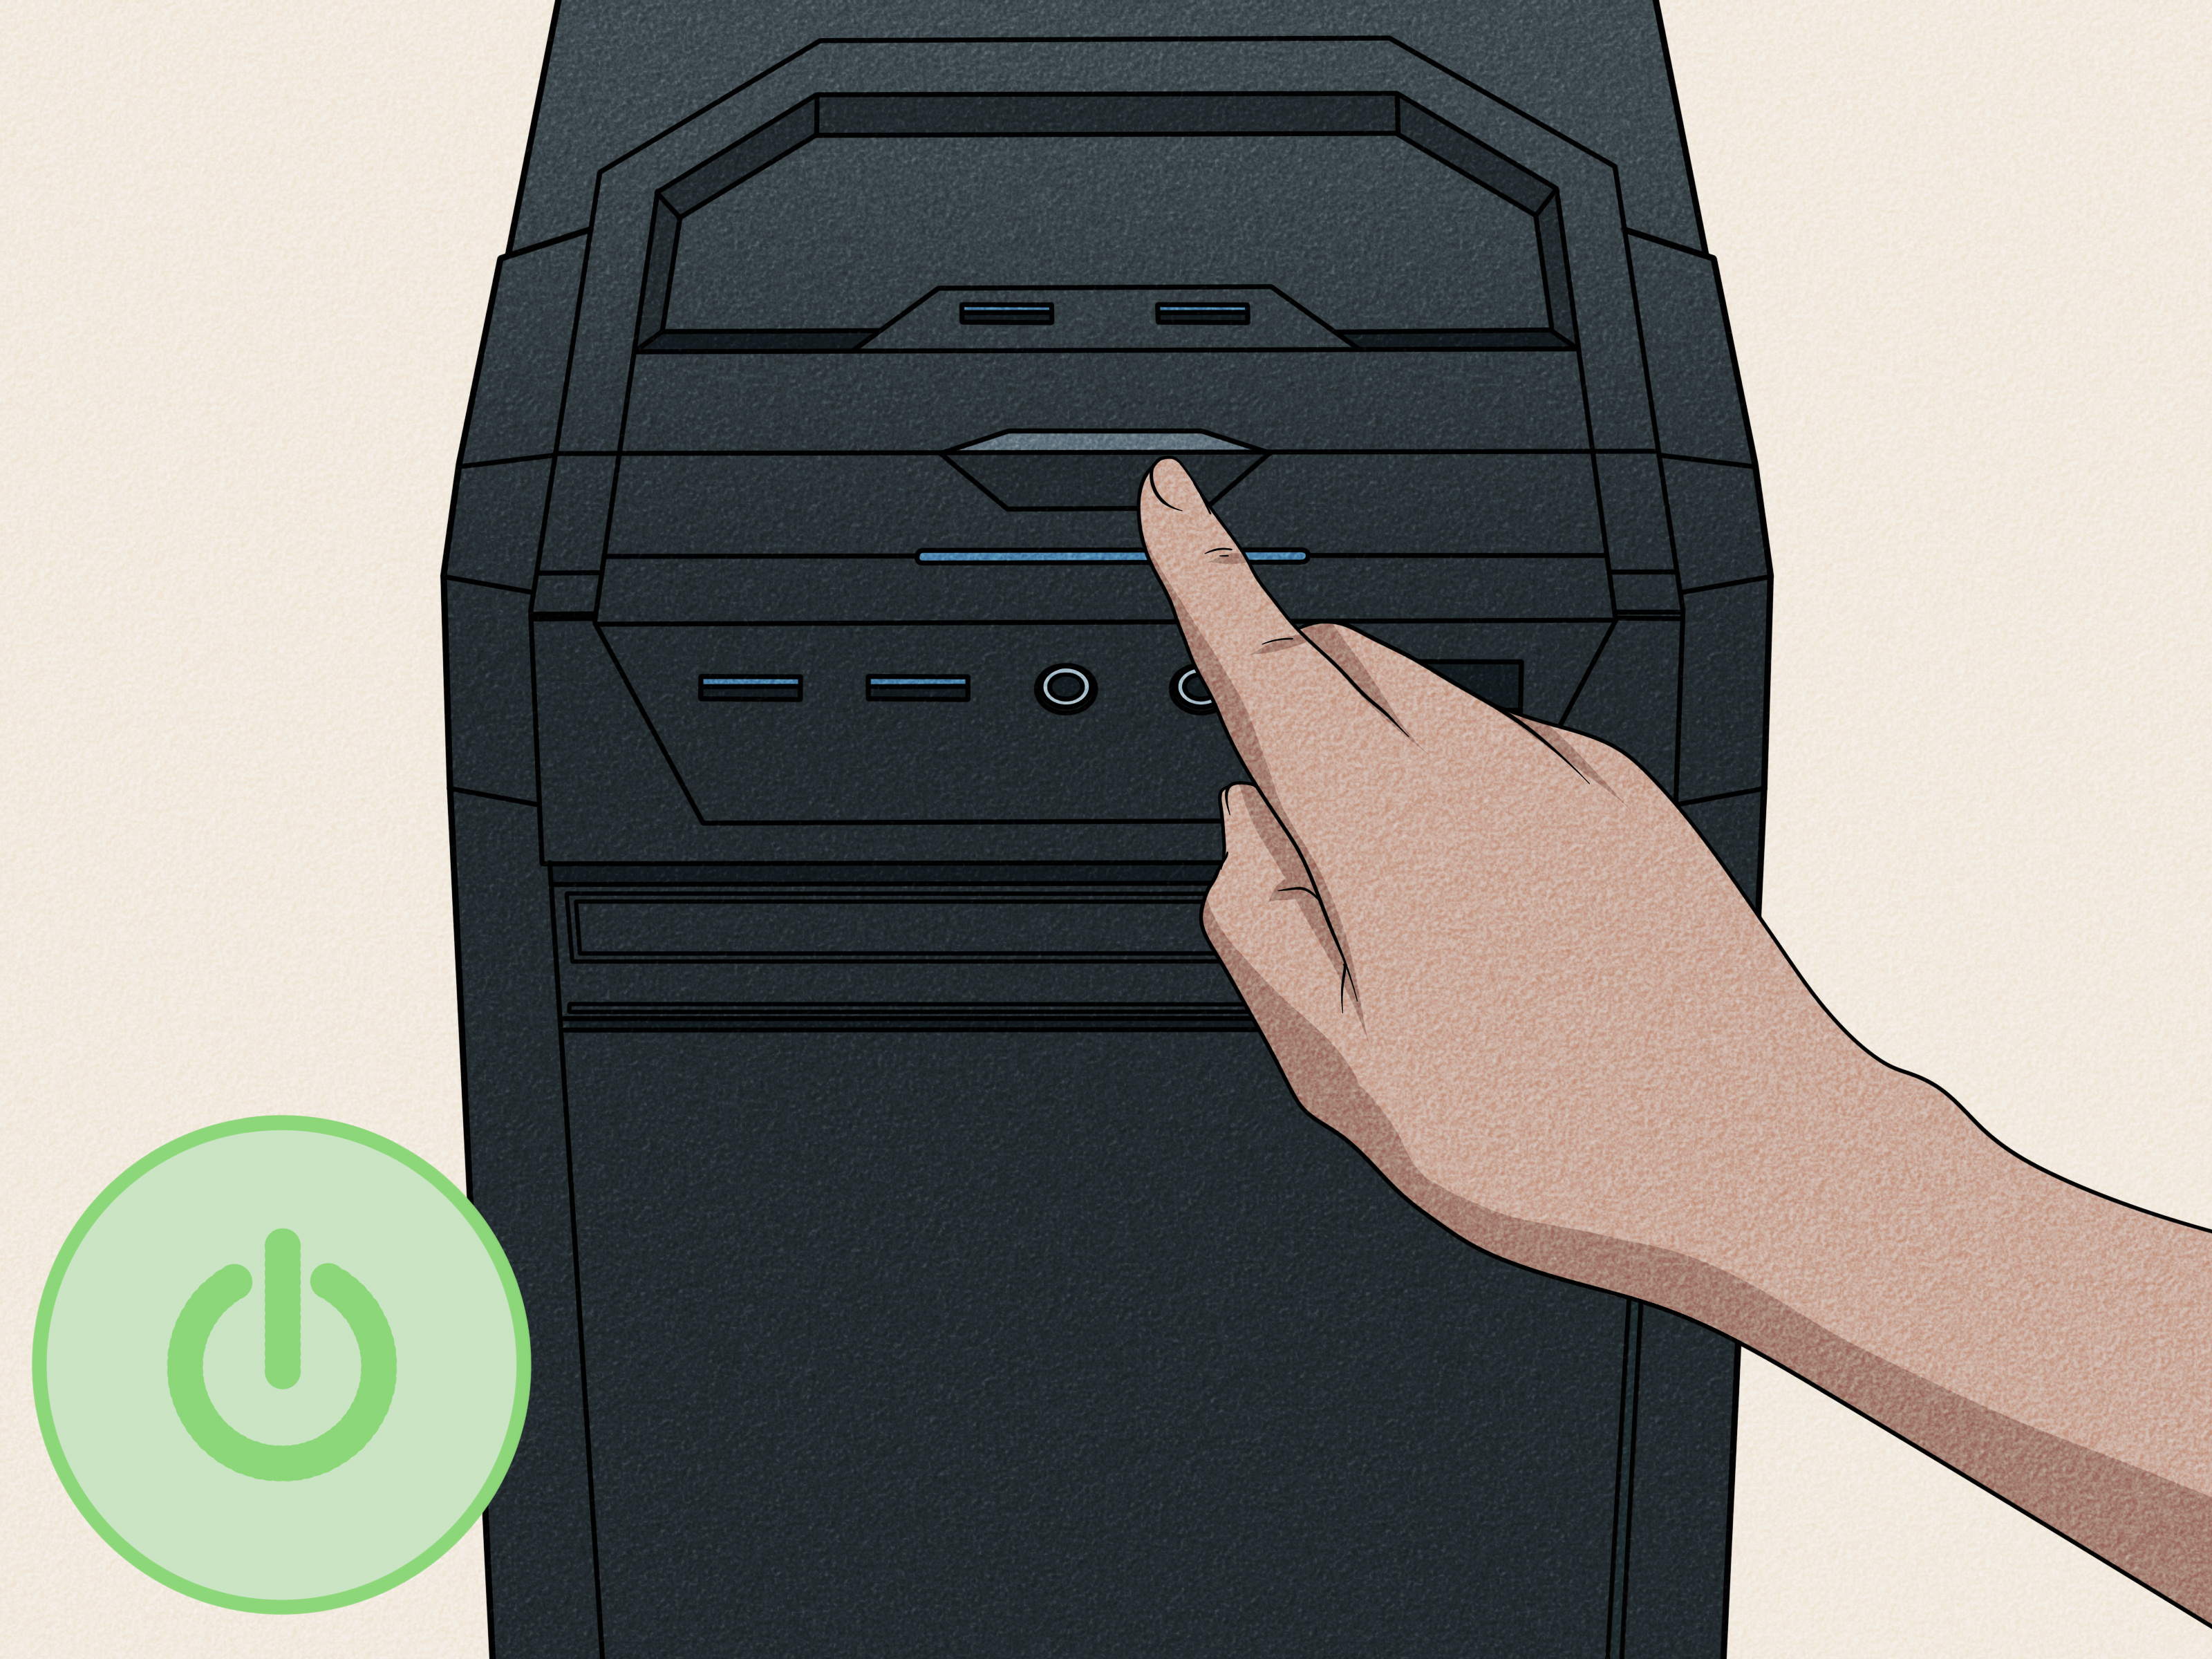
Once upon a time, every desktop computer had an optical drive proudly sitting on the front panel like a tiny garage door for your music CDs, movie DVDs, game discs, backup media, and mysterious software installers from 2009. Today, many modern PCs have gone full minimalist: glass side panels, RGB lighting, zero drive bays, and absolutely no patience for physical media.
Still, optical discs are not extinct. If you have old family photo DVDs, music CDs, legacy software, backup discs, Blu-ray movies, or a burning desire to burn actual discs, installing a CD/DVD/Blu-ray drive on a computer is still useful. The good news: on most desktop PCs, adding an internal optical drive is one of the friendliest hardware upgrades you can do. No thermal paste. No tiny CPU pins. No emotional support snack requiredalthough snacks are always welcome.
This guide explains how to install an internal optical drive in a desktop computer, how to connect SATA power and data cables, how to check whether Windows recognizes the drive, and what to do if your new disc drive refuses to appear. We will also cover external USB drives, laptop limitations, Blu-ray playback software, and practical lessons learned from real-world installations.
What Is an Optical Drive?
An optical drive is a computer component that reads, writes, or both reads and writes optical discs. These include CDs, DVDs, and Blu-ray discs. Depending on the model, the drive may be a CD-ROM drive, DVD writer, Blu-ray reader, Blu-ray burner, or a combination drive that handles several formats.
Most internal desktop optical drives use the SATA interface. That means they need two connections: a SATA data cable that connects to the motherboard, and a SATA power cable that connects to the power supply. Older drives may use IDE/PATA connectors, but those are mostly found in vintage systems, office machines from the ancient scroll era, or the drawer labeled “cables I may need someday.”
Before You Install: Check Compatibility First
Before buying or installing a CD/DVD/Blu-ray drive, check your computer case, motherboard, and power supply. A standard internal desktop optical drive usually fits into a 5.25-inch external drive bay. This is the large front-facing bay once common on tower cases. Many modern cases no longer include one, so do not assume your beautiful new PC case has room for an optical drive just because your heart does.
Check for a 5.25-Inch Drive Bay
Look at the front of your computer case. If you see a removable rectangular panel about the width of an optical drive, you may have a 5.25-inch bay. Some cases hide the bay behind a front door or plastic cover. If your case has no front bay, you can still use an external USB optical drive instead of forcing an internal drive into a place it was never meant to live.
Check the Motherboard SATA Ports
Open the case and look for available SATA ports on the motherboard. These are small L-shaped connectors often grouped together near the lower right side of the board. If all SATA ports are already used by hard drives, SSDs, or other devices, you may need to free one up or add a SATA expansion card.
Check the Power Supply Cables
Your power supply needs an available SATA power connector. This is wider than the SATA data connector and supplies power to the drive. If your power supply does not have a free SATA power plug, you may need a suitable adapter, but use quality adapters and avoid overloading one cable with too many devices.
Choose the Right Drive Type
If you only need to read and burn CDs and DVDs, a DVD writer is usually enough. If you want to read Blu-ray discs, choose a Blu-ray reader or Blu-ray combo drive. If you want to write Blu-ray discs for backup or archiving, buy a Blu-ray burner. A Blu-ray drive usually reads DVDs and CDs too, but always confirm the supported formats before buying.
Tools and Parts You Need
Installing an internal optical drive does not require a full electronics lab. In most cases, you need a Phillips screwdriver, a SATA data cable, an available SATA power connector, your optical drive, and a little patience. Some tool-free cases use plastic rails or locking tabs instead of screws. Other cases still prefer the classic “four tiny screws and mild wrist gymnastics” method.
It is also smart to use an anti-static wrist strap or at least touch a metal part of the case before handling internal components. Static electricity is invisible, dramatic, and extremely rude to computer parts.
Step-by-Step: How to Install a CD/DVD/Blu-ray Drive on a Desktop Computer
Step 1: Shut Down and Unplug the Computer
Turn off the computer completely. Do not use sleep mode. Shut it down, switch off the power supply if it has a rear switch, and unplug the power cable from the wall or power strip. Disconnect external accessories if they make the case harder to move.
Press the power button once after unplugging the system. This helps discharge leftover power. Then move the computer to a clean, stable, well-lit workspace. Kitchen tables are popular, but avoid carpeted areas if possible because carpet and static electricity are not your motherboard’s best friends.
Step 2: Open the Computer Case
Remove the side panel of the case. Most desktop cases use thumb screws or Phillips screws at the rear. Slide or swing the panel away depending on the case design. If your computer is from Dell, HP, Lenovo, or another major manufacturer, the case may use a latch system, so check the service manual if the panel does not come off easily.
Set the panel and screws somewhere safe. “Somewhere safe” does not mean the floor, where screws instantly become invisible.
Step 3: Remove the Front Drive Bay Cover
Find an empty 5.25-inch bay at the front of the case. Remove the plastic front cover. Some cases also have a metal shield behind the cover. Depending on the design, this metal piece may unscrew, pop out, or twist away. Be careful with sharp metal edges.
If your case has a removable front panel, you may need to gently pull it off to access the bay. Do not yank it like you are starting a lawn mower. Front panels often have small plastic clips that can break if treated like gym equipment.
Step 4: Slide the Optical Drive Into the Bay
Insert the CD/DVD/Blu-ray drive from the front of the computer case. Slide it into the bay until the front of the drive is flush with the case front. Make sure the drive is level and aligned with the screw holes or locking mechanism.
If the case uses rails, attach the rails to the sides of the drive first, then slide the drive into place. If the case uses a tool-free latch, push the drive in until the latch locks. If the case uses screws, line up the holes and secure the drive with screws on both sides if possible. Two screws may work, but four screws reduce vibration and make the drive feel less like a tiny washing machine during high-speed spinning.
Step 5: Connect the SATA Data Cable
Connect one end of the SATA data cable to the back of the optical drive. The connector is L-shaped, so it fits only one way. Connect the other end to an open SATA port on the motherboard.
Use a SATA port that is not disabled in BIOS or shared with another storage feature. On some motherboards, certain SATA ports may be disabled when specific M.2 slots are in use. If the drive does not appear later, try a different SATA port before declaring the drive haunted.
Step 6: Connect SATA Power
Find an available SATA power connector from the power supply and plug it into the wider connector on the optical drive. Like the data connector, it is keyed to fit one way. Do not force it. If it does not slide in smoothly, check the orientation.
Make sure both SATA data and SATA power cables are fully seated. A slightly loose cable is one of the most common reasons an optical drive fails to show up. It is also one of the most annoying, because everything looks installed until you look closely and realize the cable is hanging on with the confidence of a wet Post-it note.
Step 7: Reassemble the Case and Power On
Before closing the case, check that no cables are touching fans. Then reinstall the side panel, reconnect the power cord, turn the power supply switch back on, and start the computer.
Watch the drive during startup. Many optical drives briefly flash their activity light or make a small movement sound. That is normal. Loud grinding, repeated clicking, or smoke is not normal. Smoke is never a feature.
Check Whether the Drive Is Recognized
In Windows, open File Explorer and look under “This PC.” A DVD/CD/Blu-ray drive should appear when recognized. If there is no disc inserted, the drive may still appear as a DVD drive or BD-ROM drive. You can also open Device Manager and expand “DVD/CD-ROM drives.”
Most modern SATA optical drives do not require special drivers for basic recognition. Windows usually detects them automatically. However, playback software is a separate issue. A drive may be installed correctly and still not play commercial Blu-ray movies unless compatible Blu-ray software is installed.
How to Install an External USB CD/DVD/Blu-ray Drive
If your computer case has no 5.25-inch bay, an external USB optical drive is the easiest solution. Plug the drive into a USB port, wait for Windows or macOS to detect it, and insert a disc. Some slim drives use one USB cable for data and power, while others may need an additional power cable or dual USB connection.
External drives are especially useful for laptops, mini PCs, all-in-one desktops, and modern gaming cases. They are portable, affordable, and do not require opening the computer. The tradeoff is that they take up desk space and may read or write discs more slowly than full-size internal drives.
Special Notes for Blu-ray Drives
Blu-ray installation is physically similar to DVD drive installation, but software matters more. Windows can often recognize the drive as hardware, but it does not automatically include full Blu-ray movie playback support. To watch commercial Blu-ray discs, you typically need compatible playback software that supports Blu-ray menus, encryption, region rules, and your drive model.
If you plan to watch 4K Ultra HD Blu-ray discs, check the requirements carefully before buying. UHD Blu-ray playback on computers can be picky because it may depend on the drive, graphics hardware, display connection, content protection support, and software. For many users, a standard Blu-ray drive is excellent for data discs and regular Blu-ray media, while 4K movie playback requires extra homework.
Troubleshooting: What If the Drive Does Not Show Up?
Check the Cables First
Power off the computer and unplug it. Reopen the case and confirm that the SATA data and power cables are fully connected. Try a different SATA data cable if you have one. Also try a different SATA motherboard port.
Check BIOS or UEFI
Restart the computer and enter BIOS or UEFI setup. The key is often Delete, F2, F10, or Esc, depending on the manufacturer. Look for SATA device listings. If the optical drive appears in BIOS but not in Windows, the hardware connection is probably fine and the issue is likely operating-system related.
Use Device Manager
In Windows, open Device Manager and expand “DVD/CD-ROM drives.” If the drive appears with a warning icon, right-click it and choose to uninstall the device. Restart the computer and let Windows reinstall the driver automatically. You can also check for driver or firmware updates from the computer or drive manufacturer.
Check Disk and Playback Software
If the drive appears but will not read a disc, test several discs. A scratched DVD, dirty CD, region-locked movie, blank disc, or unsupported format can all cause confusion. For Blu-ray movies, install compatible Blu-ray playback software. For DVDs, a media player that supports DVD playback may be required.
Listen for Mechanical Problems
If the tray does not open, the disc spins unevenly, or the drive makes loud repeated noises, the drive may be defective. Most drives have a tiny emergency eject hole on the front. Insert a straightened paper clip gently to open the tray when the computer is powered off.
Internal vs. External Optical Drive: Which Is Better?
An internal optical drive is best if you have a desktop case with a proper bay and want a clean, permanent setup. It uses internal SATA power and data connections, keeps your desk uncluttered, and often feels sturdier than a slim USB model.
An external optical drive is best if you use a laptop, compact desktop, or modern case without a drive bay. It is also ideal if you only need a disc drive occasionally. For example, if you read an old tax CD once a year or rip music from a few albums, an external drive may be the simplest choice.
For heavy disc burning, frequent archiving, or Blu-ray writing, a full-size internal drive or high-quality external desktop Blu-ray burner may be more reliable than the cheapest portable drive available. Optical drives are not glamorous, but buying the right one saves you from the timeless tragedy of watching a progress bar fail at 97 percent.
Safety Tips for a Smooth Installation
Always unplug the computer before working inside it. Handle the drive by its metal sides instead of touching circuit boards. Keep screws away from the motherboard. Avoid forcing connectors. Make sure cables do not block fans or press against sharp case edges. After installation, keep the drive firmware and playback software updated if you rely on Blu-ray or disc burning features.
Also, label important backup discs clearly. Future you will not appreciate a stack of identical silver discs labeled “stuff,” “new stuff,” and “final stuff 2.”
Common Mistakes to Avoid
Buying an Internal Drive Without a Drive Bay
This is the classic modern PC mistake. Many sleek cases have no front 5.25-inch bay. If your case lacks one, choose an external USB drive.
Forgetting the SATA Data Cable
Some optical drives include a cable; many do not. If you are installing a new drive, make sure you have a SATA data cable ready before opening the case.
Assuming Blu-ray Movies Will Just Play
The hardware may work perfectly, but Blu-ray movie playback usually needs dedicated software. Data discs and movie discs are not the same problem.
Using Too Much Force
SATA connectors are keyed. If the cable does not fit, rotate it or check the port. Do not solve the problem with brute strength and regret.
Real-World Experiences: Lessons from Installing Optical Drives
Installing a CD/DVD/Blu-ray drive sounds almost too simple: slide in the drive, connect two cables, tighten a few screws, and celebrate with a disc tray eject. In real life, the job is still easy, but small details can turn a ten-minute upgrade into a mild detective story.
One common experience is discovering that the computer case is the true boss fight. Older mid-tower cases usually make optical drive installation straightforward. You remove the front bay cover, slide the drive in, and secure it with screws. Modern gaming cases, however, often skip external drive bays completely. They look cleaner, improve airflow, and show off internal components, but they also leave your DVD collection standing outside like it forgot the password. In that situation, an external USB drive is not a compromise; it is the correct solution.
Another practical lesson is that cable seating matters more than people expect. A SATA cable can look connected while being slightly loose. The computer boots, Windows loads, and the drive is nowhere to be found. Before uninstalling drivers, editing settings, or blaming the motherboard, shut the system down and reconnect both cables firmly. Many “dead” drives are simply under-caffeinated cables.
Drive alignment is another small but important detail. If the optical drive is pushed too far back, the eject button may be hard to press or the tray may rub against the case opening. If it sticks out too far, it looks awkward and may interfere with a front door panel. Take an extra minute to align the front bezel neatly with the case. This is not just cosmetic; a smooth tray path helps prevent annoying eject problems.
Blu-ray installations bring their own personality. The hardware installation is usually no harder than installing a DVD drive, but playback expectations can cause confusion. A user may install a Blu-ray drive, insert a commercial movie, and expect Windows to behave like a living-room Blu-ray player. Instead, nothing exciting happens. That does not necessarily mean the drive is broken. It often means the computer needs compatible Blu-ray playback software. For data backups, the drive may work immediately; for movies, software support is the missing piece.
External drives have their own lessons too. Cheap slim USB drives are convenient, but they can be sensitive to weak USB power, especially when burning discs. If a drive disconnects during writing, try another USB port, avoid unpowered hubs, or use a drive with supplemental power. A failed burn is not the end of the world, but it is still annoying enough to make you stare dramatically out a window.
The best overall advice is simple: plan before buying. Check your case, ports, power cables, and software needs. Decide whether you need CD, DVD, Blu-ray, or Blu-ray writing support. If you only need occasional access to discs, external is easy. If you regularly archive files, install software from discs, or maintain a media collection, an internal drive in a compatible desktop can be cleaner and more reliable.
Conclusion
Installing a CD/DVD/Blu-ray drive on a computer is a practical upgrade for anyone who still uses physical media, archives files on discs, watches older movies, installs legacy software, or wants access to a music and data collection that never moved to the cloud. For a desktop PC with a 5.25-inch bay, the process is usually simple: power down, open the case, mount the drive, connect SATA data and power, restart, and confirm recognition in Windows.
The most important part is preparation. Make sure your case has space, your motherboard has an available SATA port, your power supply has a SATA power connector, and your software supports the discs you want to use. A DVD drive, Blu-ray reader, and Blu-ray burner are not the same thing, so choose the drive based on your actual needs.
Physical media may not be as fashionable as streaming or cloud storage, but it remains useful, durable, and sometimes wonderfully stubborn. And when that tray slides open for the first time, you may feel a tiny nostalgic thrillthe kind only a successfully installed optical drive can provide.