A cup cozy is one of those tiny handmade projects that punches way above its weight. It saves your fingers from a hot coffee cup, keeps iced drinks from making your hand feel like it shook hands with a snowman, and gives your daily latte a little personality. Best of all, learning how to make a cup cozy does not require a craft room, a professional sewing machine, or a dramatic montage where you discover your destiny through fabric scraps.
This quick and easy DIY project is beginner-friendly, budget-friendly, and delightfully giftable. You can sew one with cotton fabric and batting, make a no-sew version with felt, crochet one from leftover yarn, or upcycle an old sweater sleeve into a cozy that looks like it retired from a ski lodge. Whether you call it a cup cozy, coffee cup sleeve, mug cozy, cup holder, or reusable coffee sleeve, the goal is the same: a comfortable, washable, good-looking wrap for your favorite drink.
Below, you will find a practical fabric cup cozy tutorial, plus no-sew, crochet, and upcycled variations. Choose the method that matches your tools, your patience level, and the number of fabric scraps currently plotting a takeover in your drawer.
What Is a Cup Cozy?
A cup cozy is a reusable sleeve that wraps around a hot or cold drink cup. It creates a soft barrier between your hand and the cup, making it easier to hold coffee, tea, hot chocolate, iced coffee, smoothies, or even a paper cup full of “I only meant to buy one thing at the craft store” energy.
Most cup cozies are shaped like a curved rectangle because disposable coffee cups are wider at the top than the bottom. That slight curve helps the cozy sit flat and snug without sliding down like a tiny fabric landslide. A good DIY cup cozy should fit comfortably around a standard 12- to 16-ounce cup, close securely, and feel pleasant in your hand.
Why Make a DIY Cup Cozy?
There are plenty of reasons to make your own reusable coffee sleeve. First, it is a great beginner sewing project. The pieces are small, the seams are simple, and the whole thing can often be finished in less than an hour once your materials are ready. Second, it is a clever way to use fabric scraps, felt pieces, yarn leftovers, or old clothing. Third, handmade cup cozies make excellent teacher gifts, coworker gifts, stocking stuffers, market booth items, and “I remembered your birthday without panic-buying a candle” gifts.
There is also the sustainability factor. A reusable cup cozy can replace disposable cardboard sleeves, especially if you buy coffee often. It is a small habit, not a heroic environmental opera, but small practical swaps do add up. Plus, your cozy can match your style, your bag, your holiday mood, or your level of caffeine dependency.
Supplies You Will Need for a Fabric Cup Cozy
This tutorial focuses on a sewn fabric cup cozy because it is sturdy, washable, and easy to customize. Here is what you need:
- Two pieces of cotton fabric, each about 5 inches by 12 inches
- One piece of cotton batting, insulated batting, or felt, about 5 inches by 12 inches
- A paper coffee sleeve to use as a template, or paper for making your own pattern
- Scissors or a rotary cutter
- Sewing machine or needle and thread
- Pins or clips
- Elastic cord, hair tie, or small fabric loop
- Button, hook-and-loop tape, or snap
- Iron and ironing board
Cotton fabric is a smart choice because it is easy to sew and comes in endless prints. Use insulated batting if you want extra protection from heat. If you plan to use the cozy mostly for iced drinks, regular batting or felt works fine. Avoid delicate fabrics that fray wildly or stretch too much unless you enjoy wrestling fabric gremlins.
How to Make a Cup Cozy Step by Step
Step 1: Make the Pattern
The easiest pattern starts with a disposable coffee sleeve. Carefully open the glued seam and flatten it. Trace around it on paper, then add about 1/4 inch around the edges for seam allowance. If you do not have a sleeve, draw a curved rectangle about 10.5 inches long, 2.75 inches tall at the center, and slightly tapered at each end. Wrap your paper pattern around a cup to test the fit before cutting fabric.
The pattern should overlap by about 1/2 inch to 1 inch at the ends. That overlap gives you room for a button, snap, or hook-and-loop closure. If the cozy barely meets around the cup, it will be too tight after sewing. If it overlaps like it is trying to hug the entire cup twice, trim it down.
Step 2: Cut the Fabric and Batting
Place your pattern on the wrong side of your first fabric and cut one piece. Repeat with the second fabric. Then cut one matching piece from batting, felt, or insulated lining. You should now have three layers: outside fabric, inside fabric, and insulation.
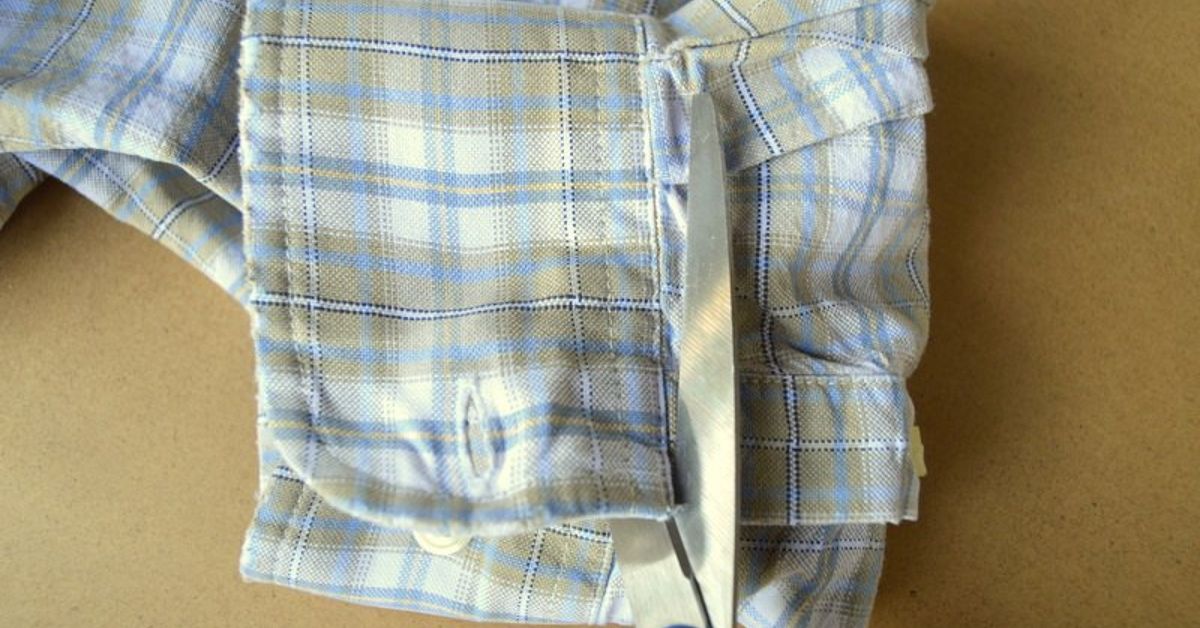
This is a perfect project for leftover quilting cotton, fat quarters, old button-down shirts, or small fabric pieces from previous projects. A floral print on one side and a solid color on the other makes a reversible cup cozy that looks intentional, even if your fabric stash was chosen by chaos and coupons.
Step 3: Prepare the Closure
If you are using elastic cord, cut a piece about 3 inches long. Fold it into a loop and place it on one short end of the outside fabric, with the loop facing inward and the raw ends sticking slightly beyond the fabric edge. Pin or clip it in place. This loop will wrap around the button after the cozy is sewn.
You can also use a small hair elastic, ribbon loop, snap, or hook-and-loop tape. A button-and-loop closure looks charming and allows a little flexibility for different cup sizes. Hook-and-loop tape is fast and practical, especially for kids’ crafts or craft fair inventory.
Step 4: Layer the Pieces
Place the batting down first. Put one fabric piece on top, right side facing up. Then place the second fabric piece on top, right side facing down. The two pretty sides should be touching, with the batting underneath. Make sure your elastic loop is tucked safely inside the sandwich, not hanging out where the needle will stage a tiny rebellion.
Pin or clip around the edges. Leave a 2-inch opening along the bottom edge so you can turn the cozy right side out later.
Step 5: Sew Around the Cozy
Sew around the entire shape using a 1/4-inch seam allowance. Go slowly around the curves and backstitch over the elastic loop a few times to secure it. Do not sew the turning opening closed. Every crafter has done this at least once. It is how the fabric teaches humility.
After sewing, trim the corners and clip small notches along the curves, being careful not to cut through your stitches. This helps the cozy turn smoothly and reduces bulky edges.
Step 6: Turn and Press
Turn the cup cozy right side out through the opening. Use a chopstick, turning tool, or the blunt end of a pencil to gently push out the corners. Press the cozy flat with an iron, folding the raw edges of the opening inward so they line up neatly.
Pressing makes a huge difference. It turns “I made this during a commercial break” into “Yes, I own a label maker and have my life together.” Even if neither is true, let the iron help you lie convincingly.
Step 7: Topstitch the Edges
Topstitch around the entire cozy about 1/8 inch from the edge. This closes the turning opening and gives the sleeve a finished look. You can also quilt a few straight lines across the cozy if you want extra texture and stability.
For a decorative touch, use contrasting thread. For a cleaner look, match the thread to your fabric. If your stitches are not perfect, remember that the cozy will be wrapped around a cup, not judged by a committee of sewing owls.
Step 8: Add the Button
Wrap the cozy around your cup and pull the elastic loop to the opposite end. Mark where the button should go. Sew the button securely by hand. Test the fit again. The cozy should be snug but not stretched to its emotional limit.
If you want the sleeve to be reversible, sew a button on both sides in the same spot. That way, either fabric can face outward. Congratulations: you have just made a two-outfit coffee accessory.
No-Sew Felt Cup Cozy Option
If sewing is not your thing, a no-sew felt cup cozy is your new best friend. Felt does not fray, cuts cleanly, and holds its shape well. Use the same paper sleeve template, trace it onto felt, and cut out the shape. Wrap it around your cup, overlap the ends, and secure them with hot glue, fabric glue, or hook-and-loop tape.
You can decorate the felt cozy with cutout shapes, initials, tiny felt flowers, embroidered patches, or simple seasonal designs. Try a pumpkin for fall, a snowflake for winter, a heart for Valentine’s Day, or a sleepy cat face for any day ending in “I need coffee.”
For the best results, use wool-blend felt or thicker craft felt. Thin felt can feel flimsy, especially with hot drinks. If you want more structure, glue two felt layers together before cutting the final shape.
Crochet Cup Cozy Variation
A crochet cup cozy is another quick option, especially if you already have yarn scraps. Most beginner versions use simple stitches like single crochet, half double crochet, or back-loop stitches to create stretch and texture. A basic cozy can be worked as a rectangle and seamed at the back, or crocheted in the round to slide over the cup.
Cotton yarn is a practical choice because it handles moisture better than many acrylic yarns and feels comfortable in the hand. Make your cozy about 3 inches tall and wide enough to fit around your cup with slight stretch. Add a button, a small applique, or a textured stitch pattern for personality.
Crochet cozies are especially nice for cold drinks because the yarn absorbs some condensation. Just make sure to wash and dry them properly so they stay fresh. Coffee may be magical, but old milk foam is not.
Upcycled Sweater Cup Cozy
An old sweater can become a charming mug cozy or takeaway cup sleeve. Cut a section from the sleeve, slide it over a cup, and trim it to size. If the sweater is tightly knit, you may only need to hem the cut edge or secure it with a small line of fabric glue. If it unravels easily, fold the edge under and stitch it down.
Sweater cozies look cozy in the most literal way. They are great for winter gifts, holiday markets, cabin-themed kitchens, and anyone who believes every beverage deserves a tiny turtleneck.
Best Fabrics and Materials for Cup Cozies
The best material depends on how you plan to use the cozy. Cotton fabric with batting is the most versatile. Felt is easiest for no-sew crafting. Cork, faux leather, and microsuede create a polished boutique look and often do not require finished edges. Crochet cotton yarn is soft, washable, and textured. Sweater knits are warm and rustic, but they may need extra care to prevent stretching or unraveling.
For hot drinks, add an insulating layer. For iced drinks, choose materials that handle condensation well. For gifts, choose washable fabrics whenever possible. A cup cozy should survive real life, including purse crumbs, car cup holders, and the occasional splash of coffee caused by Monday.
Customization Ideas
Add Names or Initials
Personalization turns a simple cozy into a thoughtful gift. Add initials with embroidery, iron-on vinyl, fabric paint, or small felt letters. Keep the design simple so it does not make the cozy bulky.
Use Seasonal Fabric
Make pumpkin prints for fall, plaid for winter, florals for spring, and bright citrus colors for summer. A few seasonal cup cozies can refresh your coffee routine without rearranging your entire kitchen.
Create Gift Sets
Pair a handmade cup cozy with a reusable cup, coffee gift card, tea bags, cocoa mix, or homemade cookies. Tie everything together with twine and a small tag. It is affordable, useful, and much more personal than a generic mug that says “World’s Okayest Something.”
Make a Reversible Version
Use two different fabrics and add buttons on both sides. This gives the recipient two looks in one cozy. Try one side neutral and one side bold for maximum usefulness.
Common Mistakes to Avoid
The most common mistake is skipping the test fit. Always wrap your paper pattern around a real cup before cutting your good fabric. Cups vary, and a cozy that fits one brand perfectly may sit awkwardly on another.
Another mistake is using fabric that is too thin without batting. A cozy should protect your hand, not simply decorate the cup while heat laughs through it. Add batting, felt, or another insulating layer if you are sewing with lightweight cotton.
Do not place bulky decorations where your hand naturally grips the cup. Large beads, thick buttons, or raised embellishments can feel uncomfortable. Keep decorations flat or place them near the closure.
Finally, avoid closures that are hard to wash. If you plan to toss the cozy in the laundry, choose sturdy buttons, snaps, or fabric-safe hook-and-loop tape.
Care and Washing Tips
Most cotton fabric cup cozies can be machine washed on gentle and air dried. Press them lightly after washing if needed. Felt cozies should usually be spot cleaned unless the felt is washable. Crochet cotton cozies can often be hand washed and laid flat to dry. Sweater cozies depend on the sweater fiber, so treat wool gently and avoid hot water unless you are aiming for a cozy small enough for a dollhouse espresso cup.
of Real-Life Experience: What Actually Makes a Cup Cozy Better
After making a few cup cozies, one thing becomes obvious: the best version is not always the fanciest one. A cup cozy has a simple job. It should fit the cup, feel good in your hand, protect your fingers, and survive being tossed into a bag. The adorable details are a bonus, but function has to come first. A sleeve covered in buttons may look cute in a photo, but if it feels like holding a tiny rock garden, it will not become anyone’s favorite.
The first experience-based tip is to keep your pattern slightly generous. A cozy that is too small is frustrating because it pulls tight, pops open, or sits too high on the cup. A cozy with a little extra overlap is more forgiving. That is why elastic loops and buttons are so useful. They allow the cozy to fit slightly different cup sizes without needing a perfect measurement every time.
The second tip is to use batting even when you think you do not need it. Thin cotton alone looks pretty, but it does not always offer enough protection from hot drinks. A layer of batting, felt, or insulated lining gives the cozy a soft, padded feel. It also helps the sleeve hold its shape after washing. If you are using the cozy for iced coffee, padding still helps because it absorbs some condensation and keeps your hand from getting wet.
The third tip is to make several at once. Cutting one cup cozy takes almost as much setup time as cutting four. Once the fabric is pressed and the pattern is ready, batch-cutting makes the whole project faster. Sew them assembly-line style: all the loops first, all the seams next, all the pressing after that, and all the buttons at the end. This is especially helpful if you are making teacher gifts, party favors, craft fair stock, or holiday presents.
The fourth tip is to choose fabrics with small prints. Large patterns can disappear on a narrow cozy. Tiny florals, dots, stripes, gingham, novelty coffee prints, and simple geometric designs usually look better because more of the pattern is visible. If you love a large print, center the best part before cutting. This is called fussy cutting, which sounds dramatic but simply means “I want the cute fox face to show, not just its left ear.”
The fifth tip is to make the closure strong. The button area gets the most stress, especially when someone pulls the cozy around a cup in a hurry. Backstitch over the elastic loop several times. Sew the button securely with multiple passes of thread. If using hook-and-loop tape, stitch it instead of relying only on adhesive. A cozy that falls apart after three coffees is not a cozy; it is a fabric-based betrayal.
Finally, do not underestimate simple designs. A neat seam, a smooth topstitch, and a well-chosen fabric can look more professional than a crowded design with too many extras. Start simple, make one test cozy, then adjust. Once you get the shape right, you can play with quilting, embroidery, appliques, cork accents, sweater textures, or themed gift sets. The humble cup cozy is small, but it teaches useful DIY skills: measuring, cutting, layering, sewing curves, turning, pressing, topstitching, and finishing. Not bad for something that spends most of its life wrapped around coffee.
Conclusion
Learning how to make a cup cozy is a quick and satisfying DIY project for beginners and experienced makers alike. With a small amount of fabric, felt, yarn, or upcycled sweater material, you can create a reusable coffee sleeve that is practical, personal, and gift-ready. Start with a simple fabric version, test the fit, add a secure closure, and customize it with colors or details that match your style.
The best part is that this project does not demand perfection. Even a slightly wonky first cozy will still protect your hand, brighten your drink, and make your coffee feel a little more special. And if anyone notices a crooked stitch, simply distract them with caffeine. Works every time.