Learning how to make a dog house is one of those DIY projects that feels charmingly simple until you are standing in the lumber aisle wondering whether your dog needs a bungalow, a cabin, or a tiny suburban ranch with curb appeal. The good news: a sturdy dog house does not need to be complicated. It needs to be safe, dry, comfortable, easy to clean, and sized for your dognot for your Pinterest ego.
A well-built dog house gives your pup a shaded outdoor retreat, protection from light rain and wind, and a cozy place to nap while pretending to supervise the yard. It should not be your dog’s full-time home in extreme weather, and it should never replace indoor safety, fresh water, attention, exercise, and veterinary care. Think of it as a backyard shelter, not a canine apartment lease.
This guide walks you through planning, materials, measurements, framing, roofing, insulation, ventilation, finishing, and maintenance. Whether you are building a simple wooden dog house for a small terrier or a larger insulated dog house for a Labrador-sized professional snack inspector, the core principles stay the same.
Before You Build: Plan Around Your Dog, Not Around Scrap Wood
The best DIY dog house begins with your dog’s body size, climate, and habits. A dog house that is too small feels cramped. One that is too large may not hold body heat well in cooler weather. The sweet spot is roomy enough for your dog to stand, turn around, and lie down comfortably, but snug enough to feel den-like.
Measure Your Dog First
Grab a tape measure and record four numbers: your dog’s length from nose to base of tail, height from floor to top of head or ears, shoulder width, and sleeping sprawl. Yes, “sleeping sprawl” is an official measurement in the court of common sense.
As a general rule, make the interior length about 6 to 12 inches longer than your dog’s body length. The interior height should allow your dog to stand naturally without ducking. The door opening should be wide enough for easy entry, but not so huge that wind and rain march in like they own the place.
Choose the Best Location
Place the dog house in a dry, shaded, well-drained area. Avoid low spots where water collects after rain. If possible, face the entrance away from prevailing wind. In hot climates, shade matters as much as the structure itself because a poorly placed dog house can trap heat. In cold climates, protection from wind and moisture is the big priority.
Also keep the house close enough that you can check it often. A dog house at the forgotten back corner of the yard becomes a spider hotel with a bark-themed logo.
Tools and Materials You Will Need
You can build a strong, simple dog house with basic carpentry tools. If you do not own every tool, consider borrowing or renting. Dogs are impressed by confidence and treats, not by whether you personally own a circular saw.
Basic Tools
- Tape measure
- Pencil and carpenter’s square
- Circular saw or jigsaw
- Drill and driver bits
- Clamps
- Utility knife
- Paintbrush or roller
- Sandpaper or sanding block
- Safety glasses and work gloves
Recommended Materials
- Exterior-grade plywood for floor, walls, and roof panels
- 2×4 lumber for the base and main frame
- 2×2 lumber for lighter wall framing if preferred
- Exterior screws
- Roofing felt or waterproof membrane
- Asphalt shingles or metal roofing panel
- Rigid foam insulation for cold climates
- Exterior primer and pet-safe exterior paint
- Outdoor caulk or silicone sealant
- Heavy plastic flap or weather-resistant door curtain
- Straw or cedar shavings for bedding in cold, dry conditions
Wood is a popular choice because it is sturdy, workable, naturally less heat-trapping than metal, and easier to modify than many plastic structures. Use exterior-grade materials whenever possible. Avoid exposed sharp metal edges, splintery boards, protruding screws, or toxic finishes.
Step-By-Step: How To Make A Dog House
This design uses a raised rectangular base, framed walls, a sloped roof, ventilation gaps, and optional insulation. Adjust dimensions based on your dog’s measurements.
Step 1: Sketch the Dog House Plan
Start with a simple sketch showing the floor, front wall, back wall, side walls, door, roof slope, and ventilation. You do not need architectural drama. A clear drawing with measurements will save you from the classic DIY moment where one wall is mysteriously “creative.”
For a medium dog, a common starting point might be around 36 inches long, 30 inches wide, and 32 to 36 inches tall. A smaller dog needs less space, while a large breed needs more. Always build for the dog’s adult size if your pup is still growing.
Step 2: Build a Raised Base
A raised floor is one of the most important features of a good outdoor dog house. It keeps the shelter away from damp soil, helps prevent rainwater from creeping in, improves airflow underneath, and makes the interior more comfortable.
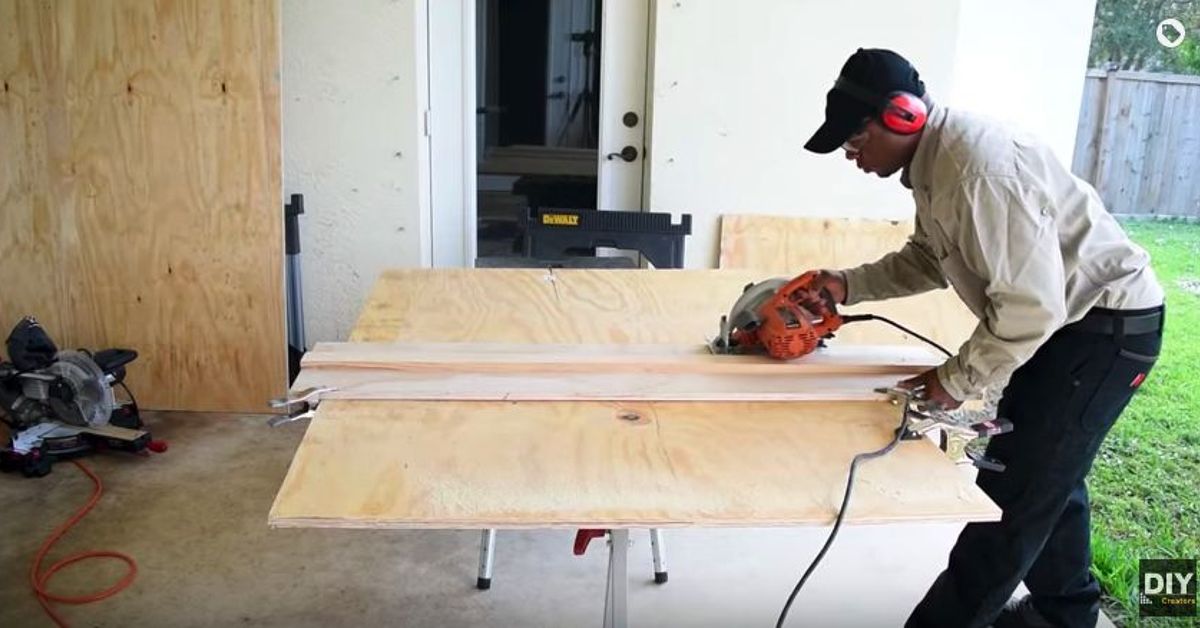
Cut two long 2x4s for the length and two shorter 2x4s for the width. Assemble them into a rectangle using exterior screws. Add a center support board across the middle for strength. Then cut a plywood floor panel to fit on top and screw it securely to the frame.
If you live in a cold or wet climate, place rigid foam insulation between the floor joists before attaching the plywood. Cover all insulation so your dog cannot chew it. Dogs are wonderful creatures, but their interior design philosophy often includes “taste the wall.”
Step 3: Frame the Walls
Cut vertical corner posts from 2x4s or 2x2s, depending on the size of the dog house. Attach one post at each corner of the base. Then add top rails to connect the posts and create a solid box frame.
Frame the front wall with a door opening slightly wider than your dog’s shoulders. The opening should be tall enough for easy entry but not oversized. A smaller doorway helps block wind and conserve warmth. Positioning the doorway slightly to one side can also give your dog a protected corner inside where they can lie away from direct drafts.
Step 4: Cut and Attach Wall Panels
Measure and cut exterior plywood panels for the front, back, and sides. Use a jigsaw to cut the door opening in the front panel. Sand the edges smooth so your dog does not scrape their back, ears, or royal tail on rough wood.
Attach the panels to the frame with exterior screws. Check for gaps, wobble, and sharp points as you go. If you are insulating the walls, install rigid foam between framing members and cover it with thin plywood on the interior side. Never leave insulation exposed where a dog can scratch, chew, or inhale fibers.
Step 5: Add Ventilation
Ventilation is essential. Without airflow, a dog house can become stuffy, damp, and hot. Add small vents near the upper wall area or under the roof overhang. These openings should allow air to move while still keeping rain out.
In warm climates, ventilation and shade are especially important because dog houses can trap heat. In cold climates, ventilation still matters, but vents should be protected from direct wind and rain. The goal is fresh air without turning the house into a wind tunnel.
Step 6: Build a Sloped Roof
A sloped roof sheds rain and snow better than a flat roof. You can build a simple single-slope roof, where the back wall is slightly taller than the front, or a classic gable roof with two slanted sides. The single-slope version is easier for beginners and still looks clean.
Cut roof plywood so it overhangs the walls by at least a couple of inches on all sides. This overhang helps keep rain from running down the walls and into the doorway. Attach roofing felt or waterproof membrane over the plywood, then install shingles or a metal roofing panel.
For easier cleaning, consider making the roof hinged. A hinged roof lets you open the dog house, remove bedding, inspect for pests, and clean corners without crawling halfway inside like a raccoon with a toolbox.
Step 7: Seal, Prime, and Paint
Seal exterior seams with outdoor caulk. Prime the outside, then paint with a durable exterior paint. Lighter colors are helpful in hot climates because they reflect more sunlight. Dark colors may look stylish, but they can absorb heat faster.
Let paint and sealants cure fully before your dog uses the house. Choose pet-safe products and avoid strong lingering fumes. The interior can be left natural, sealed with a safe finish, or lined with smooth plywood if insulation is installed.
Step 8: Add Bedding and a Door Flap
For cold weather, dry straw or cedar shavings can help provide warmth while resisting moisture better than many fabric blankets. Blankets may become damp and cold if they absorb rain, snow, or condensation, so check bedding often. In mild climates, a washable outdoor mat may be enough.
A flexible plastic or waterproof fabric door flap can reduce wind and rain entering the house. Make sure your dog is comfortable using it. Some dogs charge through flaps confidently; others act as if you have installed a mysterious portal to another dimension.
Dog House Safety Tips You Should Not Skip
A homemade dog house should be safe before it is cute. Before introducing your dog to the finished shelter, inspect every inch. Look for exposed nails, screw tips, splinters, sharp roof edges, unstable boards, gaps that could trap paws, or chewable insulation.
Do not use the dog house as an excuse to leave your dog outside during dangerous weather. Extreme heat, freezing temperatures, storms, high winds, ice, and heavy snow can all be unsafe. Dogs need shade and fresh water in hot weather and a warm, dry, draft-free shelter in cold weather. When conditions are severe, bring your dog indoors.
Breed, age, coat type, weight, and health all affect outdoor tolerance. Puppies, senior dogs, small breeds, short-haired dogs, flat-faced breeds, overweight dogs, and dogs with heart or lung problems may be more vulnerable to temperature extremes. When in doubt, choose indoor comfort over backyard toughness. Your dog will not question your courage; they will simply enjoy the couch.
Common Mistakes When Building a Dog House
Making It Too Big
Bigger is not always better. A giant dog house may look impressive, but it can feel less cozy and may be harder for your dog to warm with body heat in winter. Build for comfort, not ballroom dancing.
Skipping the Raised Floor
A dog house placed directly on the ground is more likely to collect moisture, smell musty, and become uncomfortable. Even a few inches of elevation can make a big difference.
Forgetting Ventilation
A sealed box is not a shelter; it is a sauna with opinions. Add protected airflow near the top of the structure so warm, stale air can escape.
Using Unsafe Finishes
Only use paints, sealants, and adhesives suitable for exterior use and safe after curing. Keep wet products and fumes away from pets until the dog house is fully dry and odor-free.
Ignoring Maintenance
Even the best dog house needs regular care. Clean it, replace bedding, inspect the roof, tighten loose screws, and check for pests. A dog house is not a “build it and forget it” project unless you want ants to become tenants.
How To Maintain a Dog House Year-Round
Maintenance keeps your dog house safe and extends its life. Once a week, remove debris, shake out or replace bedding, and check for moisture. Once a month, inspect the roof, walls, floor, door flap, and vents. After storms, look for leaks or damage immediately.
In spring, clean thoroughly and check for insects. In summer, confirm the house remains shaded and well ventilated. In fall, reseal cracks and prepare dry bedding. In winter, keep the entrance clear of snow, remove wet bedding quickly, and monitor your dog closely for signs of cold stress.
If the dog house begins to smell, do not simply spray fragrance inside. Clean the source. Use mild pet-safe cleaning products, rinse well, and let the interior dry completely before replacing bedding.
Simple Upgrades for a Better DIY Dog House
Once the basic dog house is done, you can add useful upgrades. A removable floor panel makes cleaning easier. Adjustable feet help level the structure on uneven ground. A small porch overhang creates extra shade. A hinged roof saves your back. A nameplate adds charm, especially if your dog has a title like “Sir Biscuit of Backyardia.”
For cold regions, consider enclosed rigid foam insulation in the walls, roof, and floor. For warm regions, prioritize shade, light-colored paint, roof overhangs, and cross-ventilation. For rainy regions, focus on roof pitch, waterproofing, elevated placement, and drainage around the structure.
Avoid complicated electrical heating unless it is professionally installed and rated for outdoor pet use. Unsafe cords, heaters, or homemade warming systems can create fire, burn, or electrocution risks. If your dog needs heat to stay safe, the better answer is often indoor shelter.
Real-World Experience: What Building a Dog House Teaches You
The first thing you learn when making a dog house is that dogs are honest clients. They do not care whether the roofline is fashionable. They care whether it smells weird, whether the floor feels stable, whether they can turn around, and whether the doorway requires an undignified belly crawl. If your dog steps in, sniffs once, backs out, and looks at you like you built a tax office, something needs adjusting.
One practical experience is to test the house before calling it finished. Put it where it will actually sit, spray the roof lightly with a hose, and check the inside for leaks. Watch where water runs. Sometimes a roof that looks perfect on the workbench sends rain directly toward the doorway once it is outside. Add an overhang, adjust the slope, or install a small awning before your dog discovers the indoor swimming pool feature.
Another lesson: cleaning access matters more than you think. A fixed roof may look neat, but after a few months of fur, dust, leaves, and mystery yard particles, you will wish you had installed hinges. A roof that opens turns cleaning from a wrestling match into a five-minute chore. Add a latch so wind cannot lift it. Dogs are brave, but even a confident dog may object to a roof clapping in a storm like haunted applause.
It also helps to introduce the dog house slowly. Do not shove your dog inside and expect gratitude. Place treats near the entrance, then inside. Add familiar bedding that smells like home. Praise curiosity. Some dogs adopt a new dog house immediately. Others conduct a formal inspection committee over several days. Let them decide it is safe.
From a builder’s perspective, the biggest improvement is usually not fancy trim; it is better placement. A plain dog house under shade, facing away from wind, on dry ground, is more useful than a beautiful one sitting in full sun or mud. Before upgrading hardware, upgrade location.
Finally, expect to tweak the design. Maybe the door flap is too stiff. Maybe your dog prefers lying half-in and half-out like a furry philosopher. Maybe the bedding needs changing more often than expected. A DIY dog house is successful when it serves your actual dog in your actual climate. Build thoughtfully, observe your pup, and adjust without ego. Your dog will reward you with tail wags, naps, and possibly a suspicious amount of sawdust on their nose.
Conclusion
Making a dog house is a rewarding DIY project because it blends carpentry, pet care, and a little bit of backyard pride. The best dog house is properly sized, raised off the ground, weatherproof, ventilated, easy to clean, and placed in a safe, shaded, dry location. Add insulation when your climate calls for it, but keep all insulation covered. Add a sloped roof to shed rain. Use safe exterior finishes. Inspect often.
Most importantly, remember that a dog house is a shelter, not a substitute for responsible care. Your dog still needs indoor protection during extreme weather, clean water, companionship, exercise, and regular health attention. Build the house well, maintain it regularly, and your pup will have a comfortable outdoor retreat worthy of their very important job: guarding the yard from squirrels, leaves, and suspicious mail trucks.