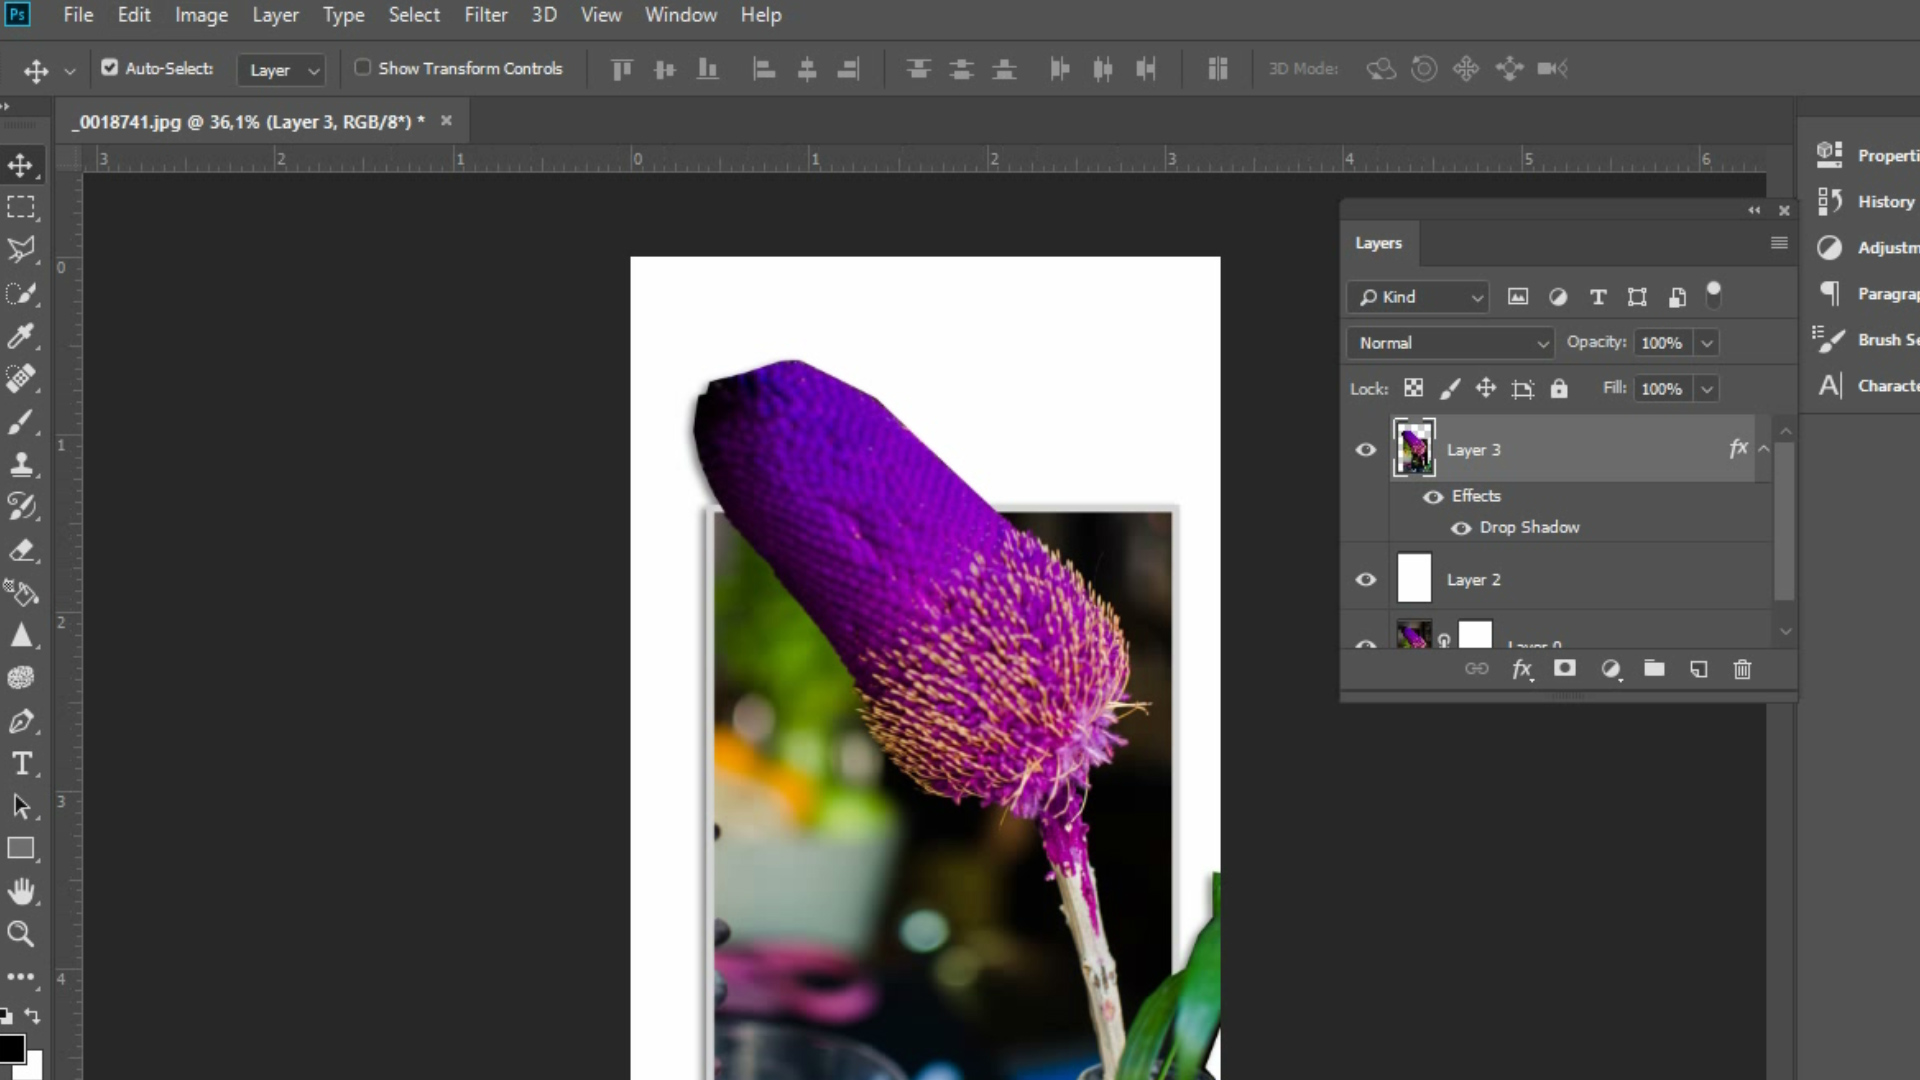
A pop up photograph is what happens when a flat memory decides it has had enough of behaving like wallpaper. Instead of sitting politely in an album, your favorite people, pets, buildings, flowers, vacation mountains, birthday cupcakes, or suspiciously dramatic houseplants can rise from the page in a small 3D scene. It is part photography, part paper engineering, part handmade card, and part “look what I made with scissors and confidence.”
This project is perfect for personal gifts, scrapbook pages, handmade greeting cards, classroom art, wedding keepsakes, travel journals, memory boxes, and creative displays. The basic idea is simple: choose a background photo, fold it into a stage, cut parallel tabs along the fold, push those tabs forward, and attach cut-out photo elements so they stand upright when the card opens. The finished piece looks like a tiny theater built from your own life. No red velvet curtains required, although honestly, no one would stop you.
In this in-depth guide, you will learn how to make a pop up photograph in 11 clear steps, including what materials to use, how to choose the best photos, how to plan depth, how to cut and fold cleanly, and how to avoid common mistakes like wobbly tabs, curling paper, messy glue, and characters who appear to be levitating for reasons unknown to physics.
What Is a Pop up Photograph?
A pop up photograph is a layered paper craft that turns printed photos into a three-dimensional scene. The background photo acts as the base and backdrop. Additional cut-out photo pieces are attached to folded tabs or boxes that rise forward when the card opens. It borrows ideas from pop-up books, scrapbook layouts, handmade cards, and paper engineering, especially the use of folds, slits, tabs, and structural support.
Unlike a standard photo collage, a DIY pop up photo creates depth. The beach stays in the background. Your dog pops forward. Your friend appears in the middle ground. The birthday cake can stand proudly in front as if it knows it is the main character. With a little planning, the scene becomes playful, personal, and surprisingly professional-looking.
Supplies You Will Need
Before you begin, gather everything in one clean workspace. A pop up photograph does not require expensive equipment, but it does reward neatness. Paper crafts are tiny negotiations with gravity, and gravity has a very strict legal team.
Basic Materials
- One printed background photo or scenic image
- Extra printed photos for cut-out subjects
- Cardstock or heavy matte photo paper
- Scissors for simple shapes
- Craft knife for detailed cuts
- Self-healing cutting mat
- Metal ruler
- Bone folder, scoring stylus, or the dull edge of a butter knife
- Glue stick, double-sided tape, photo-safe adhesive, or photo corners
- Pencil and eraser
- Optional: decorative paper, markers, stickers, washi tape, envelopes, or a blank card base
Photo-Safe Tip
If you are working with irreplaceable family photos, do not cut or glue the originals. Scan them or make copies first. For keepsake projects, use acid-free paper and photo-safe adhesives. If the photo is valuable, use non-adhesive options such as photo corners, or attach only duplicate prints. Your future self will appreciate this. Your future self may also wonder why you owned so much glitter, but that is another conversation.
How to Choose the Right Photos
The best pop up photograph starts with smart photo selection. Choose a background image with clear space, such as a landscape, room, garden, street, party table, beach, mountain view, school hallway, or backyard. The top half of the image will become the upright backdrop, while the bottom half becomes the floor or ground. A photo with natural depth already built in will make the final project more believable.
For the pop-up pieces, choose subjects that are easy to cut out. People standing, pets sitting, flowers, signs, buildings, trees, cars, balloons, cupcakes, and toys all work well. Avoid photos where the subject has complicated hair, blurry edges, or a background that blends into the subject. Cutting around a fluffy dog is charming until you are forty minutes deep into fur-shaped panic.
How to Make a Pop up Photograph: 11 Steps
Step 1: Pick a Background Photo
Choose a photo that can become both the backdrop and the floor of your scene. A horizontal image usually works best because it gives you enough width for several pop-up elements. Landscapes, interiors, sidewalks, classrooms, gardens, and party scenes are excellent choices. Print the photo large enough to fold in half comfortably. A letter-size print works well for beginners.
If one photo does not provide both a good backdrop and a good floor, use two images. For example, you can place a mountain view on the upper half and a grassy field on the lower half. Mount both images onto cardstock so they behave like one strong sheet.
Step 2: Print Extra Copies of Your Subject Photos
Print separate photos of the objects, people, animals, or details you want to pop up. These will be cut out and attached to the tabs. Matte photo paper is often easier to handle than glossy paper because it reduces glare, fingerprints, and slippery glue issues. Glossy paper can look vivid, but it may be more difficult to fold neatly and can show smudges faster.
Print more copies than you think you need. One extra copy is not overplanning; it is emotional insurance. A small cutting mistake is easier to laugh about when you have a backup.
Step 3: Mount Thin Prints on Cardstock
If your printed photos are flimsy, glue or tape them to cardstock before cutting. A sturdy photo element stands better, resists curling, and holds its shape when the card opens and closes. Use a smooth, even layer of adhesive and press the print flat under a clean book for several minutes if needed.
Do not overdo the glue. Too much wet adhesive can warp paper, create bubbles, or make the photograph look like it survived a tiny indoor rainstorm. Double-sided tape or dry adhesive squares are cleaner for many beginners.
Step 4: Cut Out the Pop-Up Subjects
Carefully cut around each subject. Use scissors for simple outlines and a craft knife for tight corners or interior details. Leave a small border around delicate shapes if you are new to cutting. A thin white or colored outline can look intentional and helps prevent accidental amputations of hats, ears, fingers, flower petals, and other tiny drama queens.
Work slowly. Turn the paper as you cut instead of twisting your wrist into strange positions. For detailed pieces, make several light passes with the craft knife instead of trying to slice through everything at once. This gives cleaner edges and helps protect your cutting mat, your table, and your dignity.
Step 5: Fold the Background Photo in Half
Place the background photo face up, then fold it in half so the image is inside the fold. Press along the center crease with a bone folder, scoring tool, or the back of a spoon. A crisp crease is important because it controls how smoothly the pop up opens and closes.
The folded line is the hinge of your scene. When opened at about 90 degrees, the top half becomes the backdrop and the bottom half becomes the floor. Imagine you are building a miniature stage set. The crease is where the back wall meets the stage floor.
Step 6: Plan Where Each Pop-Up Element Will Stand
Before cutting anything into the background, arrange your cut-out subjects on the folded photo. Decide which objects should appear closest to the viewer and which should sit farther back. Large subjects usually belong toward the front. Smaller or distant subjects can sit closer to the background.
Mark light pencil lines on the fold where each tab should go. Keep enough space between elements so they do not bump into each other when the card closes. Think of it like seating guests at a wedding: Aunt Linda and the glitter-covered cactus should not be placed too close unless you want trouble.
Step 7: Cut Two Parallel Slits for the First Tab
Keep the background folded. Along the center fold, cut two parallel slits of equal length. The paper between these cuts will become a pop-up box tab. The distance between the slits should be slightly narrower than the cut-out photo you plan to attach. The length of the slits determines how far the subject will stand away from the background.
For beginners, start with slits about 1/2 inch to 1 inch long. Longer cuts create deeper pop-up tabs, but they also need more support. Do not make the cuts longer than the height of the cut-out subject. Otherwise, the tab may show above or below the photo, which is not the end of the world, but it does make the project look less polished.
Step 8: Add More Tab Cuts for Additional Pieces
Repeat the parallel-cut process for every extra subject you want to add. Vary the tab lengths to create layers. Shorter tabs keep items closer to the backdrop. Longer tabs bring items forward. This is the secret to making the photo feel dimensional instead of looking like everyone is lined up for a very stiff school picture.
Do not overcrowd the fold. Three to five pop-up elements are usually enough for a clean beginner project. Advanced crafters can add more, but each new tab increases the chance of collision when the card closes.
Step 9: Fold the Tabs Back and Forth
After cutting the slits, fold each tab back and forth along its uncut edges. Press the folds firmly, then return the tab to the flat position. This pre-creasing step teaches the paper where it should bend. Yes, paper can be trained. No, it will not fetch your coffee.
Good creases make the final pop-up motion smoother. If the tabs resist folding, score the fold lines gently with a bone folder or scoring tool. Avoid cutting through the paper while scoring. You want a crease, not a surprise trapdoor.
Step 10: Push the Tabs Forward
Open the background photo to a 90-degree angle. Use your finger to push each tab forward into the center of the card. The tabs should form little rectangular boxes or platforms. Pinch the edges carefully so the folds become sharp and stable.
Open and close the card slowly a few times to test the movement. The tabs should pop forward when opened and fold flat when closed. If a tab buckles, gently reverse the fold and crease it again. If a tab is too weak, reinforce it from behind with a small strip of cardstock.
Step 11: Attach the Cut-Out Photos
Apply a small amount of adhesive to the front face of each pop-up tab. Press the cut-out photo onto the tab and hold it for a few seconds. Make sure the bottom of the cut-out aligns naturally with the ground or floor of the background image. A person should stand on the floor, not hover three inches above it like a budget ghost.
Once all pieces are attached, let the project dry completely. Then open and close it slowly to check for catching, bending, or overlapping. Trim any edges that collide. Add decorative details if desired, such as captions, speech bubbles, borders, dates, names, or tiny paper clouds. Your pop up photograph is now ready to display, gift, mail, or proudly show to someone who did not expect your Tuesday to become this artistic.
Creative Ideas for Pop up Photograph Projects
Travel Memory Scene
Use a scenic vacation photo as the background and pop up people, luggage, landmarks, food, or souvenirs. A beach trip can include a standing family photo, paper waves, and a tiny umbrella. A city trip can include a skyline backdrop with cut-out taxis, street signs, and your best “I walked 22,000 steps and survived” smile.
Birthday or Anniversary Card
Use a party table as the background and pop up the birthday person, cake, balloons, or favorite memories from the year. Add a handwritten message on the floor section or attach the pop-up scene inside a folded card base.
Pet Portrait Pop Up
Pets make excellent pop-up subjects because they already believe the world revolves around them. Use a living room, yard, or park as the background. Cut out your dog, cat, rabbit, bird, or lizard and let them stand proudly in the scene. Bonus points if the pet appears larger than the humans. Historically inaccurate, emotionally accurate.
Family Tree Display
Create a layered family memory scene with older generations in the background and younger family members popping forward. This can be a beautiful keepsake for reunions, milestone birthdays, memorial tables, or holiday gifts.
Common Mistakes and How to Fix Them
The Photo Pieces Fall Over
If a pop-up element leans forward or backward, the cardstock may be too thin or the tab may be too narrow. Reinforce the back of the cut-out photo with cardstock. You can also make a wider tab or attach a small support strip behind the subject.
The Card Will Not Close
This usually means the pop-up pieces overlap or extend beyond the card’s edges. Close the card slowly and watch where it catches. Trim the problem area or reposition the subject. Always test before the glue dries permanently.
The Background Tears at the Fold
Tearing often happens when paper is too thin, cuts are too long, or folds are forced. Use heavier paper, shorter tabs, and gentle scoring. If the tear is small, patch the back with clear tape or a strip of matching cardstock.
The Glue Makes the Photo Wrinkle
Use less adhesive or switch to dry adhesive, double-sided tape, or photo-safe mounting squares. Wet glue can warp thin photo paper. If you need strong hold, apply glue sparingly and press the piece under a clean, flat weight while drying.
Best Practices for a Cleaner, More Professional Finish
Use matte or semi-matte paper if you want easier cutting and fewer fingerprints. Use a metal ruler and craft knife for straight lines. Keep your blade sharp because dull blades tear paper instead of slicing it. Score folds before bending heavy cardstock. Make a test version with plain paper before using your final prints. Most importantly, let adhesive dry before repeatedly opening and closing the project. Excitement is understandable, but wet glue has betrayed many good people.
For display, mount the finished pop up photograph inside a shadow box, scrapbook, memory album, or handmade card. If mailing it, use a padded envelope and avoid bulky embellishments that may crush or snag. For long-term keepsakes, store the project away from direct sunlight, heat, and humidity.
Experiences and Practical Lessons from Making Pop up Photographs
The first time you make a pop up photograph, the biggest surprise is usually how much personality a flat print gains once it stands up. A simple backyard photo can suddenly feel like a miniature movie set. A child running across the grass becomes the star of the scene. A dog near the fence becomes a heroic beast guarding the kingdom. A birthday cake becomes architectural. The project teaches you to look at photos differently: not just as images, but as layers, spaces, shapes, and stories.
One helpful experience is to begin with a low-pressure image. Do not start with the only printed copy of a wedding portrait or a photo your grandmother carried across three states in a purse. Start with a duplicate, a casual snapshot, or a photo you can reprint. The first attempt is where you learn how deep the tabs should be, how much glue is too much, and why cutting around curly hair is a craft challenge disguised as a lifestyle choice.
Another lesson is that simple shapes often look better than complicated ones. A cleanly cut person, tree, car, or doorway can create a stronger effect than a highly detailed object with fragile edges. If the subject has tiny details, leave a small border around it. That border gives the piece strength and makes the cut look deliberate. It also saves you from trying to carve around individual strands of hair while questioning every decision that led you to this table.
Depth planning also improves with practice. Beginners often place every pop-up piece at the same distance from the backdrop. The result still works, but it feels more like a lineup than a scene. For a richer effect, place background elements on short tabs and foreground elements on longer tabs. A mountain, building, or tree can sit closer to the back. A person, pet, sign, or gift can stand closer to the viewer. This creates a visual pathway through the project.
Adhesive choice matters more than expected. Glue sticks are convenient, but they may not hold heavy photo paper forever. Liquid glue can be strong, but it may wrinkle thin prints. Double-sided tape, adhesive squares, and photo-safe dry adhesives are often cleaner. For keepsake projects, avoid attaching glue directly to original photos. Use copies, photo corners, or archival-safe materials. A handmade gift should create happy tears, not preservation regret.
The final experience is emotional: pop up photographs are oddly powerful because they make memories feel active. A vacation photo becomes a place you can open. A family picture becomes a small stage. A pet portrait becomes a tiny monument to chaos and cuteness. The project is affordable, personal, and forgiving. Even imperfect versions have charm because the handmade quality is part of the appeal. A slightly crooked tab says, “A human made this,” which is much warmer than “A machine achieved flawless alignment and then asked for a firmware update.”
Conclusion
Learning how to make a pop up photograph is a fun way to turn printed memories into interactive art. With a background image, a few cut-out subjects, careful parallel cuts, strong folds, and photo-safe adhesive, you can build a layered 3D scene that opens like a tiny memory theater. The technique is simple enough for beginners but flexible enough for advanced scrapbookers, card makers, teachers, photographers, and creative gift givers.
The key is to plan before cutting, use sturdy paper, choose clear photo subjects, create tabs of different depths, and test the opening motion before final decoration. Once you understand the basic structure, you can customize the project for birthdays, holidays, weddings, graduations, travel journals, pet memorials, family albums, classroom displays, or just because Tuesday needed more drama.
Whether your final pop up photograph is elegant, funny, sentimental, or proudly weird, it will have something store-bought cards rarely have: your own photos, your own hands, and your own story rising from the page.
Note: This HTML article is written in original American English for web publication and contains no raw source links or unnecessary citation placeholders inside the body content.