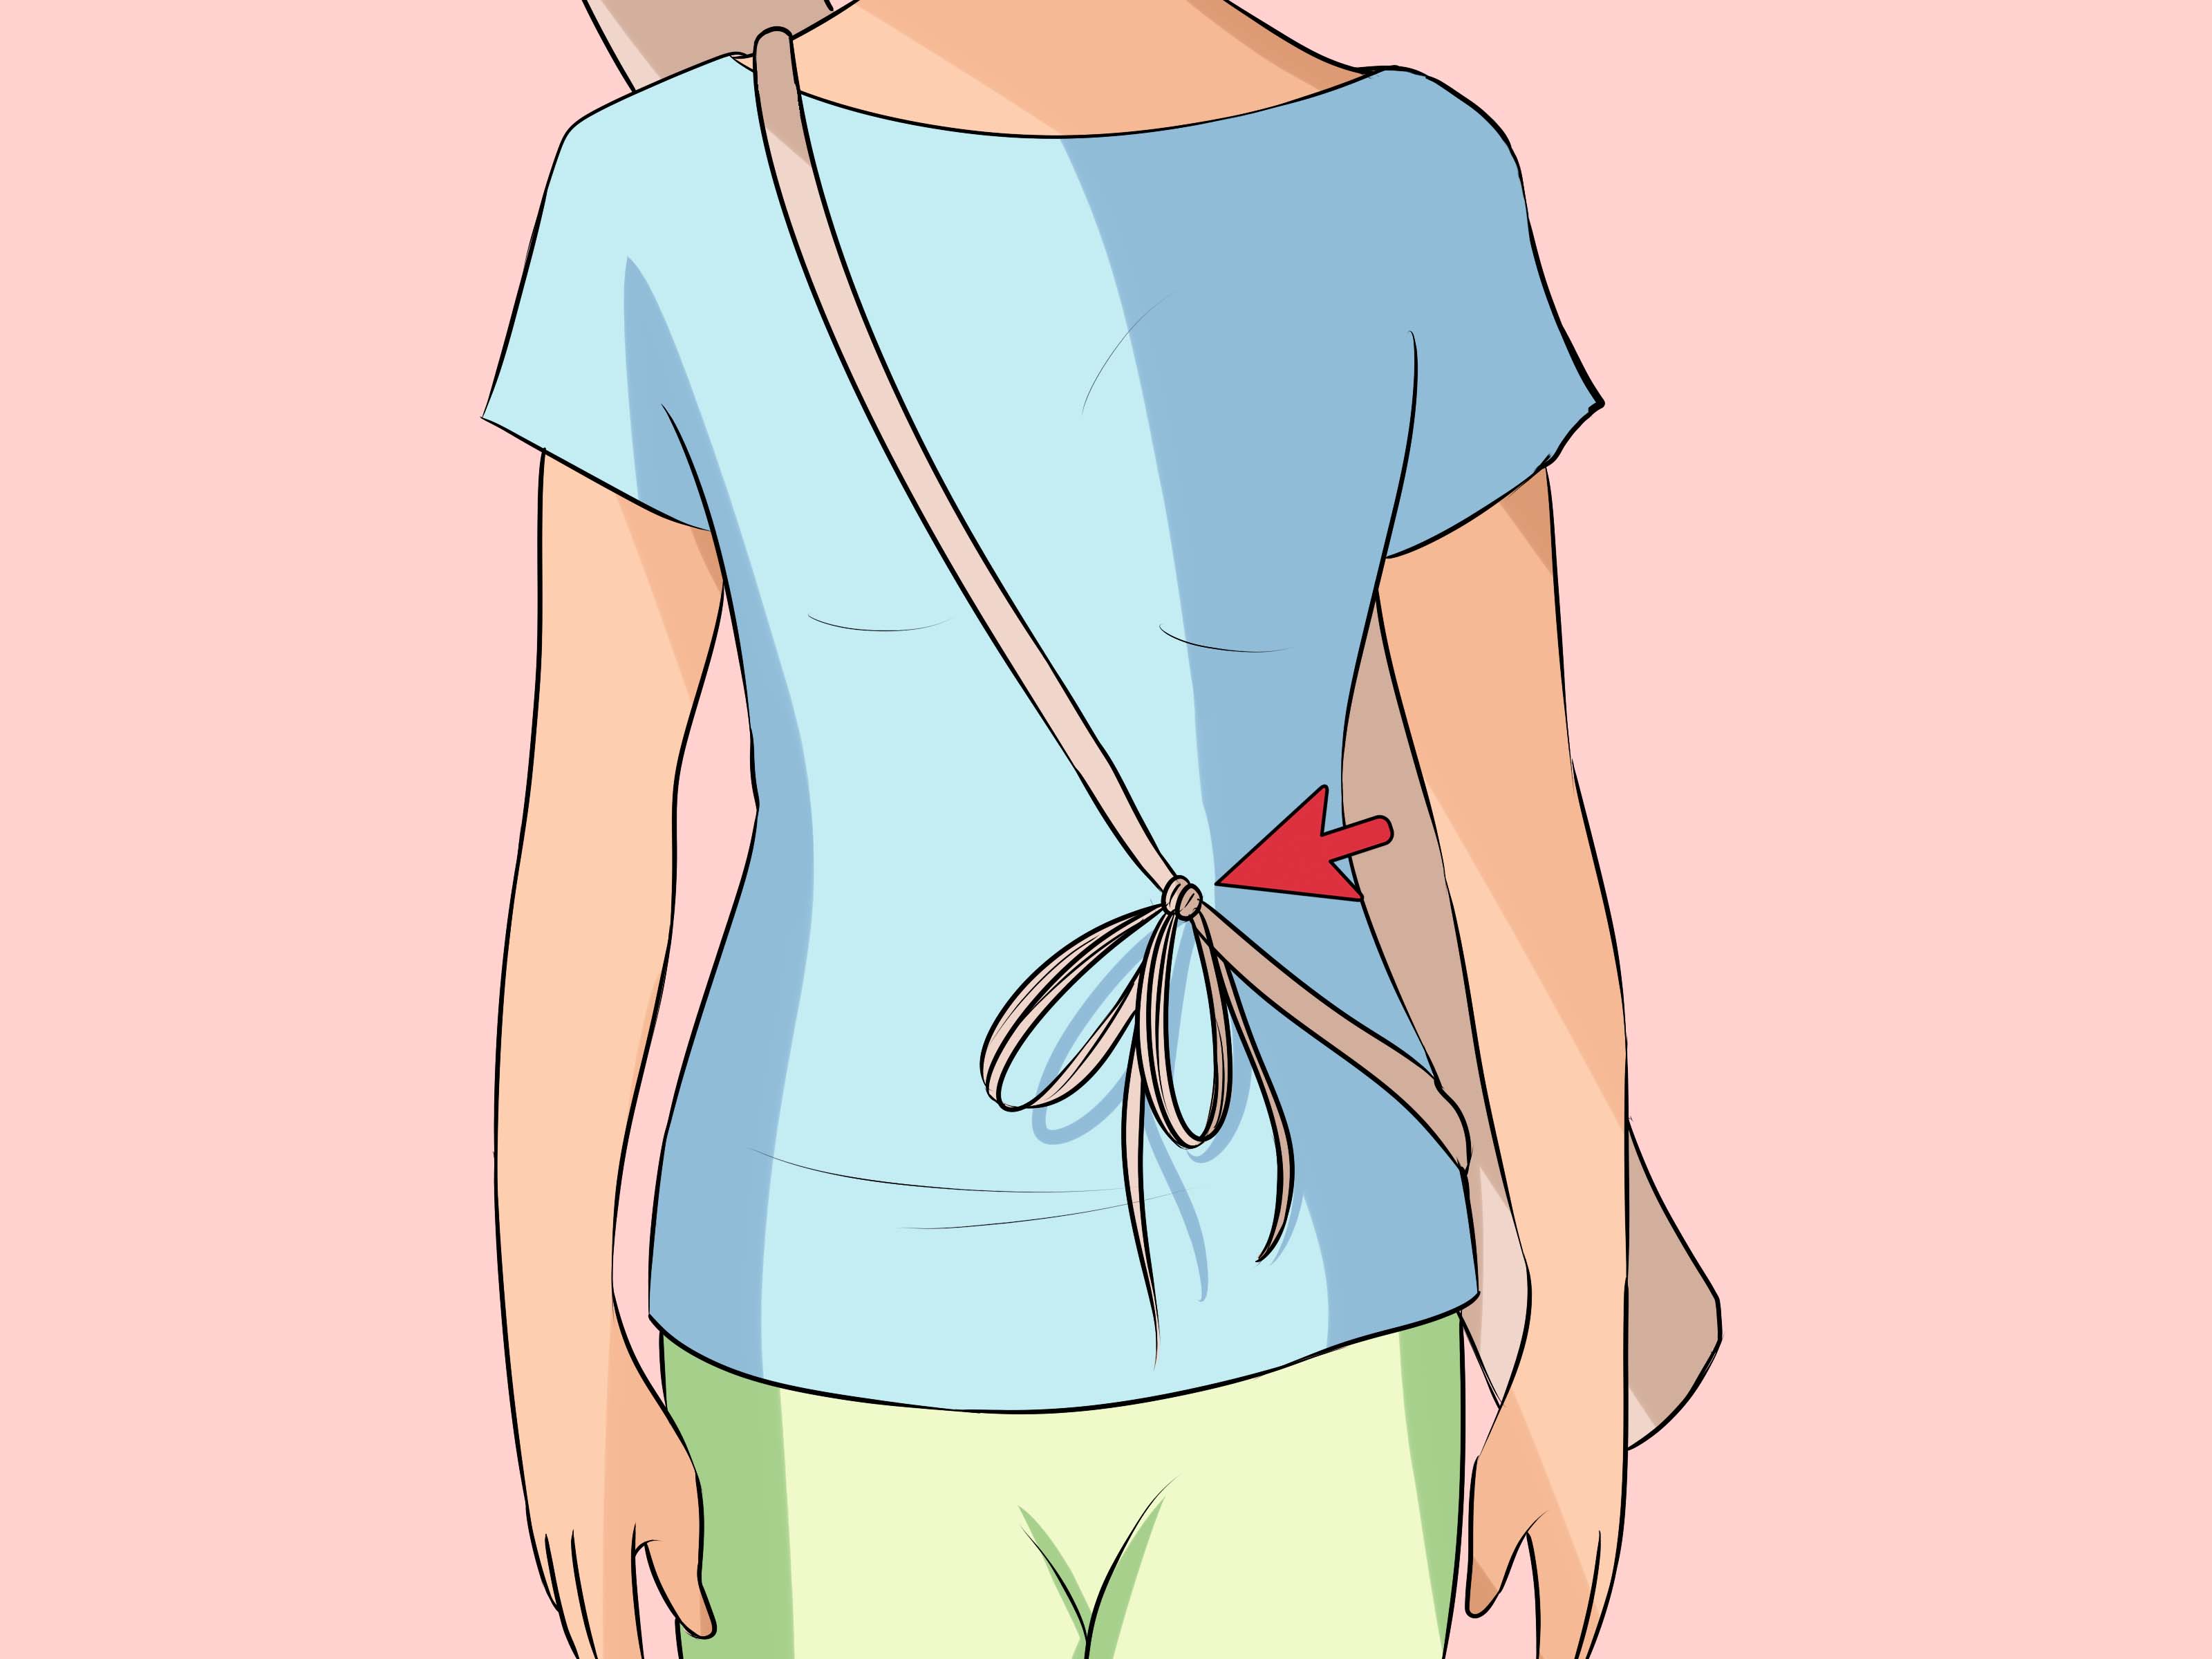
A good arrow quiver does one simple job: it carries arrows safely, comfortably, and close enough that you are not doing a dramatic treasure-hunt dance every time you need another shot. Whether you practice target archery, enjoy traditional archery, attend Renaissance fairs, or simply love making your own gear, learning how to make a quiver for arrows is a satisfying project that combines function, craft, and a little old-school adventure.
The best part? You do not need a master leatherworker’s workshop, a dragon-hide budget, or mysterious medieval secrets. A practical DIY arrow quiver can be made with leather, canvas, heavy fabric, PVC, rivets, stitching, or a combination of materials. The goal is to build something sturdy enough to protect your arrows, comfortable enough to carry, and safe enough to use around other people.
This guide walks you through a simple seven-step process for making a back or belt-style quiver. It focuses on a beginner-friendly design that can be customized for leather, canvas, or a reinforced fabric build. Along the way, you will learn how to measure arrow length, shape the body, add a bottom cap, attach a strap, and finish the quiver so it looks like useful gearnot a sad tube with commitment issues.
Note: This article is written for sporting archery storage and carrying purposes. Always follow local range rules, keep arrows secured when not shooting, and inspect arrows and gear before use.
What Is an Arrow Quiver?
An arrow quiver is a holder designed to carry arrows while keeping them organized, accessible, and pointed in a safe direction. Quivers come in several common styles: back quivers, hip quivers, field quivers, bow-mounted quivers, and pocket-style quivers. Back quivers are popular with traditional archers because they look classic and keep arrows out of the way. Hip and field quivers are common for target archery because they keep arrows easy to reach without requiring a behind-the-shoulder grab.
For a homemade quiver, the easiest designs are usually a tube-style back quiver or a belt quiver. A tube-style quiver can be made from leather, canvas wrapped around a liner, or sturdy fabric supported by a rigid inner form. Leather looks beautiful and lasts a long time, while canvas and nylon are lighter, cheaper, and easier for beginners to sew.
Materials and Tools You Will Need
Before cutting anything, gather your supplies. The exact list depends on your chosen material, but the following setup works well for a simple DIY arrow quiver:
- Leather, canvas, heavy denim, waxed canvas, or durable upholstery fabric
- Poster board or kraft paper for making a pattern
- Measuring tape or ruler
- Pencil, chalk, or fabric marker
- Sharp utility knife, rotary cutter, or heavy scissors
- Awl, leather punch, or hole punch
- Waxed thread, strong upholstery thread, or leather lace
- Needles suitable for leather or heavy fabric
- Rivets, Chicago screws, or heavy-duty snaps
- Adjustable strap, webbing, leather belt strip, or old bag strap
- Optional: thin PVC tube, plastic sheet, foam insert, or cardboard liner
- Optional: leather conditioner, edge finish, waterproofing wax, or fabric sealant
For size, plan for a quiver that is roughly 20 to 24 inches long for many standard arrows, but measure your own arrows first. The quiver should cover enough shaft to keep arrows stable while leaving the nocks and fletching easy to grab. If your arrows are unusually short or long, adjust the design accordingly.
How to Make a Quiver for Arrows: 7 Steps
Step 1: Choose the Quiver Style
Start by deciding how you want to carry your arrows. A back quiver sits diagonally across your back and usually has a shoulder strap. It is traditional, handsome, and very “forest ranger with hobbies.” A belt quiver hangs at your hip and is easier to monitor because you can see and reach the arrows without twisting. A field quiver angles backward from the belt, which keeps arrows out of your walking path.
Beginners often do best with a simple belt quiver or a back quiver with an adjustable strap. If this is your first project, avoid overly complicated patterns with multiple pockets, decorative panels, and advanced wet-forming. Those are excellent upgrades later, but the first goal is strength, safety, and comfort.
Step 2: Measure Your Arrows and Make a Pattern
Measure the total length of your arrows from nock to point. Then decide how much of the arrow should sit inside the quiver. A practical quiver body often covers about two-thirds of the arrow shaft while leaving enough arrow exposed for easy removal. For many adult arrows, a quiver body between 20 and 24 inches works well.
Next, make a paper pattern. For a tube-style quiver, draw a long rectangle or slightly tapered trapezoid. A tapered shape gives the quiver a more traditional look and helps keep arrows grouped near the bottom. A simple pattern might measure 22 inches tall, 15 inches wide at the top, and 11 inches wide at the bottom before sewing or lacing.
Add seam allowance. If you plan to stitch the side seam, add about 1/2 inch along the joining edge. If you plan to lace the quiver, leave enough overlap for punched holes. Roll the paper pattern into a tube and test it with a few arrows. This “paper prototype” may feel silly, but it is much cheaper than discovering your finished quiver only holds three arrows and your disappointment.
Step 3: Cut the Main Body
Place your pattern on the leather or fabric and trace around it carefully. Cut slowly with a sharp blade or heavy scissors. Clean cuts make the finished quiver stronger and better-looking. If using leather, cut on a proper cutting mat and keep your fingers away from the blade path. If using fabric, consider cutting two layers: an outer shell and an inner liner.
For leather quivers, medium-weight leather is usually easier to work with than very thick leather. Extremely heavy leather may look impressive, but it can be difficult to bend, punch, and stitch. For fabric quivers, choose a material that resists tearing. Waxed canvas, heavy cotton canvas, or tough outdoor fabric can work well, especially if reinforced with a liner.
Step 4: Create and Attach the Bottom Cap
The bottom of the quiver matters more than many beginners think. Without a strong bottom, arrow points can wear through the material over time. That is bad for the quiver, bad for the arrows, and very bad for your thigh if the quiver is hanging near your leg.
To make the bottom cap, stand your rolled quiver body on a piece of paper and trace around the opening. Add about 1/2 inch around the circle or oval for stitching or lacing. Cut the bottom piece from leather, heavy fabric, or a sturdy plastic-backed insert. If you want extra protection, add a small disk of foam, cork, wood, or plastic inside the bottom.
Attach the bottom cap by stitching, lacing, or riveting it to the lower edge of the quiver body. For leather, punch evenly spaced holes around the bottom edge and the cap, then sew with waxed thread or lace with leather cord. For fabric, use strong stitching and reinforce the seam. The bottom should feel firm and secure before you move on.
Step 5: Stitch or Lace the Side Seam
Now form the quiver body into its final tube shape. Overlap the side edges or bring them together edge-to-edge, depending on your design. Mark evenly spaced holes along the seam. For leather, a stitching chisel, awl, or punch helps create clean holes. For fabric, pin or clip the seam before sewing.
A saddle stitch is a strong choice for leather because it locks the seam from both sides. If one stitch breaks, the whole seam does not instantly give up like it has somewhere better to be. For canvas or heavy fabric, use a backstitch by hand or a heavy-duty sewing machine if available.
Keep the seam straight and tight, but do not over-tighten to the point of puckering the material. After stitching, test the quiver by placing arrows inside and gently shaking it. The arrows should sit securely without rattling excessively or jamming together.
Step 6: Add the Strap or Belt Attachment
The strap determines how comfortable your quiver will be in real use. For a back quiver, attach a long adjustable strap near the top and bottom of the quiver so it sits diagonally across your back. For a belt quiver, add belt loops, D-rings, or a sturdy clip system.
Use rivets, Chicago screws, or reinforced stitching to attach the strap. Do not rely on weak glue alone. Arrows are not bricks, but a loaded quiver still creates movement and stress. Reinforce each attachment point with an extra patch of leather or fabric on the inside.
Try the quiver on before finalizing the strap length. Walk around, bend slightly, and reach for an arrow. The opening should sit where your hand naturally reaches. If the quiver rides too low, the arrows may swing. If it rides too high, you may feel like you are trying to pull arrows from a ceiling fan.
Step 7: Finish, Test, and Customize
Once the main construction is complete, finish the edges. Leather edges can be beveled, burnished, dyed, or conditioned. Fabric edges can be hemmed, bound with bias tape, or sealed to reduce fraying. Add waterproofing if the quiver will be used outdoors.
Test the quiver with the number of arrows you expect to carry. Many target archers carry several arrows at a time, while bowhunters often prefer a smaller number. Make sure the arrows slide in and out smoothly. Check that broadheads, if used legally and safely in your activity, are covered by an appropriate protective insert or hood. For general target practice, field points are easier and safer to manage.
Finally, personalize it. Add stamped initials, a small pocket for an arm guard, decorative stitching, contrast lacing, or a quiet fleece lining. Just remember: decoration should never interfere with safety, arrow access, or comfort.
Design Tips for a Better DIY Arrow Quiver
Keep the Opening Wide Enough
A narrow opening may look sleek, but it can make arrows difficult to remove. Leave enough room for the fletching to pass without being crushed. Feathers and vanes help stabilize arrows in flight, so treat them kindly. A quiver that mangles fletching is not a quiver; it is a tiny arrow laundry machine with anger issues.
Add a Quiet Liner
If arrows rattle inside the quiver, add a liner made from fleece, felt, foam, or soft leather. This is especially helpful for traditional archery or outdoor use where noise can be distracting. A liner also helps protect arrow shafts from scuffing.
Balance Comfort and Capacity
Bigger is not always better. A large quiver can carry more arrows, but it may also bounce, snag, or feel awkward. For casual target practice, capacity for six to twelve arrows is usually plenty. For a belt quiver, smaller and lighter often feels better over a long practice session.
Use Strong Attachment Points
Straps and belt loops take the most stress. Reinforce them with double layers, rivets, or heavy stitching. After the first few uses, inspect these areas. If holes stretch or stitches loosen, repair them before the quiver fails in public and your arrows make a dramatic escape.
Common Mistakes to Avoid
The first mistake is building the quiver before measuring your arrows. Arrow length varies, and guessing can lead to a quiver that is too shallow or too deep. A too-shallow quiver may let arrows tip out; a too-deep quiver makes them annoying to grab.
The second mistake is ignoring the bottom. Arrow points need a durable barrier. Even target points can wear through weak fabric over time. Reinforce the base from the beginning.
The third mistake is attaching a weak strap. A quiver is wearable gear, so treat the strap like a structural part, not an afterthought. Use strong stitching, rivets, or screws, and test the loaded quiver before taking it to the range.
The fourth mistake is forgetting comfort. Sharp corners, rough rivet backs, stiff seams, and poorly placed straps can make a beautiful quiver unpleasant to use. Smooth rough areas and adjust the fit before calling the project finished.
Safety Notes for Using a Homemade Quiver
A homemade quiver should keep arrows controlled when you are not shooting. At an archery range, arrows should remain in the quiver until it is safe and appropriate to shoot. Never walk around casually with arrows loose in your hand, and never point arrow tips toward people.
Inspect your arrows before placing them in the quiver. Carbon arrows can develop small cracks after hard impacts, and damaged arrows should not be used. Wooden arrows can split, aluminum arrows can bend, and fletching can loosen. Your quiver can protect arrows during transport, but it cannot magically repair them. Sadly, no quiver has wizard certification yet.
Also check the quiver itself. Look for worn seams, loose rivets, cracked leather, frayed fabric, or a weakening bottom insert. Repair small problems early. A quiver is simple gear, but it still needs maintenance.
Optional Upgrades
Add Compartments
Small exterior pockets can hold a shooting glove, tab, wax, pencil, scorecard, or range pass. Keep pockets flat so they do not catch on clothing or brush.
Add a Divider
A foam or leather divider near the top can separate arrows and reduce rattling. This is useful if you carry arrows with different fletching colors or point types.
Make It Weather-Resistant
Leather conditioner, waxed canvas, waterproofing spray, or a removable rain cover can help protect your quiver outdoors. Do not store wet arrows or a wet quiver in a closed bag for long periods, because moisture can damage materials and encourage mildew.
Customize the Carry Angle
For a belt quiver, experiment with the angle. A slight backward tilt often keeps arrows clear of your legs while walking. For a back quiver, adjust the strap so the arrow nocks are reachable without straining your shoulder.
Real-World Experience: What You Learn After Making and Using One
Making your first arrow quiver teaches you things that a pattern alone cannot. On paper, a quiver seems like a basic container: cut material, sew side, add strap, celebrate. In real life, the small details decide whether it becomes dependable archery gear or a decorative tube that spends its life leaning in the corner like it has retired early.
The first lesson is that comfort beats looks. A dramatic back quiver with bold stitching and a sweeping shape may look amazing in photos, but if the strap digs into your shoulder after ten minutes, you will stop using it. When testing a quiver, load it with real arrows and wear it while walking, bending, and reaching. The movement reveals pressure points quickly. Sometimes moving a strap attachment just one inch makes the difference between “custom gear” and “why is this thing attacking my collarbone?”
The second lesson is that arrow access matters. Many beginners place the quiver opening too far behind the shoulder. It feels fine while standing still, but once you try to draw an arrow repeatedly, the motion becomes awkward. A good back quiver should let your hand find the nocks naturally. A good belt quiver should let you pull arrows without looking down every time. If you practice target archery, smooth repetition matters more than dramatic style.
The third lesson is that noise control is worth the effort. A bare leather or plastic interior can let arrows click together. At first, that may seem harmless. After a full practice session, it becomes surprisingly annoying. A soft liner made from felt, fleece, or suede can make the quiver feel more refined. It also helps protect arrow shafts and fletching. This is one of those small upgrades that makes homemade gear feel professionally considered.
The fourth lesson is to overbuild the bottom. The base of the quiver takes repeated contact from arrow points. Even if you only use field points, they still press into the same area again and again. A reinforced bottom insert made from leather, cork, foam, or plastic gives the quiver a longer life. If you hear or feel points scraping through the base, stop using the quiver until it is repaired.
The fifth lesson is that adjustability saves projects. Adjustable straps, removable clips, and screw-style hardware allow you to fine-tune the fit after testing. Permanent stitching looks clean, but it leaves no room for correction. For a first quiver, hardware such as D-rings, buckles, Chicago screws, and rivets can make the project more forgiving.
Finally, a handmade quiver becomes personal. The scratches, darkened edges, softened strap, and little improvements tell the story of use. You may start with a plain design, then add a pocket, replace the strap, improve the liner, or stamp a small mark into the leather. That is the charm of DIY archery gear: it evolves with you. By the time you finish your second or third version, you will understand exactly what your shooting style needsand you may become suspiciously opinionated about strap angles at social gatherings.
Conclusion
Learning how to make a quiver for arrows is a practical and rewarding project for archers, crafters, and outdoor hobbyists. The process is simple when broken into clear steps: choose a style, measure your arrows, create a pattern, cut the body, reinforce the bottom, stitch the seam, attach the strap, and finish the details. With durable materials and careful construction, your DIY arrow quiver can be comfortable, safe, and genuinely good-looking.
The best homemade quiver is not necessarily the fanciest one. It is the one that fits your arrows, carries comfortably, protects the points and fletching, and holds up through repeated use. Start simple, test often, and improve the design as you gain experience. Your first quiver may not belong in a museum, but if it carries arrows safely and makes you smile when you pick it up, it has done its job beautifully.