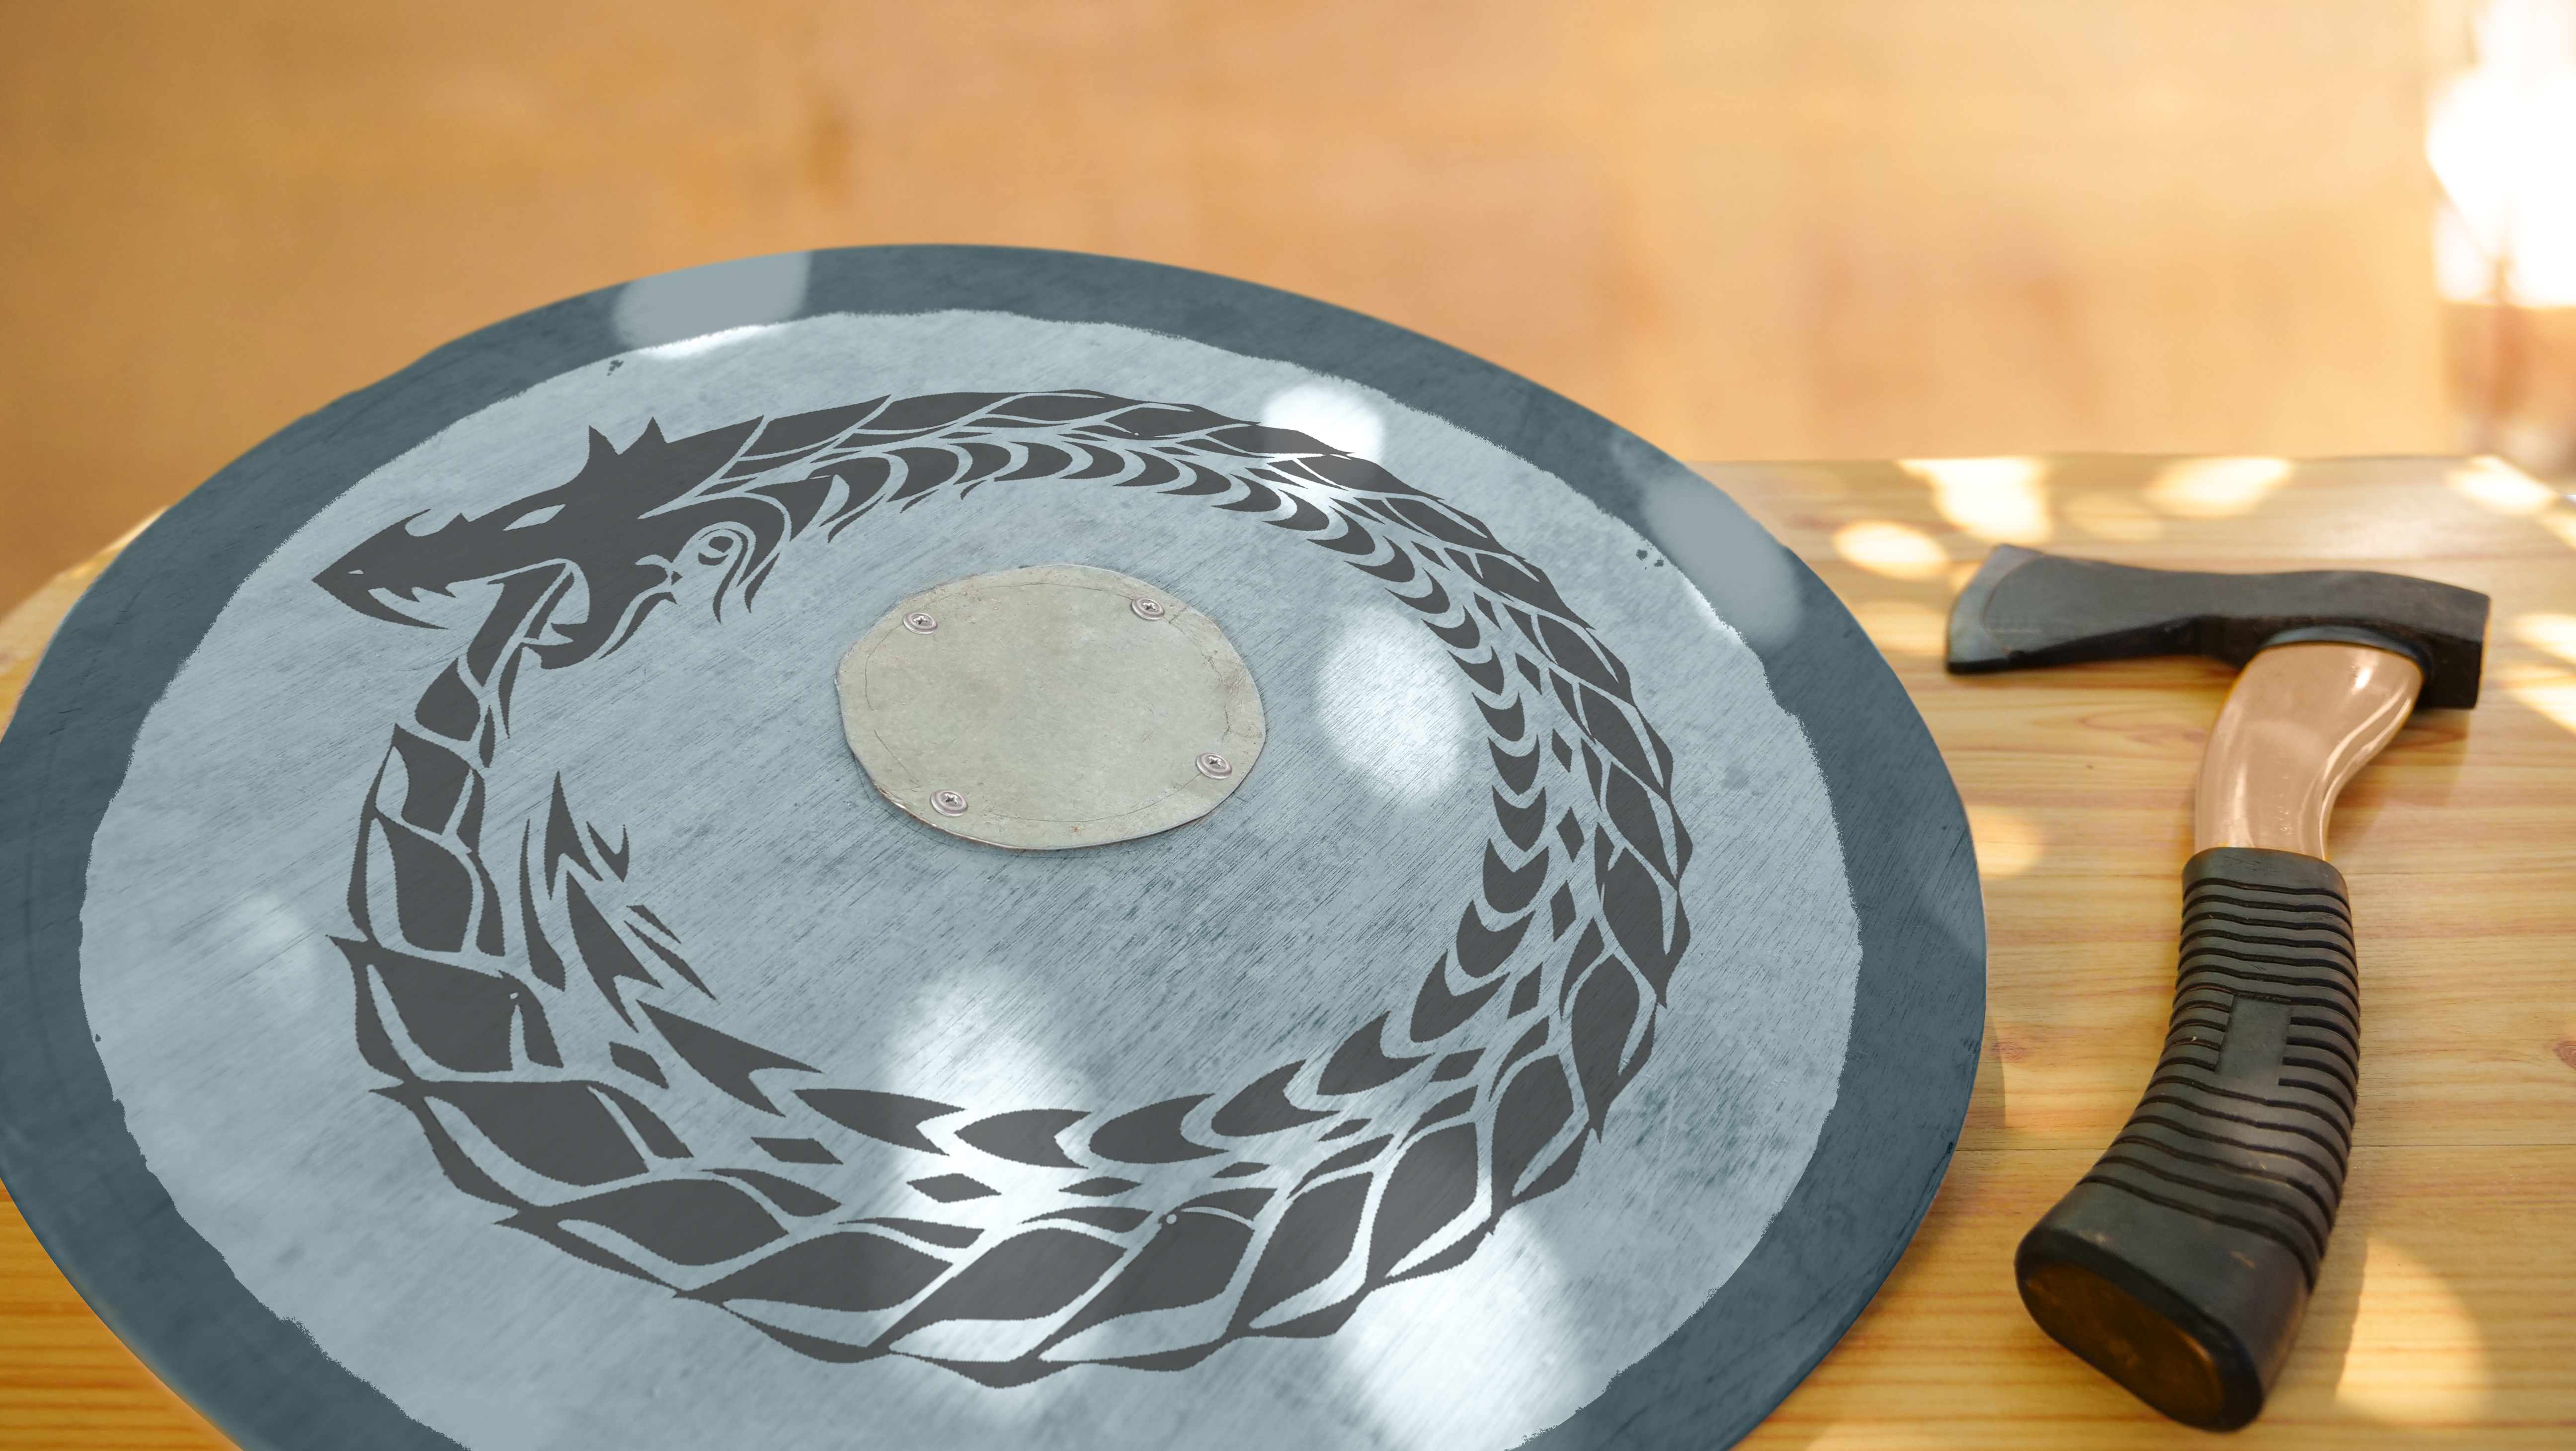
If you have ever watched a Viking show, toured a museum website, or fallen into a late-night rabbit hole about Norse history, you already know one thing: Viking shields have serious presence. They are bold, round, practical, and somehow manage to look both simple and dramatic at the same time. In other words, they are the kind of project that makes you feel crafty, historical, and slightly cooler than usual.
This guide shows you how to make a Viking-inspired shield for costume, display, school projects, themed décor, or cosplay. It is not meant to be a functional combat item. Think wall-worthy conversation piece, not “let me test this against my cousin’s broomstick.” Your broom closet deserves peace.
The good news is that you do not need a blacksmith, a ship burial, or a dramatic fjord in the background. With a lightweight base, a convincing center boss, a historically inspired paint scheme, and a little patience, you can create a shield that looks impressive while staying affordable, safe, and easy to carry. Better yet, you can make it feel rooted in real Viking aesthetics instead of looking like a pizza tray with commitment issues.
What a Viking shield really looked like
Before you make one, it helps to know what gives a Viking shield its unmistakable look. Historically, Viking shields were usually round, not kite-shaped. They featured a center grip protected by a metal boss, which is that dome-like piece in the middle. The shield surface was often painted, and simple geometric layouts or bold color blocking were more believable than hyper-detailed fantasy artwork.
Another important detail is balance. A good Viking-inspired display shield should look light, practical, and direct. Viking design was often beautiful, but it was rarely fussy for the sake of being fussy. If your shield starts looking like it belongs in a glitter dragon parade, you may have wandered into another kingdom entirely.
The most convincing prop shields usually borrow three things from history: a round silhouette, a raised center boss, and a clean painted design. Nail those three features and most people will immediately read it as “Viking.” Add a weathered finish and they may start calling you “Jarl of the Living Room.”
Choose your version before you build
The smartest way to start is to decide what kind of shield you actually want. That sounds obvious, but this is where many projects go off the rails. A wall display shield needs different priorities than a costume shield for a school event.
Display shield
This version can be slightly sturdier, more decorative, and focused on visual detail. It does not need to be especially comfortable to carry for long periods.
Costume shield
This version should be lightweight and easy to hold. You want something that looks great in photos without turning your arm into overcooked spaghetti after fifteen minutes.
Classroom or kids’ project
This version should use simple, low-risk materials such as corrugated cardboard, craft foam, poster board, paper mâché, and water-based craft paint. If thick materials need trimming, have an adult handle that part.
Once you decide on the purpose, your material choices become much easier. For most people, a lightweight cardboard or foam-core Viking shield is the sweet spot because it is inexpensive, visually effective, and easy to decorate.
Safe materials that work well
You do not need rare supplies to make this project look good. In fact, simple materials often work best because they are easier to shape, paint, and carry.
- Large circle of corrugated cardboard, foam board, or thick craft board
- Extra cardboard or layered craft foam for reinforcement
- A lightweight bowl, paper bowl, or shaped foam dome for the center boss
- White glue, tacky glue, or strong double-sided adhesive
- Acrylic craft paint
- Primer or base coat for smoother paint coverage
- Brushes and a pencil for sketching the design
- Fabric, felt, or soft edging material for the rim if desired
- Elastic strap, fabric strap, or soft handle material for the back
If you want the shield to feel more polished, use a primer before painting and build your boss in layers instead of relying on one flimsy piece. If you want the shield to feel more “aged,” slightly uneven texture is actually your friend. Viking-inspired pieces should not look like they just rolled off a luxury appliance showroom floor.
How to make a Viking-inspired shield base
1. Start with a round shape
A round base is the foundation of the whole look. If you already have a pre-cut round board or craft circle, wonderful. If not, trace a large circle onto cardboard or foam board. For many costume or display projects, a diameter in the neighborhood of about 30 to 36 inches looks substantial without becoming awkward.
Cut the circle as neatly as you can, or have an adult help if the material is thick. The cleaner your base, the more professional the final shield will appear. Jagged edges can make even a beautiful paint job look rushed.
2. Reinforce the back
If you are using cardboard, glue one or two support strips across the back. This helps the shield keep its shape and stops it from sagging like a tired pancake. Place the support where your handhold will be so the structure and grip work together.
3. Add the center boss
The boss is the raised dome in the center, and it is the feature that makes people say, “Ah yes, definitely Viking.” A small lightweight bowl, formed paper dome, or layered craft foam shape works well. Attach it firmly at the center of the shield.
If the dome feels too modern or glossy, do not panic. Paint will solve many crimes. Once primed and finished in black, steel gray, bronze, or weathered iron tones, even a humble household object can suddenly look historical enough for a photo shoot.
4. Create a handle on the back
Use soft material that is comfortable to grip. A wide strap secured through reinforced points or a padded handhold works well for costume use. Keep it centered behind the boss area so the shield feels balanced when lifted.
Painting your shield so it looks Viking-inspired
This is where the project comes alive. A plain round board becomes a Viking shield the moment the paint design makes sense. The trick is choosing patterns that feel bold and simple.
Good design ideas
- Alternating color quadrants
- Simple crosses or radial divisions
- Concentric circles
- Bold two-color sections with a contrasting rim
- Minimal knotwork or interlace accents
Red, black, yellow, off-white, muted blue, and earthy green all work beautifully. A slightly weathered finish often looks better than perfect flat color. Viking art was visually powerful, but not in a “neon festival face paint” kind of way.
Start with a base coat. Let it dry fully. Then sketch your design lightly before painting. If you are adding a faux metal boss, use dark gray first and then lightly brush on silver or bronze highlights. That tiny bit of contrast can make the shield look far more convincing.
You can also darken the edges or add subtle scuffs to make the shield appear older. The key word is subtle. You want “aged by sea air and saga-worthy travel,” not “attacked by an angry vacuum cleaner.”
Details that make the shield look more authentic
Small finishing touches can transform a decent craft into an excellent one. The first is edge treatment. Wrapping the rim in fabric, felt, faux leather, or painted craft strips softens the silhouette and helps hide raw cardboard layers.
The second is surface texture. Real historical objects were made from organic materials, so a perfectly plastic-looking finish can ruin the illusion. Dry brushing, matte paint, and slightly visible brush strokes often help more than they hurt.
The third is restraint. Many Viking-inspired projects go wrong because the maker adds too many runes, too many symbols, too many faux battle scars, and about four different artistic identities. Pick one idea and commit to it. A clean shield with strong lines usually looks far better than a crowded one trying to impress everyone in the room.
Common mistakes to avoid
Making it too heavy: This is the classic mistake. A costume prop should not feel like strength training.
Skipping the boss: Without the center boss, the shield often reads as generic instead of Viking-inspired.
Overcomplicating the paint: Historical inspiration usually looks better with strong shapes and limited colors.
Ignoring the back: A front-only project photographs well from one angle and disappoints everywhere else. Clean up the back, even if it is simple.
Forgetting comfort: If the handle digs into your hand after two minutes, your heroic mood will expire quickly.
How to style and use your finished shield
Once the shield is done, you have options. It can become wall décor in a bedroom, office, reading nook, or game room. It can join a Halloween costume, school presentation, theater prop table, or medieval-themed event. It can even become the centerpiece of a Norse-inspired display with faux fur, wooden textures, and a suspiciously enthusiastic candle collection.
If you are using it for photos, pair it with simple clothing in natural colors. If you are using it for décor, hang it where the round shape can stand out. If you are using it for a project, include a brief note about how real Viking shields were functional objects with a center grip and protective boss. Suddenly your craft is doing educational multitasking, which is honestly very efficient and very Viking in spirit.
The real experience of making a Viking-inspired shield
One of the best things about making a Viking-inspired shield is that the project changes mood as it goes. At the beginning, it feels simple. You think, “It is just a circle with paint. How hard can this be?” Then you start tracing the round base and immediately realize that circles have opinions. Large circles especially. They wobble, shift, and somehow become egg-shaped the second you look away.
Then comes the middle stage, which is the dramatic stage. This is where your worktable is covered in paint, cardboard dust, brushes, and one item you swear you just had in your hand thirty seconds ago. The shield looks unimpressive at this point. In fact, it may look deeply questionable. You might stare at it and think it resembles a giant cookie, a wagon wheel, or a budget satellite dish. This is normal. Almost every good shield passes through an awkward phase.
The turning point is usually the center boss. The minute that raised middle piece goes on, the whole project starts making sense. Suddenly it is not random cardboard anymore. It has character. It has attitude. It starts whispering things like, “Yes, I belong in a longhouse,” even if it is currently drying beside your laundry basket.
Painting is where most of the fun lives. Bold sections of red and black, a weathered rim, a few careful highlights on the boss, and the shield begins to feel far more historical than its humble ingredients would suggest. That is part of the magic. Viking-inspired design is strong enough that even simple materials can deliver a convincing result when the shapes are right.
There is also a very satisfying emotional payoff to this project. Unlike some crafts that disappear into a drawer the next day, a shield has presence. You can hang it up, carry it with a costume, use it in a display, or lean it in a corner and instantly make the room look more adventurous. It is one of those builds that feels bigger than the materials it came from.
And perhaps the most memorable part is that a Viking shield invites storytelling. Once it is finished, people do not just see a prop. They imagine a character. They ask questions. They want to know what the design means, why the colors were chosen, and whether you made it yourself. That turns the shield into more than a decoration. It becomes a conversation starter, a creative project, and a small bridge between history and hands-on making.
So yes, the experience involves a little trial and error, a little mess, and at least one moment of staring at paint while wondering if you have made a masterpiece or a large decorative pancake. But once it is finished, the project feels absolutely worth it. You are left with something bold, memorable, and surprisingly educational. Not bad for a round piece of cardboard with ambition.
Conclusion
If you want a project that is creative, historically inspired, and visually striking, learning how to make a Viking shield is an excellent place to start. The best version is not the heaviest or the most complicated. It is the one that captures the essential Viking look: a round form, a strong center boss, bold paint, and a finish that feels handcrafted rather than mass-produced.
Keep the build lightweight, keep the design intentional, and keep the purpose focused on costume or display use. Do that, and you will end up with a shield that looks impressive, photographs beautifully, and gives your space or outfit a touch of Norse-inspired drama. Which, frankly, is a lot of return on investment for glue, paint, and a circle.