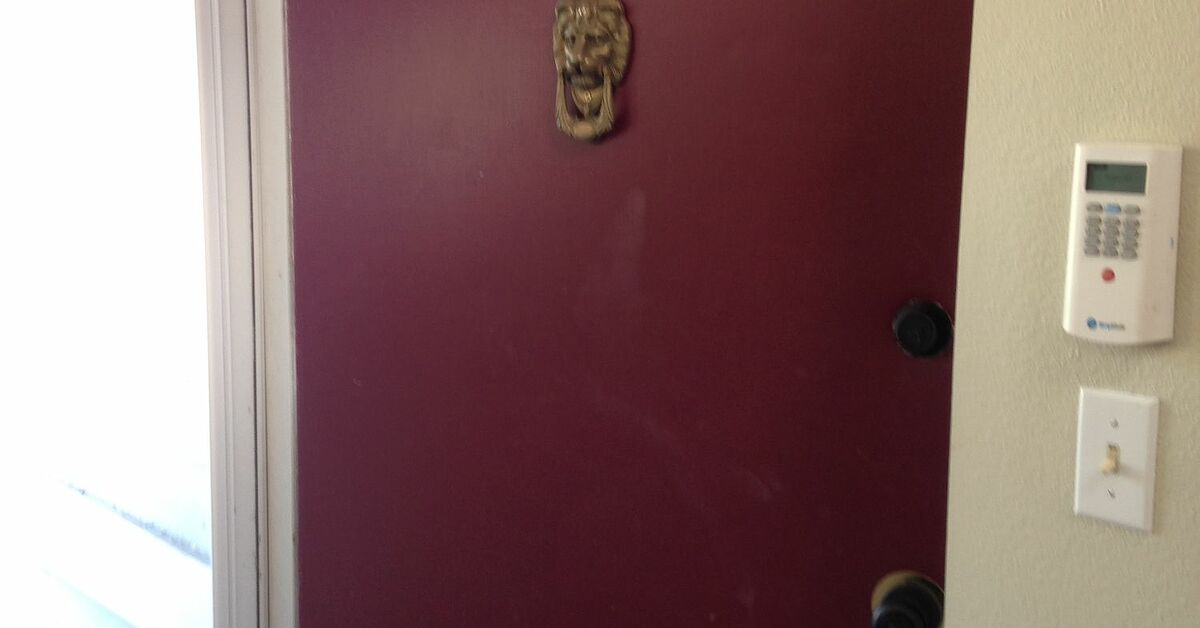
Your entry door is the handshake of your home. Unfortunately, some handshakes feel less like “Welcome!” and more like “This house has seen things.” Maybe your front door is faded, scratched, dented, sun-baked, builder-basic, or still wearing the same brass handle from the decade when everyone owned a fax machine. Good news: you do not need to replace the entire door to make it look fresh, stylish, and expensive.
An ugly entry door update DIY can be one of the most satisfying weekend projects because the transformation is obvious. Paint, hardware, weatherstripping, house numbers, lighting, and a few thoughtful finishing touches can take a tired front entrance from “forgotten rental unit” to “charming home with excellent taste.” Even better, most of these upgrades are beginner-friendly, budget-conscious, and doable with basic tools.
This guide walks you through how to refresh an ugly front door step by step, including what to fix first, how to choose paint, how to update hardware, and how to style the entrance without making it look like a craft store exploded on the porch.
Why Updating an Ugly Entry Door Is Worth It
A front door makeover is not only about looks. Yes, curb appeal matters, and yes, a freshly painted door can make neighbors slow down slightly while pretending they are checking the mail. But a good DIY entry door update can also improve comfort, security, and energy efficiency.
Old weatherstripping can let in drafts. Loose hardware can make the door feel flimsy. Peeling paint can expose the door to moisture. A dim entry light can make the whole area feel gloomy. When you update the door as a complete mini-project, you improve the first impression and the daily function of your home at the same time.
Step 1: Decide Whether the Door Can Be Saved
Before you buy paint in a heroic shade called “Midnight Admiral” or “Spicy Tomato,” inspect the door honestly. Most ugly doors are not truly doomed; they are just neglected. However, some problems should be repaired before cosmetic work begins.
Look for Structural Problems
Check for rot, major warping, soft wood, rust holes, cracked fiberglass, broken glass inserts, or a door that does not latch properly. If the door is badly damaged or unsafe, paint will not solve the problem. Paint is powerful, but it is not a licensed therapist for structural failure.
If the door is mostly sound but has scratches, fading, dents, old hardware marks, or a boring color, it is a great candidate for a DIY makeover.
Check for Lead Paint in Older Homes
If your home was built before 1978, assume old painted surfaces may contain lead unless testing proves otherwise. Avoid aggressive sanding, scraping, or heat stripping until you understand the risk. Use lead-safe work practices or hire a certified professional if the surface is deteriorating. A beautiful door is not worth creating hazardous dust.
Step 2: Choose Your Door Makeover Plan
The easiest way to avoid a chaotic result is to create a small design plan before starting. Your entry door update should include three layers: the door itself, the surrounding frame, and the accessories around it.
The Simple Makeover Formula
- Paint: Refresh the door with a durable exterior color.
- Hardware: Replace or clean the handle, lockset, knocker, hinges, or kick plate.
- Sealing: Add weatherstripping, a door sweep, or fresh caulk where needed.
- Styling: Add house numbers, lighting, planters, a doormat, or a wreath.
You do not need all of these to see a big difference. A $40 can of paint and a $30 handle upgrade can already make an entry look years newer. If your door is truly having a midlife crisis, add lighting, trim paint, and new numbers for the full “after photo” effect.
Step 3: Pick the Right Paint Color
Color is where the magic happens. It is also where homeowners sometimes panic and choose beige because beige feels safe. Beige is fine, but if your door is already ugly, “slightly different beige” may not give you the dramatic update you want.
Classic Front Door Colors That Work
For a timeless look, consider black, charcoal, navy, deep green, burgundy, warm taupe, or rich brown. These shades tend to feel polished and expensive. If your home has brick, stone, or warm siding, earthy greens, dark reds, and deep bronze tones can look especially good.
For a cheerful entry, try blue, muted yellow, coral, sage, or terracotta. The trick is to choose a color that complements your exterior instead of fighting it in the driveway like two raccoons over a sandwich.
Test Before You Commit
Paint colors look different in morning sun, afternoon shade, and porch lighting. Brush samples on poster board or a hidden area of the door and check them throughout the day. If your door gets strong sun, be careful with very dark colors, especially on certain materials, because heat buildup can affect performance depending on the door and paint manufacturer’s guidance.
Step 4: Gather Supplies
A smooth DIY front door update depends more on preparation than artistic talent. You do not need fancy equipment, but you do need the right basics.
Basic Supplies
- Exterior-grade paint suitable for your door material
- Exterior primer, especially for bare spots, stains, or major color changes
- Degreasing cleaner or mild soap
- Sanding sponge or fine-grit sandpaper
- Painter’s tape
- Drop cloth
- Angled brush
- Small foam or microfiber roller
- Screwdriver or drill
- Wood filler, auto body filler, or patching compound depending on door material
- Exterior caulk
- New hardware, house numbers, door sweep, or weatherstripping if needed
Choose a semi-gloss or gloss finish for durability and easy cleaning. A front door gets touched, kicked, bumped, rained on, and judged by delivery drivers. It deserves paint that can handle a little drama.
Step 5: Remove or Protect Hardware
If possible, remove the handle, lockset, knocker, kick plate, and old house numbers before painting. You will get cleaner edges and a more professional finish. Put screws in a small container so they do not disappear into the same mysterious universe as missing socks.
If you cannot remove certain pieces, tape around them carefully. Press the painter’s tape firmly along the edge so paint does not sneak underneath and leave tiny evidence of impatience.
Step 6: Clean the Door Like You Mean It
Paint does not stick well to dirt, oil, pollen, spiderwebs, fingerprints, or whatever mystery film has been living on the door since 2011. Wash the entire surface with a degreasing cleaner or mild soap and water. Rinse well and let it dry completely.
Pay attention to recessed panels, trim grooves, edges, and the area around the handle. That handle area is often the greasiest part of the door because every person who enters your home has contributed a tiny fingerprint memoir.
Step 7: Sand and Repair the Surface
Lightly sand glossy surfaces so primer and paint can grip. You are not trying to remove every bit of old paint; you are dulling the shine and smoothing rough spots. Wipe away all dust before moving on.
Fix Common Door Flaws
For small dents, scratches, or old hardware holes, use the correct filler for the material. Wood doors may need exterior wood filler. Metal doors may need a filler designed for metal surfaces. Fiberglass doors may require a compatible patching product. Follow the manufacturer’s instructions and sand smooth after it dries.
This step is boring. It is also the difference between “professional-looking makeover” and “we painted over a crater and named it character.”
Step 8: Prime the Door
Primer is essential when you are covering a dark color with a light one, painting bare wood or metal, dealing with stains, or making a dramatic color change. Use an exterior primer that matches your paint type and door material.
Apply primer with a brush in grooves and detailed areas, then use a small roller on flat sections. Let it dry fully. Rushing primer is like putting frosting on a warm cake: technically possible, emotionally regrettable.
Step 9: Paint in the Right Order
For paneled doors, paint the recessed panels first, then the rails and stiles, then the outer edges. Use a brush for detail work and a roller for broad, flat areas. Keep coats thin and even. Thick paint may look satisfying at first, but it can drip, sag, and cure poorly.
How Many Coats Do You Need?
Most doors need two coats of exterior paint for even coverage and durability. Bold colors, reds, yellows, and major color changes may need additional coats. Let each coat dry according to the paint label before applying the next.
If you paint the door while it is still hanging, keep it open long enough to prevent sticking. Check the weather before painting. Avoid rain, extreme heat, freezing temperatures, or high humidity. Your door wants a spa day, not a survival challenge.
Step 10: Upgrade the Hardware
Once the paint has dried, hardware becomes the jewelry. Replacing old brass or scratched handles with matte black, satin nickel, aged bronze, or polished brass can completely change the style of the door.
Hardware Ideas That Make a Big Difference
- Install a modern handle set or lever.
- Add a matching deadbolt or smart lock.
- Replace rusty hinges with a coordinated finish.
- Add a kick plate for protection and polish.
- Install a door knocker if it fits your home’s style.
Try to keep finishes consistent. A black handle, brass knocker, chrome kick plate, and bronze light fixture can look less “collected over time” and more “hardware aisle accident.” Mixing metals can work, but it should look intentional.
Step 11: Refresh the Door Frame and Trim
An updated door surrounded by dirty trim is like wearing a tuxedo with muddy sneakers. Clean, caulk, and repaint the frame if needed. White trim gives a crisp traditional look, while matching the trim to the door can create a modern, color-drenched effect.
Use exterior caulk on small gaps where trim meets siding, but do not caulk areas that need drainage or movement. Smooth caulk with a damp finger or caulk tool for a clean line.
Step 12: Seal Drafts With Weatherstripping
A beautiful door that whistles in the wind is not finished. Check for light around the edges when the door is closed. If you can see daylight, air is probably sneaking through too.
Replace worn weatherstripping around the jamb and install or adjust a door sweep at the bottom. This can improve comfort, reduce drafts, and help the door feel more solid. Choose weatherstripping that allows the door to close snugly without forcing it.
Step 13: Add Curb Appeal Around the Door
The best ugly entry door update DIY does not stop at the slab. Once the door looks fresh, the surrounding area may suddenly look suspiciously tired. Do not worry; small upgrades can bring everything together.
Easy Entry Styling Ideas
- Replace faded house numbers with a larger, more readable style.
- Install a new porch light that matches your hardware finish.
- Add two planters for symmetry.
- Use a layered doormat and outdoor rug combination.
- Hang a simple wreath or seasonal accent.
- Pressure wash nearby steps, siding, or concrete.
Keep the styling proportional. A tiny wreath on a tall door can look lonely. Giant planters beside a narrow doorway can look like the plants are guarding a castle. Aim for balance.
Budget-Friendly Entry Door Update Ideas
If your budget is small, start with the changes that create the biggest visual impact. Paint comes first. Hardware comes second. Clean trim, new numbers, and a fresh doormat come third.
Under $50
Clean the door, touch up paint, replace the doormat, polish existing hardware, and add a simple wreath or planter. This is the “I have company coming tomorrow” version of the project.
Under $150
Paint the door, replace the handle, update house numbers, and add weatherstripping. This level can make the entry look dramatically newer without turning into a renovation saga.
Under $300
Add paint, premium hardware, a kick plate, updated lighting, two planters, and fresh trim paint. This creates a full entry makeover that can look much more expensive than it is.
Common Mistakes to Avoid
The fastest way to ruin a DIY door makeover is to skip prep. Paint over dirt and it will peel. Ignore sanding and the finish may look rough. Use interior paint outside and the weather will defeat it like a tiny villain with a rain cloud.
Another mistake is choosing a color that looks great online but terrible on your actual house. Always test. Also, avoid installing new hardware before paint has cured enough. Fresh paint can scratch easily in the first few days, even when it feels dry to the touch.
Finally, do not forget the sides and top edge of the door if they are visible or exposed. A gorgeous front surface with crusty edges is the home improvement version of only ironing the front of your shirt.
Real DIY Experiences: What Actually Happens During an Ugly Entry Door Update
Here is the honest truth: updating an ugly entry door is simple, but it is rarely as clean and effortless as a 30-second makeover video suggests. The video shows a smiling person rolling on paint while sunlight glows gently in the background. Real life includes a bug landing in the second coat, a screw rolling under the porch, and someone asking, “Can we close the door yet?” every seven minutes.
One common experience is discovering that the door is not just ugly; it is dirty in layers. The first wipe removes dust. The second wipe removes grime. The third wipe makes you question how many hands, storms, and pizza deliveries have touched this thing. Cleaning takes longer than expected, but it is worth it because paint sticks better and the final finish looks smoother.
Another real-world lesson is that color confidence grows slowly. A bold color in the can may look terrifying. Navy can look almost black. Green can look too bright. Red can look like a fire truck until the second coat dries. Many DIYers panic halfway through the first coat because it looks streaky and wrong. That is normal. The first coat is not the final look; it is the awkward teenage phase of the project. Wait for the second coat before judging.
Hardware replacement also teaches humility. Most handle sets are straightforward, but older doors may have odd hole spacing, stripped screws, or mystery modifications from previous owners. Measure before buying. Take photos before removing old hardware. Keep the door open while working, but make sure pets and children do not turn the project into an escape-room challenge.
Weatherstripping is another surprisingly satisfying upgrade. It does not photograph as beautifully as paint, but it changes how the door feels. A door that used to rattle or leak air can suddenly close with a solid, quiet seal. That small detail makes the whole entry feel better built.
The biggest experience-based tip is to plan drying time generously. A door may be dry to the touch but not fully cured. Be gentle for a few days. Avoid slamming it, hanging heavy decor too soon, or pressing tape onto fresh paint. The project may only take a weekend, but the finish deserves a little patience.
Finally, expect the makeover to expose nearby problems. Once the door looks amazing, the old porch light may look tired. Then the house numbers look too small. Then the doormat looks personally offensive. This is normal. Home improvement projects travel in packs. Set a stopping point before your “simple door refresh” becomes a full exterior redesign involving landscaping, shutters, and a philosophical debate about mailbox finishes.
Final Thoughts: Your Door Deserves Better
An ugly entry door update DIY is one of the best small projects for big curb appeal. You can refresh the door with paint, modernize it with hardware, make it more comfortable with weatherstripping, and finish the look with lighting, numbers, plants, and a clean doormat.
The secret is not perfection. The secret is preparation, patience, and choosing upgrades that fit your home’s style. Clean thoroughly, sand lightly, prime when needed, paint with care, and give the details some attention. By the end, your front door will no longer look like the before photo in a renovation show. It will look intentional, welcoming, and maybe even expensive enough to make the neighbors curious.