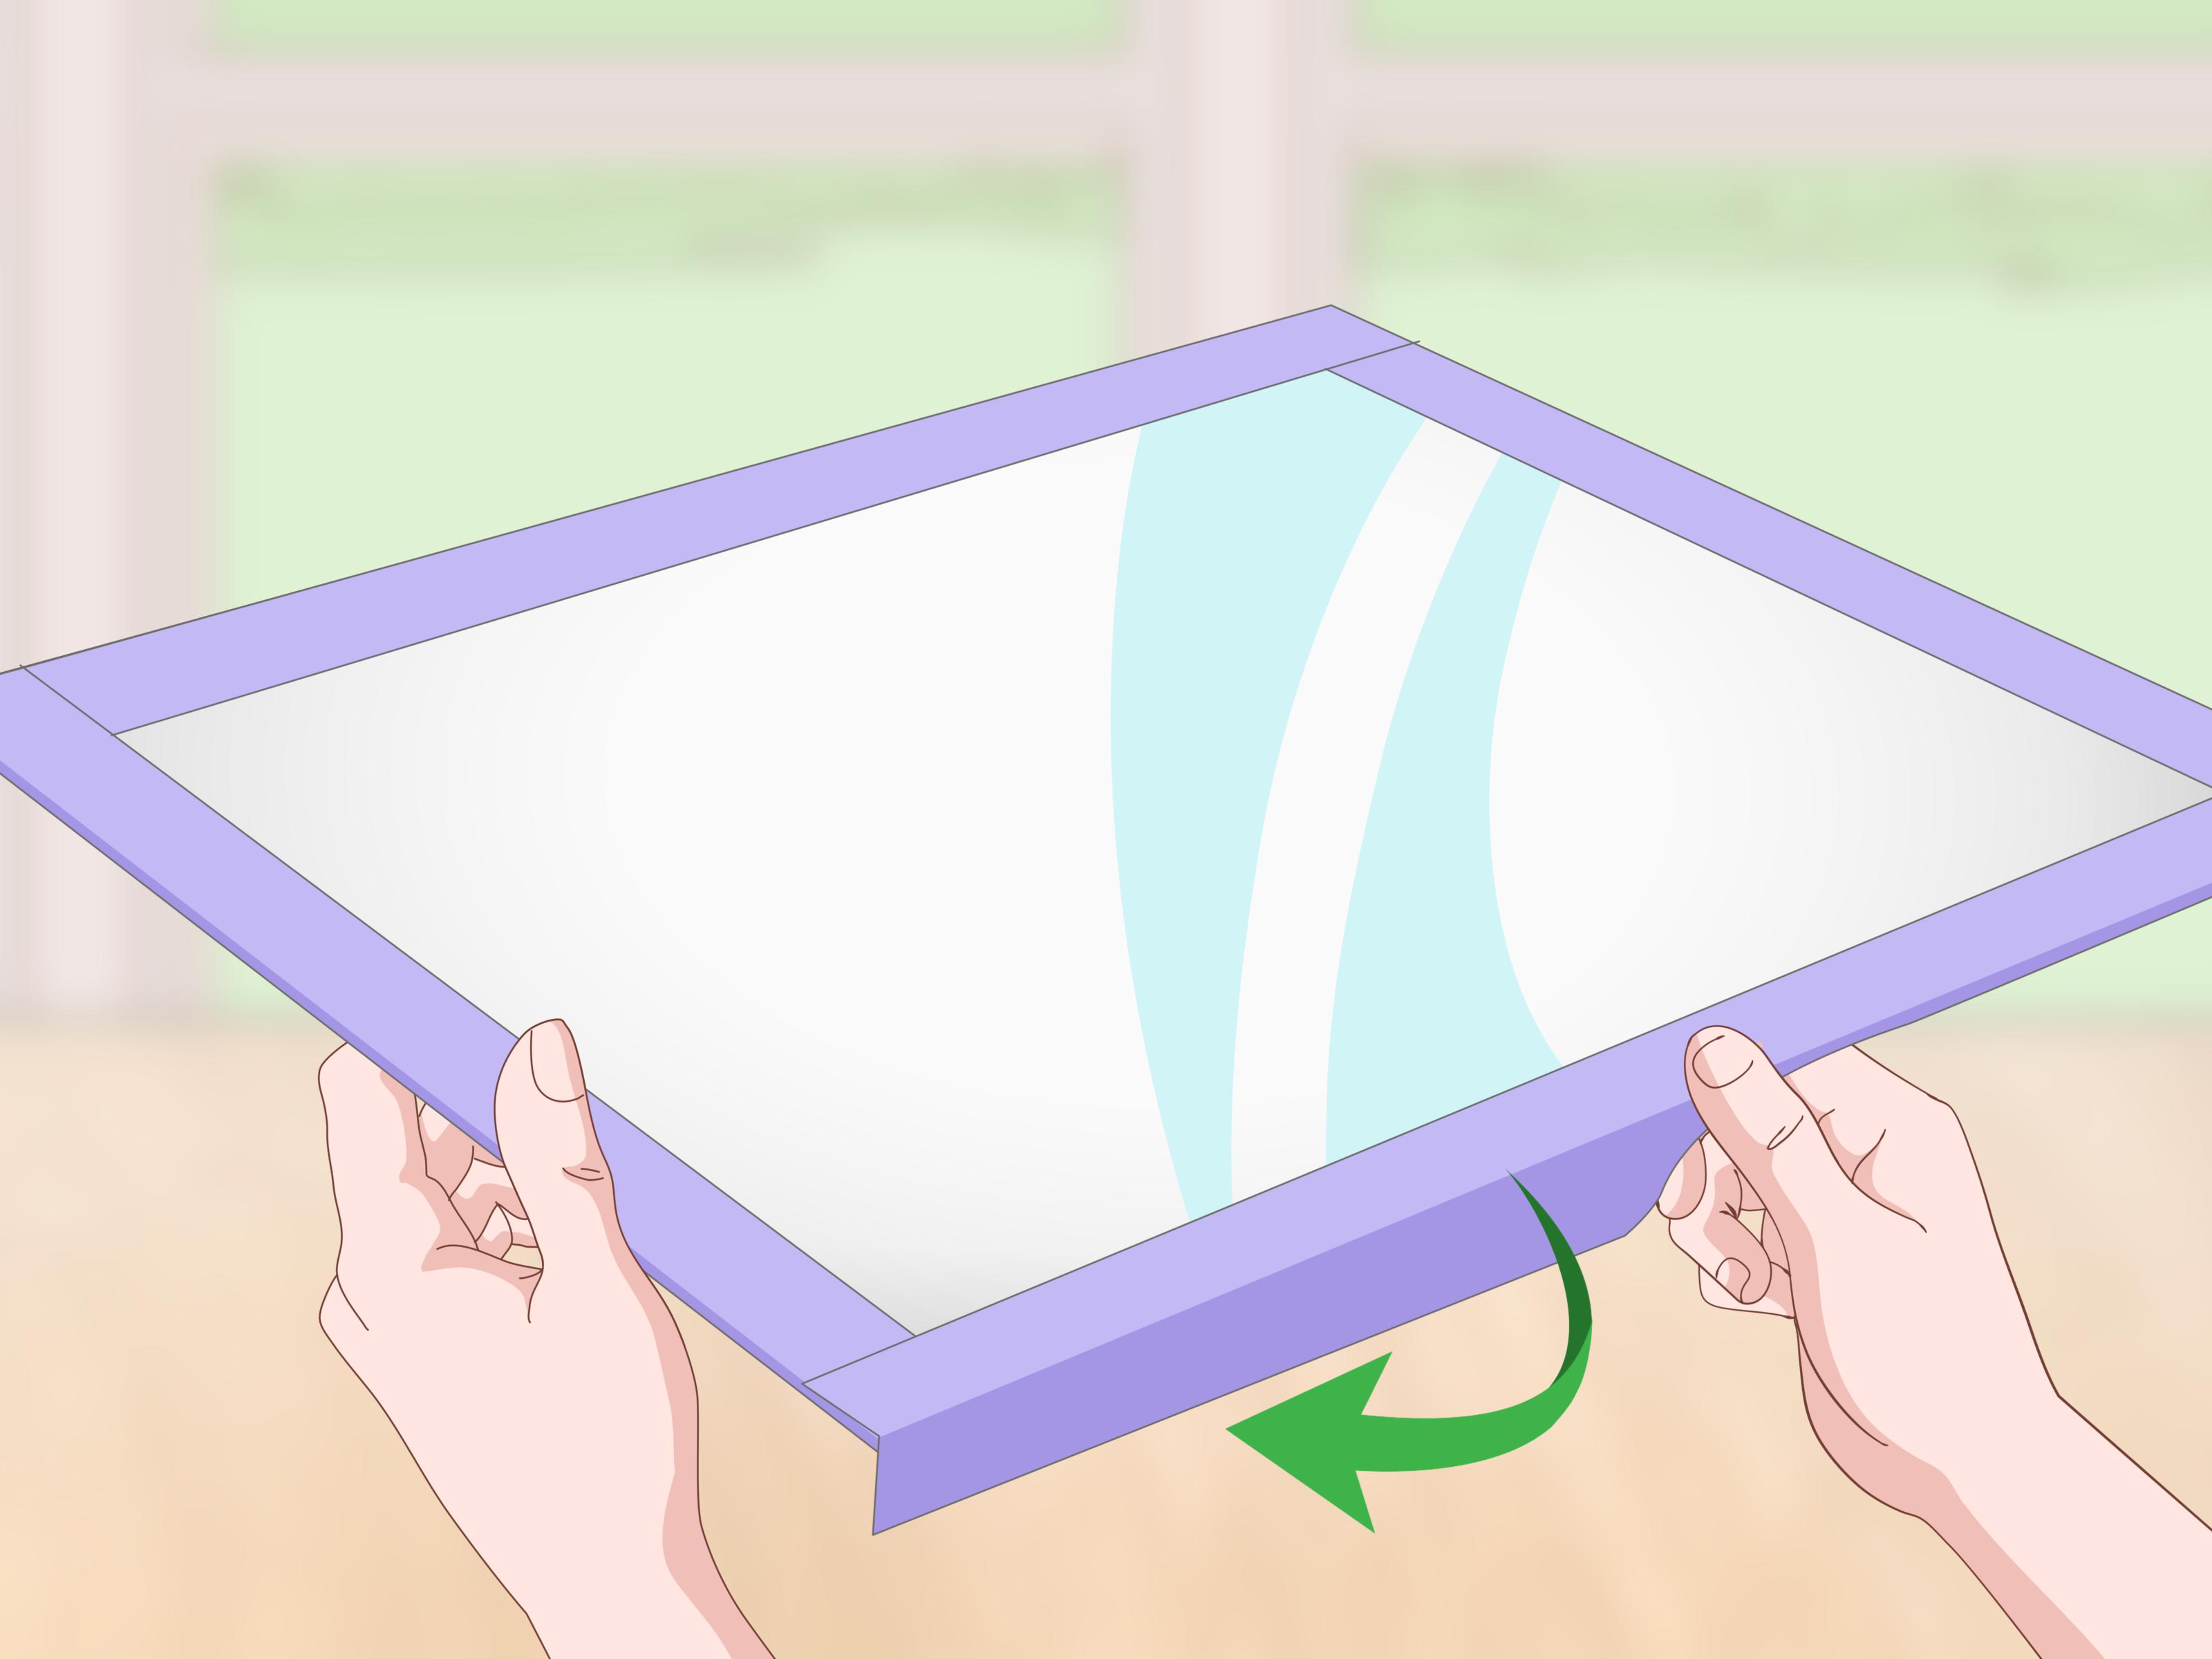
Note: Confirm the weight of your finished board and the load rating of your chosen mounting hardware before installation.
A good whiteboard can turn a blank wall into a command center, a homework station, a meal-planning headquarters, or the place where your next million-dollar idea begins its awkward little life. The problem is that store-bought boards are often expensive, oddly sized, or dressed in a frame that looks like it escaped from a 1997 office supply catalog.
The good news: making a DIY dry erase board is surprisingly manageable. You can build one with a ready-made marker-board panel, dry erase paint, adhesive film, or even a glass surface. The best option depends on where you want to use it, how often you will write on it, whether magnets matter, and how much patience you have for measuring things twice.
This guide explains how to make a durable custom whiteboard, how to mount it safely, what materials actually work, and how to prevent your beautiful new creation from becoming a permanently haunted surface of faded grocery lists.
Why Make a DIY Dry Erase Board?
A homemade whiteboard gives you something standard boards rarely offer: control. You decide the dimensions, frame style, placement, and features. Need a narrow board beside the refrigerator for lunch notes? Done. Want a giant project-planning wall in a home office? Also done. Need a kid-friendly drawing board that does not cost the same as a small appliance? Welcome to the club.
Making your own dry erase board can also be practical. A marker-board panel can cover far more writing space than a typical office board, while a framed panel can look intentional instead of temporary. That is important because “temporary” has a way of becoming décor for six years.
Common Uses for a Custom Whiteboard
- Family calendars and weekly meal plans
- Home office task lists and brainstorming walls
- Classroom-style learning spaces for children
- Workout plans, habit tracking, and household reminders
- Studio planning boards for artists, writers, and makers
- Restaurant-style order boards for parties, game nights, or events
Choose the Right DIY Whiteboard Material
Before buying anything, decide how your board will be used. The surface is the star of the show. A gorgeous wood frame cannot rescue a writing surface that stains after three enthusiastic brainstorming sessions.
Option 1: Marker-Board Panel
For most people, a purpose-made marker-board panel is the easiest and most reliable choice. These panels are usually smooth, white, lightweight, and sold in large sheets that can be cut to size. Look specifically for a panel labeled as a marker board or dry erase panel. A plain white wall panel may look similar but may not erase well.
This option works especially well for home offices, kitchens, classrooms, and large planning boards. It is affordable, easy to frame, and simple to mount. A thin panel may flex, though, so large boards benefit from a rigid backing or a frame that keeps everything flat.
Option 2: Melamine Board
Melamine is a hard, smooth surface commonly used in shelving and cabinets. A white melamine panel can work as a budget dry erase board, particularly for light or moderate use. However, not every melamine board is designed for dry erase markers. Some erase beautifully; others become a museum of yesterday’s shopping list.
Use melamine when you want a sturdy board with a clean, furniture-like look. Test a small corner with a dry erase marker before committing to a giant wall installation. Let the ink sit for a few hours, erase it, and check for residue.
Option 3: Dry Erase Paint
Dry erase paint turns a wall, door, wood panel, or desk surface into a writable area. It is a clever solution for spaces where you want a seamless look instead of a separate board. Some products are two-part coatings that need to be mixed and applied within a limited working time, so read the instructions before opening anything.
The preparation matters more than people expect. The surface should be smooth, clean, dry, and properly primed where needed. Tiny dents, rough texture, old paint flakes, and mysterious wall goo can show through the final coating. Dry erase paint can look fantastic, but it is less forgiving than a pre-finished marker-board panel.
Option 4: Adhesive Dry Erase Film
Peel-and-stick dry erase film is ideal for renters, small spaces, and temporary projects. You can apply it to a smooth door, cabinet panel, desk, or wall. It is not the champion of heavy-duty daily use, but it is quick, inexpensive, and easy to replace when the surface gets tired.
The secret is preparation. Clean the surface, let it dry fully, measure carefully, and apply the film slowly with a plastic smoothing tool. Rushing this part is how bubbles appear, and bubbles are the tiny villains of every adhesive project.
Option 5: Glass or Acrylic
Glass makes an elegant dry erase surface that resists staining and looks sharp in modern offices. Tempered glass is the safer choice for a wall-mounted board. Acrylic is lighter and easier to cut, but it scratches more easily than glass and can develop a cloudy look over time.
Glass boards are usually more expensive and require careful mounting. They are best for a polished, long-term installation. If you choose a magnetic glass board, remember that ordinary magnets may not work well through thick glass; strong rare-earth magnets are typically needed.
The Best All-Around Method: Build a Framed Marker-Board Panel
For a durable DIY whiteboard that looks finished without becoming a weekend-long emotional journey, use a marker-board panel with a simple wood frame. It works for beginners, it scales easily, and it can be customized to fit almost any wall.
Materials You Will Need
- Marker-board panel cut to your preferred size
- Wood trim, such as 1-by-2 or 1-by-3 boards
- Measuring tape and pencil
- Level
- Miter saw, hand saw, or miter box
- Sandpaper or sanding block
- Wood glue
- Finish nails, brad nails, or small screws
- Paint or stain for the frame, optional
- Wall anchors, screws, and mounting brackets
- Dry erase markers, eraser, and microfiber cloth
Step 1: Pick the Perfect Size
Measure the wall and think about how the board will actually be used. A 24-by-36-inch board works well for a calendar or family command center. A 36-by-48-inch board gives you more room for projects and plans. A 4-by-8-foot panel creates a serious brainstorming wall, but it also becomes a serious mounting project.
Leave room around the board for a marker tray, wall art, switches, or doors that may swing nearby. Also consider viewing height. The center of the writing area should be comfortable for the people who will use it most often.
Step 2: Cut the Whiteboard Panel
Many home improvement stores can cut a large marker-board panel for you. This is often the easiest route, especially if you do not have a table saw. If you cut it yourself, support the panel well and use a fine-tooth blade to reduce chipping.
After cutting, inspect the edges. Lightly sand rough spots, but avoid scratching the finished writing surface. If the board will be framed, the edges do not need to be beautiful enough for a magazine cover. They only need to be smooth enough that they do not snag fingers or trim.
Step 3: Build the Wood Frame
Measure each side of the panel and cut your trim pieces. Mitered corners create a polished picture-frame look, but straight butt joints also work and are much easier for beginners. There is no prize for making your first DIY board unnecessarily dramatic.
Dry-fit the trim around the panel before gluing anything. Once you are happy with the fit, stain or paint the trim if desired. Let the finish dry completely before assembly. Then attach the trim around the edges using wood glue and small brad nails or screws placed carefully through the frame and into the backing edge.
For a lightweight panel, the frame can mostly be decorative. For a large board, the frame also helps keep the panel square and reduces flexing.
Step 4: Add a Backing Board if Needed
Thin marker-board panels can bow or flex, especially in large sizes. To create a sturdier custom whiteboard, attach the panel to a flat backing board such as plywood, MDF, or rigid hardboard. Keep the backing dry and smooth, and make sure it will not warp after installation.
Use adhesive sparingly and evenly if the manufacturer recommends it. Heavy blobs of adhesive can create raised spots that show through the writing surface. Screws placed around the frame perimeter are often safer because they avoid pressure points in the middle of the board.
Step 5: Install a Marker Tray
A marker tray is optional, but it is one of those small upgrades that makes a board feel truly useful. You can purchase a metal tray, repurpose a narrow shelf, or make one from a short piece of trim with a small lip. Mount it below the board or attach it to the bottom frame.
Keep the tray shallow enough that it does not become a shelf for unopened mail, old batteries, and a single sock of unknown origin.
How to Mount Your DIY Dry Erase Board Safely
A whiteboard should stay on the wall, even during an energetic meeting, a child’s math lesson, or a family debate about who forgot to feed the dog. The safest mounting method depends on the weight and size of the board.
Mount Into Studs Whenever Possible
For medium and large boards, locate wall studs with a stud finder and drive screws into the framing behind the drywall. This is the strongest and most reliable option. Use a level before drilling, because a slightly crooked whiteboard becomes strangely distracting once it is full of perfectly straight calendar lines.
Use Proper Wall Anchors When Studs Are Not Available
If your desired location does not line up with studs, use anchors rated for the weight of the finished board. Consider the board, frame, backing, marker tray, and anything likely to live on the tray. Choose hardware with a generous safety margin rather than selecting anchors that barely meet the load.
For larger boards, use multiple anchor points. Heavy boards may need toggle-style anchors, a French cleat, or a mounting rail. Follow the instructions for the hardware you choose, since wall materials and anchor designs vary.
Try a French Cleat for Large Boards
A French cleat is an excellent option for a large framed whiteboard. It uses two matching angled strips: one attached to the wall and one attached to the board. The board slides down onto the wall cleat, spreading the weight across a wider area. It also makes removal easier if you ever repaint, move, or realize your board has become the permanent home of 47 expired coupon codes.
How to Make a Magnetic DIY Whiteboard
Dry erase and magnetic are not automatically the same thing. A basic marker-board panel allows writing, but magnets will not stick unless there is steel behind the writing surface.
For a magnetic whiteboard, place a thin sheet of steel behind the marker-board panel or buy a magnetic marker-board product. Another option is to mount a steel panel and cover it with dry erase film designed for smooth surfaces. Make sure the final surface stays flat; a lumpy magnetic board is still a lumpy board, even if it can hold three magnets shaped like tacos.
Test your magnets before completing the installation. Decorative refrigerator magnets may be too weak for a thick surface, while stronger neodymium magnets can provide better holding power.
How to Keep a Dry Erase Board Clean and Bright
Most DIY whiteboard failures are not construction failures. They are maintenance failures. A board may look perfect on day one, then slowly collect marker residue until it appears to be whispering old notes from the past.
Daily and Weekly Care
- Use a clean dry eraser or microfiber cloth for normal writing.
- Do not leave dry erase ink on the board for weeks at a time.
- Clean the board regularly with a dry erase cleaner or a gentle, manufacturer-approved solution.
- Wipe the surface dry with a clean microfiber cloth after cleaning.
- Use only dry erase markers unless the surface is specifically rated for another type.
How to Prevent Ghosting
Ghosting is the faint residue left behind after old marker writing refuses to disappear. It is more common on lower-cost surfaces, worn panels, and boards that sit in direct sunlight or get cleaned with oily or abrasive products.
To reduce ghosting, erase writing promptly, clean the board regularly, and avoid using household cleaners that leave a waxy film. Never scrub aggressively with rough pads or abrasive powders. A dry erase surface is not a cast-iron skillet. It does not need character-building scratches.
What if Someone Uses a Permanent Marker?
Do not panic. First, test a dedicated whiteboard cleaner or a small amount of rubbing alcohol on a hidden edge. Wipe gently with a microfiber cloth, then clean and dry the area. Avoid harsh solvents unless the surface manufacturer specifically approves them, especially on coated panels, paint, or adhesive film.
DIY Whiteboard Ideas for Every Room
Kitchen Command Center
Create a framed dry erase board near the kitchen entrance for weekly meals, grocery lists, appointment reminders, and chore assignments. Add a small cork strip or magnetic section for receipts and school notices.
Home Office Project Board
Use a larger horizontal board above a desk for project planning. Divide it into columns such as “Ideas,” “This Week,” “In Progress,” and “Finished.” Seeing work visually can be surprisingly motivating, especially when you move a task into the finished column with unnecessary theatrical flair.
Kids’ Learning Wall
Mount a low board for children to practice letters, math, and drawing. Choose rounded frame edges, secure the board carefully, and keep markers stored out of reach when not in use. A small board can become a reusable art station without turning every wall into a creative experiment.
Fitness and Habit Tracker
Turn a closet door, laundry room wall, or workout area into a habit tracker. Use the board for water intake, workouts, sleep goals, reading plans, or daily routines. The key is to keep it simple enough that it helps rather than silently judging you from across the room.
Common DIY Whiteboard Mistakes to Avoid
- Buying any white panel: Not every white panel is designed to erase dry erase ink.
- Skipping a test: Test markers and cleaning on a sample or hidden corner first.
- Ignoring wall weight: Large panels, frames, and backing boards can become heavy fast.
- Mounting with weak adhesive alone: Adhesive strips may work for lightweight boards but are risky for larger installations.
- Using rough cleaners: Abrasive pads can scratch the surface and make staining worse.
- Forgetting expansion space: Wood frames can expand or contract slightly with seasonal humidity changes.
- Making the board too complicated: A simple, flat, well-mounted board is better than an elaborate project that never leaves the garage.
Experience-Based Lessons From DIY Dry Erase Board Builds
People who make their own whiteboards often begin with one goal: save money. Then they discover that the real advantage is customization. A store-bought board may be perfectly decent, but it cannot always fit the strange strip of wall beside a pantry, the narrow hallway outside a child’s room, or the exact space above a desk where ideas tend to pile up.
One of the most common experiences is underestimating the importance of the surface itself. Builders may assume that any glossy white material will work with dry erase markers. It can look promising at first. Then, after a few days, the writing begins to leave faint shadows. This is why testing matters. A quick marker test before building the frame can prevent a great deal of regret and at least one dramatic sigh in the hardware-store parking lot.
Another frequent lesson involves framing. A simple wood frame does more than make the board look polished. It hides rough panel edges, protects corners, and gives thin panels more rigidity. Even a basic pine frame can make a DIY whiteboard look like a deliberate home improvement project rather than a leftover construction panel that found a wall.
Mounting is where practical experience becomes especially valuable. Small boards may be light enough for simple anchors or adhesive mounting systems, but larger boards quickly become heavier than expected. Add a wood frame, a backing board, a marker tray, a few magnets, and a stack of notes, and the wall now has a real job to do. Builders who take time to locate studs or use a strong mounting system tend to enjoy their boards much longer than those who rely on optimism and two tiny screws.
Many users also find that the best whiteboard design is the one that removes friction. A board placed where people naturally pass by gets used. A board with markers nearby gets used more. A board with a tray, eraser, and clear purpose becomes part of a daily routine. A beautiful board installed in an inconvenient corner may become decorative wallpaper with a few lonely doodles.
Cleaning habits matter too. Most people learn eventually that dry erase boards need more than occasional panic-cleaning before visitors arrive. Wiping the board regularly, using decent markers, and avoiding abrasive cleaners can keep even an affordable DIY board looking fresh for much longer. The moment ghosting appears, it is easier to treat early than after six months of forgotten reminders have become part of the board’s personality.
The most satisfying experience, however, is seeing a plain wall become useful. A homemade dry erase board can organize family life, support a side business, make homework less intimidating, or give creative projects somewhere to grow. It is a small project with a large payoff: more visibility, less paper clutter, and one less excuse for forgetting what you were supposed to do today.
Final Thoughts
Making your own whiteboard is one of those DIY projects that can be as simple or as ambitious as you want. A small peel-and-stick memo board can take an afternoon. A framed marker-board panel can become a polished centerpiece for a home office. A full wall coated in dry erase paint can transform how a family, classroom, or creative team plans its day.
For the best balance of durability, cost, and ease, a framed marker-board panel is hard to beat. Choose a surface made for dry erase markers, mount it securely, keep it clean, and give it a purpose. Before long, it will become the place where schedules, sketches, reminders, goals, and occasional questionable stick figures all live together in glorious erasable harmony.