Bougainvillea is the garden equivalent of a flamenco dancer: dramatic, colorful, a little thorny, and absolutely impossible to ignore. Those electric pink, purple, orange, white, or red “flowers” are actually papery bracts surrounding tiny true flowers, but honestly, the plant can call them whatever it wants. When a bougainvillea is happy, it can turn a fence, balcony, patio pot, or sunny wall into a vacation postcard.
The good news? You do not need to buy a new plant every time you want more color. Learning how to propagate bougainvillea from cuttings lets you create new plants from a healthy parent plant. The slightly less glamorous news? Bougainvillea can be fussier than easy-rooting plants like pothos or mint. It wants warmth, clean tools, sharp drainage, patience, and just enough humidity to feel pampered without feeling like it has moved into a swamp.
This guide breaks the process into 12 practical steps, using real horticultural principles: choose the right stem, cut below a node, use a clean rooting medium, apply rooting hormone, maintain humidity, avoid direct sun, and transplant only after roots are strong. In other words, we are giving bougainvillea the five-star nursery treatmentminus the tiny bathrobe.
What Is Bougainvillea Propagation?
Bougainvillea propagation is the process of creating a new bougainvillea plant from an existing one. The most reliable home method is propagation by stem cuttings. Because cuttings are a form of asexual propagation, the new plant is essentially a clone of the parent plant. That means if you take a cutting from a magenta bougainvillea with a vigorous growth habit, your new plant should carry those same traits.
Growing bougainvillea from seed is possible, but it is slower, less predictable, and not the best method if you want a plant that matches the parent. Stem cuttings are faster and more practical for gardeners, especially when working with named varieties, container plants, or a favorite backyard specimen that has proven it can handle your climate.
Best Time to Propagate Bougainvillea
The best time to propagate bougainvillea is during active growth, usually spring through early summer in warm climates. In very hot regions, early fall can also work because temperatures may still be warm but less scorching. The goal is to take cuttings when the parent plant is healthy and actively growing, but not stressed by extreme heat, drought, cold, pests, or heavy flowering.
Warmth matters. Bougainvillea cuttings root best when the medium stays comfortably warm. A general target is around 75°F to 85°F. If conditions are cooler, rooting can slow down. If conditions are too hot, cuttings may wilt, rot, or dry out before roots form. Bougainvillea appreciates warmth, yesbut it does not want to be baked like a casserole.
Supplies You Need
Before you start cutting, gather everything first. Bougainvillea has thorns, and once you are holding a prickly stem in one hand, you will not enjoy searching for a pot with the other.
- Clean, sharp pruning shears or a sharp knife
- Thick gardening gloves
- Small pots with drainage holes
- Sterile rooting mix, such as perlite and peat moss, coco coir, vermiculite, or a sandy propagation blend
- Rooting hormone powder, gel, or liquid
- A pencil, chopstick, or dibber for making planting holes
- Clear plastic bag, humidity dome, or propagation tray cover
- Plant labels
- Spray bottle or watering can with a gentle rose
How to Propagate Bougainvillea: 12 Steps
Step 1: Choose a Healthy Parent Plant
Start with a bougainvillea that looks strong, pest-free, and disease-free. Avoid taking cuttings from a plant that is wilting, yellowing, dropping leaves from stress, covered in insects, or recovering from a hard prune. A cutting has no roots at first, so it relies on stored energy in the stem. A weak cutting is like a phone on 3% battery with no charger nearby.
Look for stems that are mature enough to hold their shape but not old, woody, and exhausted. Semi-hardwood cuttings are often a sweet spot for bougainvillea. These are stems that are not soft and floppy like brand-new growth, but not thick and barky like old branches.
Step 2: Select the Right Stem
Choose a stem that is about pencil thickness or slightly thinner. A good bougainvillea cutting is usually 4 to 8 inches long and has several nodes. Nodes are the small bumps or points where leaves, buds, or side shoots emerge. This matters because roots are most likely to form near nodes.
Skip stems that are actively flowering. Flowers and colorful bracts look beautiful, but they pull energy away from root production. For propagation, you want a practical stem, not the plant’s red-carpet outfit.
Step 3: Cut Just Below a Node
Put on gloves, then make a clean cut just below a node using sterilized shears or a sharp knife. A clean cut heals better and reduces the chance of rot. Dirty or dull tools can crush plant tissue and introduce disease, which is exactly the kind of drama your cutting does not need.
If you are taking several cuttings, keep them in a shaded spot while you work. Do not leave them sitting in direct sun, especially on a hot patio or driveway. Fresh cuttings lose moisture quickly.
Step 4: Remove Lower Leaves and Bracts
Strip off the leaves from the lower half of the cutting. Remove any flowers or colorful bracts as well. Keep one or two small leaves near the top if they are healthy, but do not leave a leafy jungle. Too many leaves cause moisture loss, while too few leaves reduce photosynthesis. The goal is balance.
If the remaining leaves are large, you can cut them in half horizontally to reduce water loss. This is especially useful in dry climates or when propagating in warm weather.
Step 5: Lightly Wound the Base
Bougainvillea can be slow to root, so some gardeners gently wound the base of the cutting. To do this, scrape a narrow strip of outer bark from the bottom inch of the stem on one side. Do not whittle the stem like a campfire stick. A light scrape is enough.
Wounding exposes tissue that can respond to rooting hormone and may encourage root formation. This step is optional, but it can improve success with semi-hardwood or slightly woody bougainvillea cuttings.
Step 6: Apply Rooting Hormone
Dip the bottom end of the cutting into rooting hormone. Powder, gel, and liquid formulas can all work when used correctly. Rooting hormone commonly contains synthetic auxins such as IBA or NAA, which encourage root development.
Do not dip the cutting directly into the original hormone container. Pour a small amount onto a clean surface first, then discard the leftover portion. This prevents contamination. Tap off excess powder because more is not always better. A light coating is helpful; a frosting-thick layer is not.
Step 7: Prepare a Well-Draining Rooting Mix
Fill small pots with a sterile, well-draining propagation mix. Bougainvillea hates soggy conditions, so regular heavy garden soil is a poor choice. A light mix with perlite, coarse sand, vermiculite, peat moss, or coco coir gives the cutting moisture plus oxygen. Roots need both.
Water the mix before inserting the cuttings so it is evenly moist but not dripping wet. Think damp sponge, not soup. If water pools at the surface or the pot feels heavy and muddy, the mix is too wet.
Step 8: Insert the Cutting Carefully
Use a pencil or chopstick to make a hole in the rooting mix. This prevents the rooting hormone from being scraped off when you insert the stem. Place the cutting deep enough so at least one or two nodes are below the surface, then gently firm the mix around it.
Do not pack the medium tightly. Roots form best in a loose, airy environment. If the cutting wobbles, firm the mix just enough to hold it upright. Bougainvillea cuttings like support, not a cement foundation.
Step 9: Create Humidity Without Smothering the Cutting
Because the cutting has no roots, it cannot replace water easily. A clear plastic bag or humidity dome can help reduce moisture loss. Place the cover over the pot, but keep plastic from touching the leaves by using small stakes, chopsticks, or wire loops.
Humidity is helpful, but stagnant wet air can encourage mold and rot. Open the cover daily for a few minutes to refresh the air. If heavy condensation builds up constantly, loosen the cover slightly.
Step 10: Place in Bright, Indirect Light
Set the pot in bright, indirect light. Direct sun can overheat the cutting, especially under plastic. A warm windowsill with filtered light, a shaded greenhouse bench, or a bright patio protected from afternoon sun can work well.
Do not fertilize during rooting. A cutting without roots cannot use fertilizer properly, and salts may stress tender tissue. Your job during this stage is simple: warmth, light, humidity, and patience.
Step 11: Keep the Medium Moist, Not Wet
Check the rooting mix regularly. It should stay lightly moist but never soggy. If it dries completely, the cutting may fail. If it stays too wet, the stem may rot. This is the part where gardeners learn that “loving a plant” and “watering it every 15 minutes” are not the same thing.
Use a spray bottle or gentle watering can when needed. Avoid blasting the cutting with water, which can loosen it from the medium. If the cutting turns black at the base, smells sour, or collapses, rot has probably set in. Remove failed cuttings quickly to protect the others.
Step 12: Check for Roots and Transplant Gradually
Bougainvillea cuttings may take 6 to 12 weeks to root, and sometimes longer depending on temperature, cutting maturity, and humidity. Resist the urge to yank them up for inspection. Instead, wait until you see new growth or feel gentle resistance when you lightly tug the stem.
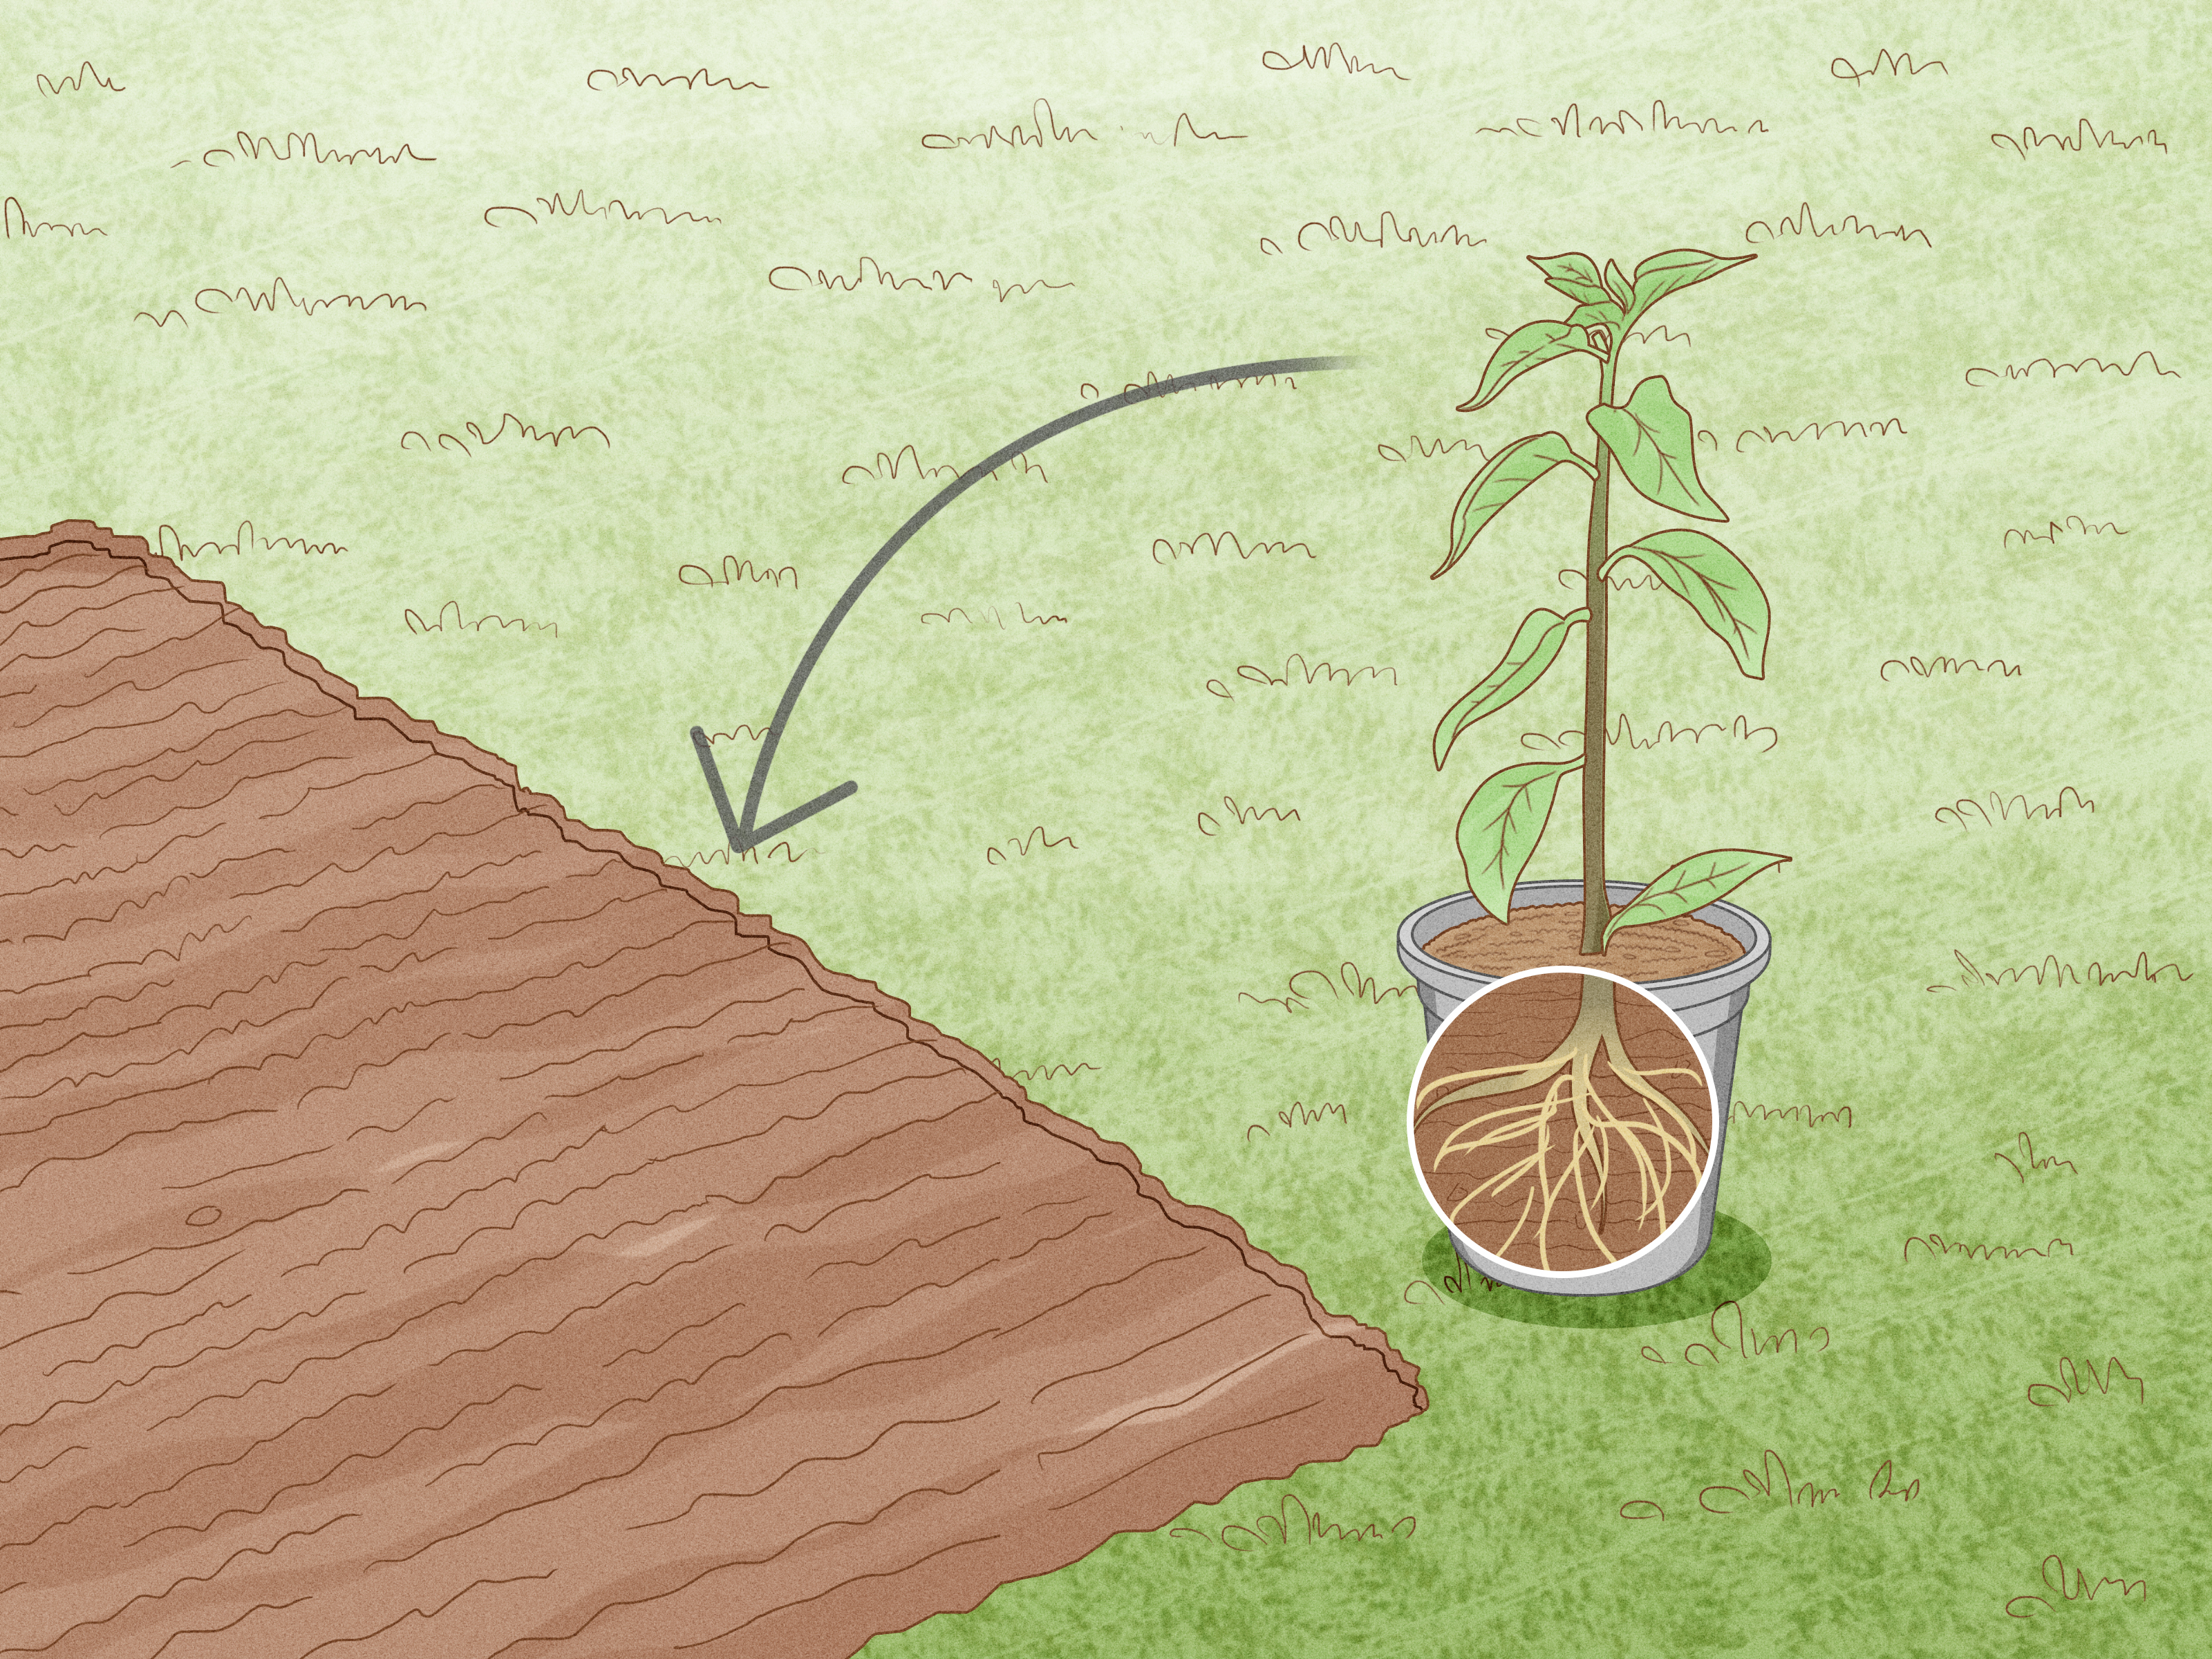
Once roots have formed, begin acclimating the cutting. Remove the humidity cover for longer periods over several days. Then transplant it into a small pot with a well-draining potting mix. Keep it in bright, indirect light at first, then gradually introduce more sun. Mature bougainvillea loves full sun, but baby bougainvillea appreciates a slower introduction. Nobody sends a toddler to run a marathon on day one.
How to Care for New Bougainvillea Plants
After transplanting, give your young bougainvillea steady care. Use a pot with excellent drainage, and do not let it sit in standing water. Allow the top inch of soil to dry slightly between waterings. Bougainvillea is drought-tolerant once established, but young plants need more consistent moisture while their roots expand.
As the plant grows, move it into increasing sunlight. Established bougainvillea generally blooms best with at least six hours of direct sun per day. Too much shade leads to leafy growth and fewer bracts. If your plant grows lots of green leaves but refuses to bloom, it may need stronger light, less water, or a more balanced feeding routine.
Use fertilizer lightly once the plant is actively growing. A balanced, slow-release fertilizer or a bloom-supporting formula can help, but overfeeding with nitrogen may encourage leaves instead of color. Bougainvillea is not shy about telling you when it is too comfortable: it grows green and forgets to perform.
Common Bougainvillea Propagation Mistakes
Using Heavy Soil
Dense garden soil holds too much water and can suffocate developing roots. Use a sterile, airy rooting medium instead.
Taking Cuttings From Weak Plants
A stressed parent plant produces weaker cuttings. Choose vigorous stems from a healthy bougainvillea.
Putting Cuttings in Direct Sun
Direct sun can cook cuttings under plastic. Bright, indirect light is safer until roots form.
Overwatering
Moisture is necessary, but wet soil causes rot. Keep the mix damp, not saturated.
Transplanting Too Early
A tiny new root system is fragile. Wait until the cutting shows real resistance, new growth, or visible roots near drainage holes.
Can You Propagate Bougainvillea in Water?
Some gardeners experiment with rooting bougainvillea in water, but soil or a sterile propagation medium is usually more reliable for woody and semi-woody cuttings. Water propagation can work better for soft-stemmed houseplants. Bougainvillea stems are more prone to rot when left in water too long.
If you try water propagation, use a clean jar, keep leaves above the waterline, place at least one node below water, change the water frequently, and move the cutting to soil once roots are about 1 to 2 inches long. Still, for stronger long-term roots, rooting directly in a well-aerated medium is usually the better path.
Can You Propagate Bougainvillea by Air Layering?
Yes. Air layering is another option, especially for thicker stems or gardeners who have struggled with cuttings. In air layering, you wound a stem while it is still attached to the parent plant, wrap the wounded area with moist sphagnum moss, cover it with plastic, and wait for roots to form. Once roots develop, you cut the new plant from the parent and pot it separately.
Air layering takes more setup, but the stem continues receiving water and nutrients from the parent while roots form. This can improve success with plants that are slow or stubborn from cuttings.
Real-World Experience: What Actually Helps Bougainvillea Cuttings Root
In practice, propagating bougainvillea teaches one lesson quickly: the cutting is either quietly building roots or quietly plotting its dramatic exit. At first, both look almost the same. That is why patience is the secret ingredient nobody sells in a bottle.
One of the most useful habits is preparing more cuttings than you need. If you want one new bougainvillea, take three or four cuttings. If you want three plants, take eight or ten. This is not pessimism; it is gardening math. Bougainvillea does not root with 100% reliability for most home gardeners, especially without professional mist systems or heated propagation benches. Extra cuttings give you a better chance of success without turning one failed stem into a full emotional event.
Another practical lesson is that the rooting mix matters more than beginners expect. Heavy potting soil often looks safe because it feels rich and dark, but cuttings do not need richness yet. They need air around the stem base. A loose mix with perlite or coarse sand can make a big difference. The cutting is trying to grow tiny new roots, and those roots need oxygen. If the medium stays muddy, the stem may rot before it roots.
Humidity also requires balance. A plastic bag over the pot can be helpful, but only when managed. Completely sealed, wet, stagnant air can turn into a fungus hotel. Open the cover daily, remove fallen leaves, and watch for mold. If the leaves look limp, the cutting may need more humidity. If the stem base darkens, it may need less water and more air.
Warmth is another game changer. Bougainvillea is a warm-climate plant, so cuttings often sulk in cool rooms. A warm, bright location with indirect light usually performs better than a cold windowsill. However, heat without humidity is also risky. In very hot weather, cuttings can dry out fast. In desert-like climates, morning work is better than afternoon work, and shade is your friend during the rooting phase.
Finally, do not celebrate too early when you see new leaves. New growth is encouraging, but it does not always mean strong roots have formed. Some cuttings push leaves using stored energy before they root well. Wait for gentle resistance before transplanting. When you do move the cutting, handle it like fine glass. Bougainvillea roots can be delicate, and rough transplanting may undo weeks of progress.
The most satisfying moment comes when the new plant finally starts growing with confidence. The leaves firm up, the stem stops looking like a nervous twig, and eventually the plant begins reaching for the sun. Later, when those first colorful bracts appear, it feels like the plant is saying, “Fine, you were right to fuss over me.” And yes, you will probably brag about it. That is allowed.
Conclusion
Propagating bougainvillea is not difficult, but it does reward careful technique. Start with a healthy parent plant, take semi-hardwood cuttings during active growth, cut below a node, remove extra leaves, use rooting hormone, and place the cutting in a sterile, well-draining medium. Keep it warm, humid, and bright without exposing it to harsh direct sun. Most importantly, give it time.
Once rooted, young bougainvillea plants need gradual acclimation, excellent drainage, and increasing sunlight. With patience, you can turn one vibrant plant into severalperfect for patios, fences, balconies, containers, and sunny garden walls. Bougainvillea may be thorny, but when it rewards you with clouds of color, all is forgiven.