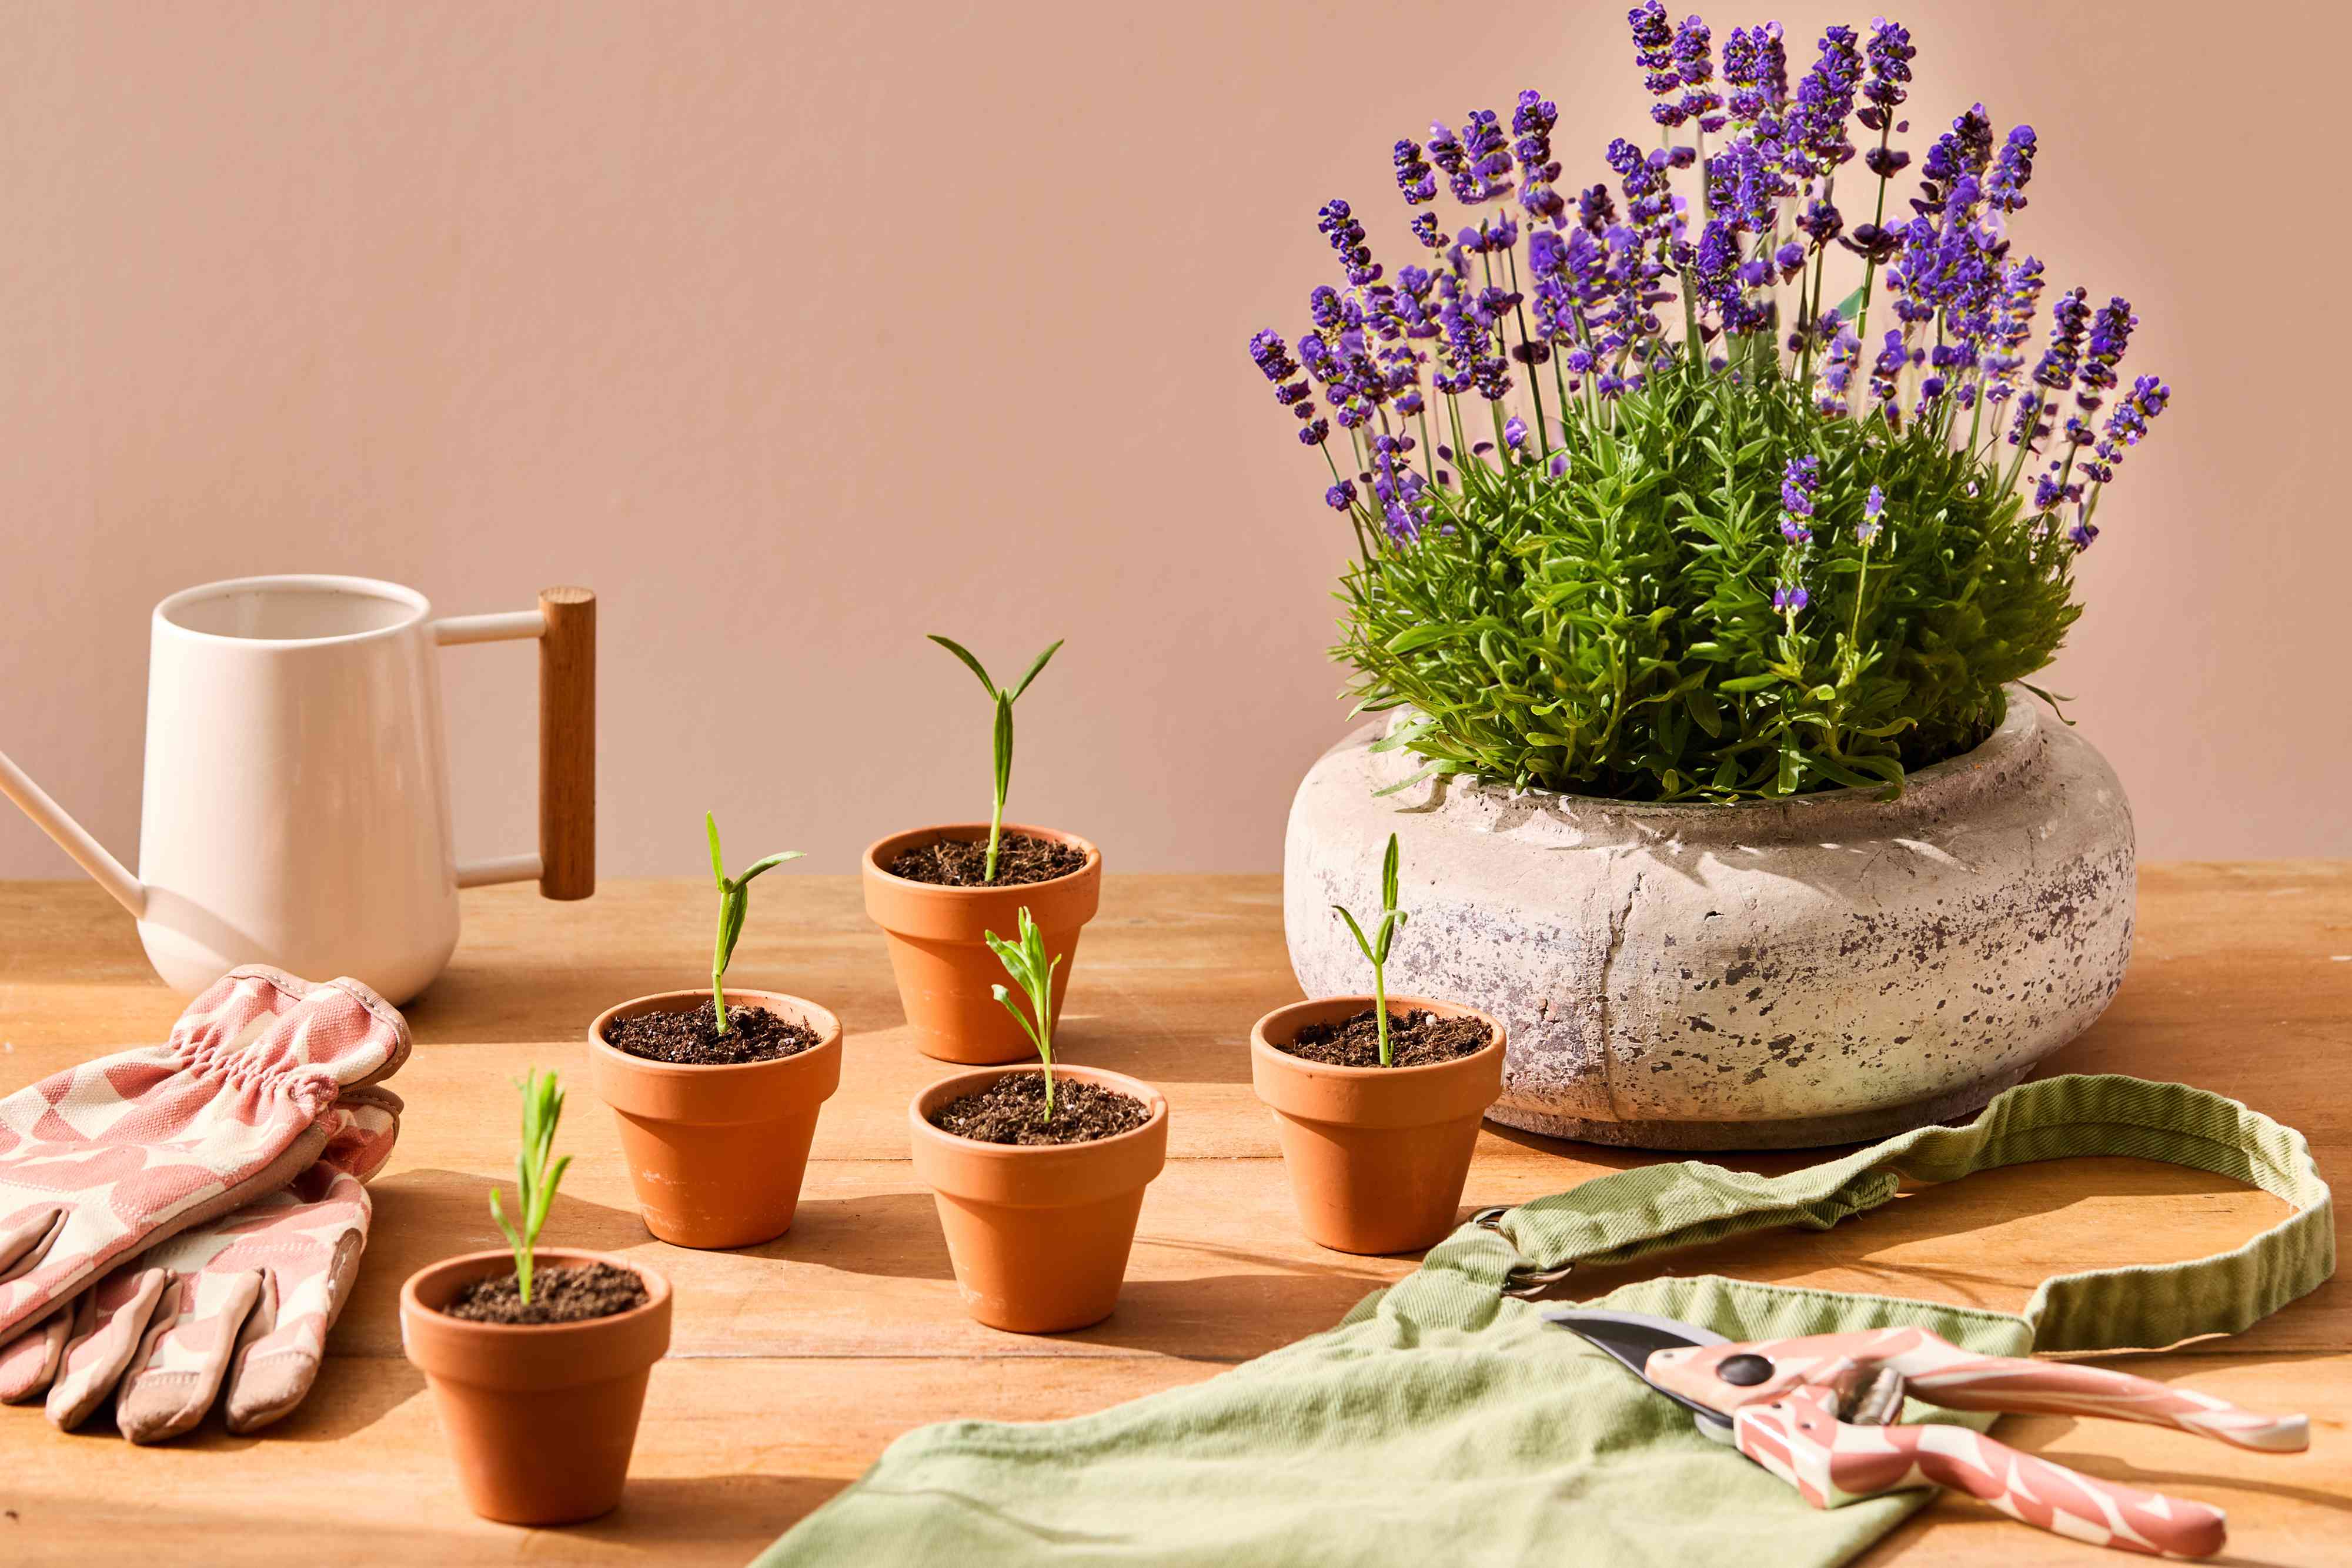
Lavender already has a lot going for it. It smells amazing, looks elegant without acting superior, and makes almost any garden feel a little more expensive. The good news? Once you have one healthy plant, you do not have to keep buying more. Learning how to propagate lavender in 7 easy steps is one of the simplest ways to multiply your favorite variety, save money, and fill your yard, patio, or raised bed with more of that silver-green goodness.
Propagation sounds like something that requires a lab coat and a clipboard, but in reality, it is just the art of turning one plant into several. With lavender, the easiest method is taking cuttings from a healthy parent plant and encouraging those stems to grow roots. It is beginner-friendly, budget-friendly, and deeply satisfying. Few gardening moments feel better than realizing the little twig you snipped a few weeks ago is now a whole new plant with ambitions.
In this guide, you will learn exactly when to take cuttings, what kind of stems work best, how to root them successfully, and what mistakes to avoid. We will also cover practical growing tips so your baby lavender plants survive the propagation stage and make it into the garden without drama.
Why Propagate Lavender Instead of Growing It From Seed?
If you want lavender that looks and behaves like the parent plant, cuttings are usually the smarter choice. Seeds can be slow, uneven, and a little unpredictable. Cuttings, on the other hand, produce clones of the original plant. That means if you love the color, scent, or growth habit of a particular lavender, propagation by cuttings helps you keep those exact traits.
This is especially useful if you are growing English lavender, lavandin, or another named variety that performs well in your climate. Instead of rolling the dice with seed-grown surprises, you can copy a winner. Think of it as the gardening version of saving your best recipe instead of trying to rebuild it from memory.
What You Need Before You Start
Before you begin, gather a few basic supplies. No fancy greenhouse required.
- A healthy lavender plant
- Clean, sharp pruners or scissors
- Small pots, cell trays, or nursery containers
- A sterile, fast-draining propagation mix
- Rooting hormone, optional but helpful
- A spray bottle or gentle watering can
- A clear humidity dome, plastic cover, or loose plastic bag
- Plant labels if you are propagating more than one variety
Use a light, airy rooting medium rather than heavy garden soil. Lavender hates soggy roots, and a dense mix is basically a handwritten invitation to rot. A blend designed for propagation or a fast-draining mix with ingredients such as perlite, peat, vermiculite, or coarse material works much better than plain outdoor soil.
How to Propagate Lavender in 7 Easy Steps
Step 1: Choose the Right Time to Take Cuttings
The best time to propagate lavender depends on the type of cutting you want to take, but for most home gardeners, late spring through summer is the sweet spot. This is when softwood or semi-hardwood cuttings are easiest to root. Softwood cuttings come from fresh growth that has started to firm up a bit but is not fully woody yet. Semi-hardwood cuttings come slightly later, when the stems are more mature.
If your plant has just finished blooming, that can also be a good time to take cuttings, especially if you select stems without flowers or flower buds. Avoid old, brittle, heavily woody stems whenever possible. They are slower to root and less forgiving.
Timing matters because lavender cuttings root best when the plant is actively growing but not exhausted. Translation: do not ask your plant to run a marathon right after a haircut and a heat wave.
Step 2: Pick Healthy, Nonflowering Stems
Now comes the part where your lavender plant donates a few branches for the greater good. Look for healthy, straight stems with no signs of disease, mushiness, or insect damage. The ideal cutting is usually around 3 to 6 inches long and taken just below a leaf node.
Choose stems with no flowers or developing buds. Flowering stems put energy into blooming, not rooting, and that is not the kind of divided attention you want right now. If a stem has a tiny bud at the tip, pinch it off. Your future plant needs to focus on roots first and perfume production later.
If you are taking several cuttings, sanitize your pruners between plants or batches. It is a simple habit that helps prevent disease problems from spreading.
Step 3: Prep the Cuttings Like a Pro
Once you have your stems, trim each one neatly below a node. Then remove the leaves from the lower half to lower two inches of the stem, depending on its length. Leave enough foliage at the top so the cutting can still photosynthesize, but not so much that it loses too much moisture.
This step may feel a little ruthless, but it is important. Any leaves buried in the rooting mix can rot, and rot is the villain of this story. A clean lower stem gives the cutting a better chance to produce roots where it needs them most.
If you are using rooting hormone, dip the stripped end lightly into the powder or gel according to label directions. It is optional, not magical. Lavender can root without it, but many gardeners find it helps speed things up and improves consistency.
Step 4: Plant the Cuttings in a Fast-Draining Medium
Fill your pots or tray with moistened propagation mix. The medium should feel damp, not waterlogged. Use a pencil, dibber, or finger to create a hole first, then insert the cutting so the bare stem sits below the surface while the leafy top stays above it.
Firm the mix gently around the base so the cutting stands upright. Space cuttings far enough apart that air can move around them. Crowding may save space, but it also invites fungal problems, and lavender is not a fan of muggy living conditions.
If you are propagating several varieties, label them now. Trust me, “pretty purple one” is not a useful tag two months later.
Step 5: Give Them Bright Light and Gentle Humidity
Place the newly planted cuttings in bright, indirect light. A sunny windowsill with intense afternoon sun can be too harsh, while a dark corner will not provide enough energy for rooting. Think bright but soft, not “solar interrogation lamp.”
To keep humidity up while roots develop, cover the pot loosely with a clear plastic bag or place the tray under a humidity dome. Make sure the cover does not sit directly on the foliage. Good airflow matters, so do not seal the setup like leftovers you forgot in the back of the fridge.
Lavender cuttings need moisture in the air, but they do not want soaking wet soil. That balance is where the magic happens.
Step 6: Water Carefully and Wait for Roots
This is the stage that tests your patience and your ability not to overhelp. Keep the rooting medium slightly moist, but never soggy. Mist lightly if needed, or water gently when the surface starts to dry. Overwatering is one of the fastest ways to lose lavender cuttings, because these Mediterranean plants dislike wet feet even as babies.
Depending on the cutting type, temperature, and conditions, roots may form in roughly 2 to 6 weeks, sometimes a little longer. Softwood cuttings often root faster than more mature ones. You can check progress with the gentle tug test. If you feel light resistance, roots are probably forming. If the cutting slides out like it is trying to escape, it needs more time.
Do not yank. This is propagation, not a strength competition.
Step 7: Pot Up, Harden Off, and Plant Out
Once roots are established and at least lightly filling the container, transplant each cutting into its own small pot with a well-draining potting mix. Move it into brighter light and let it continue growing until it looks sturdy and well rooted.
Before planting outdoors, harden the young plants off gradually. That means introducing them to outdoor conditions over several days so they do not go from cozy indoor spa retreat to full sun and wind in one shocking afternoon.
When you are ready to plant them in the garden, choose a sunny location with excellent drainage. Lavender thrives in light, lean, gritty soil and tends to sulk in heavy, wet ground. Space plants generously so air can circulate and moisture does not linger around the crown.
Common Mistakes to Avoid When Propagating Lavender
Even easy plants have opinions. Lavender has several.
- Using flowering stems: They look tempting, but they are worse at rooting.
- Choosing old woody growth only: Mature stems can work, but they are usually slower and less beginner-friendly.
- Overwatering: Lavender roots rot more easily than many gardeners expect.
- Using dense garden soil: Poor drainage is the enemy.
- Skipping light: Cuttings need bright conditions, just not scorching direct sun.
- Checking roots too often: A gentle tug is enough. Daily excavation is not.
- Ignoring plant patents: Some newer cultivars are protected, so propagating them for resale may not be allowed.
How Long Does Lavender Propagation Take?
If conditions are good, softwood lavender cuttings may root in as little as 2 to 4 weeks, while semi-hardwood cuttings may take closer to 4 to 6 weeks. Some batches move faster, some move slower. Gardening likes to keep everyone humble.
After rooting, give the young plants additional time to build a stronger root system before planting them out. A rooted cutting is not instantly ready for a glamorous life in the border. It still needs a little nursery phase.
Can You Propagate Lavender in Water?
Some gardeners experiment with rooting lavender in water, but soil or a soilless medium is generally more reliable. Lavender prefers good aeration around the stem base, and water propagation can be less predictable. If your goal is the highest success rate, root the cuttings in a sterile, fast-draining mix instead.
Practical Growing Tips for Better Success
If you want your propagation project to go from “mildly hopeful” to “look at me, I am basically running a lavender nursery,” keep these extra tips in mind:
- Take more cuttings than you think you need. Not every one will root.
- Start with a strong parent plant that is not stressed, diseased, or half-drowned.
- Use containers with drainage holes every time.
- Keep the setup warm but not hot.
- Label varieties and dates so you can track what roots best.
- Plant new lavender in full sun and sharply drained soil once established.
If your garden has heavy clay or stays wet after rain, consider raised beds, gravelly berms, or containers. Lavender is one of those plants that would rather be a little thirsty than a little swampy.
What Gardeners Commonly Experience When Propagating Lavender
One of the most interesting things about lavender propagation is how often the process teaches restraint. Many gardeners begin with confidence, a fresh tray of cuttings, and the firm belief that more water equals more love. A week later, they are staring at droopy stems and wondering why their good intentions turned into a tiny botanical soap opera. The first real lesson is that lavender does not want fussing nearly as much as people think it does. It wants clean cuts, good drainage, decent light, and then a little peace and quiet.
In practice, gardeners often notice that their best cuttings come from plants that are healthy but not pampered. A lavender plant growing in bright sun and lean soil usually gives stronger propagation material than one sitting in rich, damp conditions with lots of lush but floppy growth. The sturdy stems tend to handle the transition better. That is why experienced growers often say the parent plant does half the work before the cutting is even taken.
Another common experience is realizing that not every cutting behaves the same way, even when they were taken from the same plant on the same afternoon. Some root quickly and stand upright like they have a five-year plan. Others spend weeks looking undecided. This is normal. Temperature, stem maturity, humidity, and even where the cutting came from on the plant can affect rooting speed. That is why seasoned gardeners rarely propagate just one or two stems. They make a batch. Lavender propagation is much less stressful when you stop expecting perfection and start aiming for a solid percentage.
Gardeners also learn that humidity covers are useful but not foolproof. A plastic dome can help prevent cuttings from drying out, but if there is no airflow, condensation builds up and fungal trouble may follow. Many people improve their success simply by venting the cover a little each day. It is a small adjustment, but it often makes the difference between fresh-looking cuttings and a tray of sad gray mush.
There is also the emotional side of the process. Propagating lavender tends to make people more observant. You begin noticing the difference between soft new growth and older woody stems. You start paying attention to how fast a potting mix dries, how indirect light shifts through a room, and how a cutting with firm leaves looks different from one that is beginning to fail. In other words, propagation builds gardening instincts. It is not just about making more plants. It is about learning how plants respond to their environment in real time.
And finally, many gardeners discover that the biggest reward comes a few months later, not on day one. The real thrill is seeing a rooted lavender cutting survive transplanting, put on new growth, and eventually become a flowering plant in its own right. At that point, it is no longer “the little cutting in the tray.” It is a plant you made. That shift feels surprisingly satisfying. Also, once you succeed once, it becomes very hard not to look at every healthy lavender stem and think, “You could become six more plants by Tuesday.”
Conclusion
If you have been wondering how to propagate lavender in 7 easy steps, the process is wonderfully doable for beginners and satisfying for experienced gardeners alike. Start with healthy, nonflowering stems, use a fast-draining rooting mix, keep humidity up without drenching the soil, and give the cuttings time to form roots. That is really the heart of it.
Lavender may have a reputation for being elegant and slightly dramatic, but propagation is one of the easiest ways to make more of it at home. Once you get the hang of it, you can turn one beautiful plant into a whole border, a patio collection, or a lineup of giftable starts for fellow garden lovers. That is a pretty nice return on one snip.