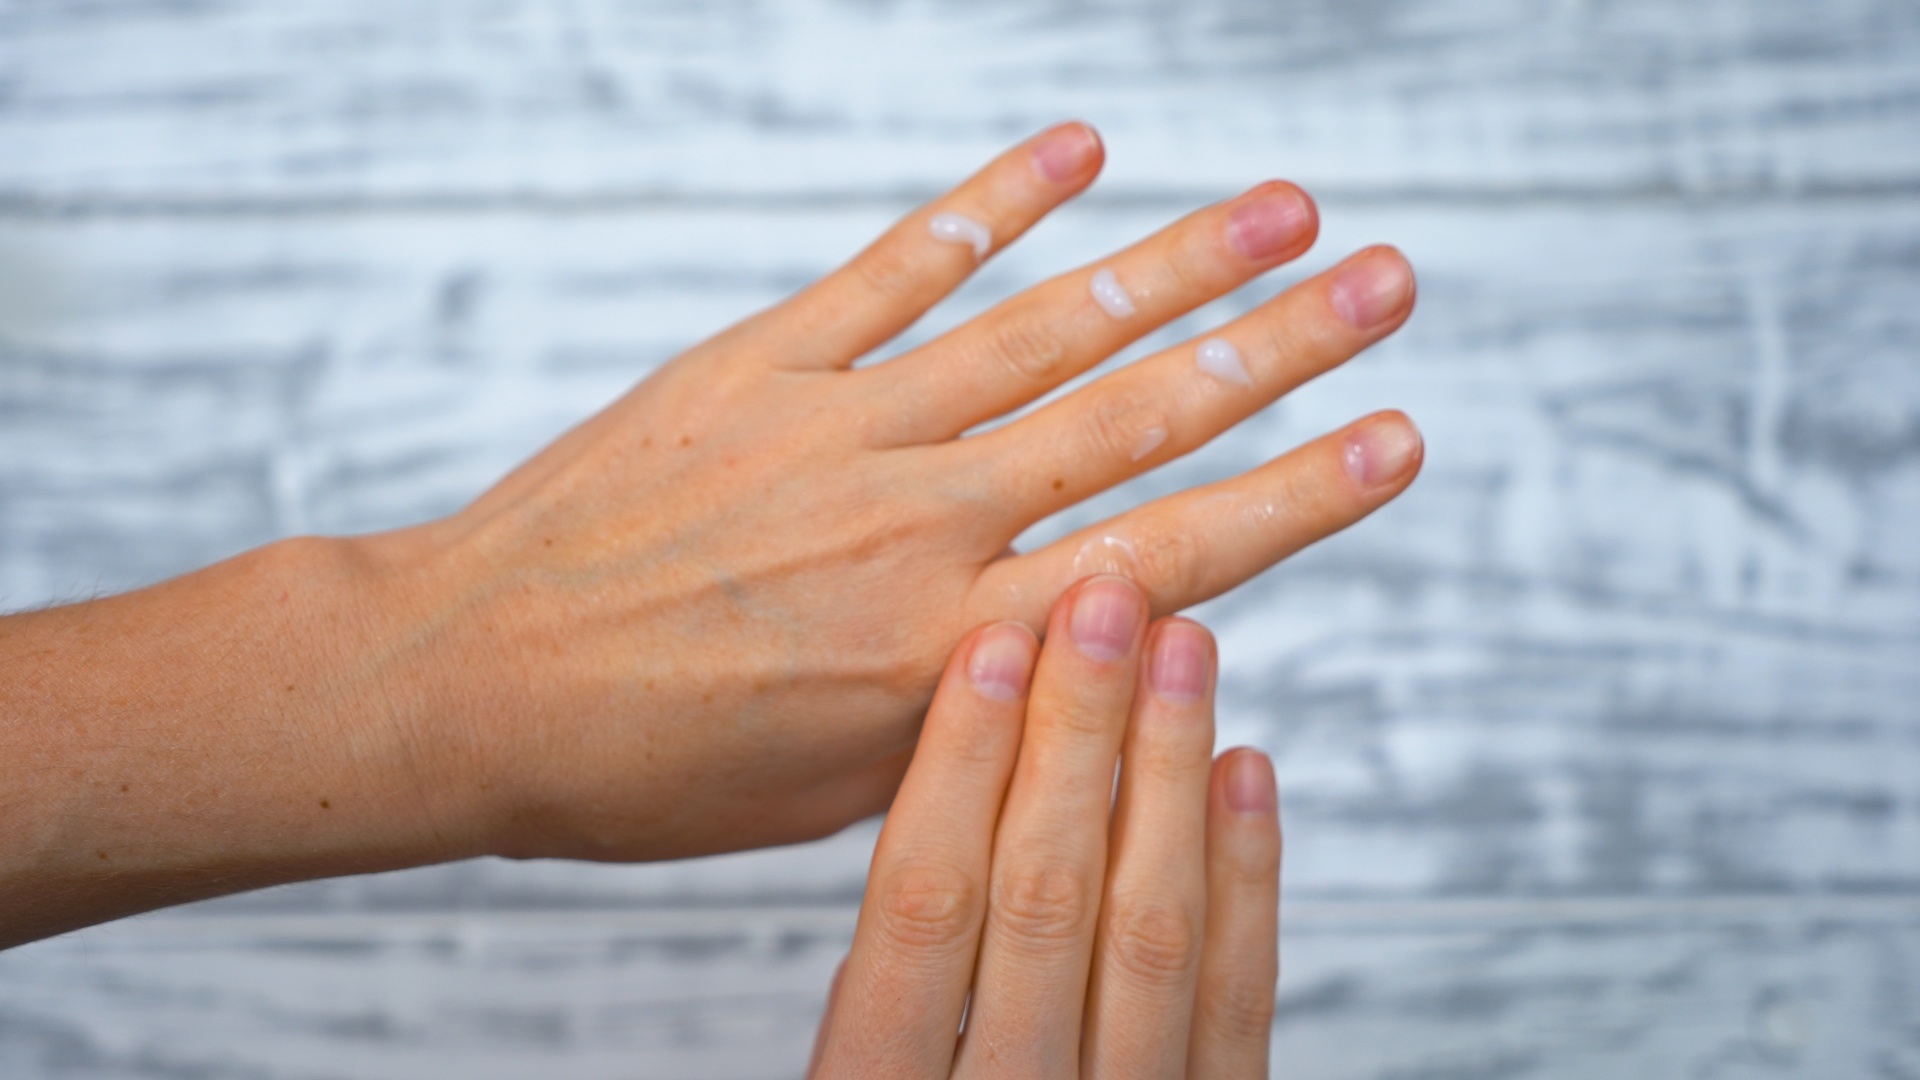
If your acrylic nails have reached the “cute yesterday, suspicious today” phase, welcome. Maybe they’ve grown out so far they look like tiny diving boards. Maybe one is lifting and catching on every sweater you own. Or maybe you are simply ready to break up with your manicure without breaking your actual nails. Whatever brought you here, the goal is the same: remove acrylic nails safely, gently, and with as little drama as possible.
The truth is simple. Acrylic nails are tough by design, so there is no magic snap-your-fingers shortcut. The easiest methods all have one thing in common: patience. That may not be the most thrilling beauty advice ever delivered, but it is the advice most likely to save your natural nails from thinning, peeling, splitting, and looking personally offended for the next six weeks.
In this guide, you will learn the three easiest methods to remove acrylic nails, the tools you actually need, what mistakes to avoid, and how to help your nails recover after the acrylics are gone. No salon jargon. No chaotic internet myths. Just clear, practical steps that work.
Before You Start: What You Need
Before removing acrylic nails at home, set yourself up properly. This is not the moment to improvise with random household chemistry and a butter knife. Gather these basics first:
- Nail clippers
- A coarse nail file
- A buffer
- 100% acetone
- Cotton balls or cotton pads
- Aluminum foil or nail clips
- An orangewood stick or cuticle pusher
- Petroleum jelly or cuticle oil
- Hand cream
- A small bowl if using a soak method
- A towel for cleanup
Also, work in a well-ventilated area. Acetone is effective, but it is strong-smelling and drying. Open a window, turn on a fan, and keep it away from flames or heat sources. If your skin is cracked, bleeding, or irritated around the nail, it is smarter to stop and let a salon professional or healthcare provider take a look.
Method 1: The Cotton-and-Foil Acetone Wrap
If you want the most popular at-home option, this is it. The acetone wrap method is widely considered one of the easiest ways to remove acrylic nails because it targets each nail directly without requiring you to dunk your fingertips in a bowl like you are marinating them for dinner.
Why this method works
Acrylic is softened by acetone. Wrapping acetone-soaked cotton against each nail helps the product stay in contact with the acrylic long enough to loosen it. Translation: less scraping, less prying, less heartbreak.
Step-by-step instructions
- Clip the acrylics short. Trim the added length carefully, but do not cut too close to your natural nail.
- File off the shiny topcoat. This helps the acetone penetrate the acrylic faster. Your goal is to remove the gloss, not file your real nail into another dimension.
- Protect the skin. Apply a thin layer of petroleum jelly or cuticle oil around your nail folds and fingertips.
- Soak the cotton. Wet cotton balls or pads with 100% acetone.
- Place and wrap. Put the cotton on each nail and wrap tightly with a small piece of foil. Nail clips can work too.
- Wait 15 to 30 minutes. Check one nail first before unwrapping the rest. If the acrylic looks gooey or lifted, you are ready for the next step.
- Gently push off the softened acrylic. Use an orangewood stick or cuticle pusher with a light hand. If it resists, do not force it. Re-wrap and soak longer.
- Buff the residue. Once most of the acrylic is gone, gently buff away small leftover bits.
- Wash and moisturize. Finish with cuticle oil and hand cream.
Best for
This method is ideal for people who want a controlled, low-mess removal process and do not love the idea of soaking all ten fingertips in a bowl of acetone.
Common mistakes to avoid
- Using regular nail polish remover instead of 100% acetone
- Trying to scrape before the acrylic is soft enough
- Peeling off lifted sections “because it’s basically ready”
- Skipping the moisturizer after removal
Method 2: The Double-Bowl Acetone Soak
If foil feels fussy and you want a more straightforward process, the bowl soak method is another easy way to remove acrylic nails at home. It can work especially well when the acrylic is already a little grown out or thinner than usual.
How the double-bowl setup works
You place acetone in a smaller bowl, then nest that bowl inside a larger bowl of warm water. The warm water gently helps the acetone work faster. Important detail: you warm the water, not the acetone directly. Never heat acetone on the stove, in the microwave, or with any open flame. Your manicure is not worth a household emergency.
Step-by-step instructions
- Trim and file first. Cut down the acrylic length and file off the topcoat.
- Apply skin protection. Rub a little petroleum jelly around your cuticles and fingertips.
- Prepare two bowls. Fill one larger bowl with warm water. Put 100% acetone in a smaller bowl and place it inside the larger one.
- Soak your nails. Submerge just the acrylic-covered nails in the acetone for 10 to 20 minutes.
- Test the acrylic. Use an orangewood stick to check whether the product is loosening.
- Remove gently. Push away the softened acrylic in small sections. If needed, soak again for another 5 to 10 minutes.
- Buff and shape. Use a buffer lightly to smooth the nail surface.
- Hydrate. Wash your hands, then apply cuticle oil and a rich cream.
Best for
This method is great if you want fewer wrapping materials and do not mind a slightly stronger acetone smell. It is also useful when several nails need a second soak and you would rather not rewrap each one individually.
Why people like this method
It is simple, minimal, and easy to repeat. You sit, soak, check, and repeat as needed. No foil folding skills required. If you have ever made a lumpy baked potato wrapped in foil, you already know why this matters.
Method 3: Professional Salon Removal
Yes, this counts. In fact, for many people, professional removal is the easiest method of all. If your acrylics are extra thick, unusually long, lifting badly, painful, or attached with products you do not fully trust, going to a skilled nail technician can save time and help prevent damage.
When salon removal is the smartest choice
- You have broken or cracked acrylics
- Your natural nail feels sore underneath
- You see redness, swelling, discoloration, or tenderness
- The acrylic seems unusually hard and barely responds to acetone
- You do not have the right tools at home
- You know you are impatient and may start peeling halfway through
A good salon should remove acrylics carefully, usually by clipping, filing down the bulk, and using a soak-off process. If a tech starts aggressively prying or filing into the natural nail, that is your sign to become spiritually unavailable and physically leave.
Best for
People with damaged nails, first-timers, or anyone who would rather outsource the entire experience and spend the time doing literally anything else.
Which Method Is Best?
If you want the short answer without the salon small talk, here it is:
- Best overall at home: Cotton-and-foil acetone wrap
- Best for simplicity: Double-bowl acetone soak
- Best for safety when things look sketchy: Professional salon removal
All three easiest methods work because they respect the same rule: acrylic should be softened off, not ripped off. The more gently you remove it, the better your natural nails will look afterward.
What Not to Do When Removing Acrylic Nails
The internet is full of “hacks” that sound convenient and end in regret. Avoid these common mistakes:
- Do not peel, pop, or pry. This can remove layers of your natural nail.
- Do not force a cuticle pusher under resistant acrylic. If it will not budge, it needs more soaking time.
- Do not use random solvents. Stick with products intended for nail removal.
- Do not over-file. Filing too aggressively can thin your natural nails.
- Do not ignore pain. Pain is not part of a proper removal process.
- Do not rush into a fresh set immediately if your nails are weak. Give them a little recovery time.
How to Care for Nails After Acrylic Removal
Once the acrylics are off, your nails may look dry, a bit rough, or temporarily thinner than you expected. That is common. The goal now is to help your nails recover.
Post-removal nail care checklist
- Apply cuticle oil at least once or twice a day
- Use a thick hand cream, especially at night
- Keep nails short for a week or two to prevent snagging
- Use a gentle buffer only if needed
- Take a break from acrylics, gels, or harsh polish removers if your nails feel fragile
- Wear gloves for cleaning or washing dishes
If your nails are peeling, splitting, or feeling sensitive, a recovery period is not laziness. It is maintenance. Think of it as rehab for tiny overachievers.
When to Stop DIY Removal and Ask for Help
Home removal is fine for many people, but not every situation belongs in your bathroom with a bowl of acetone and determination. Stop and seek professional help if:
- The nail is lifting from the nail bed
- You see green, yellow, or dark discoloration
- The surrounding skin is red, swollen, warm, or painful
- You have bleeding, cuts, or signs of irritation
- The acrylic will not soften despite repeated soaking
These signs can point to damage, irritation, or possible infection. At that stage, “one more try” is not a beauty strategy. It is just stubbornness wearing lip gloss.
Frequently Asked Questions About Removing Acrylic Nails
Can you remove acrylic nails without acetone?
You may find plenty of online claims about warm water, soap, oil, floss, or other DIY tricks, but acetone remains the standard and most reliable option for acrylic removal. Other methods are usually slower, less effective, or more likely to lead to prying.
How long does acrylic nail removal take?
Usually 20 to 45 minutes, depending on the thickness of the acrylic, how much filing you did first, and whether you need more than one soak.
Will my natural nails be damaged?
They may look dry or feel weaker temporarily, especially if the acrylic was worn for a long time. Most serious damage happens during rough removal, not from the idea of removal itself.
Should you let your nails rest after acrylics?
Yes, especially if they feel thin, bendy, or rough. A short break with hydration and gentle care can help them recover.
Real-World Experiences With Removing Acrylic Nails
One of the most helpful things to know about acrylic nail removal is what the process actually feels like in real life. A lot of people start with the assumption that removal should be fast. Then they try it, hit minute twelve, and wonder whether they have made a terrible life choice. That reaction is normal.
For many people, the first experience is surprise at how much patience it takes. The acrylic usually does not slide off in one neat piece like a movie prop. More often, it softens in stages. The top loosens, then the edges, then a few stubborn sections hang on like they are paying rent. This is why gentle repetition matters. Soak, check, nudge, soak again. The people who get the best results are usually not the fastest. They are the least aggressive.
Another common experience is underestimating how drying acetone feels. Even when you protect the skin, your fingertips can feel chalky afterward. Your nails may look dull instead of glossy, and your cuticles may suddenly look like they have been through a breakup. That does not always mean something went wrong. It often means your nails need oil, cream, and a little downtime. Many people say their nails look much better after two or three days of moisturizing than they do in the first hour after removal.
Some people also notice that one or two nails come off easily while others act like tiny acrylic fortresses. That is common too. Different nails may have different thickness, lifting, or product buildup. Your thumbnails, for example, may need extra soaking time. This is not evidence that you are failing. It is just proof that nails, like people, refuse to cooperate equally.
There is also the emotional side, which nobody talks about enough. Removing acrylics can make your natural nails look shockingly small at first. If you have worn long acrylics for weeks or months, your regular nails may feel unfamiliar. Plenty of people describe that moment as mildly humbling. Give it a day. Your eyes adjust. Your fingers stop feeling oddly lightweight. You move on.
Perhaps the biggest lesson from real experiences is this: damage usually happens during the impatient moments. The second someone says, “This one is almost off, I’ll just peel it,” that is when trouble tends to begin. By contrast, people who pause, re-soak, and keep a light hand usually end up with healthier nails. So if your removal process feels slow, that may actually mean you are doing it right.
Final Thoughts
If you want to know how to remove acrylic nails safely, the answer is not a miracle hack. It is choosing one of the easiest proven methods, using enough acetone, avoiding force, and following up with smart nail care. The cotton-and-foil wrap is the best all-around home option. The bowl soak is simple and effective. And when things look damaged or painful, professional salon removal is often the easiest path of all.
Your natural nails do not need heroics. They need patience, moisture, and maybe a little apology. Treat them well during removal, and they will have a much better chance of bouncing back looking healthy, smooth, and ready for whatever manicure phase comes next.